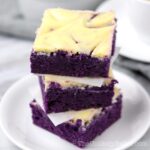
Ube Cheesecake Bars Recipe
Ube cheesecake bars combine two of your favourite ube desserts — brownies and cheesecake. Creamy and tangy cream cheese swirls on top of chewy and fudgy brownies. So good!
Servings: 24 bars
Calories: 173kcal
Ingredients
For the cream cheese layer:
- 1 8-oz block cream cheese room temperature
- ½ cup granulated sugar
- 1 pc large egg room temperature
- 1 tsp vanilla extract
For the ube layer:
- 1 cup unsalted butter melted and allowed to cool slightly
- 1 cup granulated sugar
- ¼ cup packed brown sugar
- 1 pc large egg room temperature
- 17 oz ube halaya or ube jam (about 2 cups) room temperature
- 2 tbsp ube extract
- 2½ cups all-purpose flour
- 1 tsp baking powder
- 1 tsp salt
Instructions
- Preheat oven to 350F. Grease a 9x13 inch baking pan then line with parchment paper with a slight overhang on each side. Set aside.
- Beat 1 block of cream cheese and ½ cup granulated sugar until smooth and creamy.
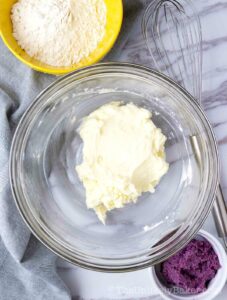
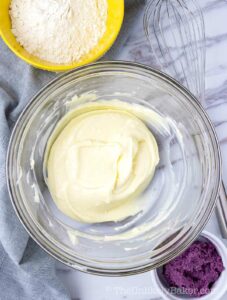
- Add 1 egg and 1 tsp vanilla extract and continue beating until incorporated. Set aside.
- In a large bowl, combine melted butter, 1 cup granulated sugar and ¼ cup packed brown sugar until smooth and incorporated.
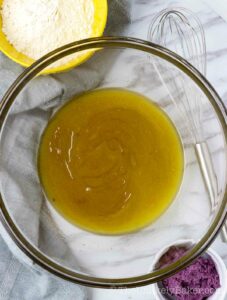
- Add the egg, ube jam and 2 tbsp ube extract and stir until combined.
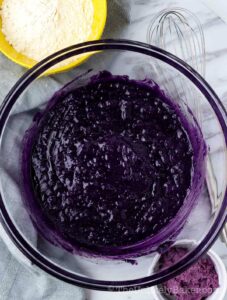
- Sift 2½ cups flour, 1 tsp baking powder and 1 tsp salt into your ube mixture and gently stir until no significant streaks of flour remain (do not over mix). The batter will be thick.
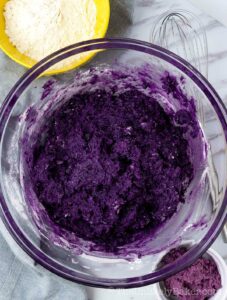
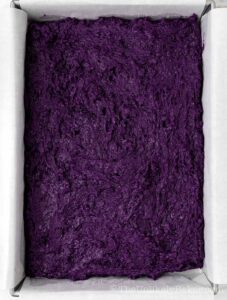
- Transfer into prepared pan and spread around evenly with a spatula.
- Top with your cream cheese mixture and try to spread around.
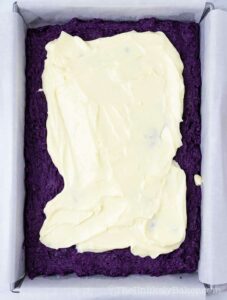
- Run a knife through the batter to create swirls and help further even out the cream cheese throughout the pan.
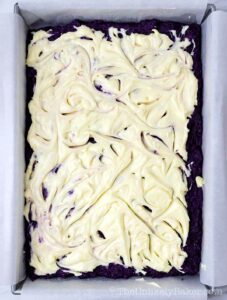
- Bake the ube cheesecake bars for 30-40 minutes or until a toothpick inserted in the middle comes out with minimal dry crumbs.
- Remove from oven, allow to cool completely in the pan on the counter, then chill in the fridge for 2-3 hours or overnight until set.
- Remove from pan then cut into bars and serve. You can serve ube cream cheese bars slightly chilled or at room temperature.
Video
Notes
- Yield depends on how big or small you slice your bars. These are very rich and fudgy; a little goes a long way.
- Not all ube jams are made the same. I make my own ube halaya and if you use that to make your ube cheesecake bars, you don’t need to change anything in the recipe. If you use a store-bought ube jam, I suggest to taste your ube mixture before adding in the egg so you can decide if you need more sugar, ube or both. Make sure to add sugar or ube in small increments.
- I’s better to under-bake than over-bake ube cheesecake bars. They will continue to cook in the pan.
- These bars are also delicious chilled.
- See post for complete step-by-step photos, lots of baking tips and FAQs.
Nutrition
Calories: 173kcal | Carbohydrates: 25g | Protein: 1g | Fat: 8g | Saturated Fat: 5g | Polyunsaturated Fat: 1g | Monounsaturated Fat: 2g | Trans Fat: 1g | Cholesterol: 21mg | Sodium: 99mg | Potassium: 37mg | Fiber: 1g | Sugar: 15g | Vitamin A: 237IU | Calcium: 14mg | Iron: 1mg
