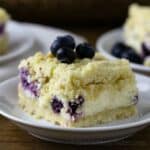
Blueberry Cream Cheese Bars
Blueberry cream cheese bars are your favorite blueberry cheesecake filling sandwiched between a buttery shortbread crust and crumble. Easy to make, perfect for sharing!
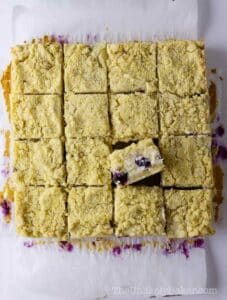
Servings: 16 bars
Calories: 260kcal
Equipment
Ingredients
Shortbread Crust and Crumble
- 3 cups all-purpose flour
- 1 cup unsalted butter room temperature
- ½ cup granulated sugar
- 2 egg yolks from large eggs room temperature
- ¼ tsp salt
- 1 tsp vanilla extract
Blueberry Cheesecake Filling
- 2 8-oz blocks cream cheese softened
- ½ cup granulated sugar
- 1 tsp vanilla extract
- 2 large eggs room temperature
- 1½ cups fresh blueberries washed and dried
Instructions
- Preheat your oven to 350F. Line a 9x9 inch baking pan with parchment paper with an overhang on each side. Set aside.
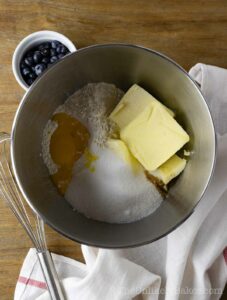
- In a bowl using a handheld electric mixer or using a stand mixer fitted with the paddle attachment, beat crust ingredients until incorporated and resembling a coarse meal.3 cups all-purpose flour, 1 cup unsalted butter, ½ cup granulated sugar, 2 egg yolks from large eggs, ¼ tsp salt, 1 tsp vanilla extract
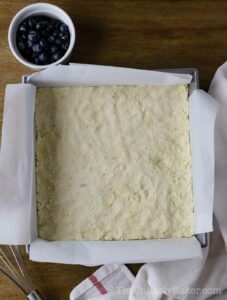
- Transfer half of your mixture to your prepared pan and press firmly to the bottom using your hands or the back of a spoon. Make sure to really pack it in and to get to all the corners. Set aside the other half of your dough for the crumble.
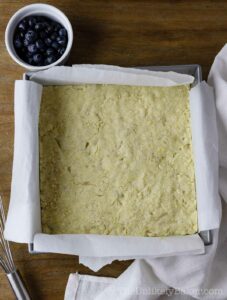
- Bake the crust for 10-15 minutes or until it turns a light golden brown. Remove from oven and allow to cool. Keep the oven on but lower the temperature to 325F.
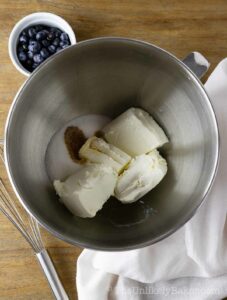
- In a bowl using a handheld electric mixer or using a stand mixer fitted with the paddle attachment, beat cream cheese, sugar and vanilla on low medium speed until smooth (about 2 minutes).2 8-oz blocks cream cheese, ½ cup granulated sugar, 1 tsp vanilla extract
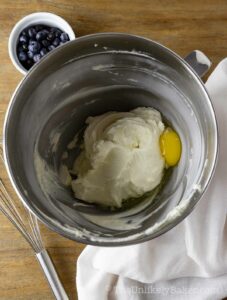
- Add eggs to your cream cheese mixture one at a time, beating well after each addition.2 large eggs
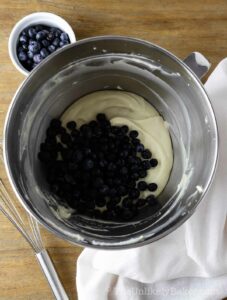
- Fold blueberries until evenly blended.1½ cups fresh blueberries
- Pour your blueberry mixture cream cheese filling on top of your crust and spread evenly.

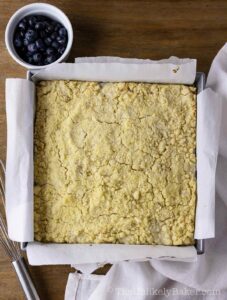
- Place the rest of your shortbread mixture on top. Make sure to cover the top of your cheesecake completely.
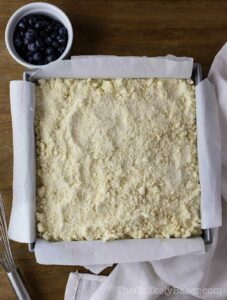
- Bake for 30-40 minutes or until the top turns a light golden brown.
- Chill the cheesecake bars for at least 3 hours before serving.
Video
Notes
- You can use frozen blueberries but make sure to get rid of excess moisture as much as you can. So after thawing, lay them out on a paper towel or tea towel to dry.
- Similarly, if using fresh blueberries, lay them out on a paper towel after washing to get rid of excess water.
- See the post for more baking tips, FAQs and step-by-step photos.
Nutrition
Calories: 260kcal | Carbohydrates: 33g | Protein: 4g | Fat: 13g | Saturated Fat: 8g | Polyunsaturated Fat: 1g | Monounsaturated Fat: 3g | Trans Fat: 0.5g | Cholesterol: 75mg | Sodium: 48mg | Potassium: 50mg | Fiber: 1g | Sugar: 14g | Vitamin A: 426IU | Vitamin C: 1mg | Calcium: 14mg | Iron: 1mg