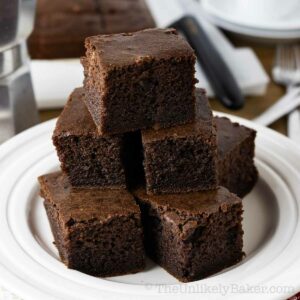
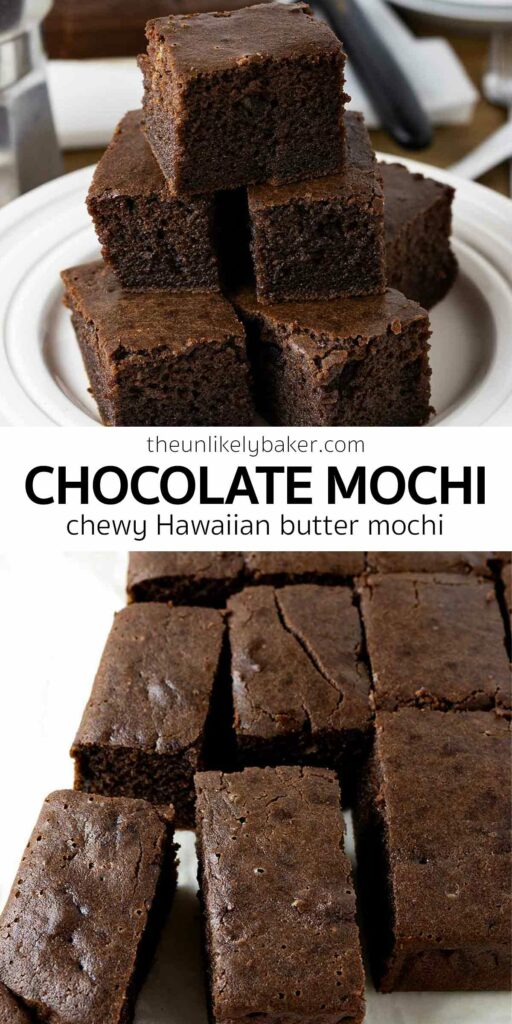
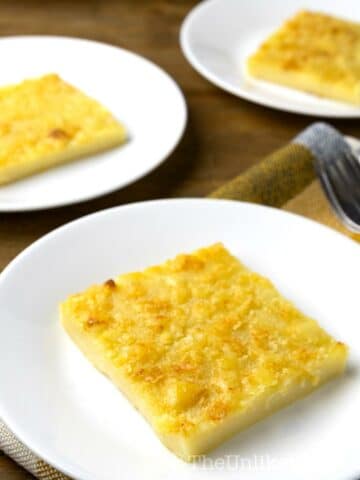
Chocolate butter mochi is soft and chewy, so chocolatey, and very easy to make. Perfect for potlucks, in lunch boxes, as an after-school snack, a light dessert, as holiday gifts, and more.
(Looking for classic butter mochi? Try these mochi muffins!)
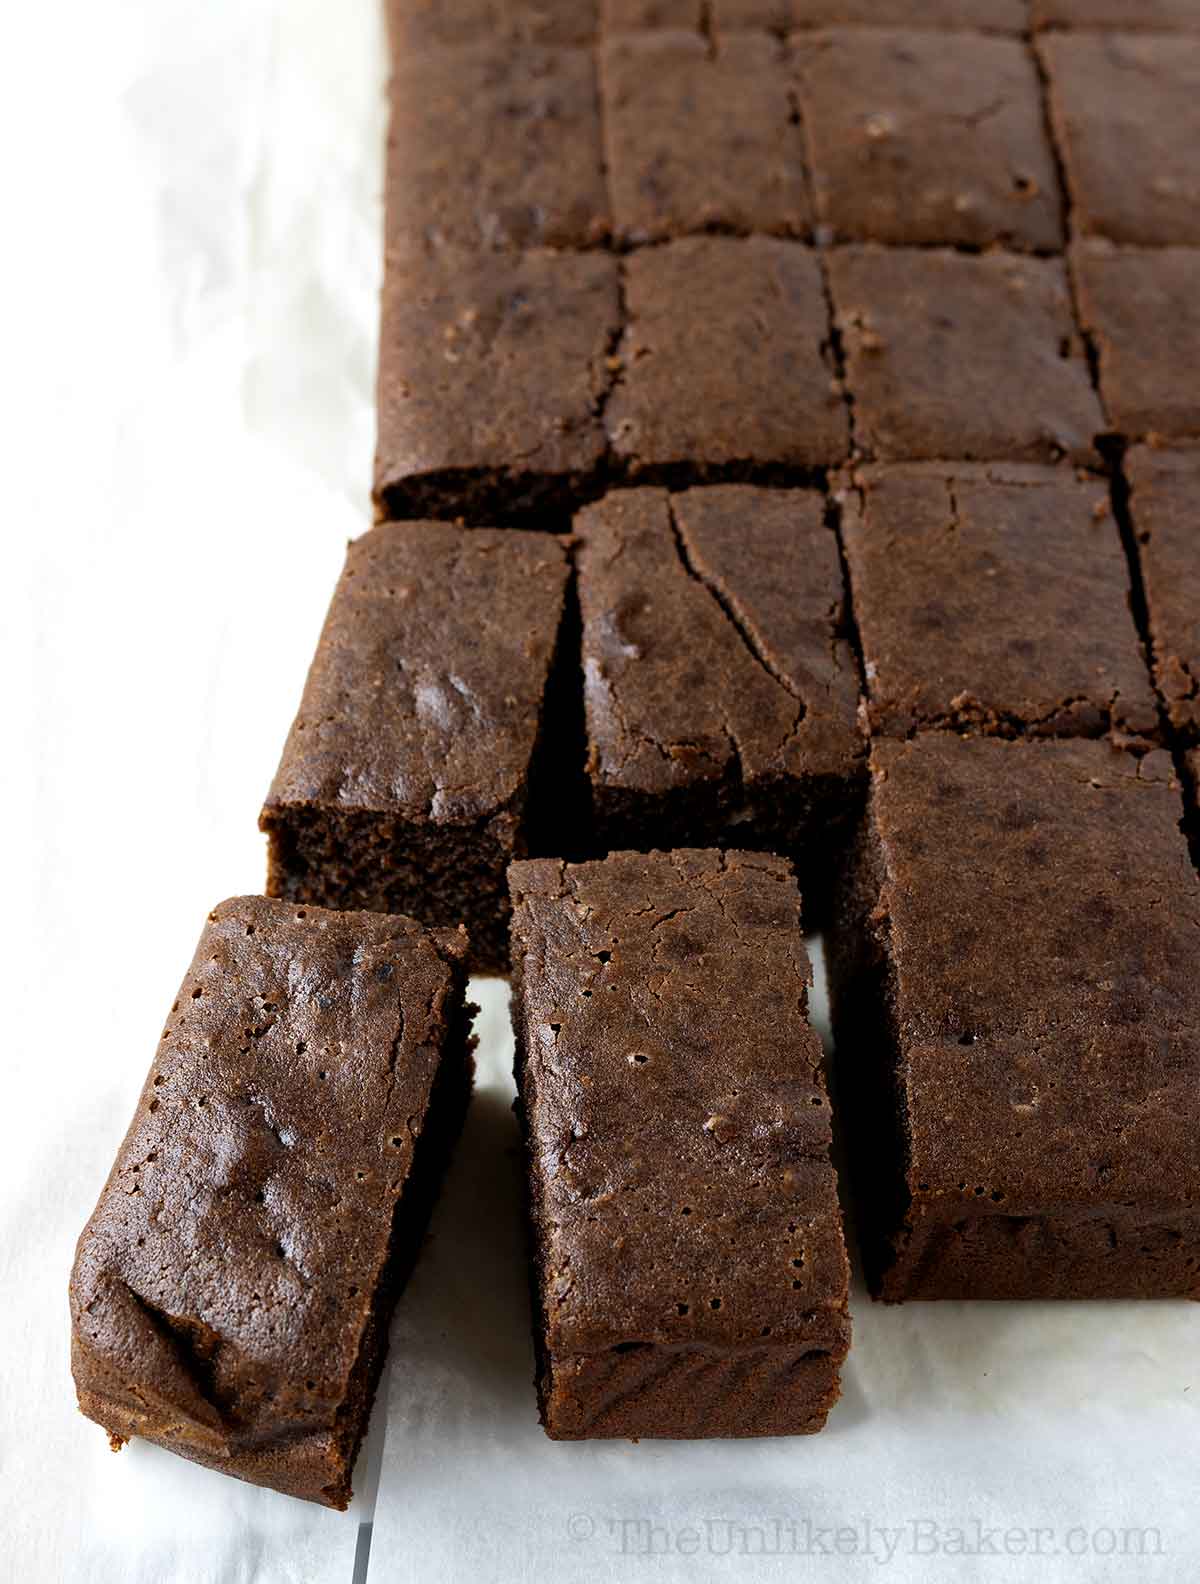
I find myself absolutely obsessed with butter mochi. They’re super easy to make and very hard to mess up.
So far I’m loving ube mochi, pumpkin mochi and espasol (the Filipino mochi version). And today, we have chocolate mochi, which is another delicious variation.
Let’s get to it.
Why you’ll love mochi chocolate
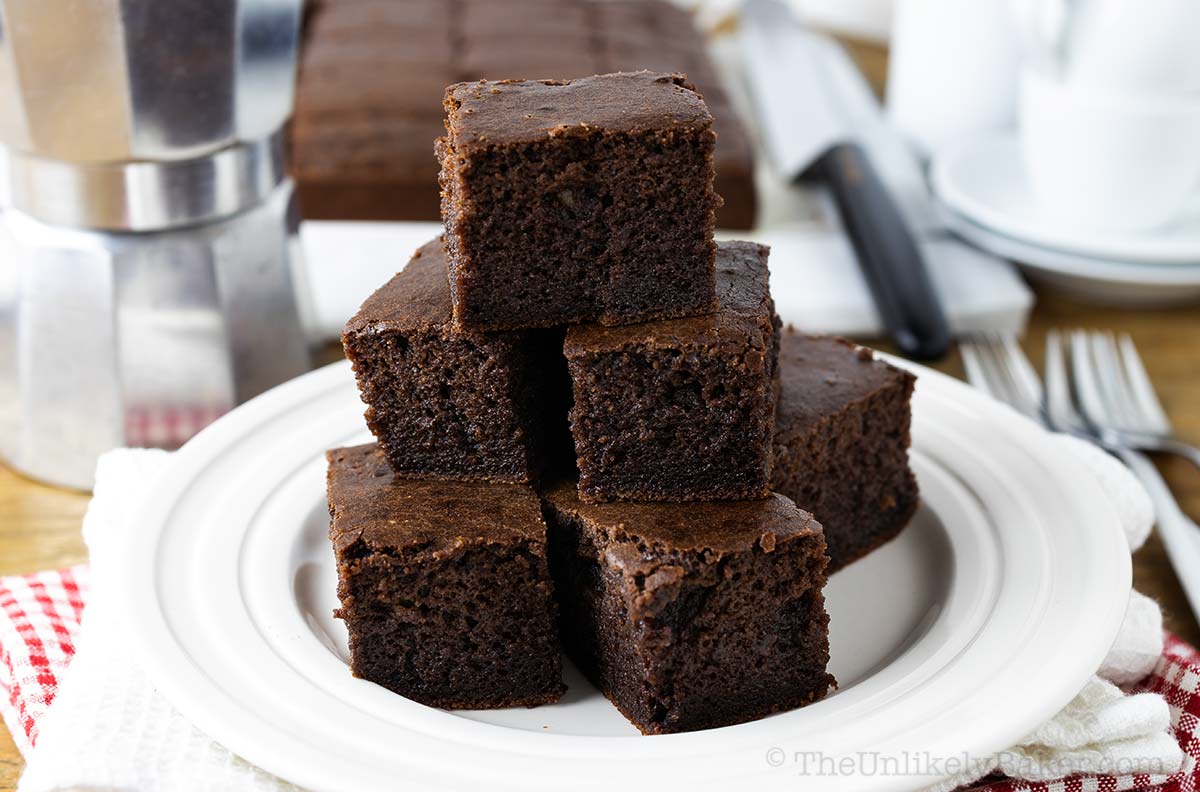
I suppose the question should be, what’s not to love lol?
- Easy to make. You only need 1 bowl, there’s no chance of over-mixing, this recipe is a winner every time.
- Chocolatey. It’s also big on chocolate flavor. Not too sweet, perfectly chewy, you won’t be able to stop at just one!
- Makes a big batch. And the recipe makes up to 36 bars so it’s perfect for potlucks, picnics, holiday get-togethers and more.
Love chocolate? You’ll love these triple chocolate muffins and this chocolate overload cake!
How to make chocolate mochi
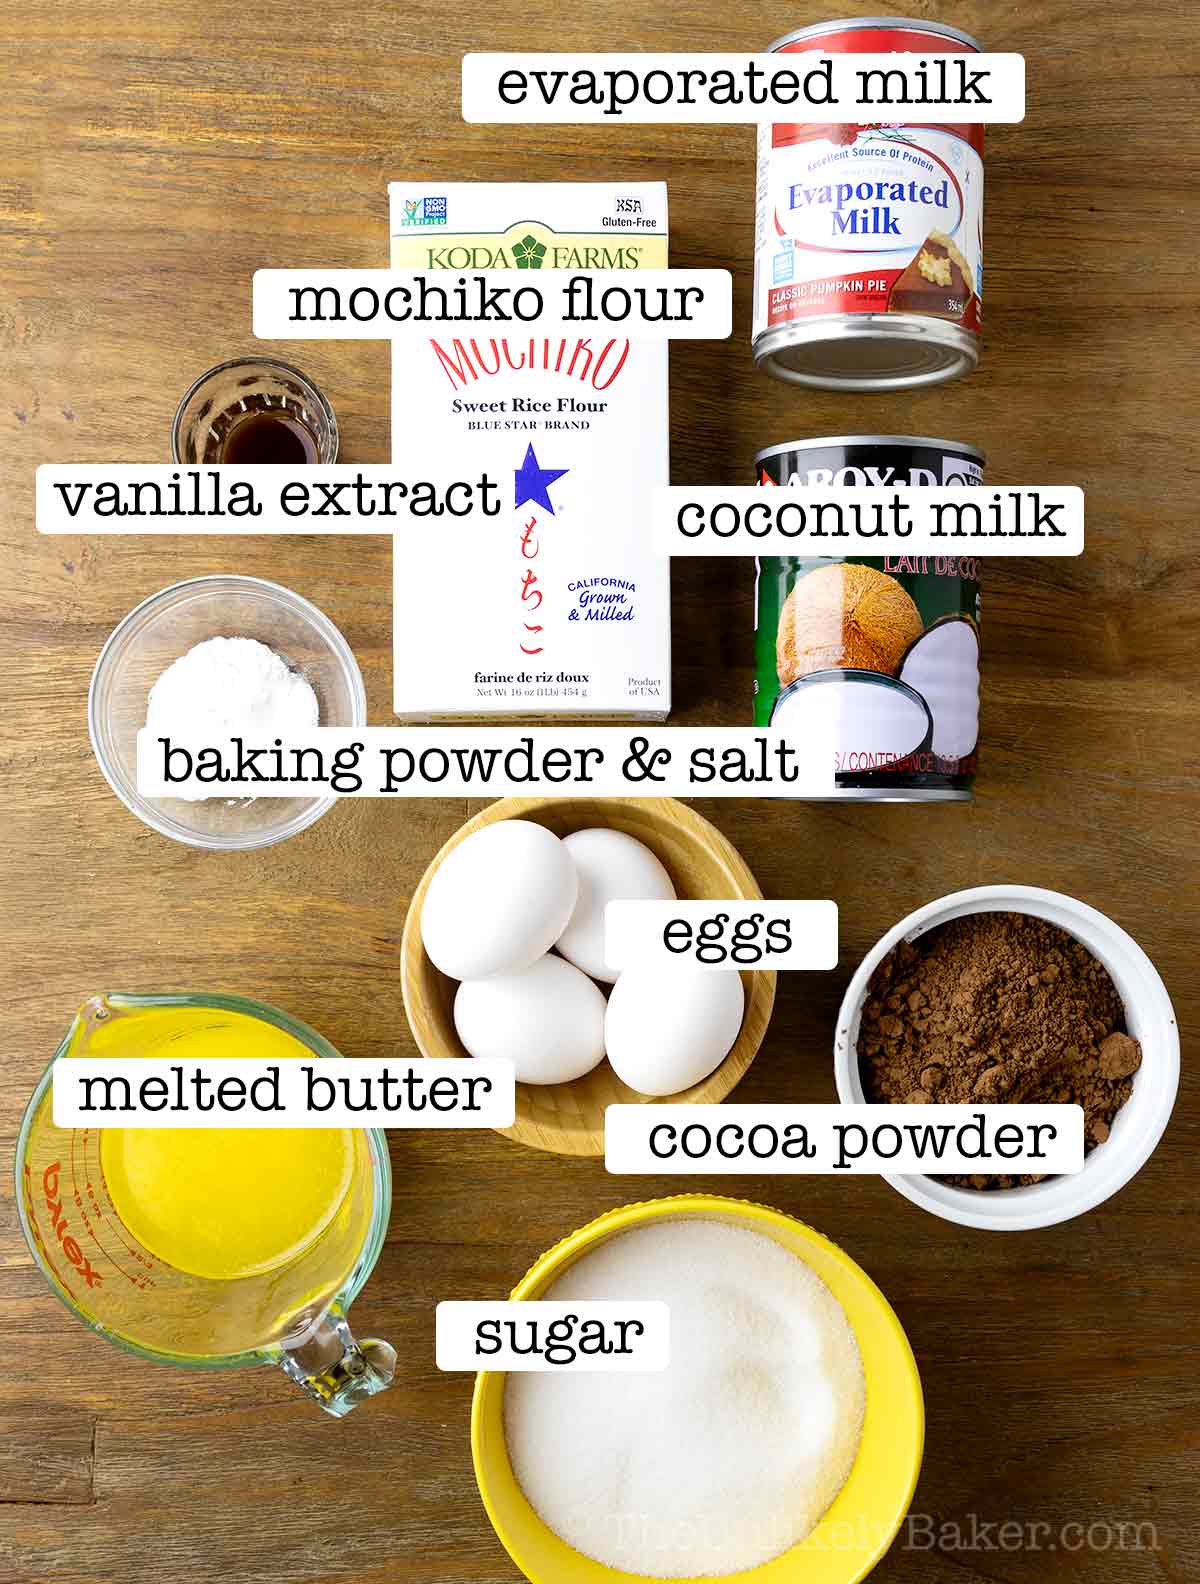
To make this chocolate butter mochi recipe, all you’ll need to do is combine all ingredients together and bake. It’s that easy.
Ingredients
You’ll need pantry staples like butter, sugar, eggs and baking powder. A few things to note about the other ingredients:
- Mochiko flour — while any brand of glutinous rice flour can work (sometimes also called sweet rice flour), I’ve had the best results using Mochiko. You can find it in the international aisle of your supermarket, in Asian grocery stores and in Amazon.
- Evaporated milk — you’ll want to use full-fat evaporated milk for the richest and creamiest texture.
- Coconut milk — also best to use full-fat coconut milk. And make sure you’re using coconut milk and not coconut cream. I’ve found that coconut cream makes the mochi very oily.
- Cocoa powder — if you can, use Dutch-processed cocoa powder for a more intense chocolate flavor.
Baking tools
You’ll need the following baking tools:
- 9×13 inch baking pan
- Electric hand mixer — you can choose to mix the batter by hand but I like using my mixer for the smoothest mixture. And happily, since glutinous rice flour is actually gluten-free, there’s no risk of over-mixing the batter.
- Sharp knife or bench scraper — to slice the baked mochi
Step-by-step photos
Preheat your oven to 350F. Line a 9×13 inch baking pan with parchment paper and set aside.
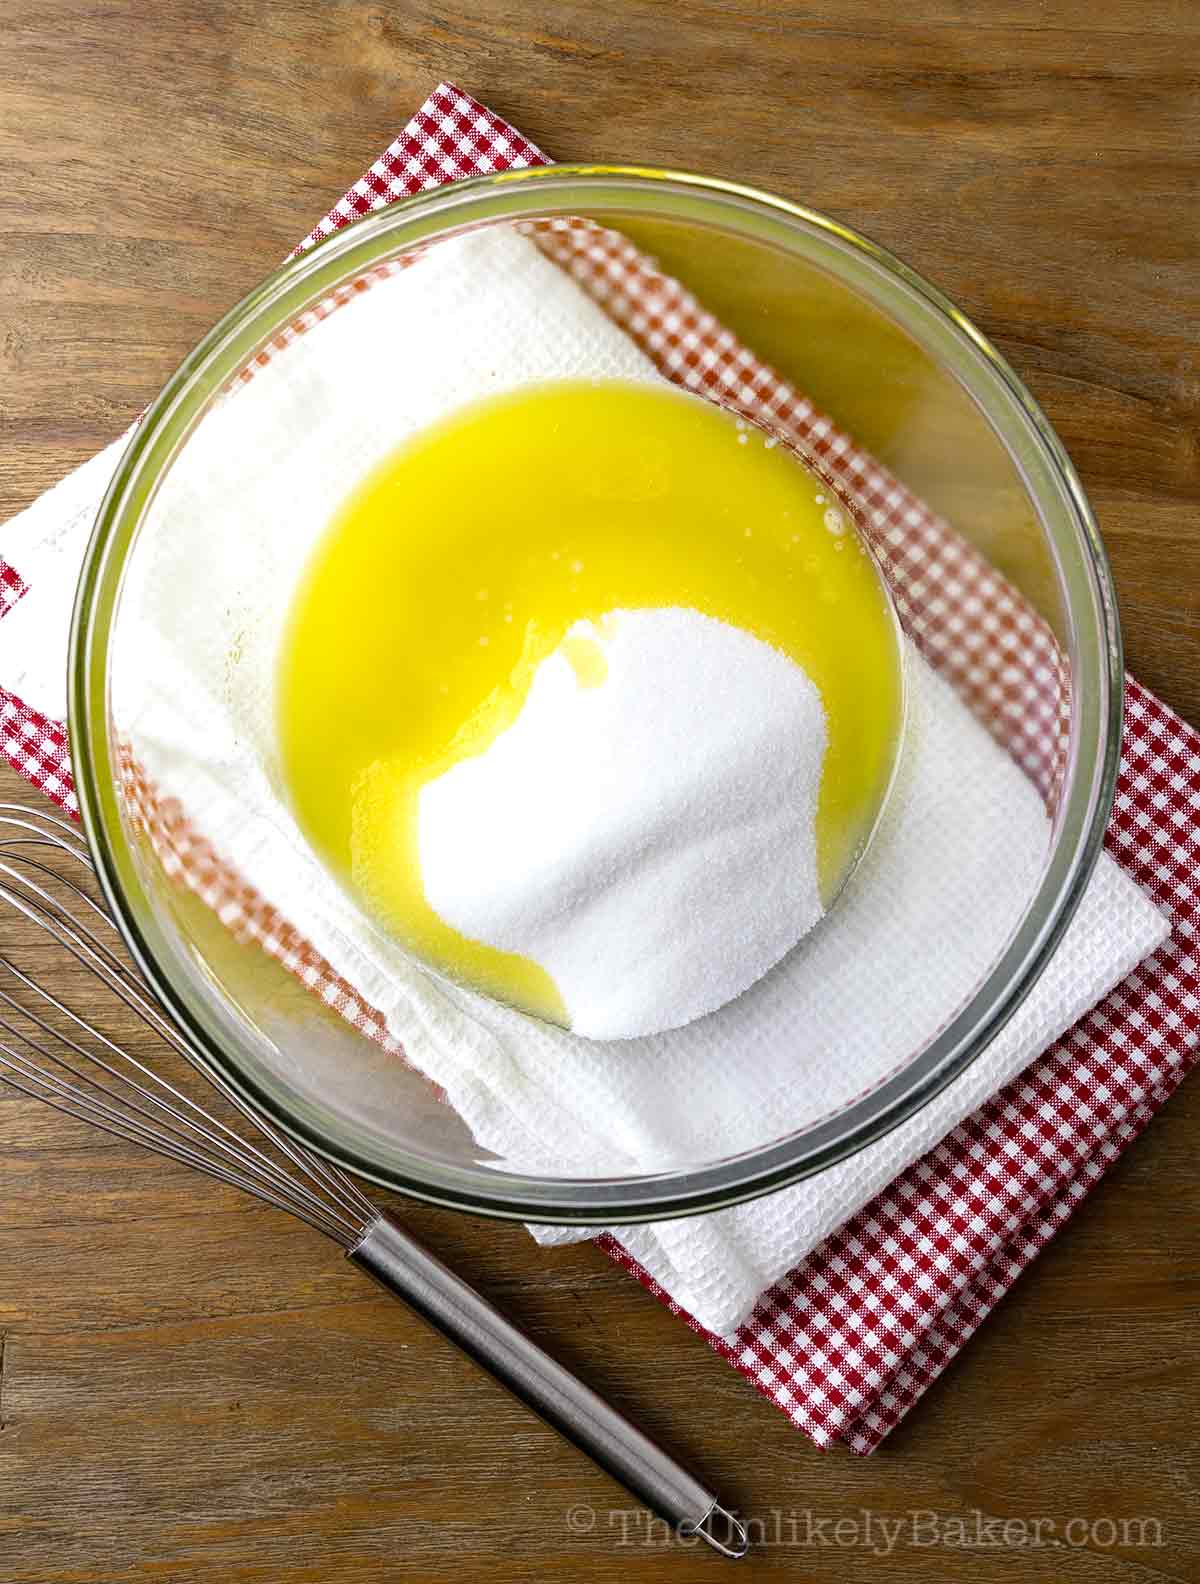
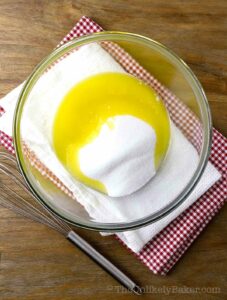
Place melted butter and sugar in a large bowl.
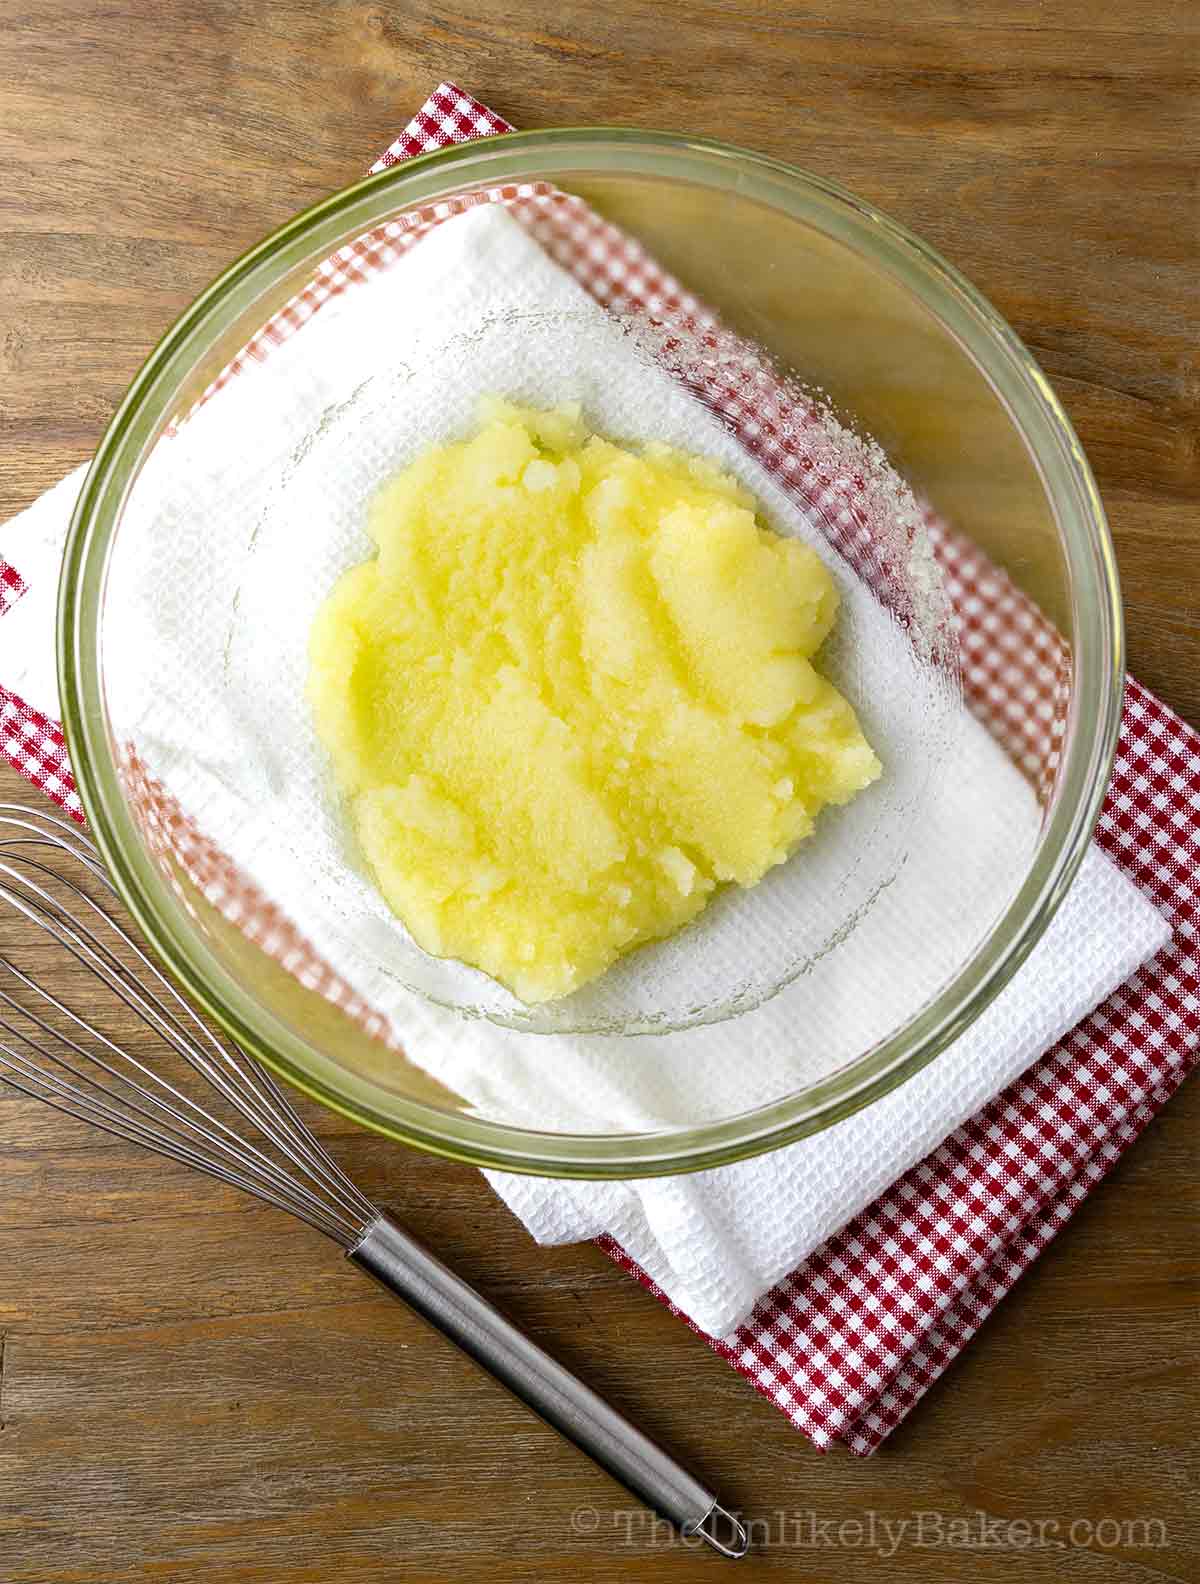
Mix until combined.
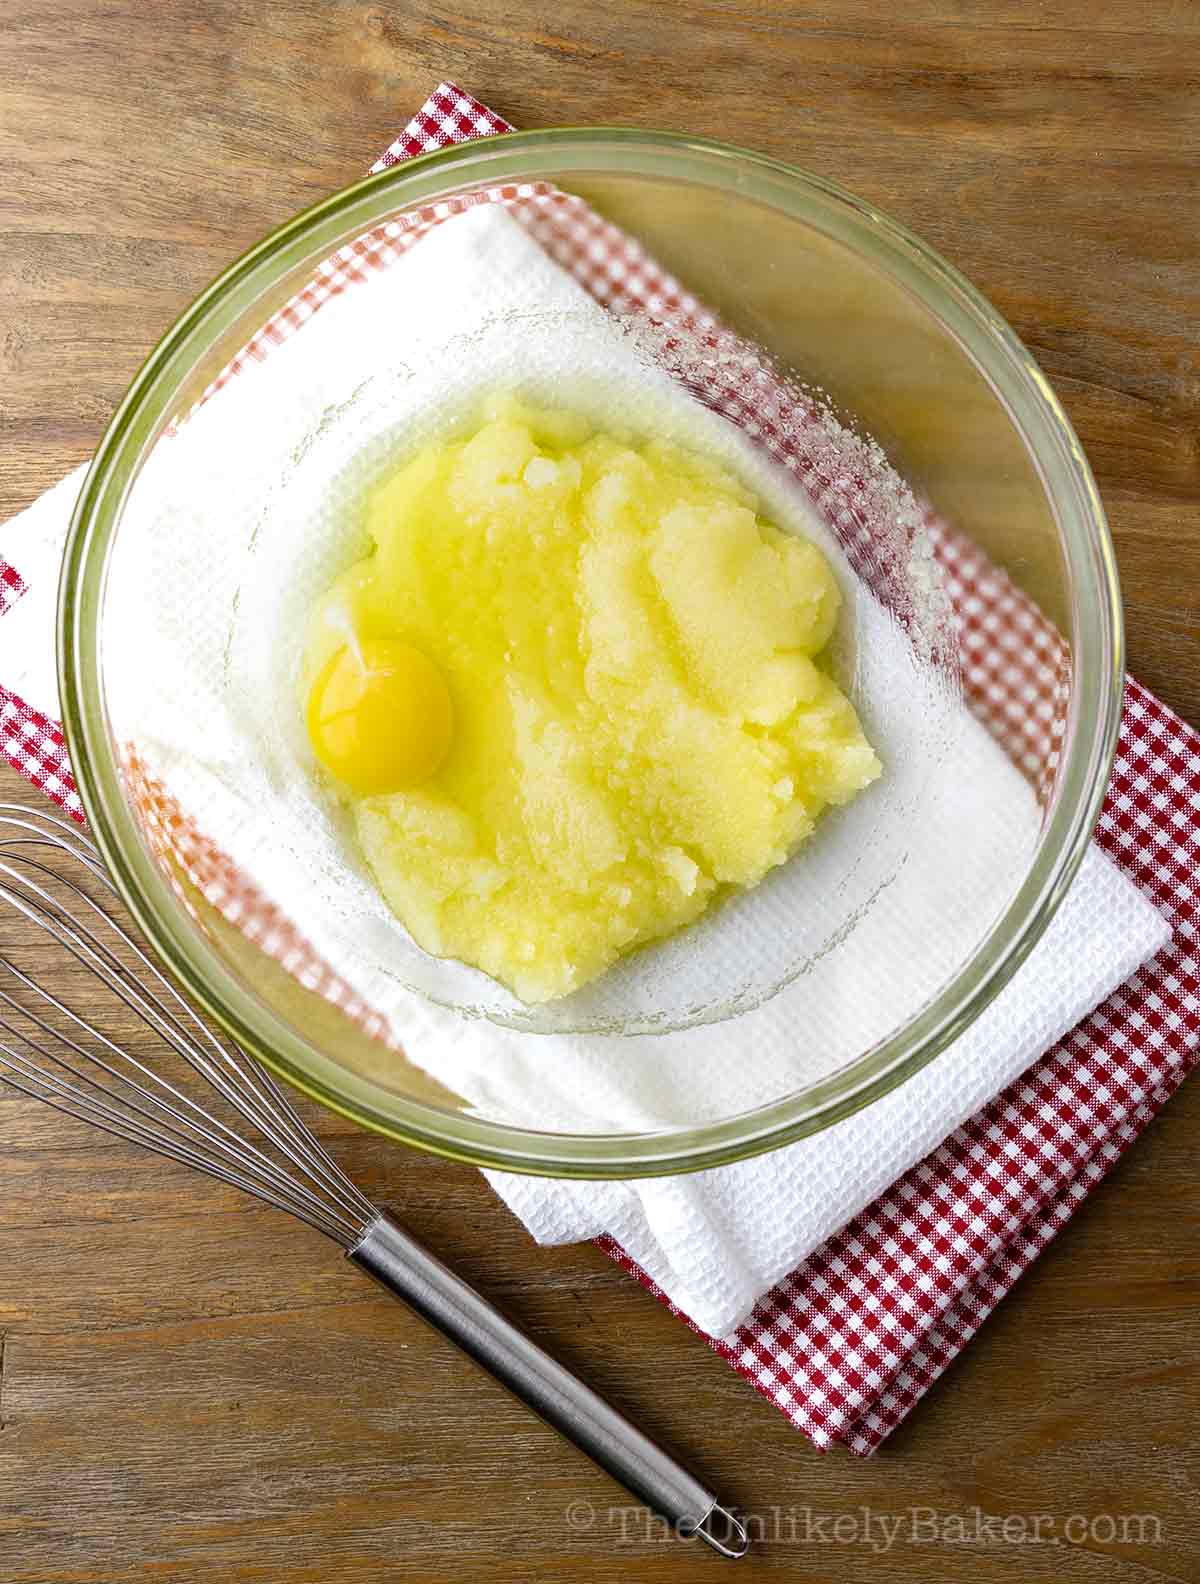
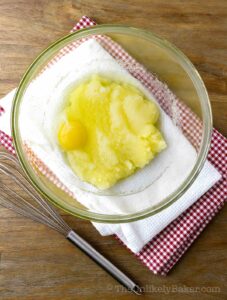
Add eggs one a time.

Ensure each addition is incorporated well.
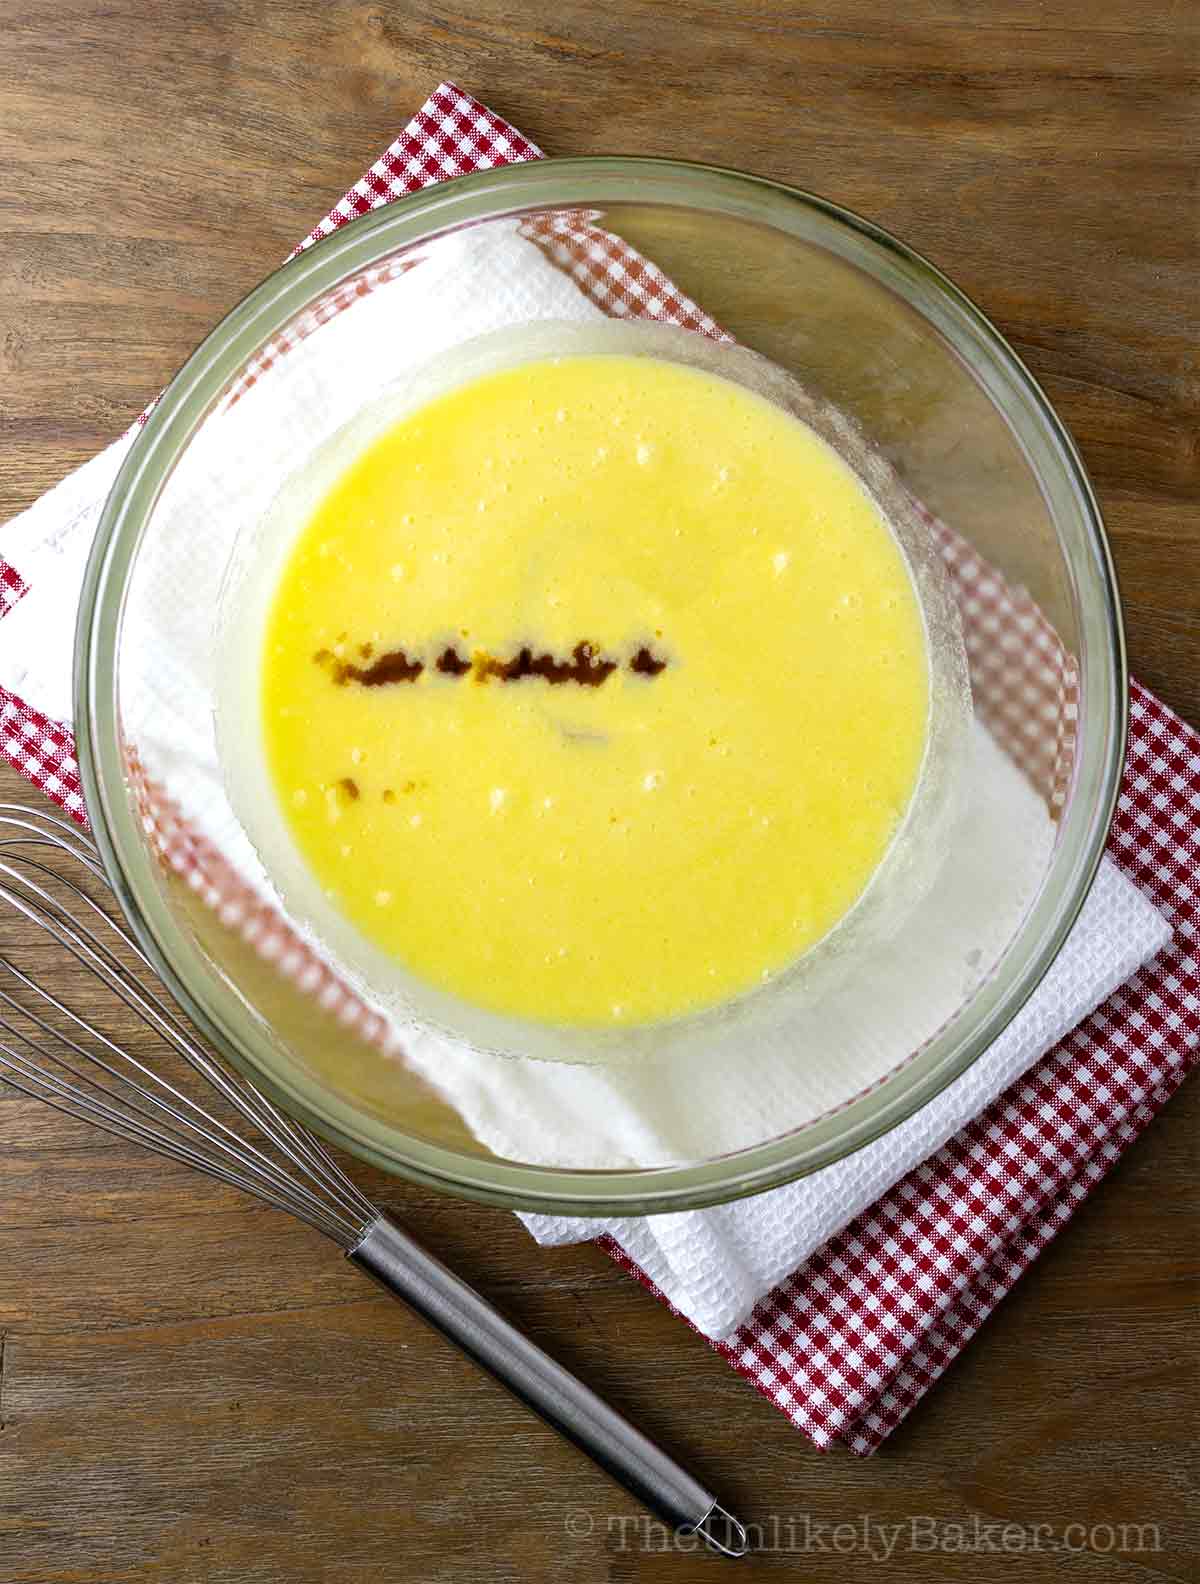
Add vanilla extract.
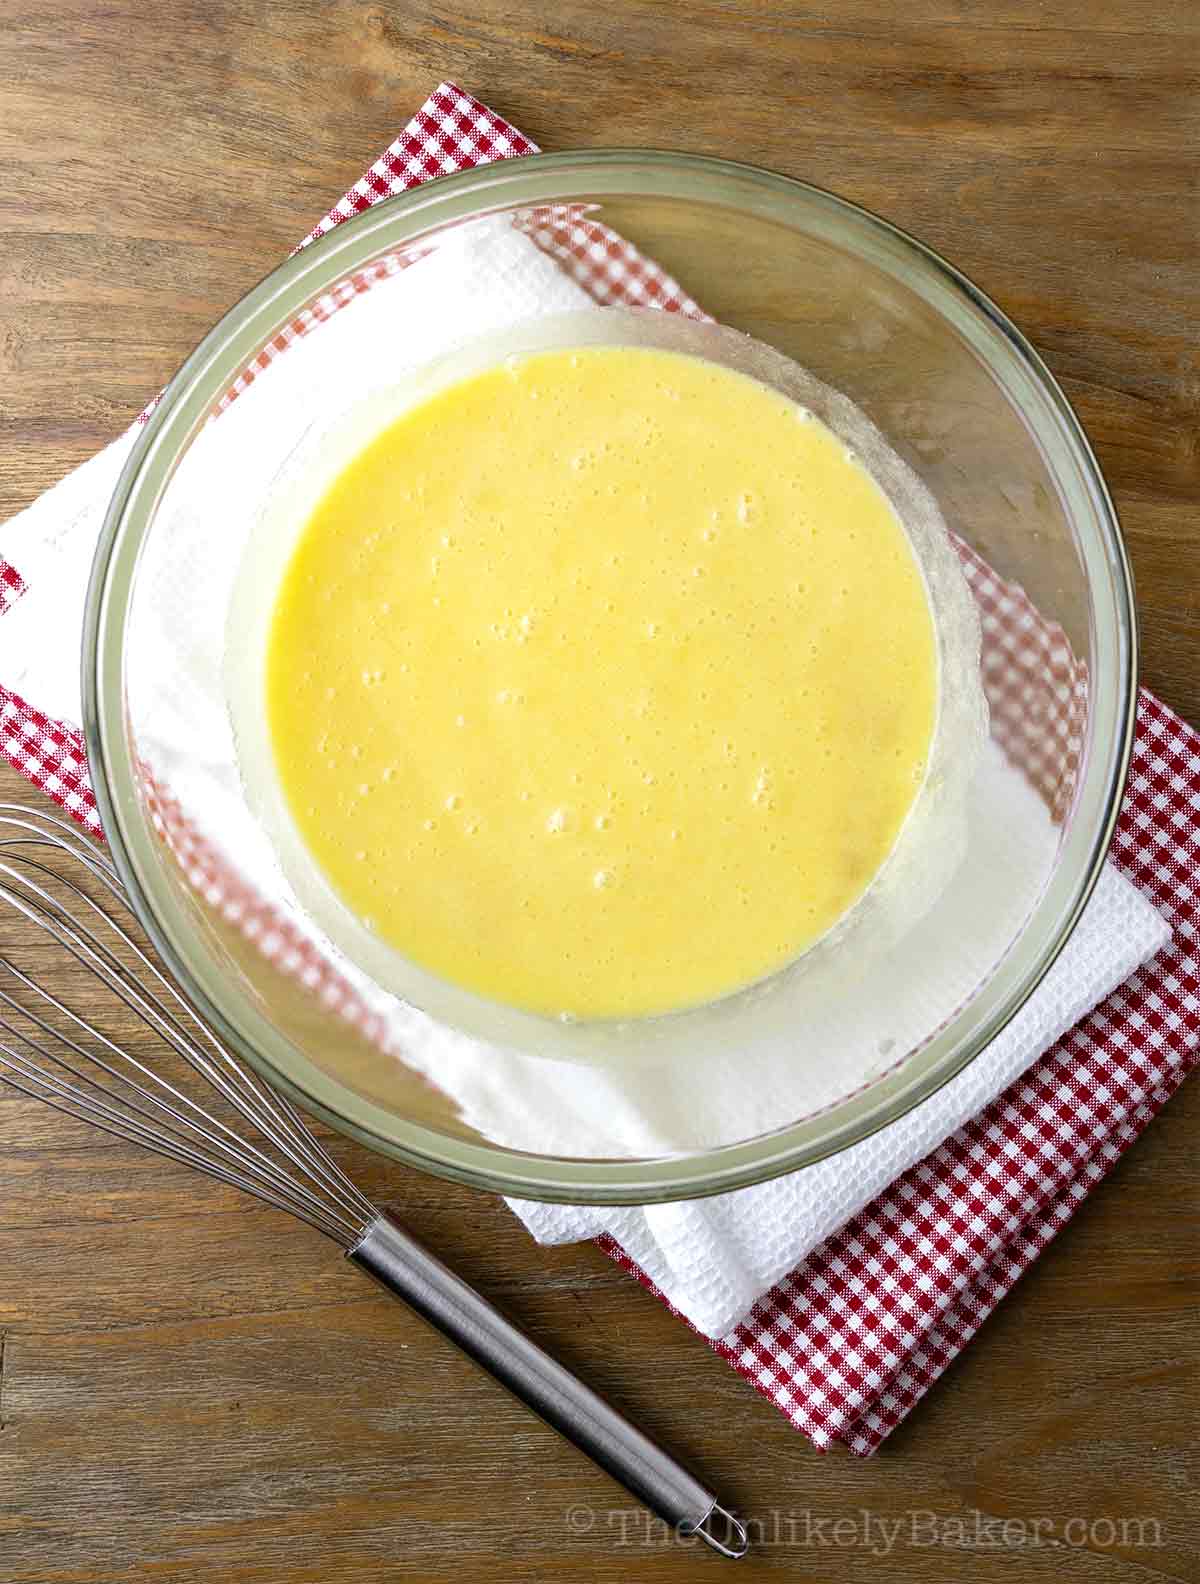
Stir until evenly blended.
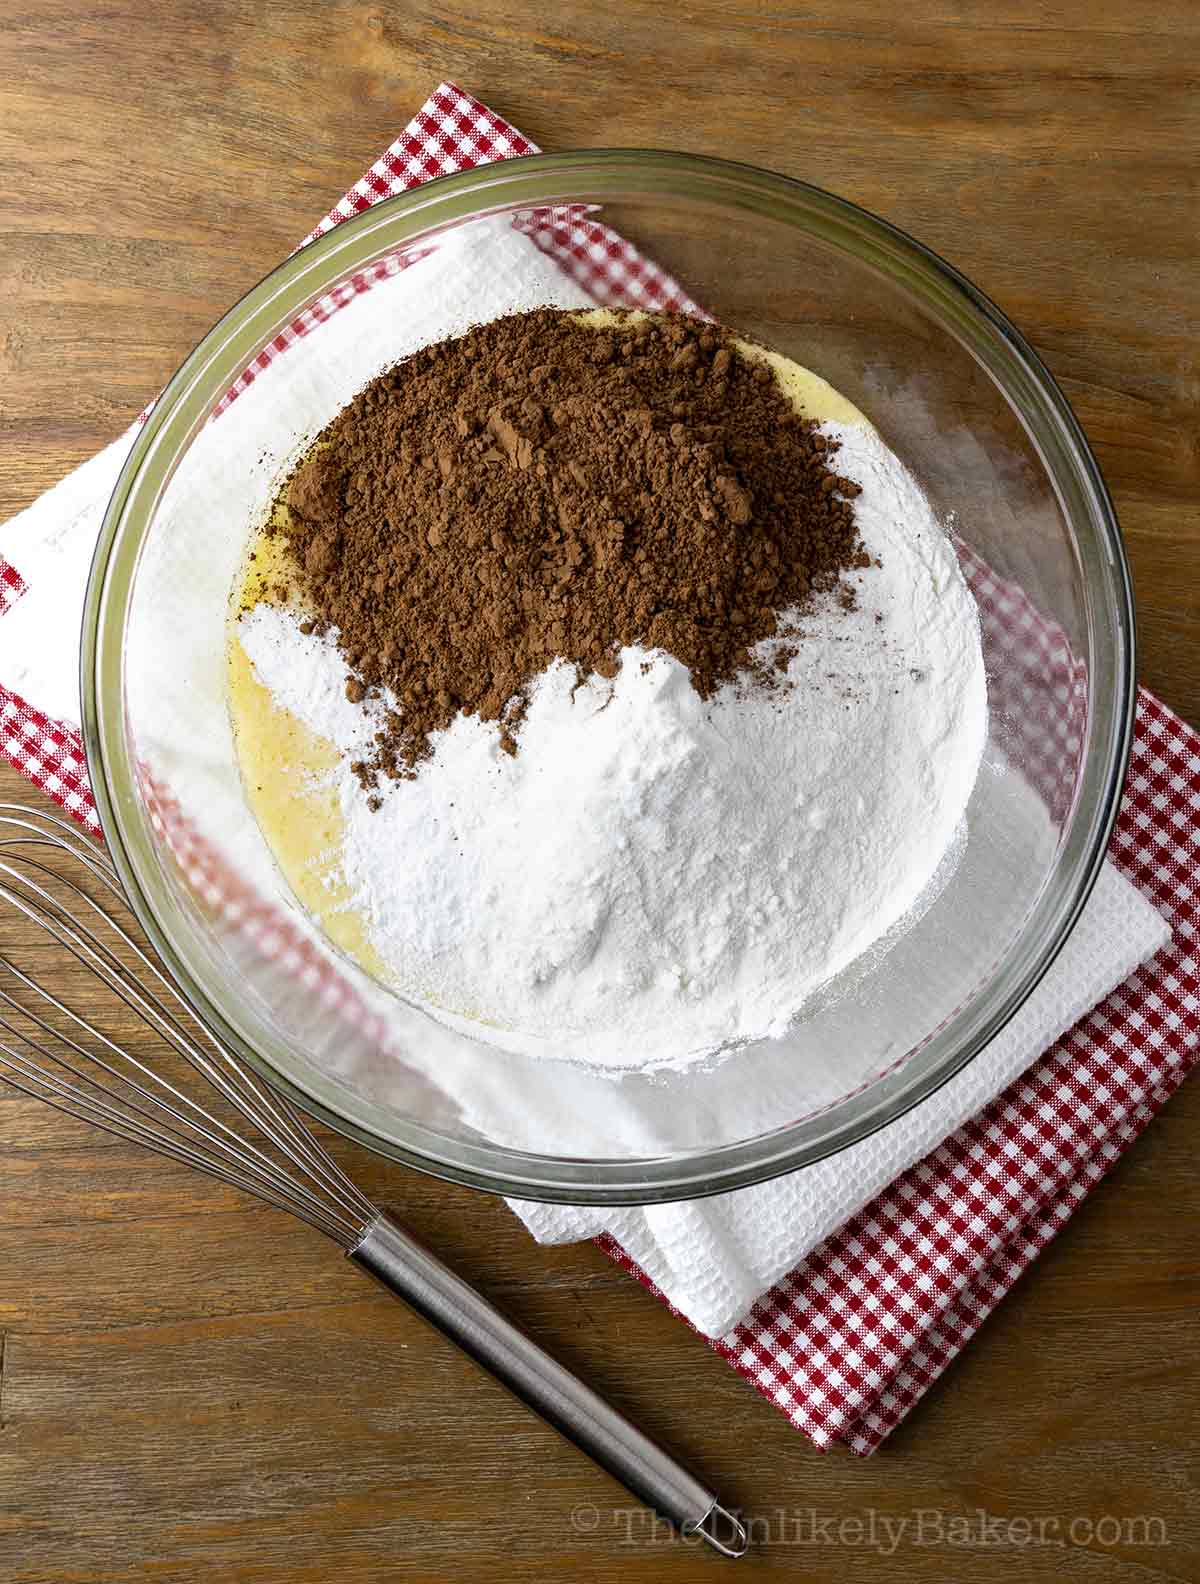
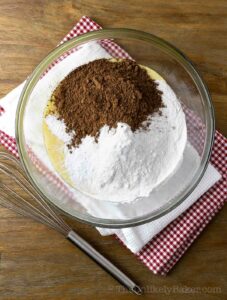
Add mochiko, cocoa powder, salt and baking powder to your wet ingredients.
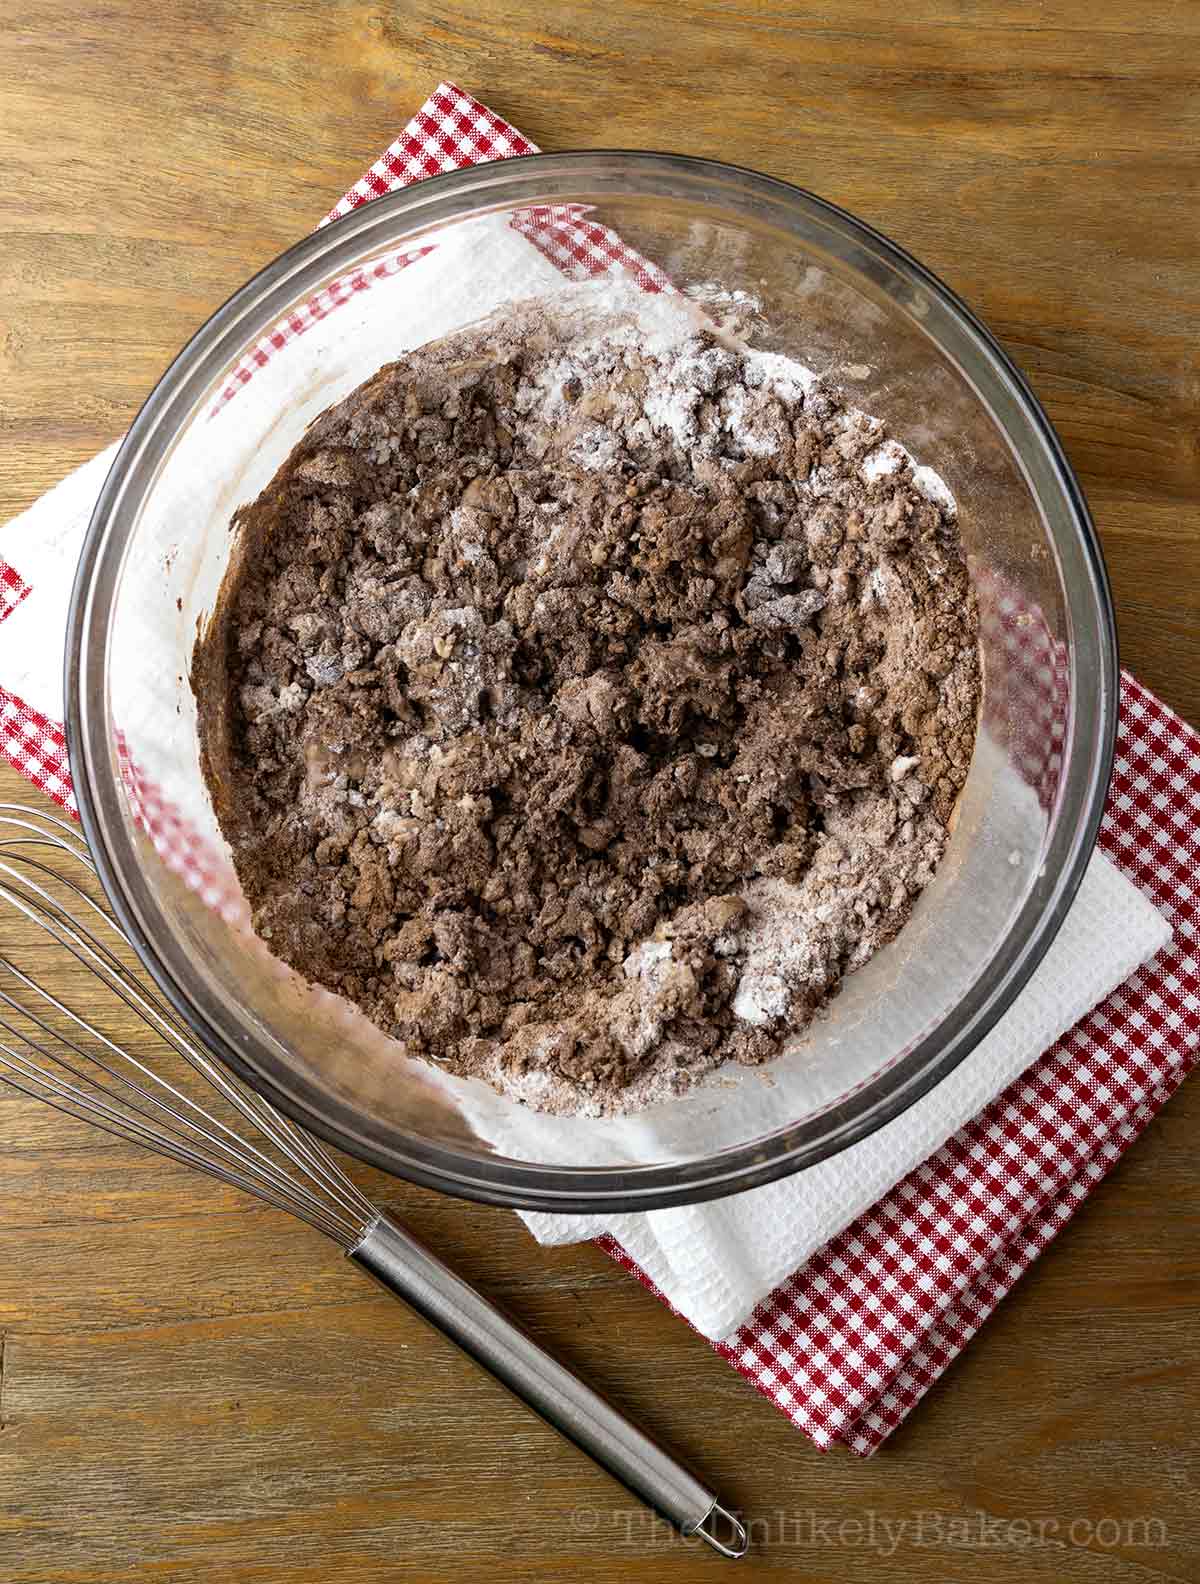
Stir until about 80-90% combined.
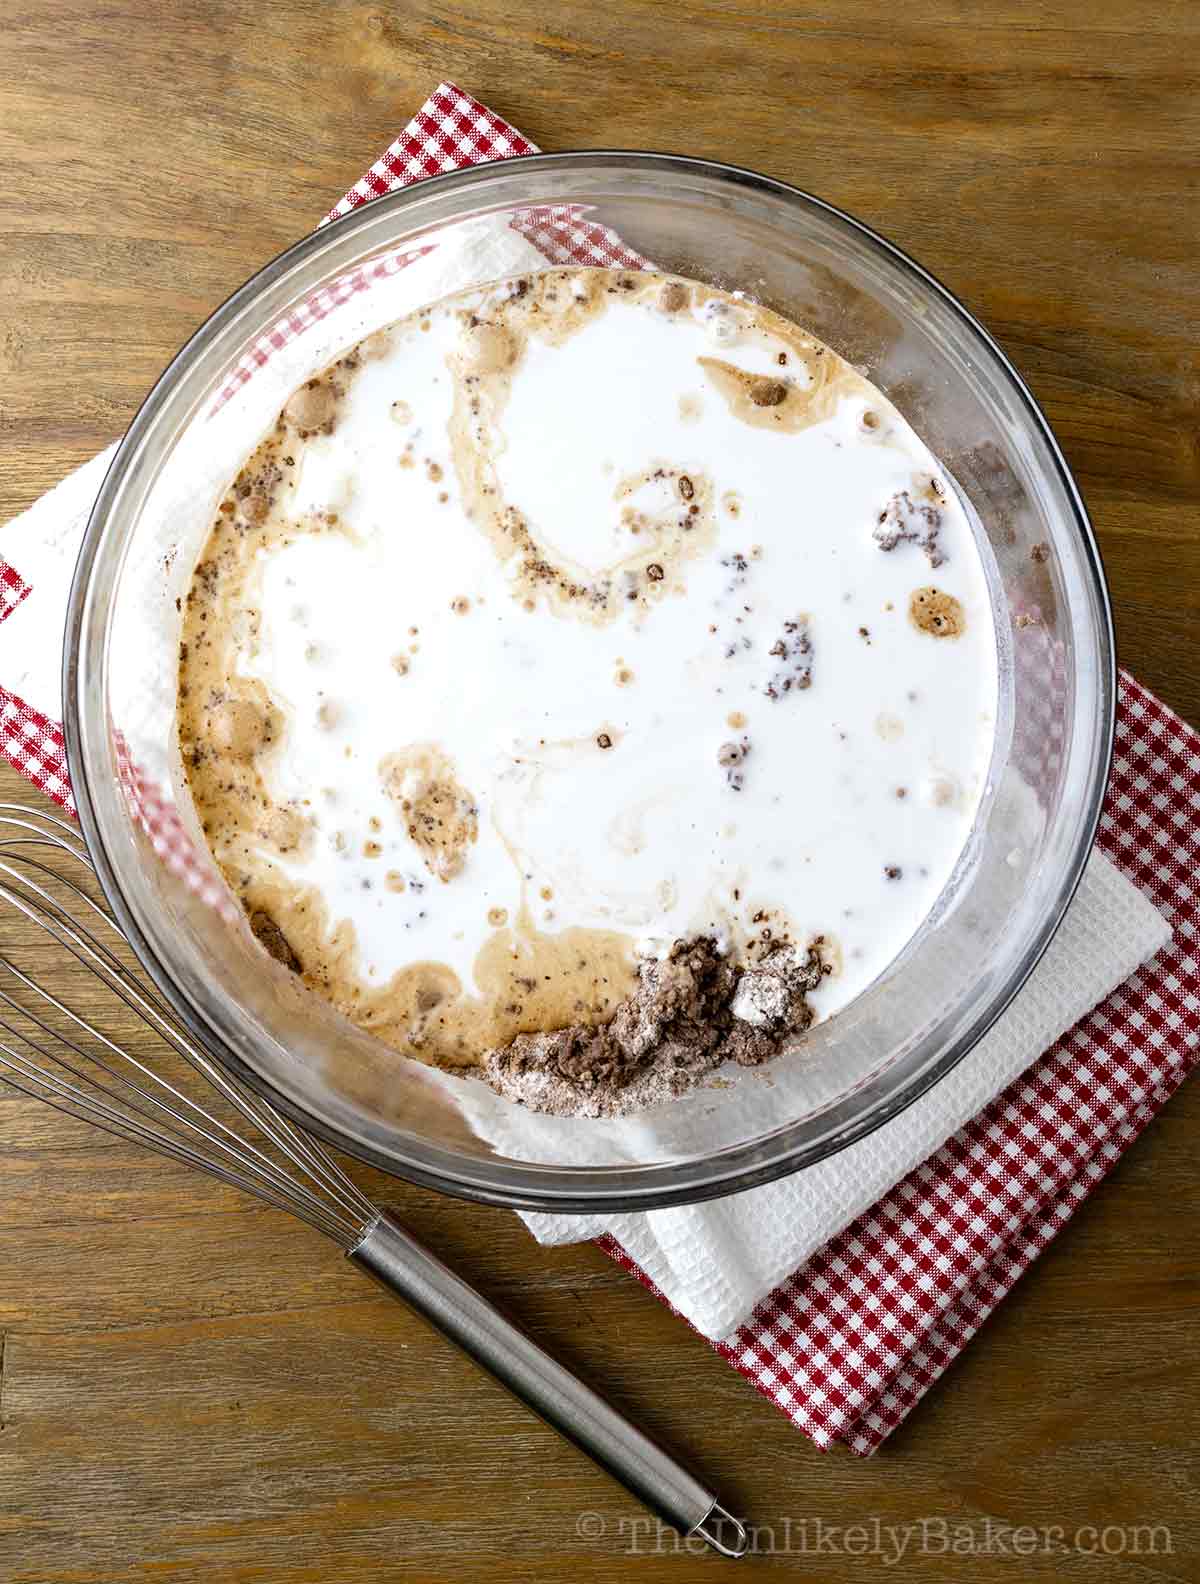
Add evaporated milk and coconut milk.
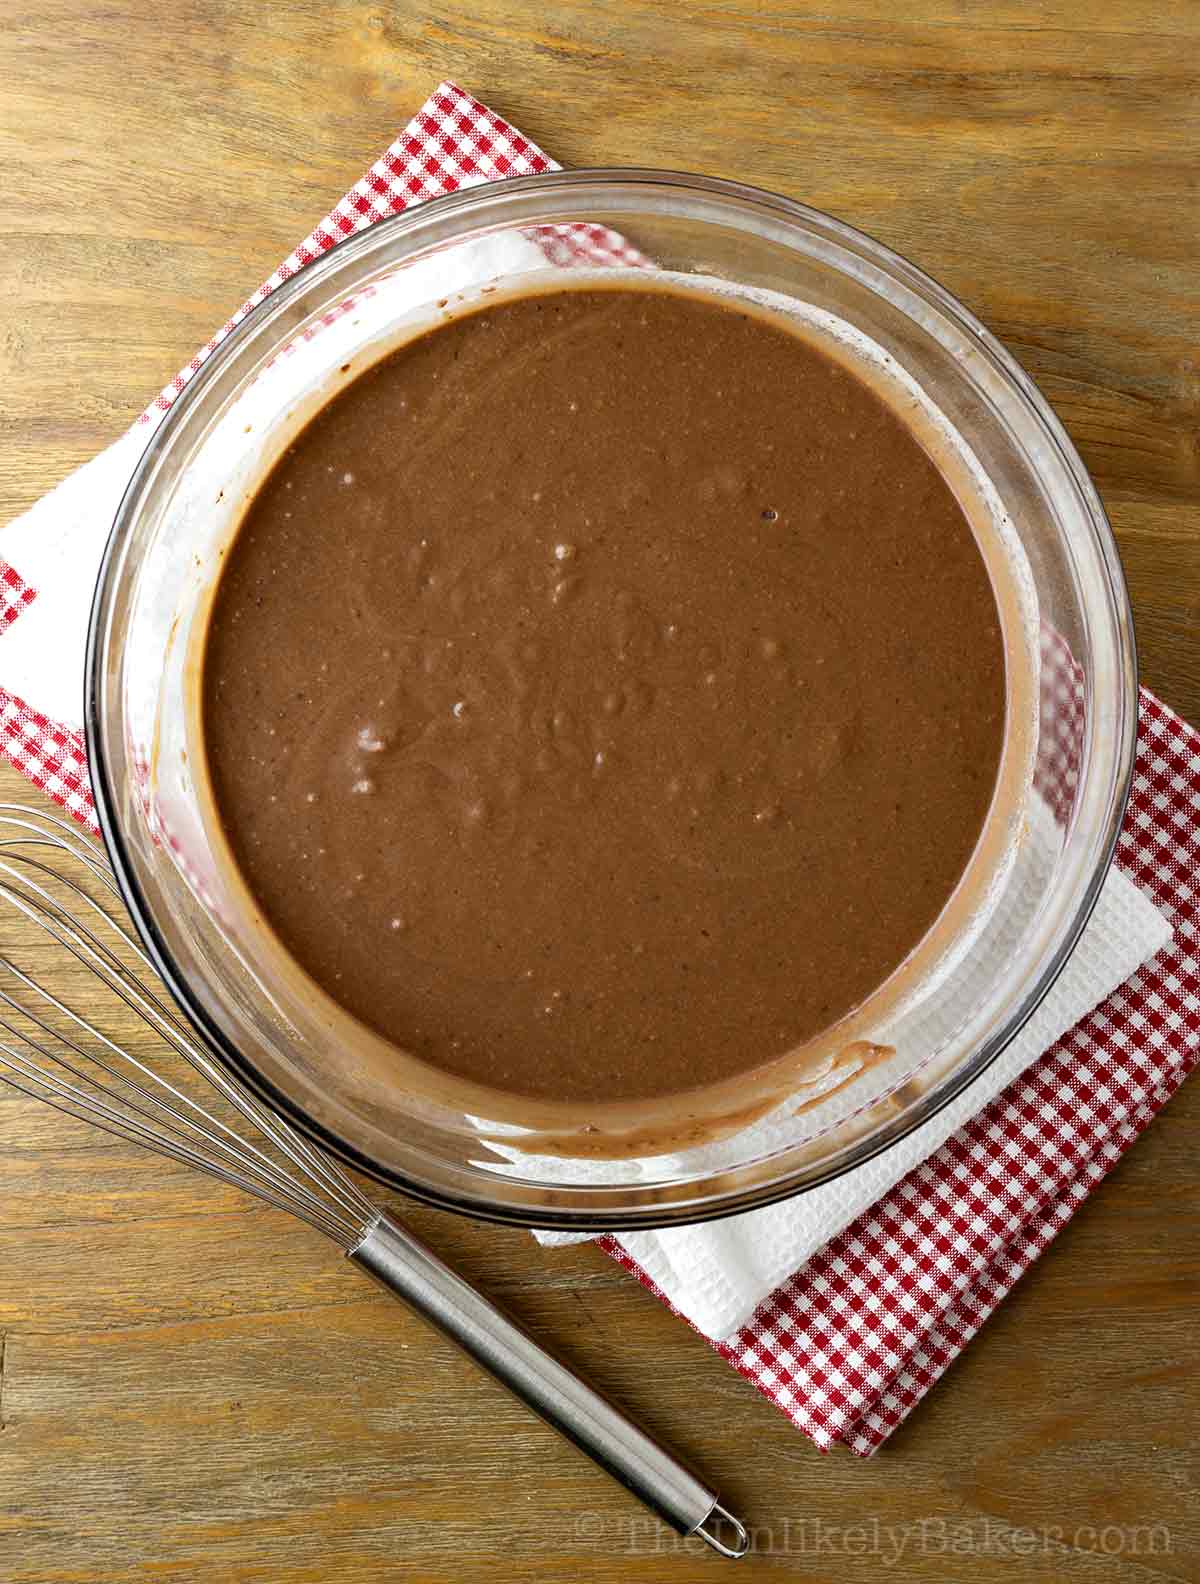
Stir until incorporated and smooth.
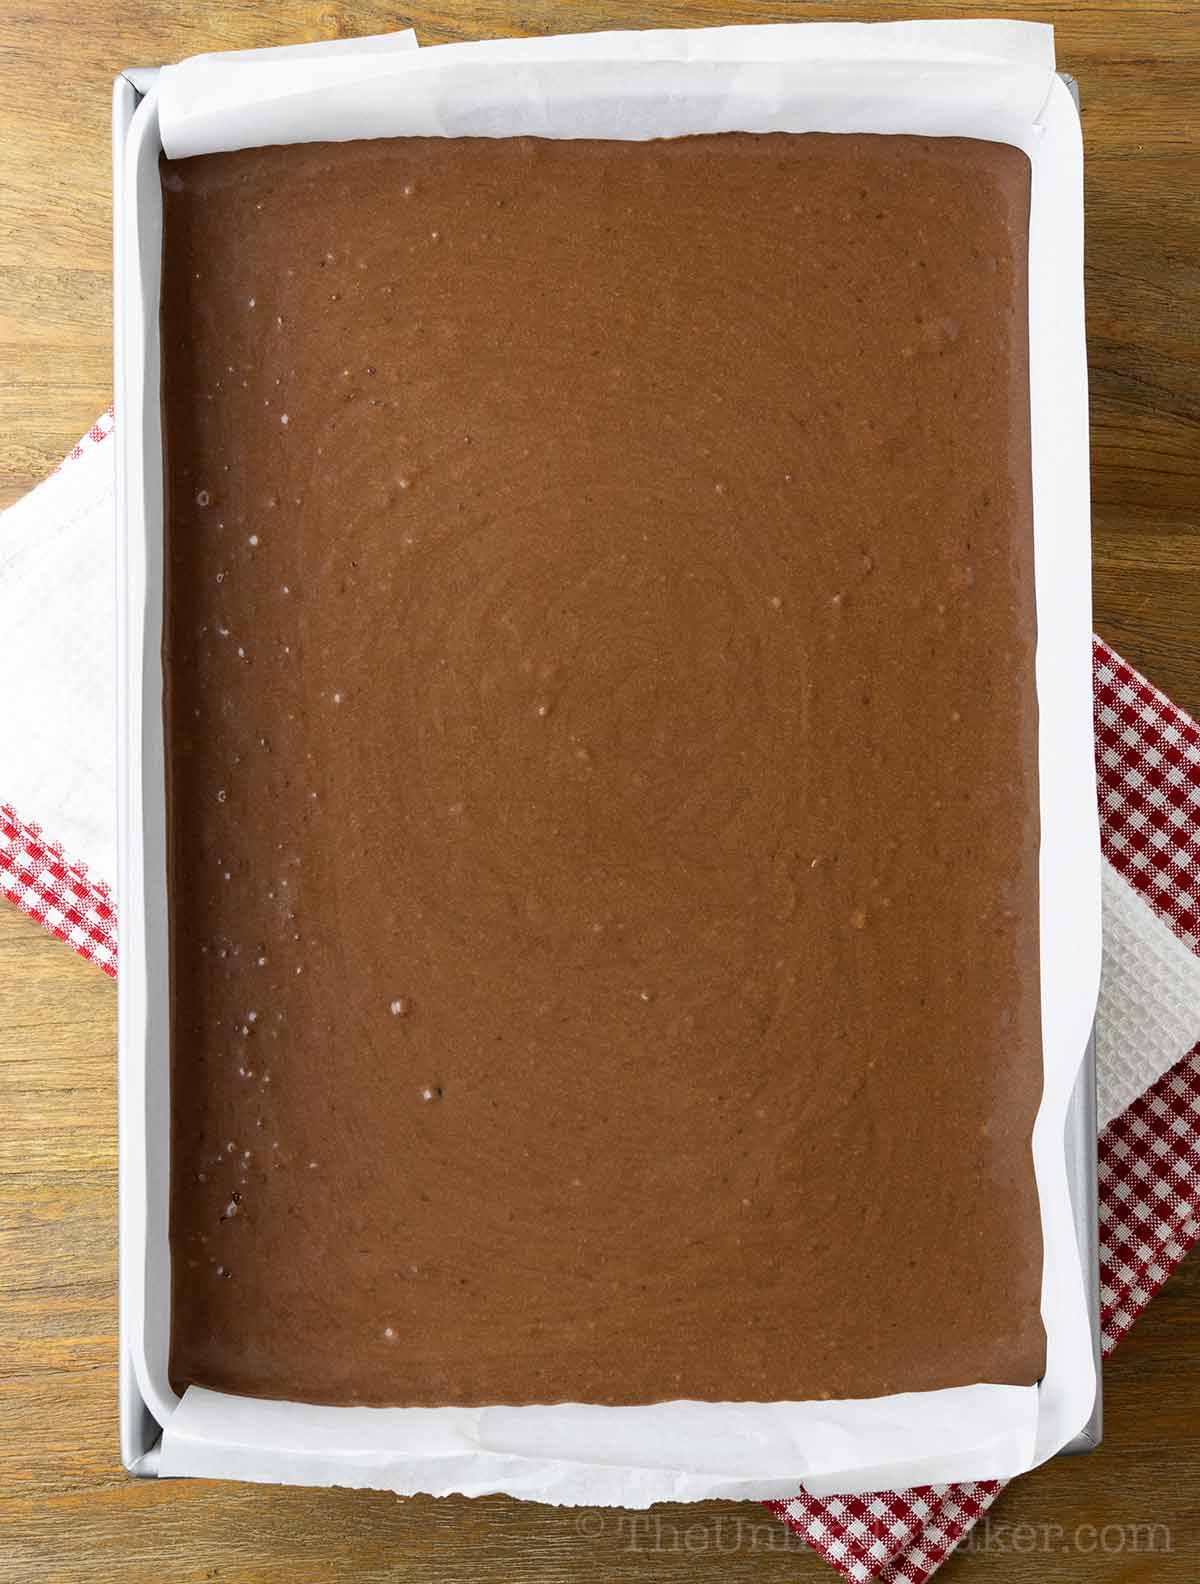
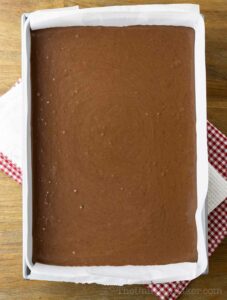
Transfer the batter to your prepared pan and bake for 45 minutes…
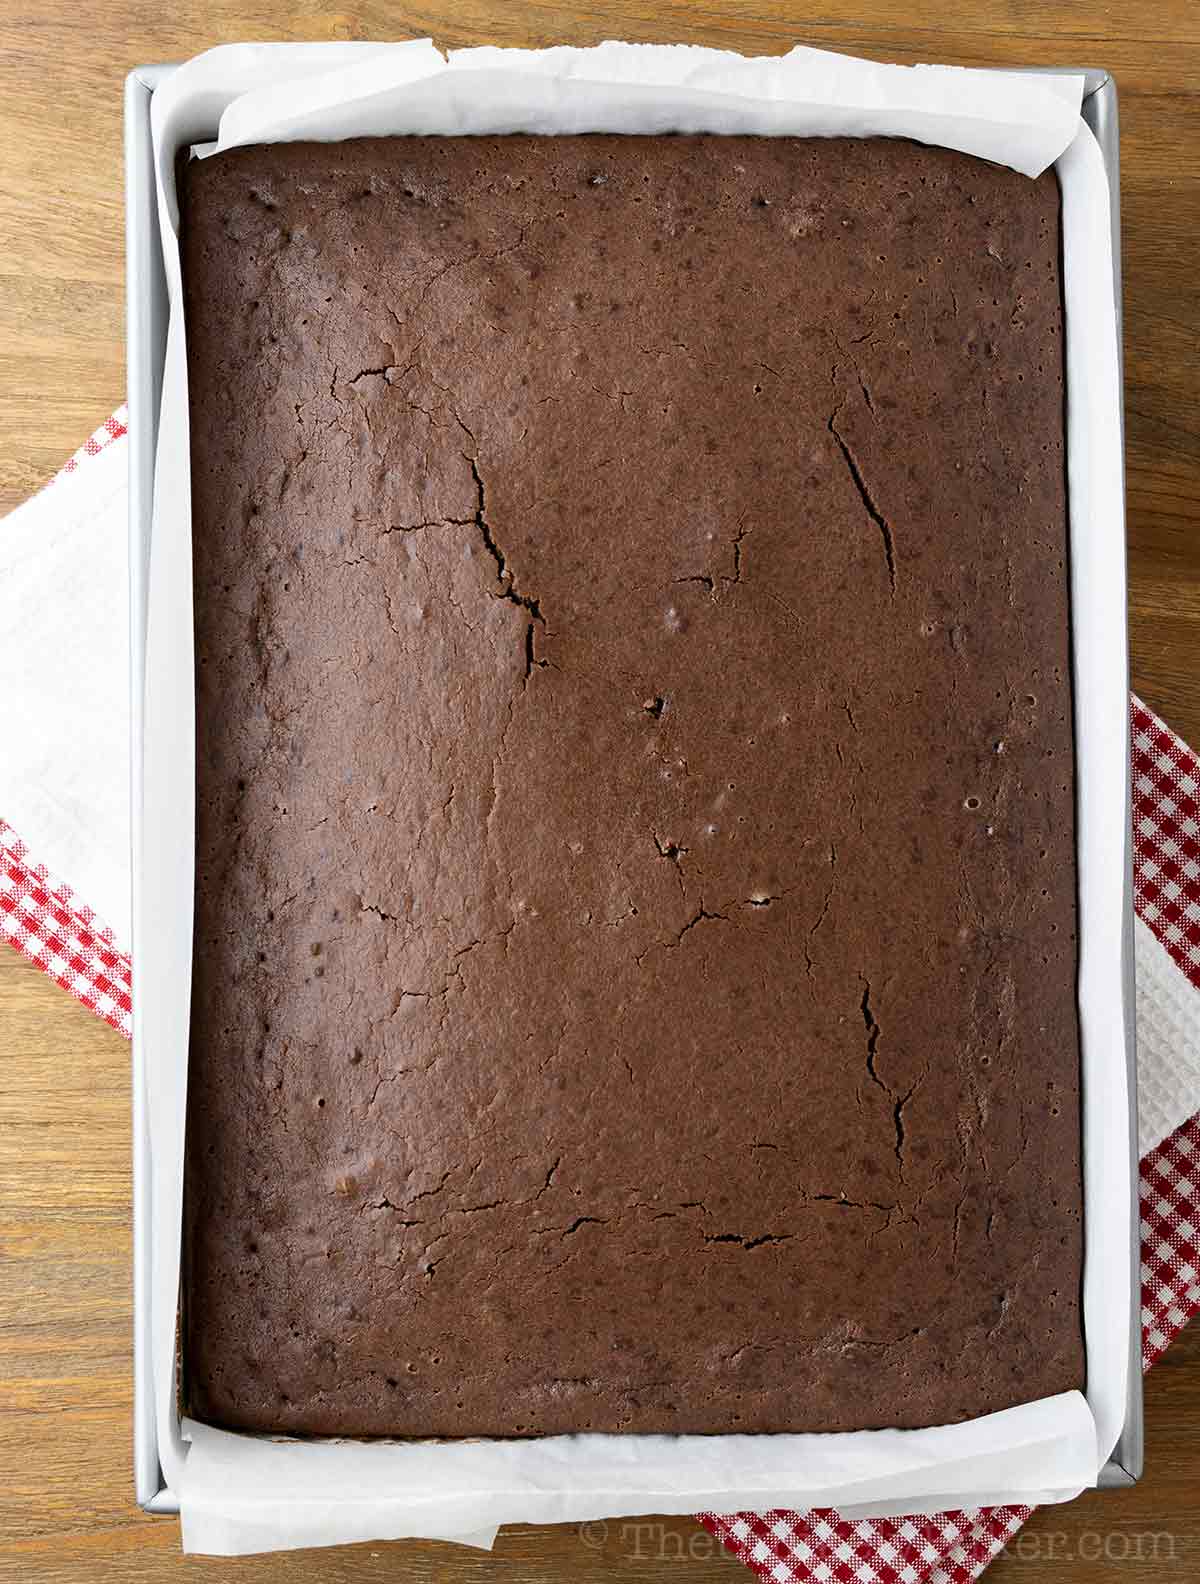
… or until a tester inserted in the center comes out with minimal dry crumbs.
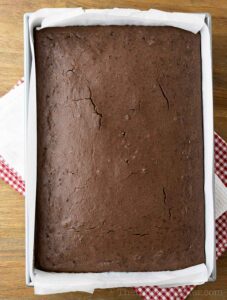
Remove from oven and allow to cool slightly before transferring to a wire rack to cool completely.
If you notice your mochi deflating slightly while cooling, don’t worry that’s completely normal.
Expert baking tips
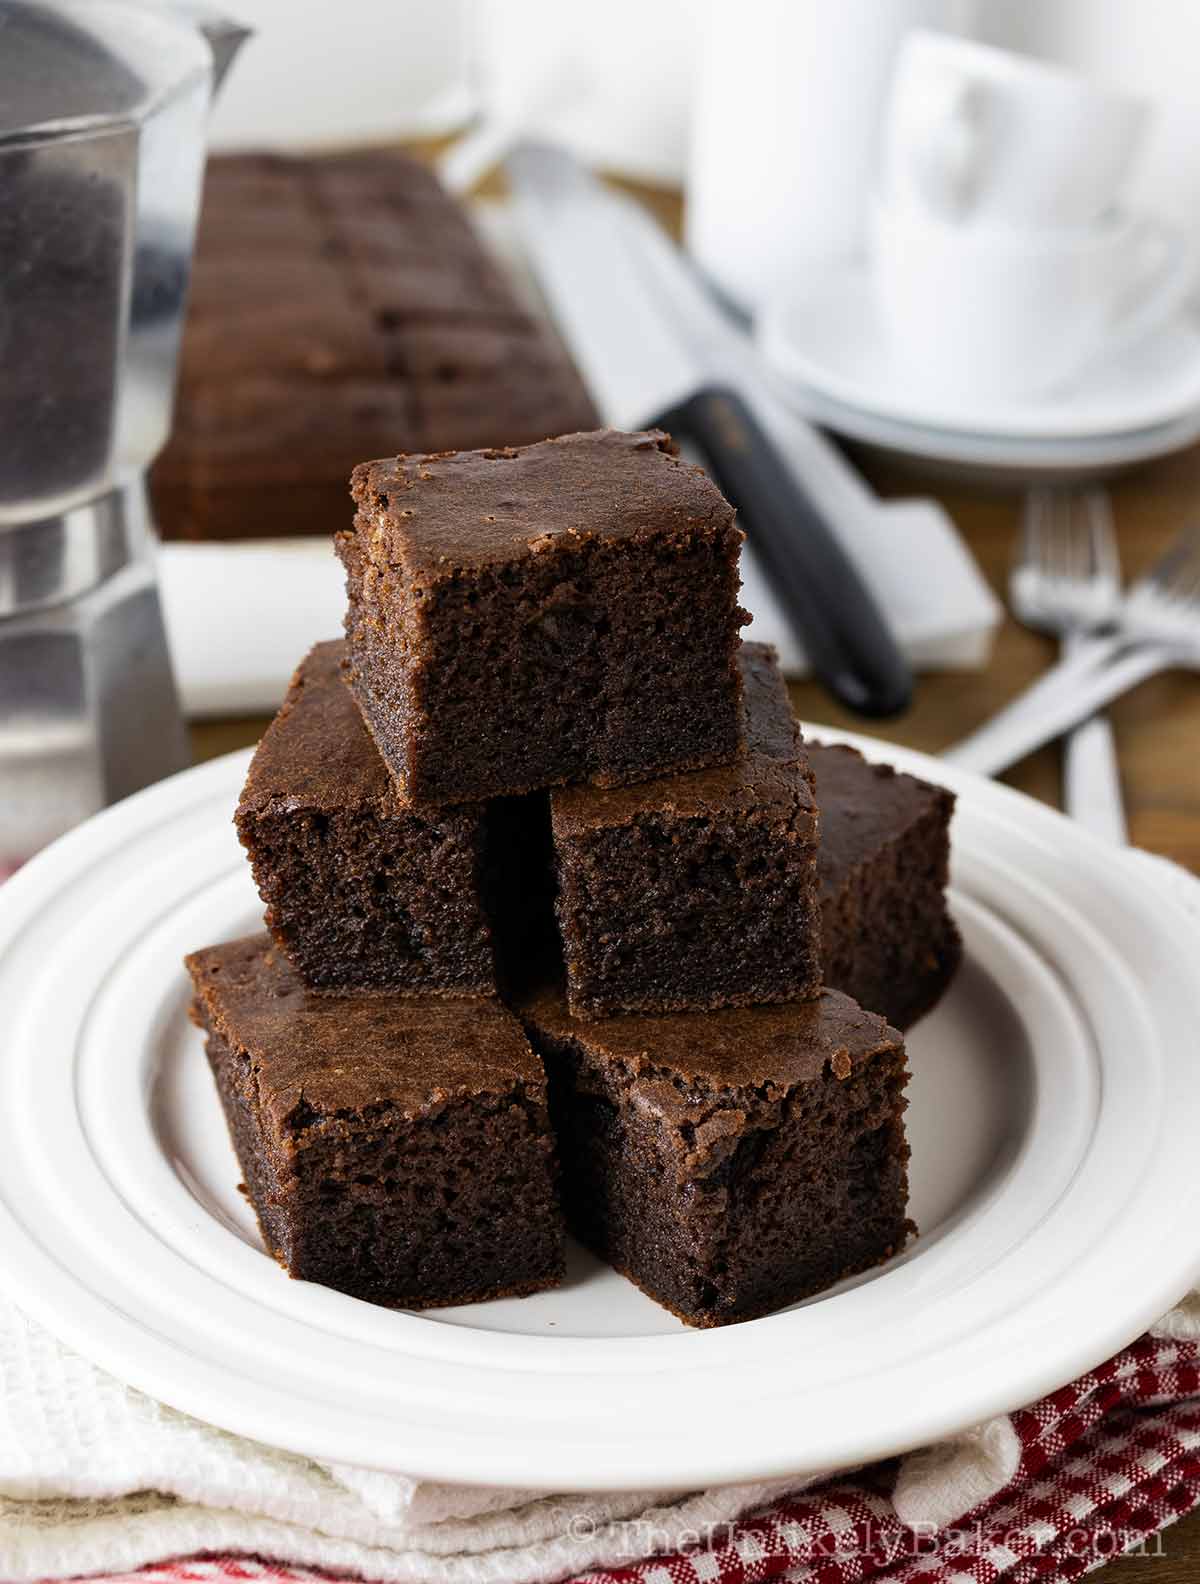
- Don’t be afraid to stir the batter until very smooth because there is no risk of over-mixing here. Despite its name, glutinous rice flour or mochiko is gluten-free, which makes chocolate butter mochi a great brownie alternative to those who can’t consume gluten.
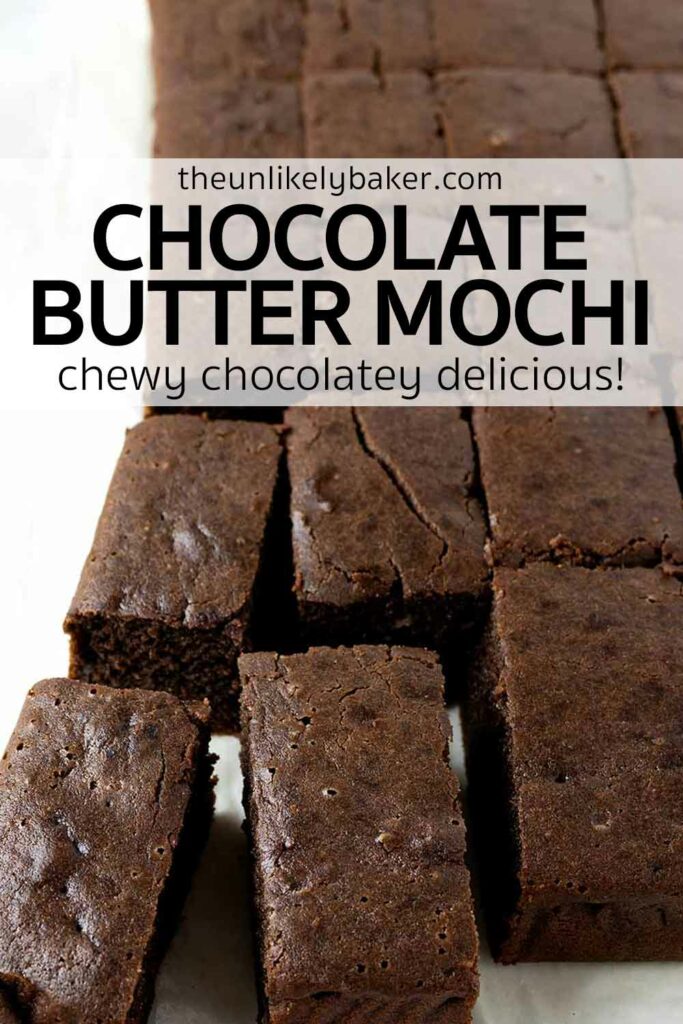
- Chocolate mochi is delightfully chewy and sticky. For the cleanest slices, ensure the mochi is completely cool before cutting into bars. I prefer not to put it in the fridge though as I find that chilling changes the texture of the mochi dramatically.
- You’ll know your mochi is done when the sides begin to firm up and when a toothpick inserted in the middle comes out with minimal dry crumbs. I don’t wait until the tester comes out completely clean. Minimal dry crumbs is when I get the perfect mochi texture.
Recipe FAQs
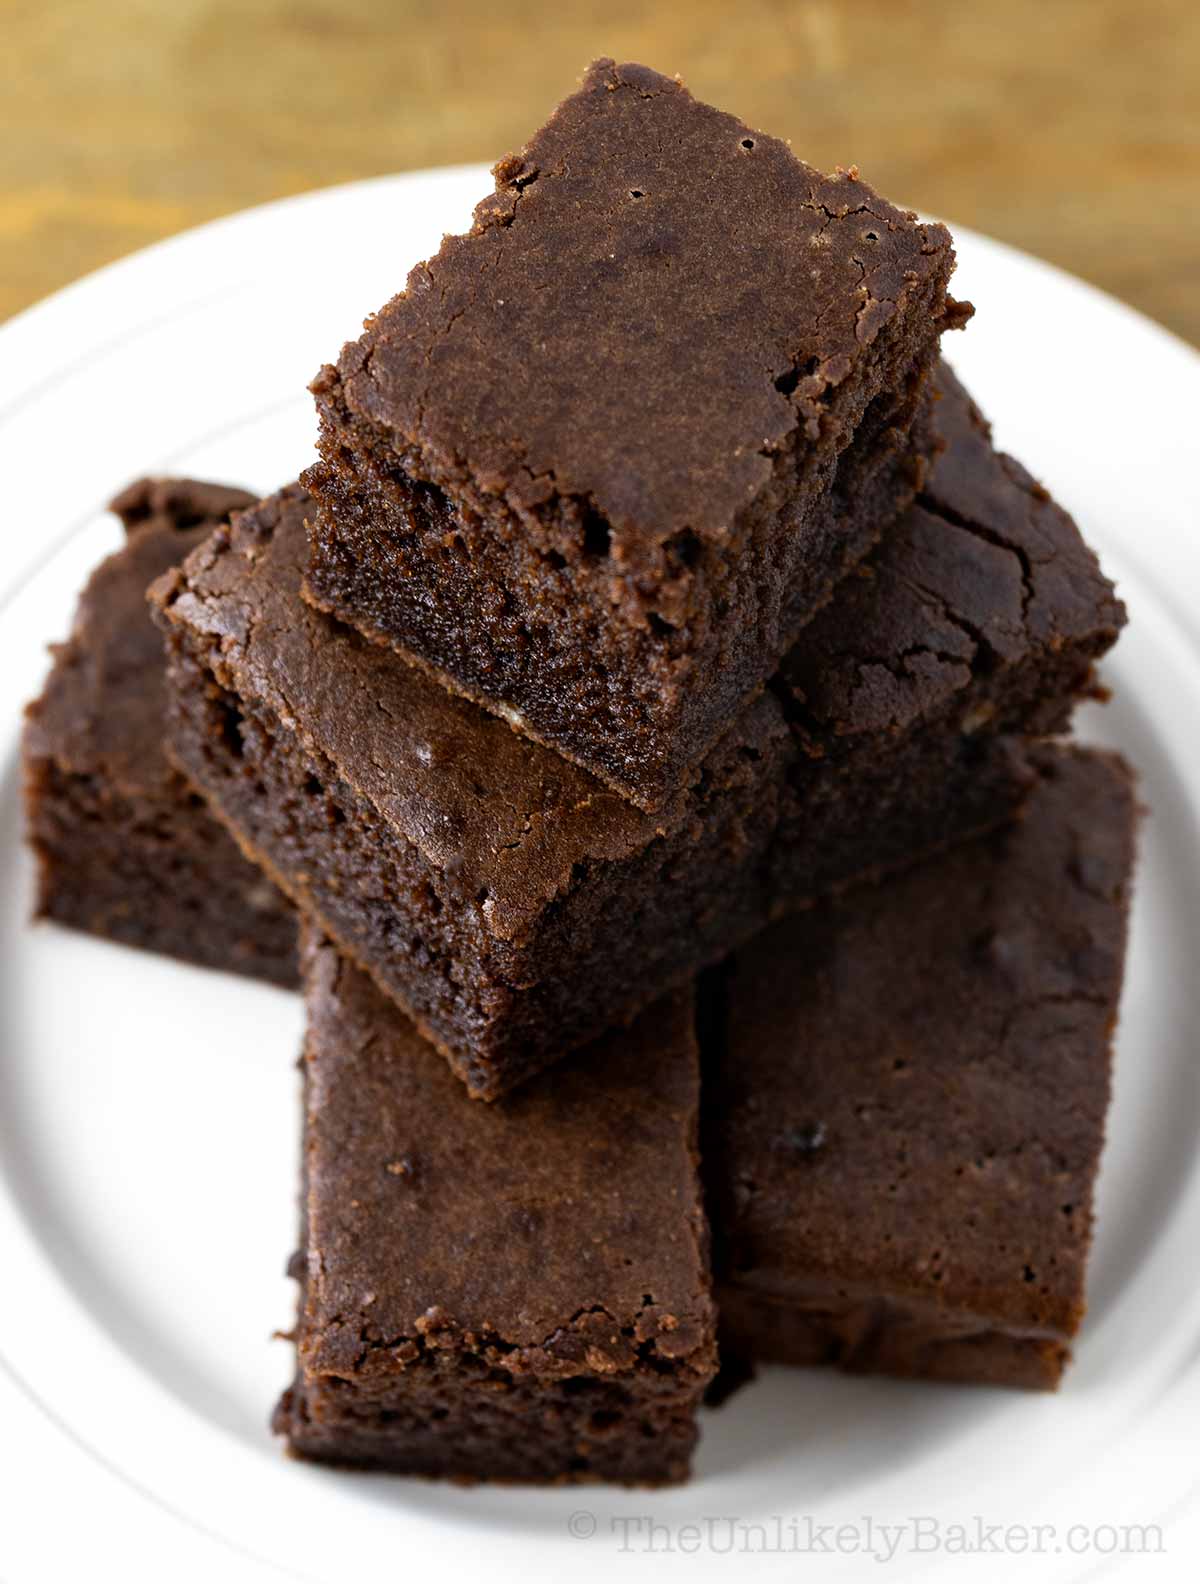
The word “mochi” refers to two different treats — the Hawaiian snack we have here, and Japanese mochi, which is shaped like a bun and filled with red bean paste, matcha, chocolate and more.
Both are made of Mochiko, a Japanese sweet rice flour made from cooked mochigome, a glutinous variety of short-grain rice.
If you want to make your mochi even chocolatier, you can add chocolate chips. You can also add chopped nuts, shredded coconut and more.
I choose not to because I want to retain that smooth, tender texture butter mochi is known for.
Yes! You can make chocolate mochi up to 2 days ahead of when you’re planning to serve them.
Choco mochi is best stored covered on your counter. They should be good for up to 3 days.
I don’t recommend storing them in the fridge because they will get tough and even warming them up won’t get that chewy texture back.
More recipes using glutinous rice flour
Got leftover glutinous rice flour? You can make:
This mochi is so good and chocolatey it would make the perfect base for a chocolate mochi cake. I’m working on the recipe and I can’t wait to share it and other Mochiko cake recipes with you!
For now, we hope you enjoy every delicious bite of chocolate butter mochi.
Happy baking!
Did you make this chocolate mochi recipe? I’d love to hear all about it! Leave a comment or a star rating below. You can also tag me on Instagram or Facebook. I’d love to see your creations!
You can also find me on Pinterest, Twitter and YouTube.
Chocolate Butter Mochi
Ingredients
- ½ cup unsalted butter melted and allowed to cool slightly
- 1½ cups granulated sugar
- 4 pieces large eggs room temperature
- 1 tsp vanilla extract
- 1 16-oz box Mochiko flour can also use glutinous rice flour
- 2 tsp baking powder
- ⅔ cup Dutch processed cocoa powder
- pinch salt
- 1 12-oz can evaporated milk
- 1 14-oz can coconut milk
Instructions
- Preheat your oven to 350F. Line a 9×13 inch baking pan with parchment paper and set aside.
- In a large bowl, stir melted butter and sugar until combined.½ cup unsalted butter, 1½ cups granulated sugar

- Add eggs one at a time. Ensure each addition is incorporated well.4 pieces large eggs

- Add vanilla extract and stir until evenly blended.1 tsp vanilla extract

- Add mochiko, baking powder, cocoa powder and salt. Stir until about 80-90% combined.1 16-oz box Mochiko flour, 2 tsp baking powder, ⅔ cup Dutch processed cocoa powder, pinch salt

- Add evaporated milk and coconut milk. Stir until incorporated and smooth.1 12-oz can evaporated milk, 1 14-oz can coconut milk

- Transfer the batter to your prepared pan and bake for 45 minutes or until a tester inserted in the center comes out with minimal dry crumbs.

- Remove from oven and allow to cool slightly in the pan before transferring to a wire rack to cool completely.

Video
Notes
- The yield depends on how big or small you slice your mochi. The estimated nutrition information is based on 36 bars.
- Don’t be afraid to stir the batter until very smooth because there is no risk of over-mixing here. Despite its name, glutinous rice flour or mochiko is gluten-free.
- For the cleanest slices, ensure the mochi is completely cool before cutting into bars.
- You’ll know your mochi is done when the sides begin to firm up and when a tester inserted in the middle comes out with minimal dry crumbs.
- See post for more tips, FAQs and step-by-step photos.
Nutrition
Nutritional information are estimates only.







Jane
This looks so good. Can you substitute Rice Milk for the coconut milk and evaporated milk?. Thanks!
Jolina
Hi Jane, I haven’t used rice milk but I’ve read that it’s thinner and less creamy, so you might not get the same consistency.
Kerry Ann
Hi Jolina
Can I use low fat milk instead of evaporated milk?
Jolina
Hi Kerry Ann, evaporated milk is creamier and more concentrated than regular milk so you might not get the same consistency in your batter. Something to keep in mind.
Deanna
Can I substitute the evaporated milk for evaporated coconut milk?
Jolina
Hi Deanna! I haven’t used evaporated coconut milk so I can’s say for sure. And this recipe already has coconut milk. Perhaps you can sub with whole milk instead?
Justine
These are so much better than brownies IMHO. Definitely a keeper.
Jolina
Glad you like them Justine! Happy baking 🙂
Marie LG
Can I add pistachios or pecans to this recipe?
Jolina
Hi Marie, yes you can add any mix-ins you like. Enjoy!
Cathy
Very easy to make and delicious.
Jolina
Glad you like them Cathy!
STC
Are you using unsweetened coconut milk?
Jolina
Yes, the recipe requires unsweetened coconut milk. Enjoy!
Lacey
How long will this store for ? And what’s the best way to store leftovers ?
Jolina
Hi Lacey, chocolate mochi is best stored covered on your counter. They should be good for up to 3 days.