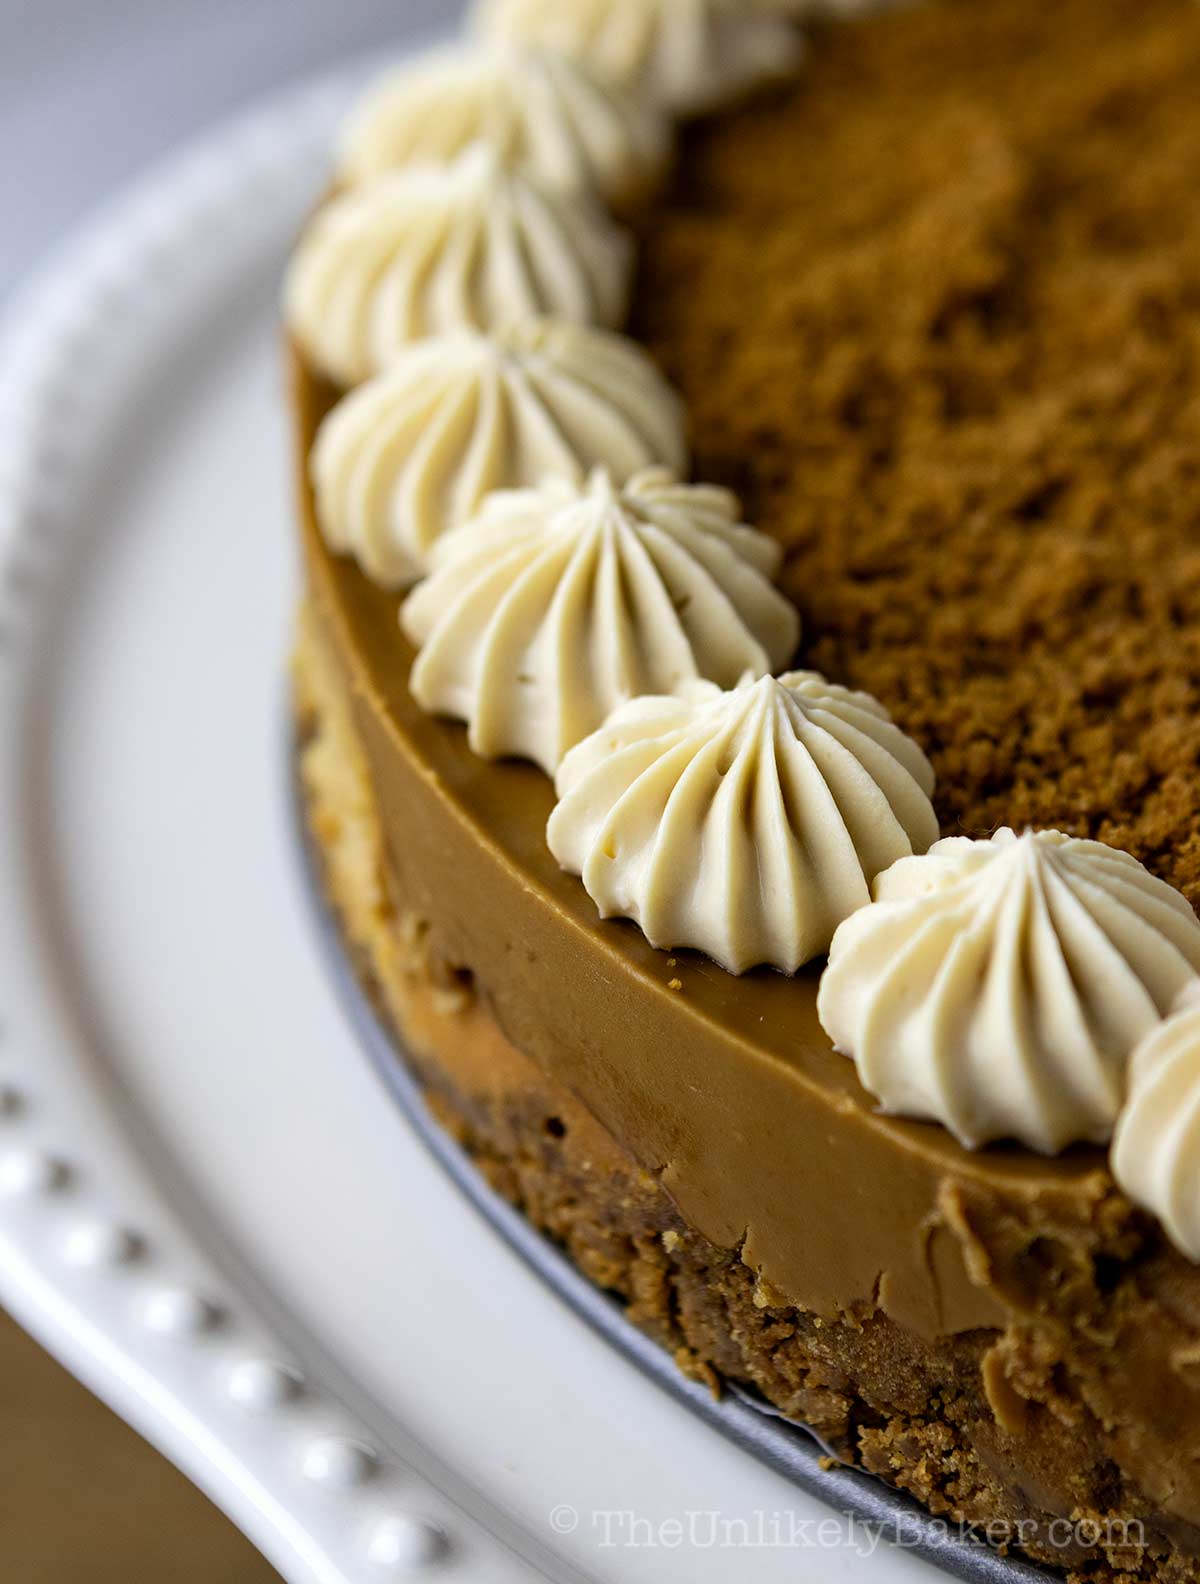
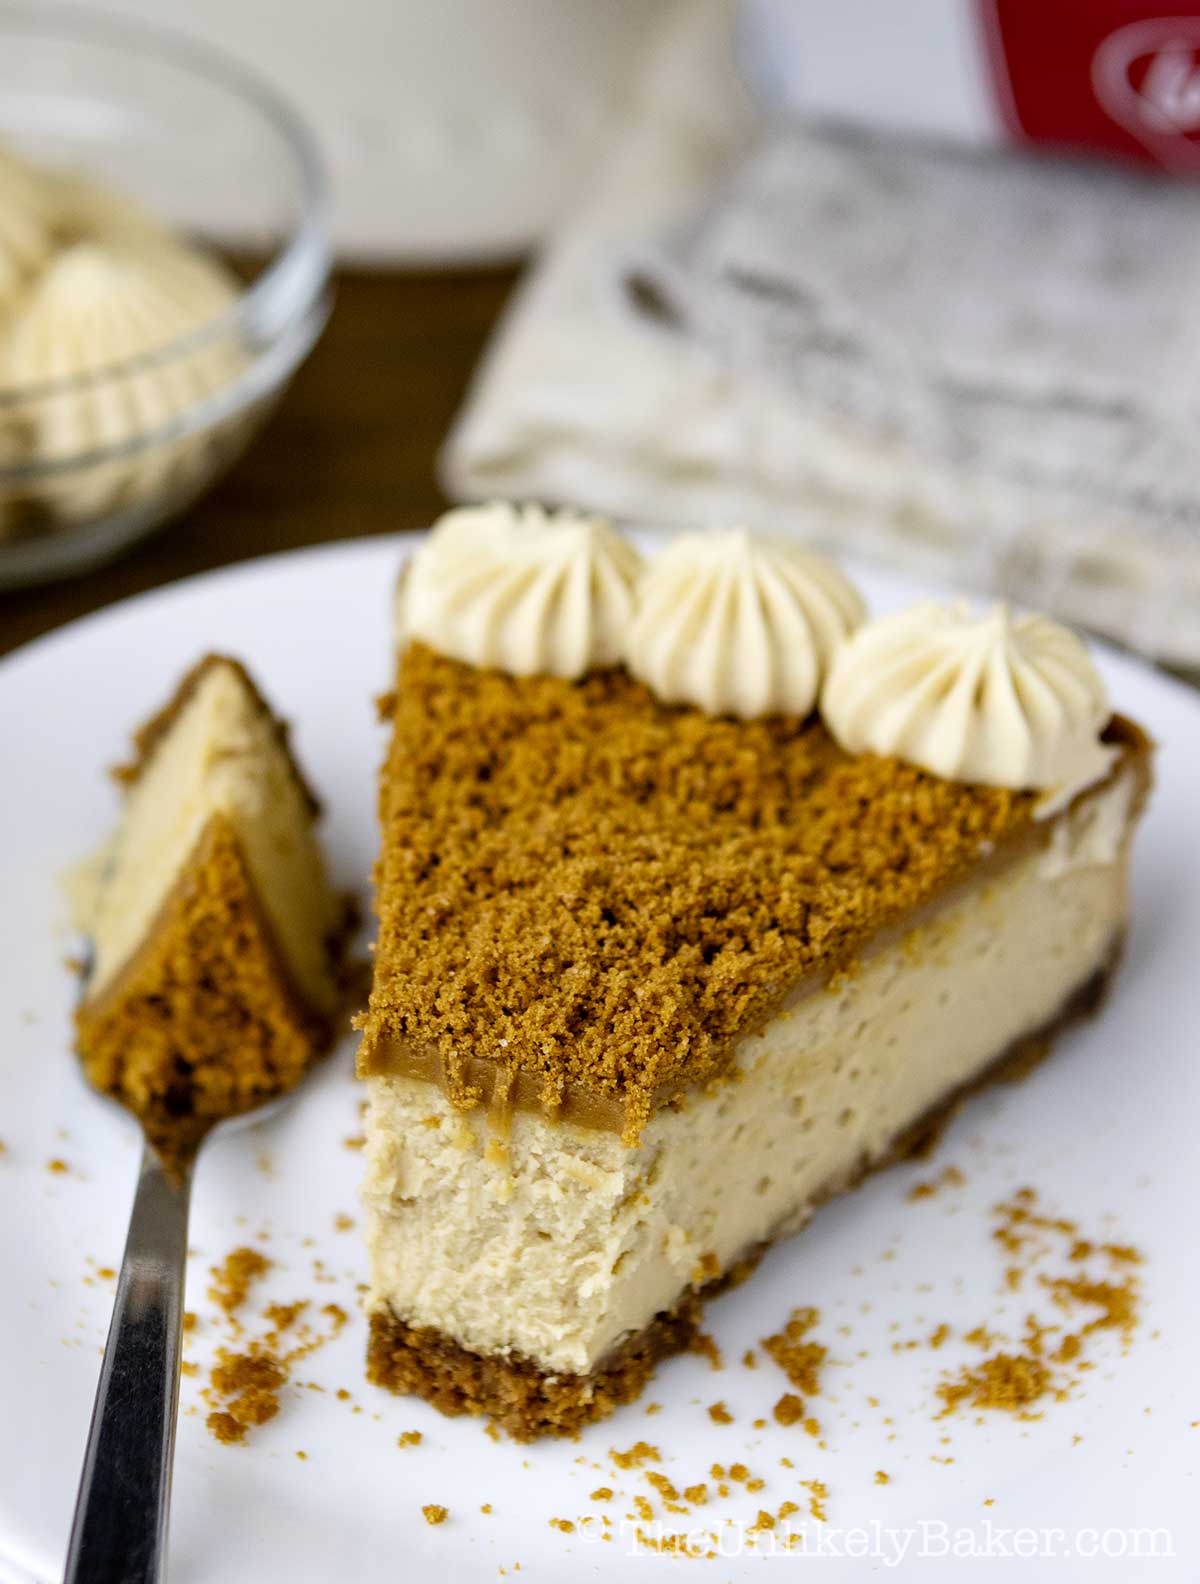
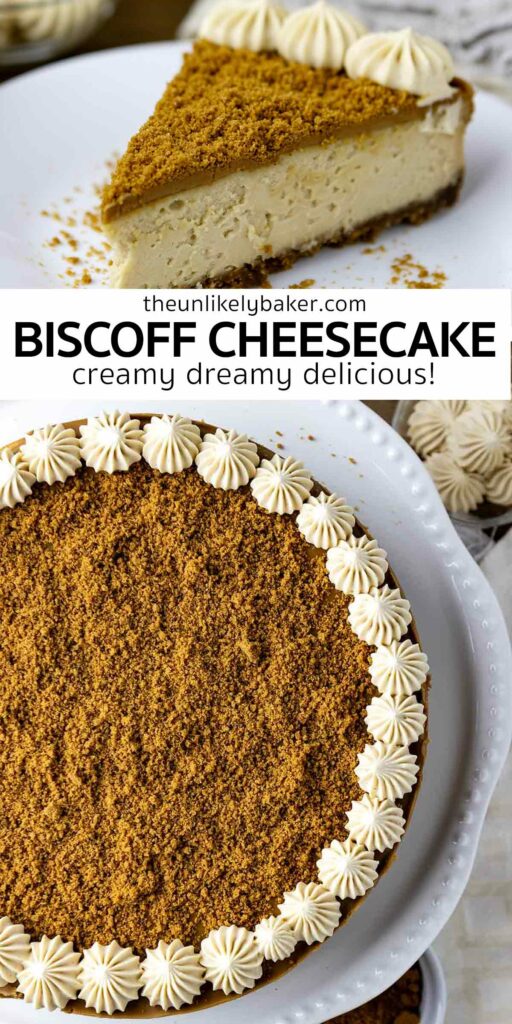
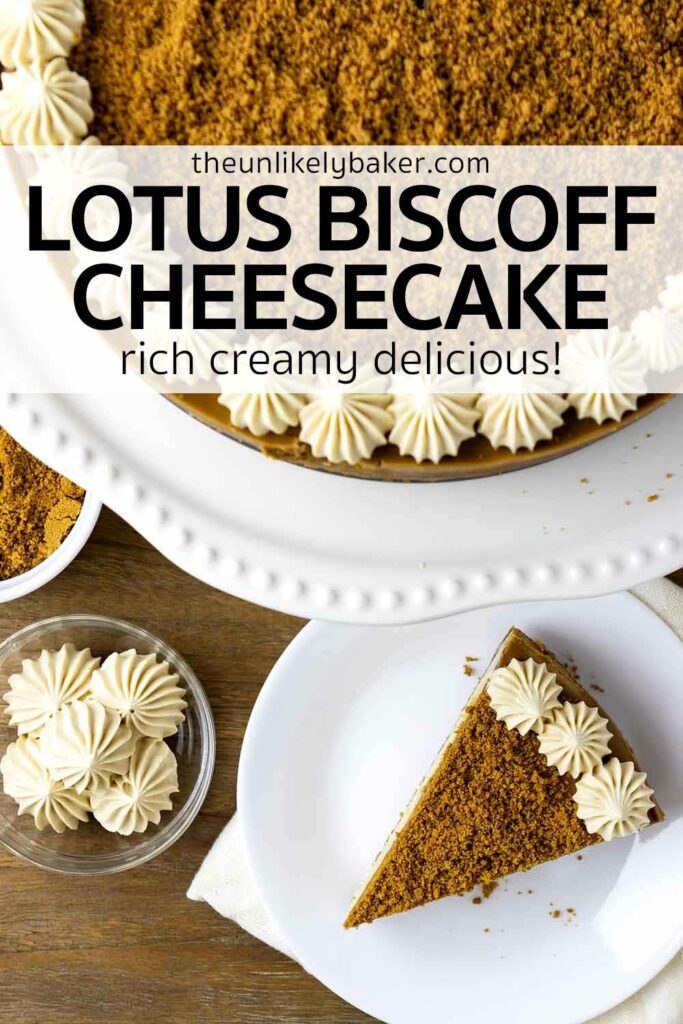
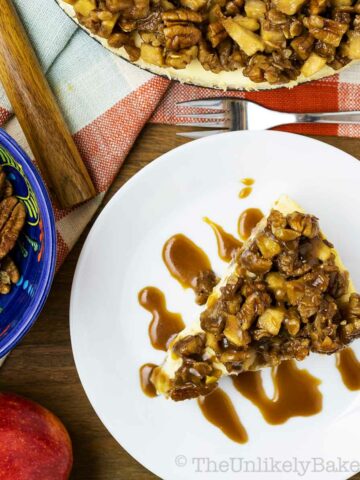
Biscoff cheesecake is creamy, decadent and so good! It has a Biscoff cookie crust, a rich cheesecake filling, and topped with more cookie butter goodness. Just the kind of dessert to serve at birthdays, the holidays, and other celebrations.
(Love Biscoff cookie butter? Try these Biscoff blondies for an easy everyday treat and make this Biscoff cake with Biscoff frosting if you’re looking for a stunning but secretly simple dessert.)
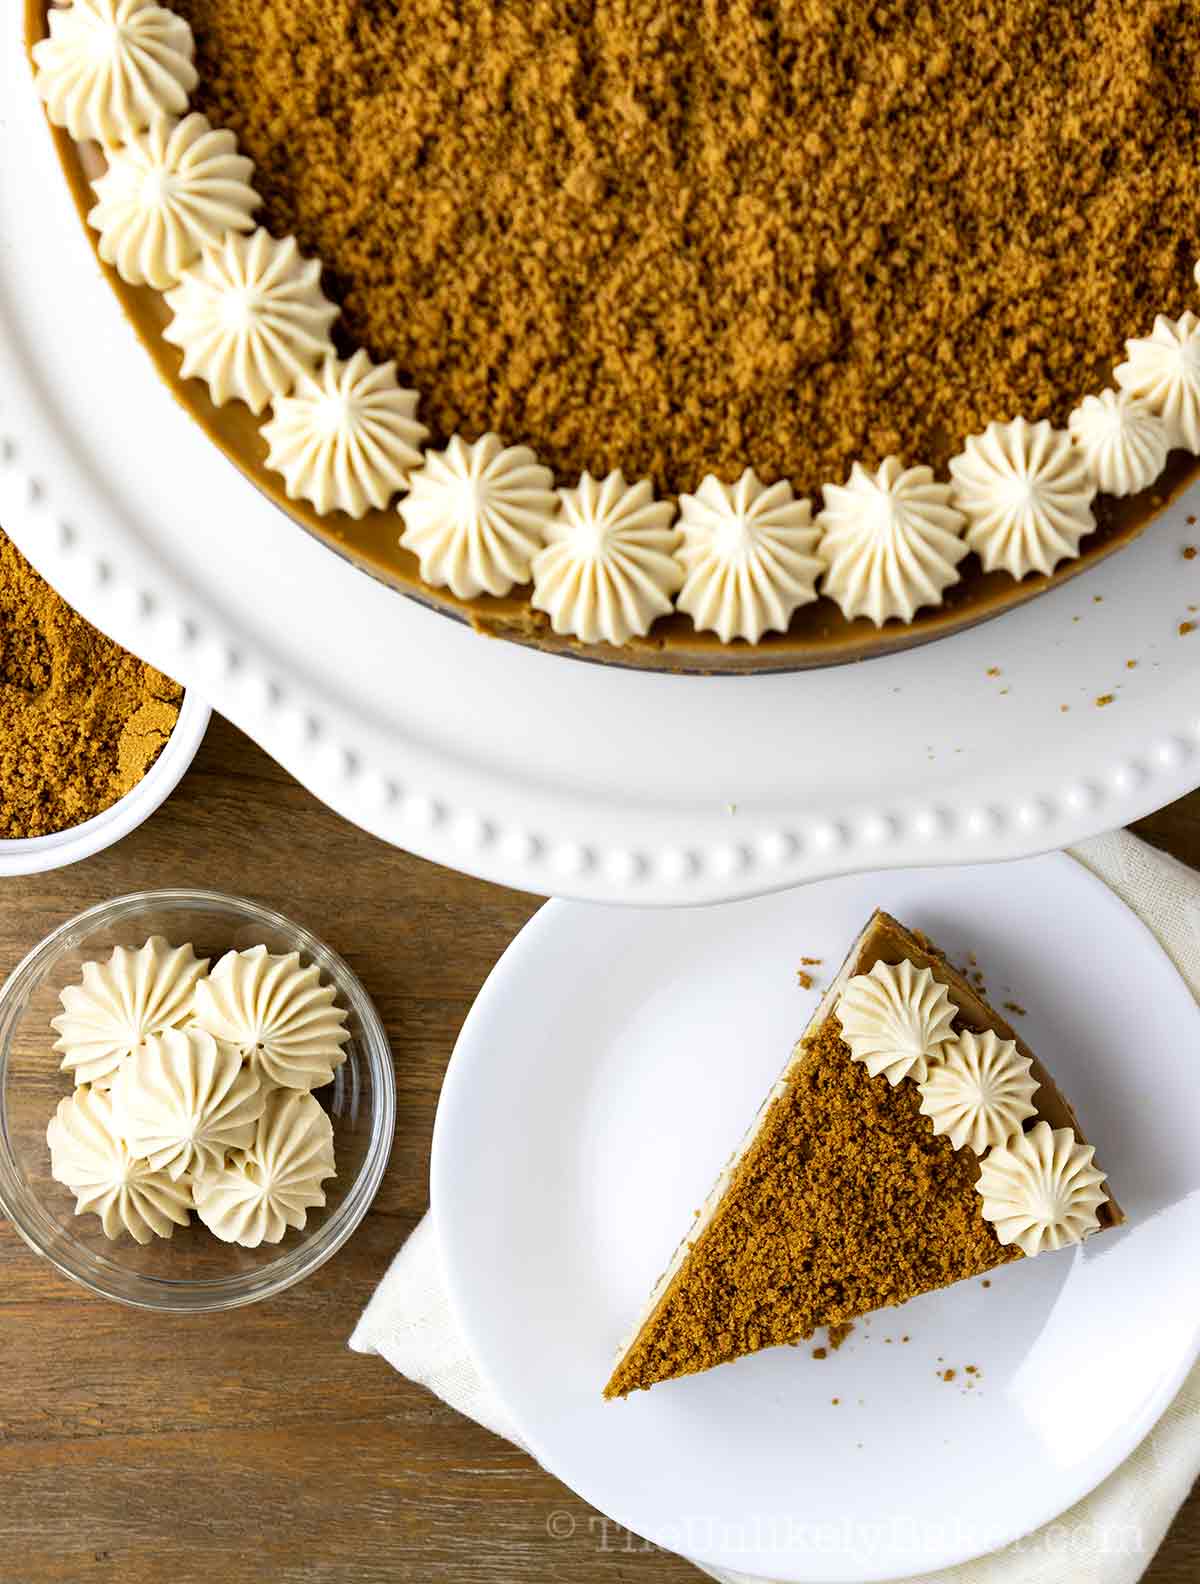
To say that I love Lotus Biscoff spread is an understatement. I put it on everything, eat it straight from the jar, I love baking with it too (FYI, this post is not sponsored!)
This Biscoff cheesecake recipe is the latest in my cookie butter adventures. It’s rich, creamy, delicious.
Let’s get to it.
Why you’ll love this cheesecake recipe
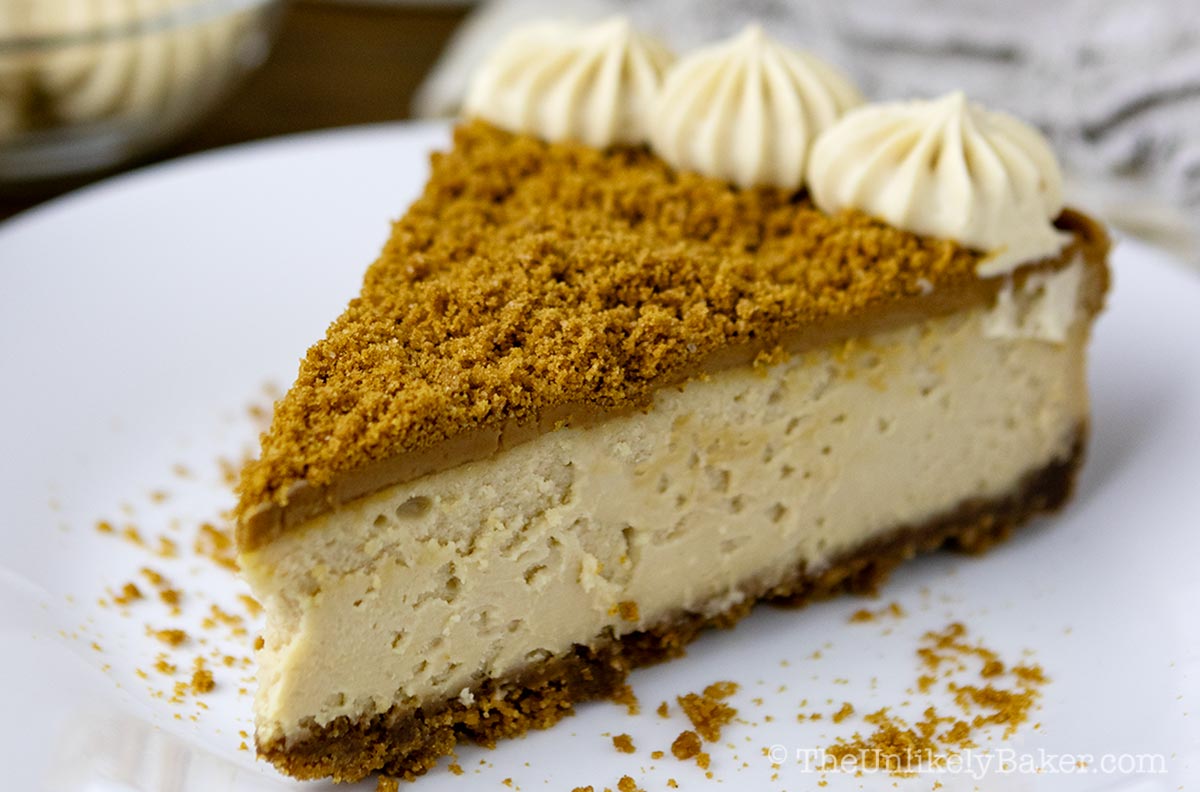
- Packed with Biscoff. I call this my triple threat Lotus cheesecake — the crust is made of Biscoff cookie crumbs, the filling is made with Biscoff cookie spread, and I top it with more spread and cookie crumbs. There’s no lack of Biscoff flavor here.
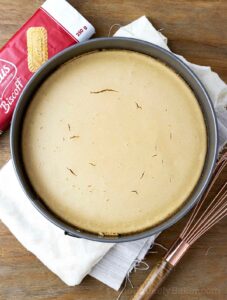
- No need to worry about the top cracking. Because we cover the top, we don’t need to worry so much about the top of the cheesecake cracking (which, if you’ll notice in my process photos, mine did because I over-baked it a little bit. See expert tips to avoid this from happening to you).
- No need for a bain-marie or a water bath. I’ll teach you how to make creamy, dreamy cheesecakes that don’t require a water bath. One less thing to stress about!
- Serves a crowd. It’s very rich so a little goes a long way. This cake can serve 12-16 people.
How to make
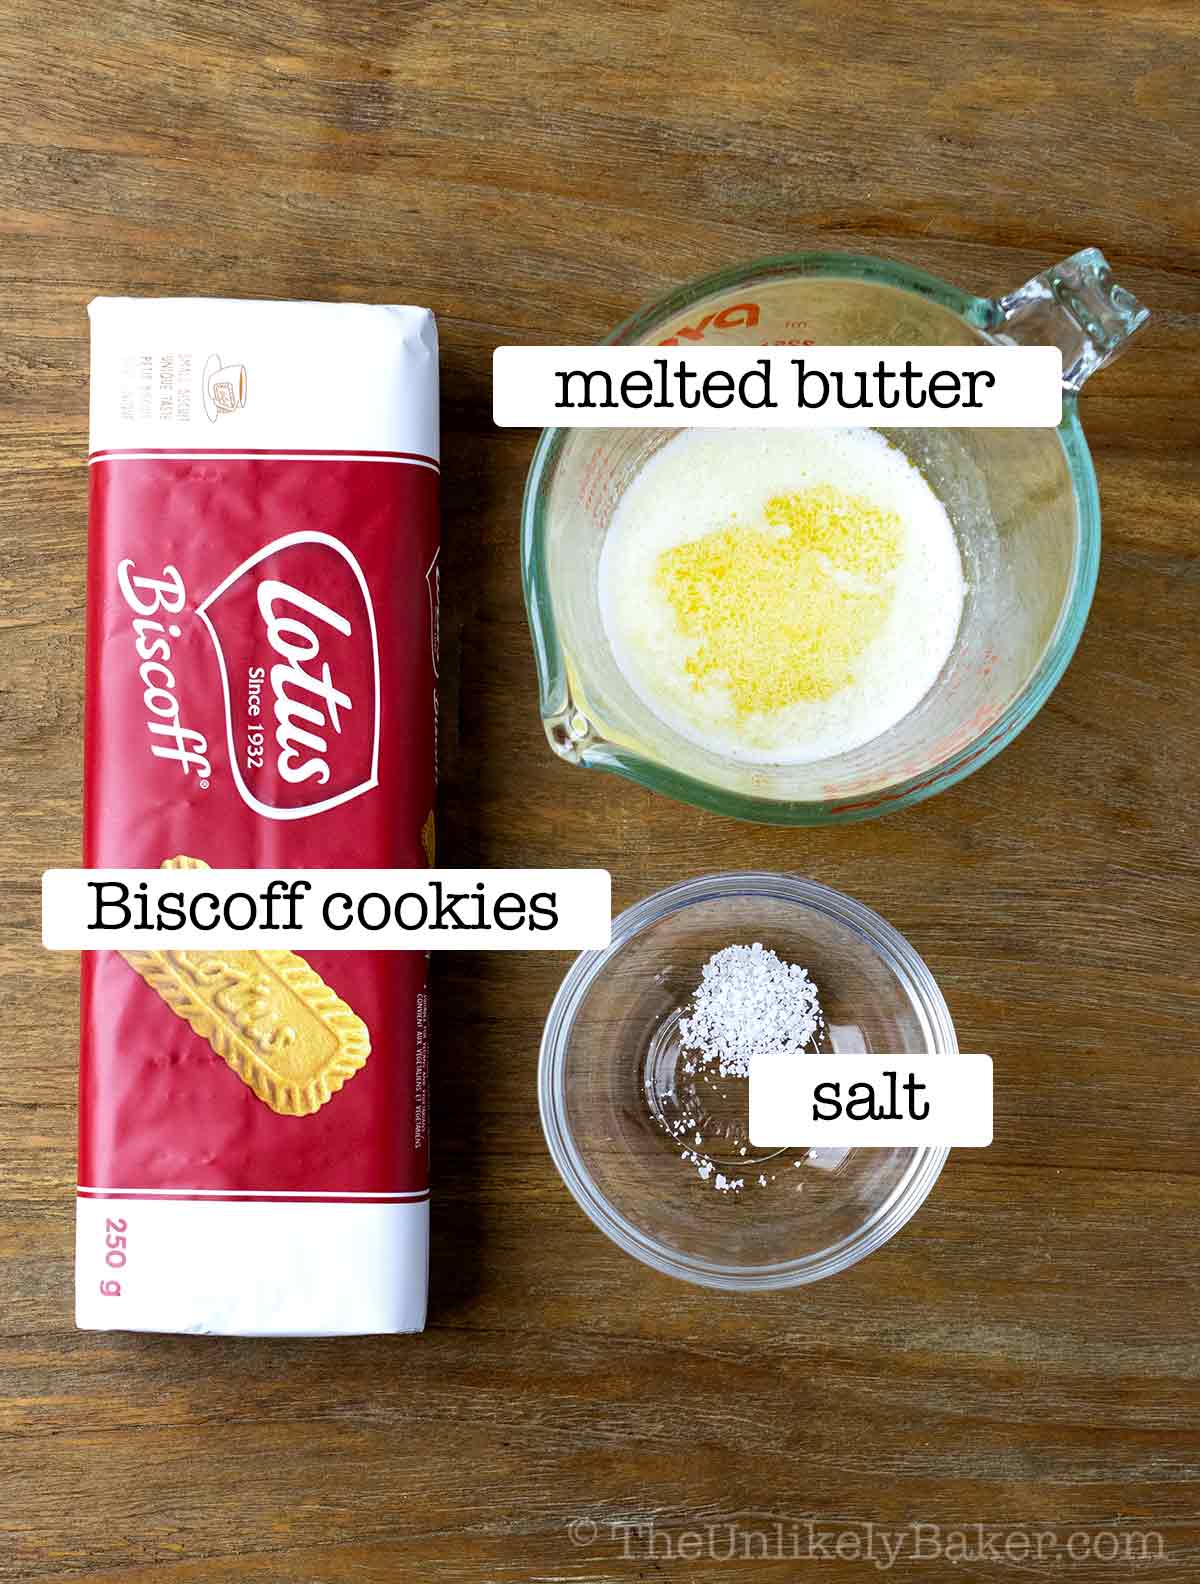
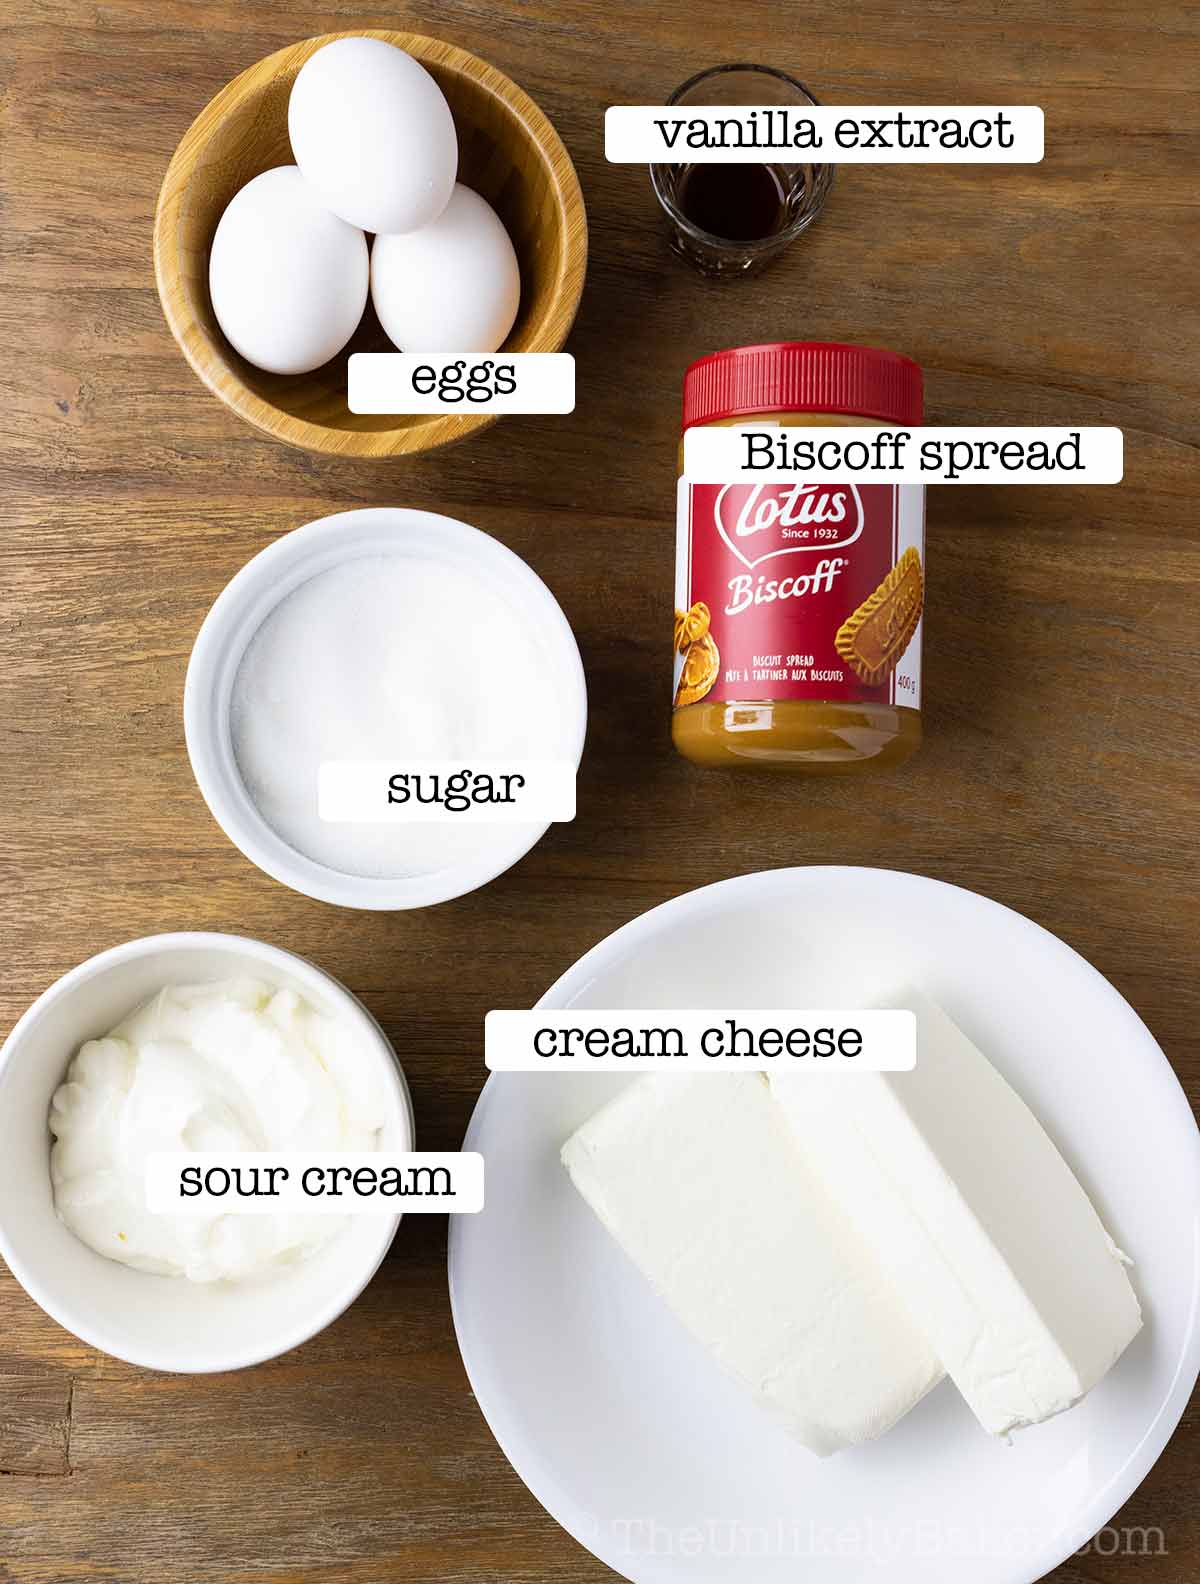
This cheesecake is easier to make than you think.
Ingredients
You’ll need the usual cheesecake ingredients like butter, granulated sugar, vanilla extract and eggs. A few things to note:
- Cookie crumbs — you’ll need a 250-g or 8.8-oz pack of Lotus Biscoff cookies which you need to crush using a food processor or you can simply place them in a Ziploc bag and use a rolling pin or something similar to crush them. If you can’t find Biscoff, you can also use Speculoos Cookies from Trader Joe’s.
- Cookie butter spread — you’ll also need smooth and creamy Biscoff cookie butter spread but just like the cookies, you can also use Speculoos from Trader Joe’s.
- Cream cheese — for best results, use full fat cream cheese.
- Sour cream — I also recommend using full fat sour cream.
Baking tools
You will need a 9-inch springform pan as well as an electric mixer (handheld or stand mixer).
Step-by-step photos
Preheat oven to 325F. Line the bottom of a 9-inch springform pan with parchment paper and set aside.
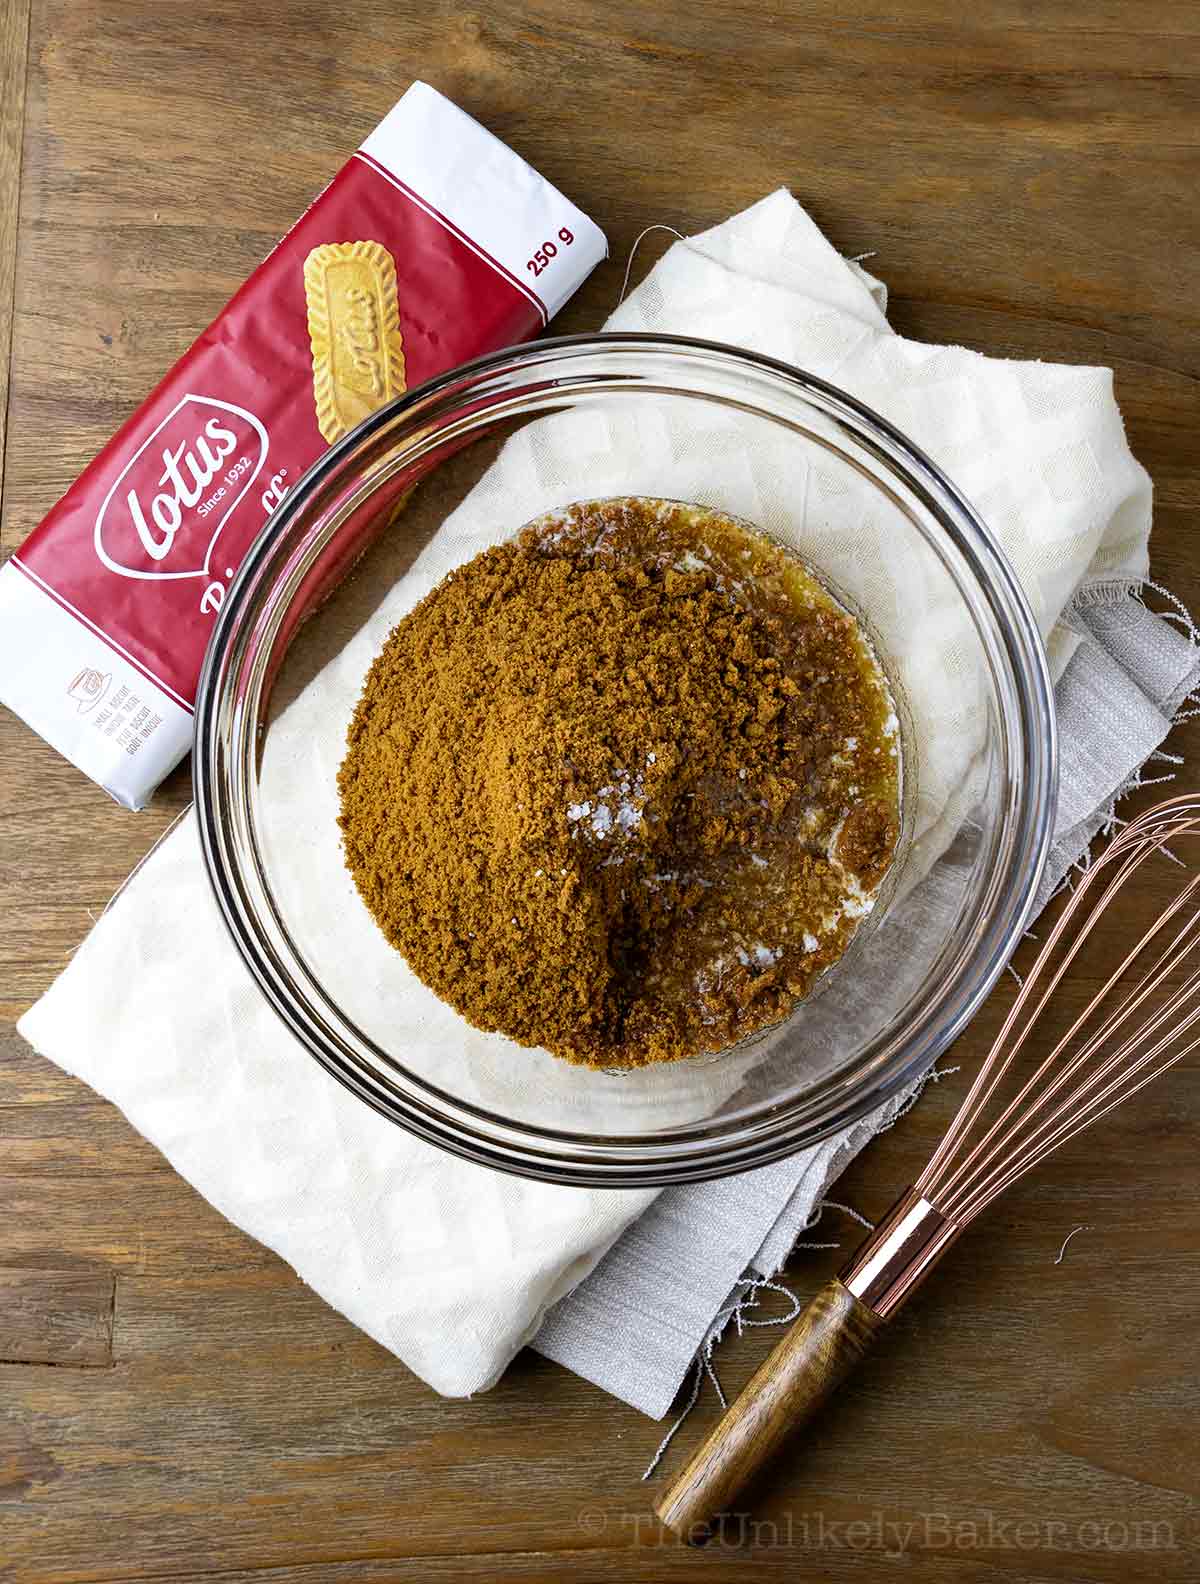
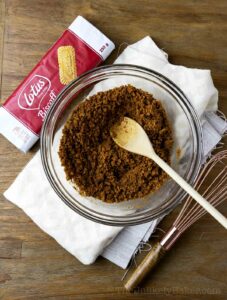
In a medium bowl, combine Biscoff cookie crumbs, melted butter and salt.
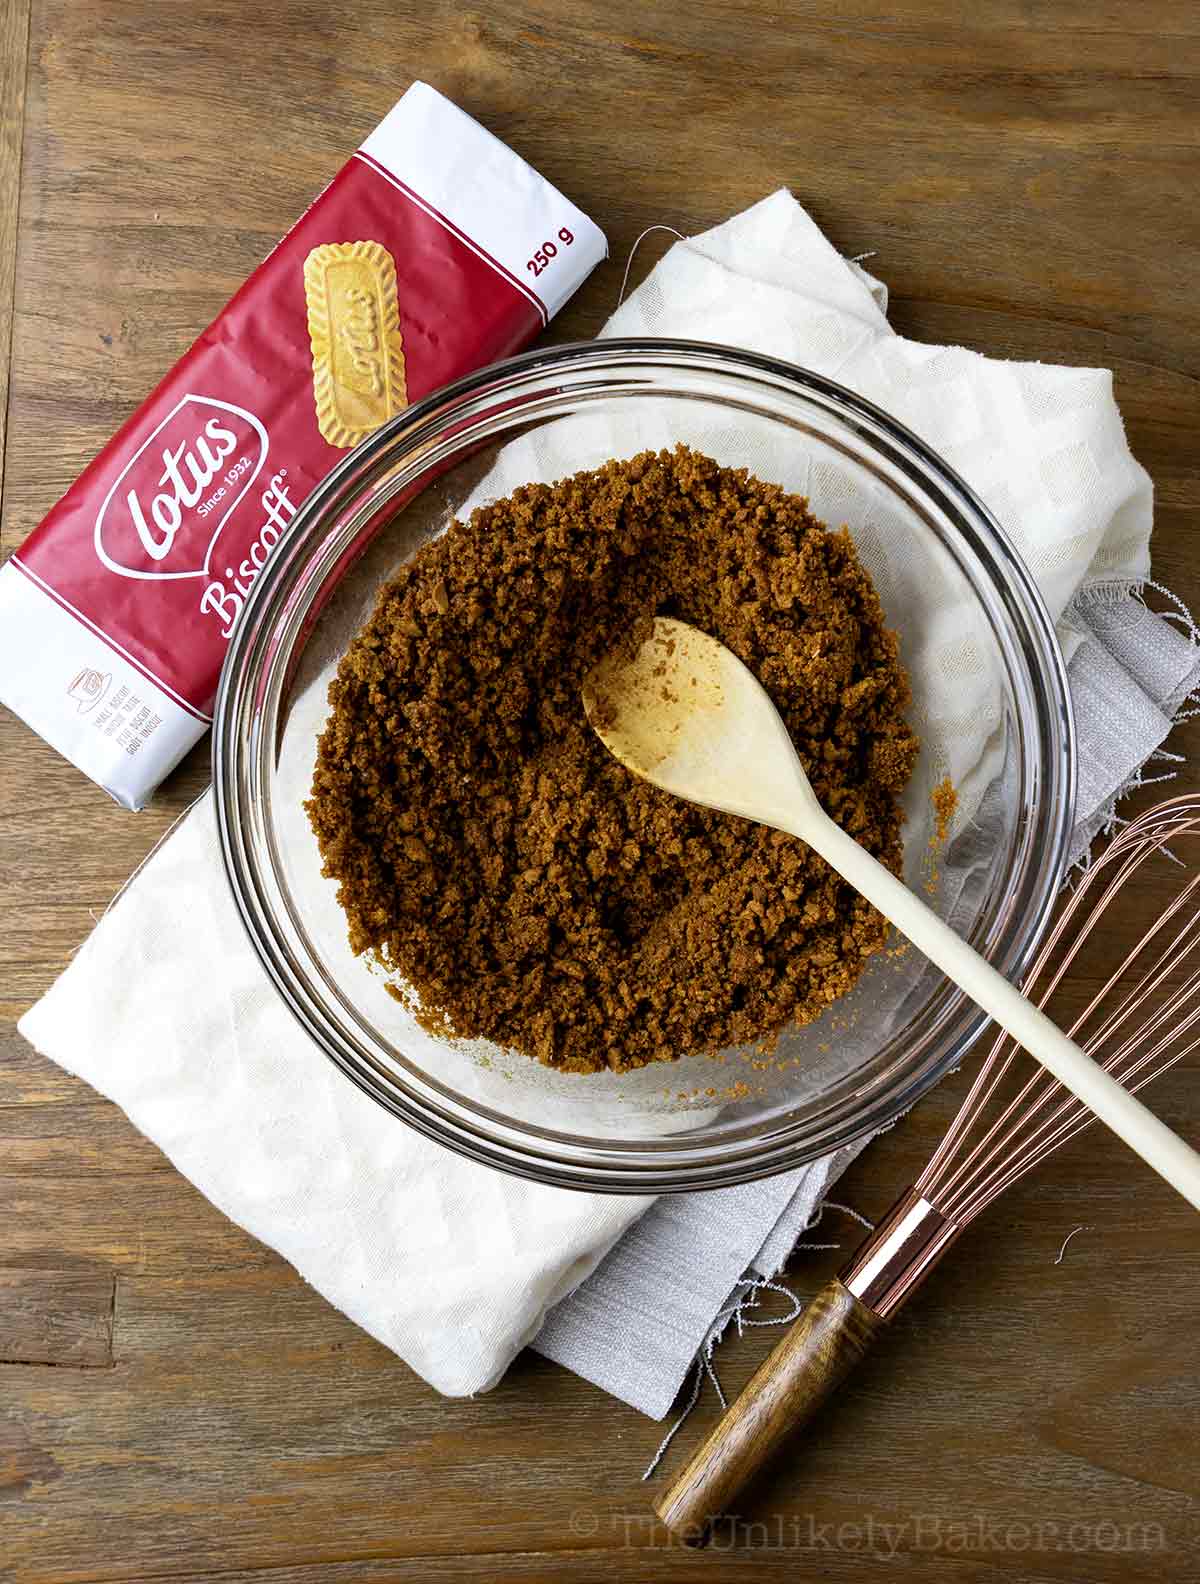
Stir until evenly moist.
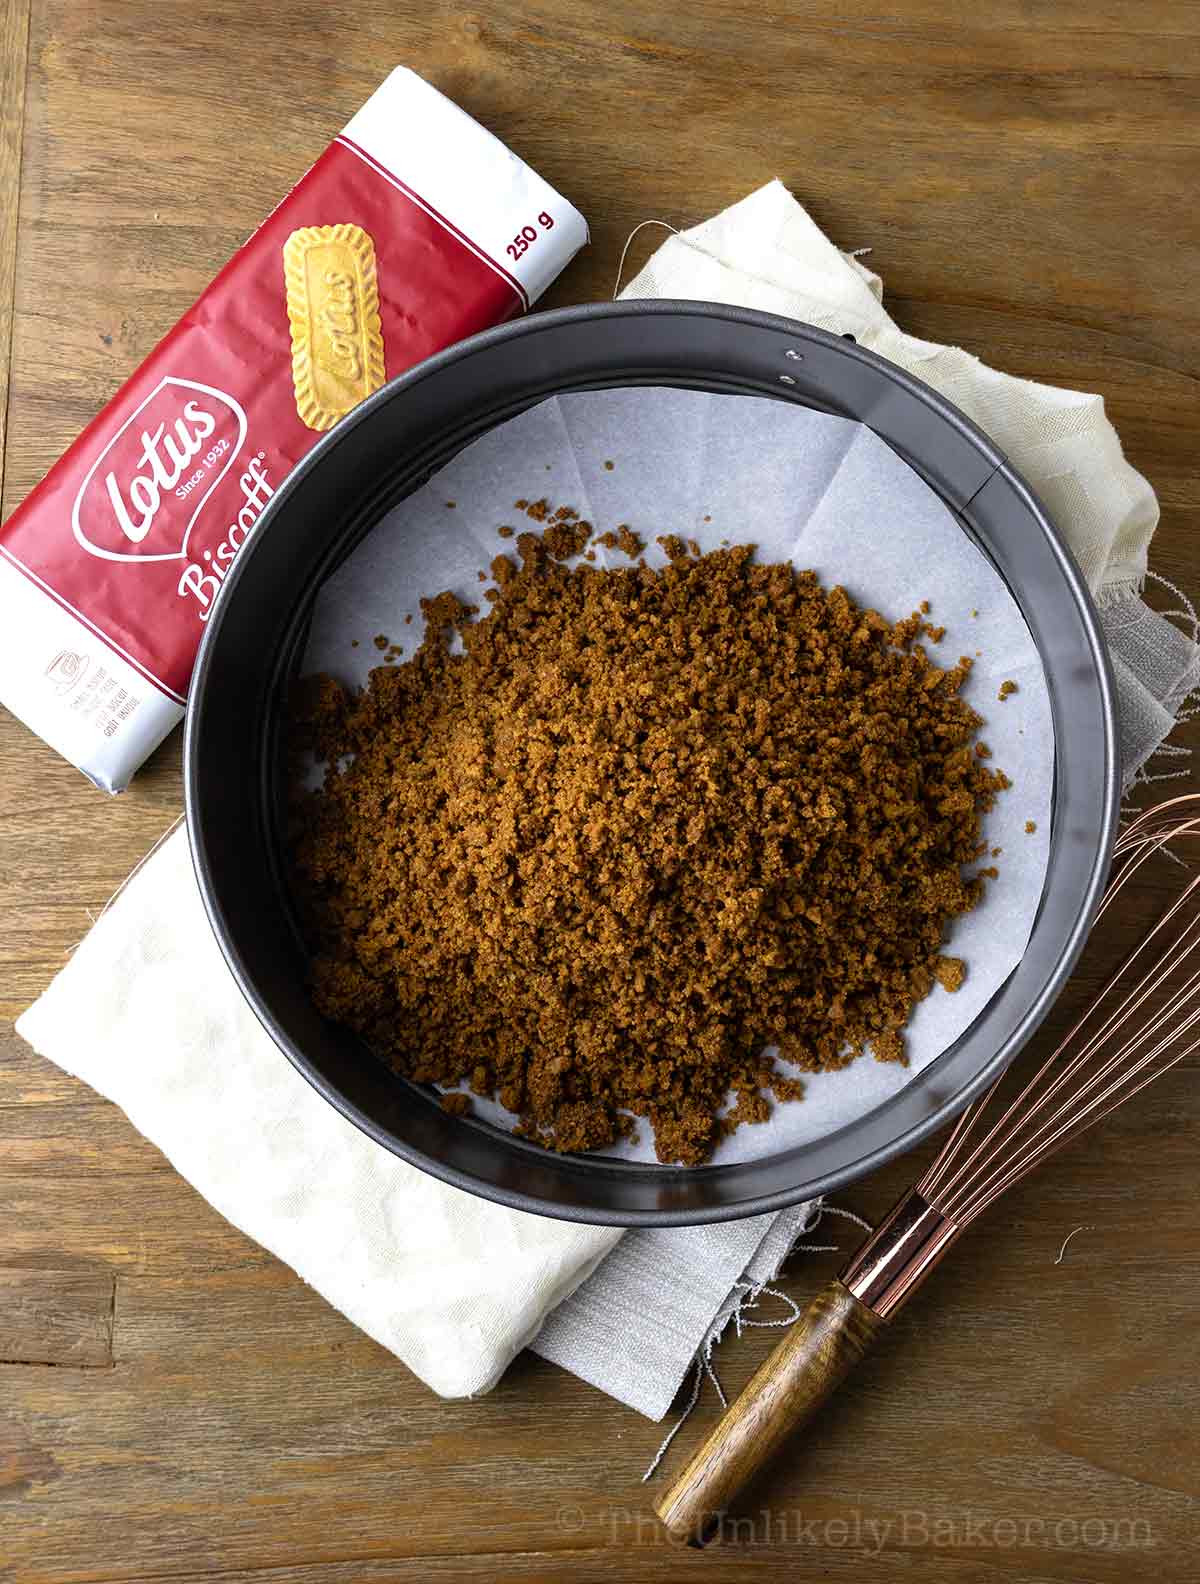
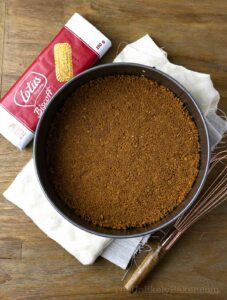
Transfer to your prepared pan.
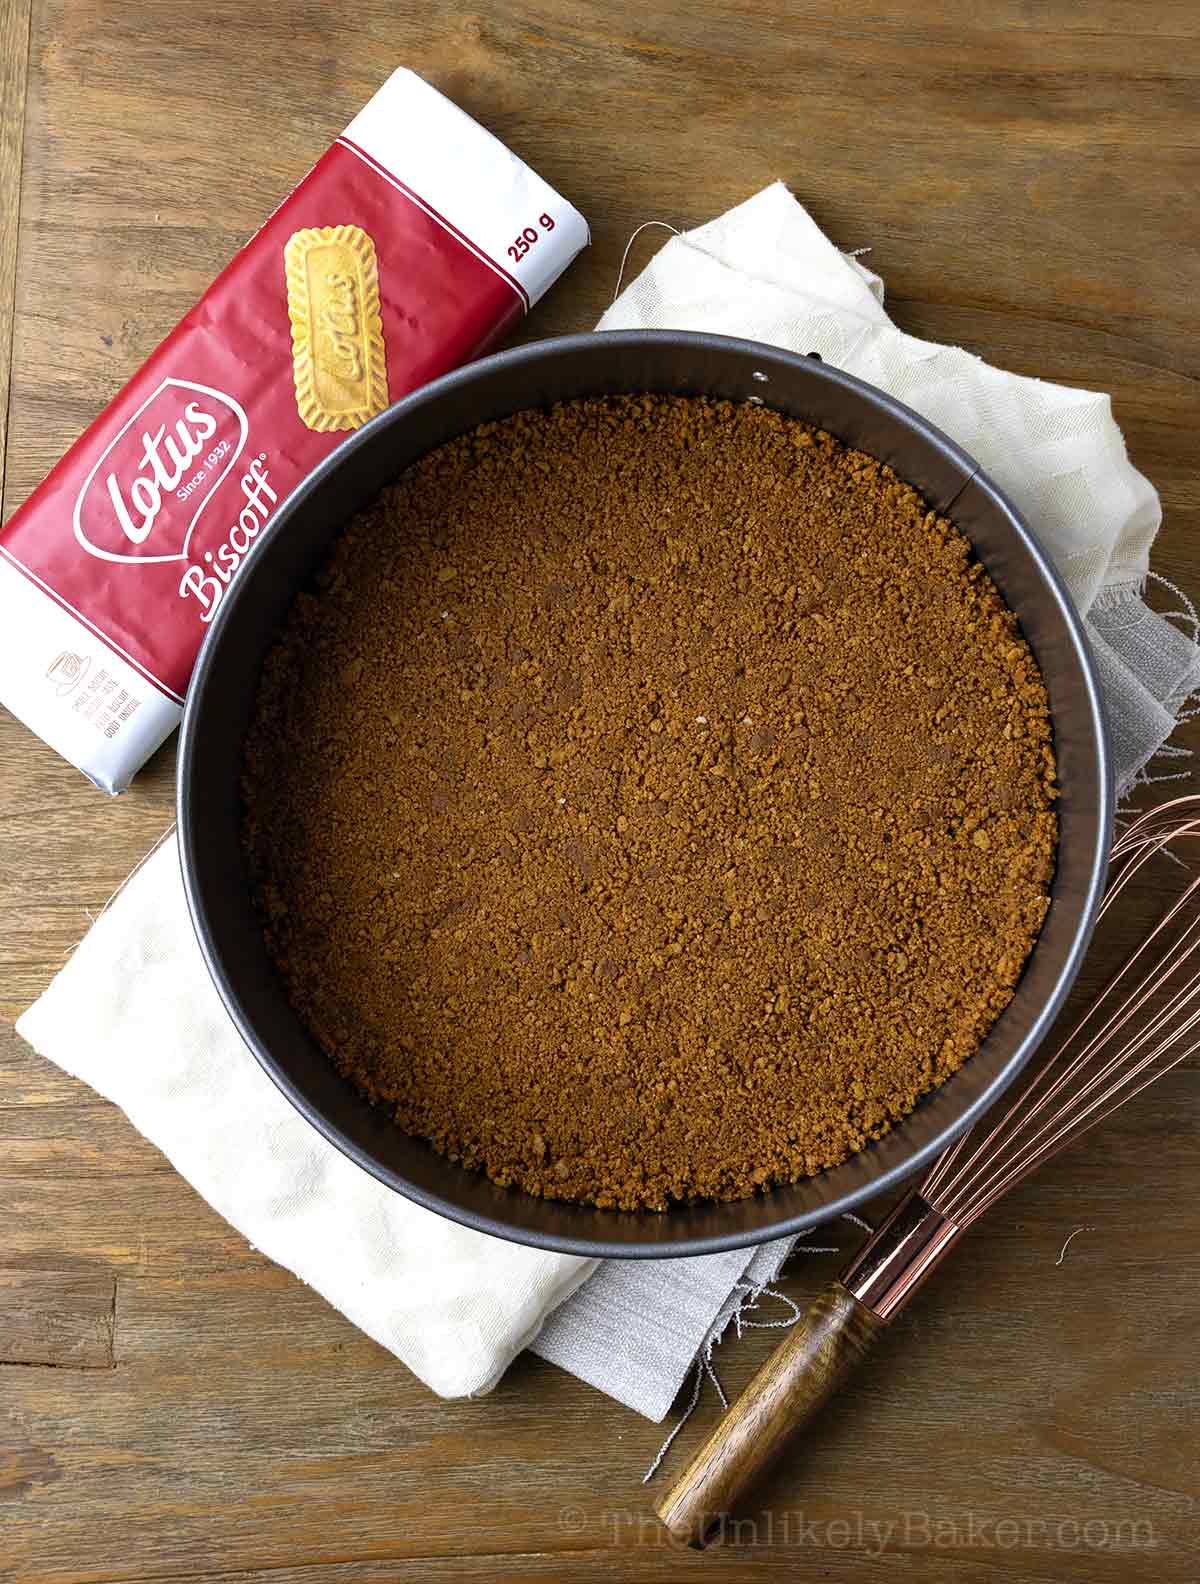
Use the back of a spoon or measuring cup to pack it tightly to the bottom. Set aside.
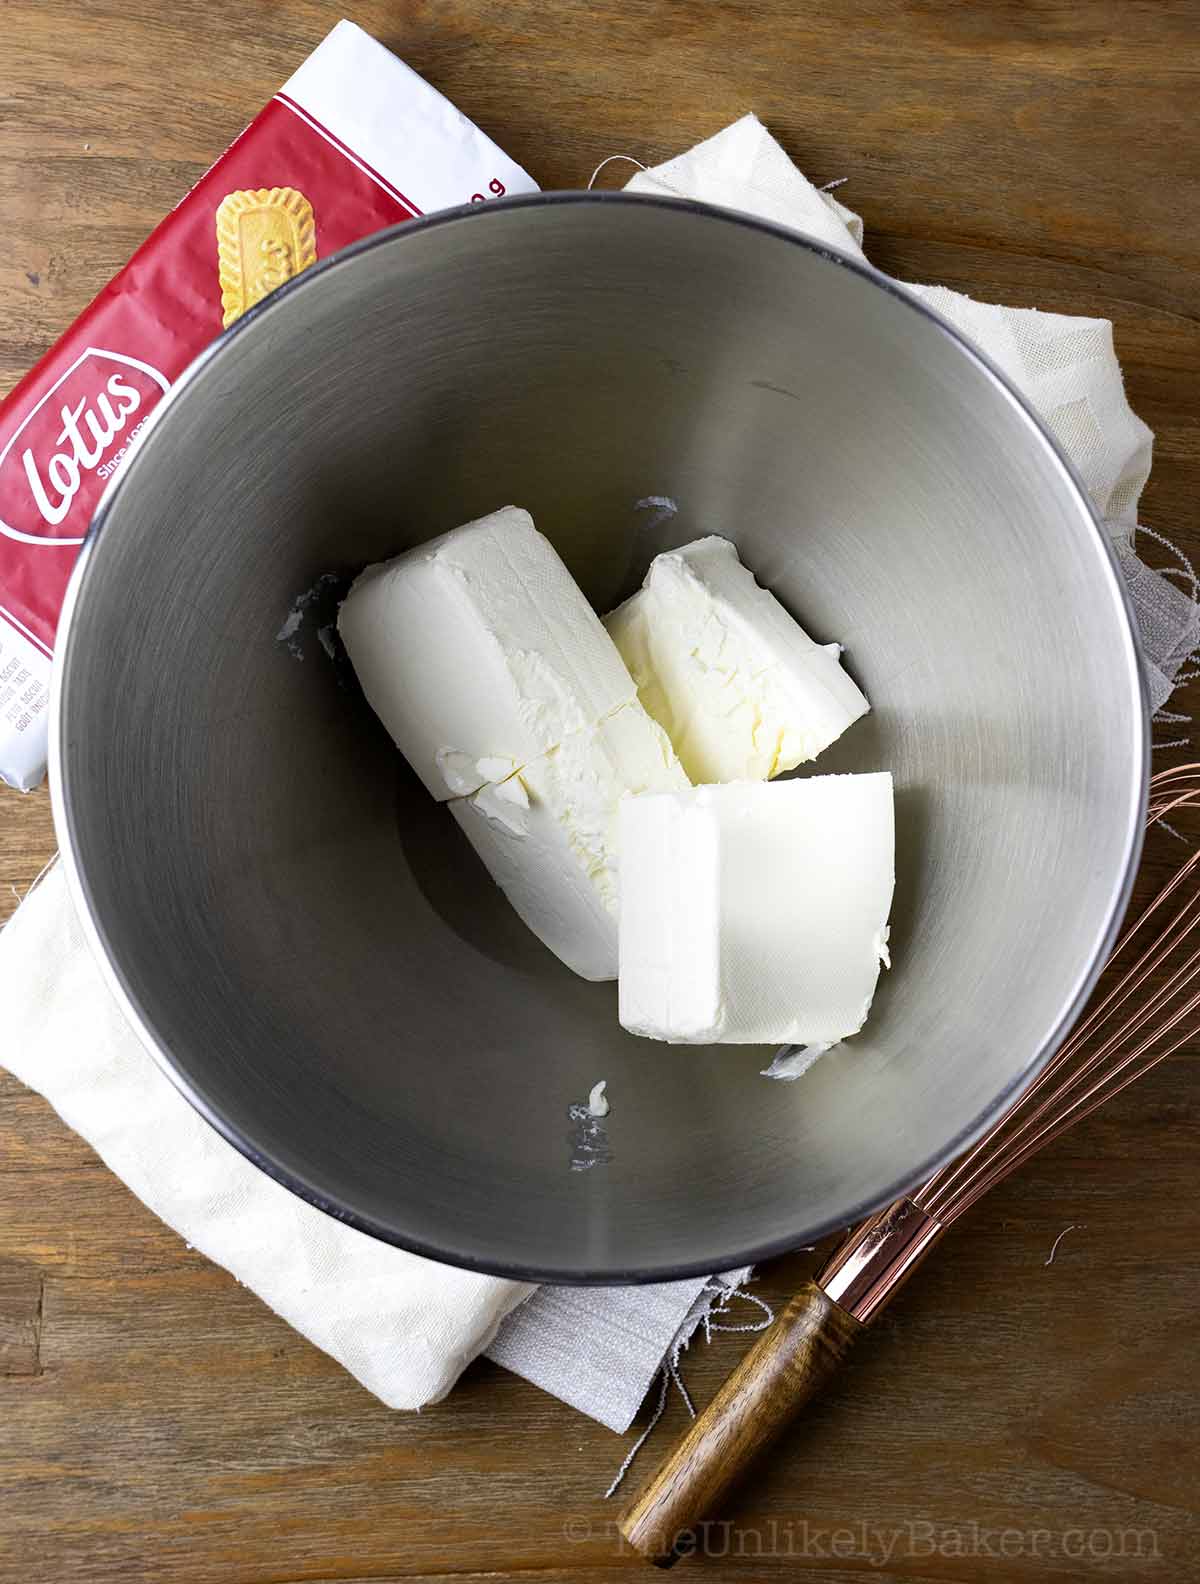
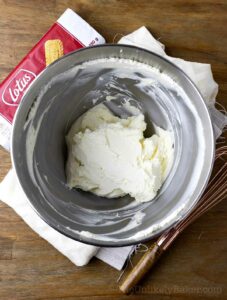
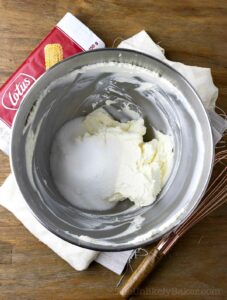
Using a handheld electric mixer or a stand mixer fitted with the paddle attachment, beat room temperature cream cheese on med/high speed until fluffy.
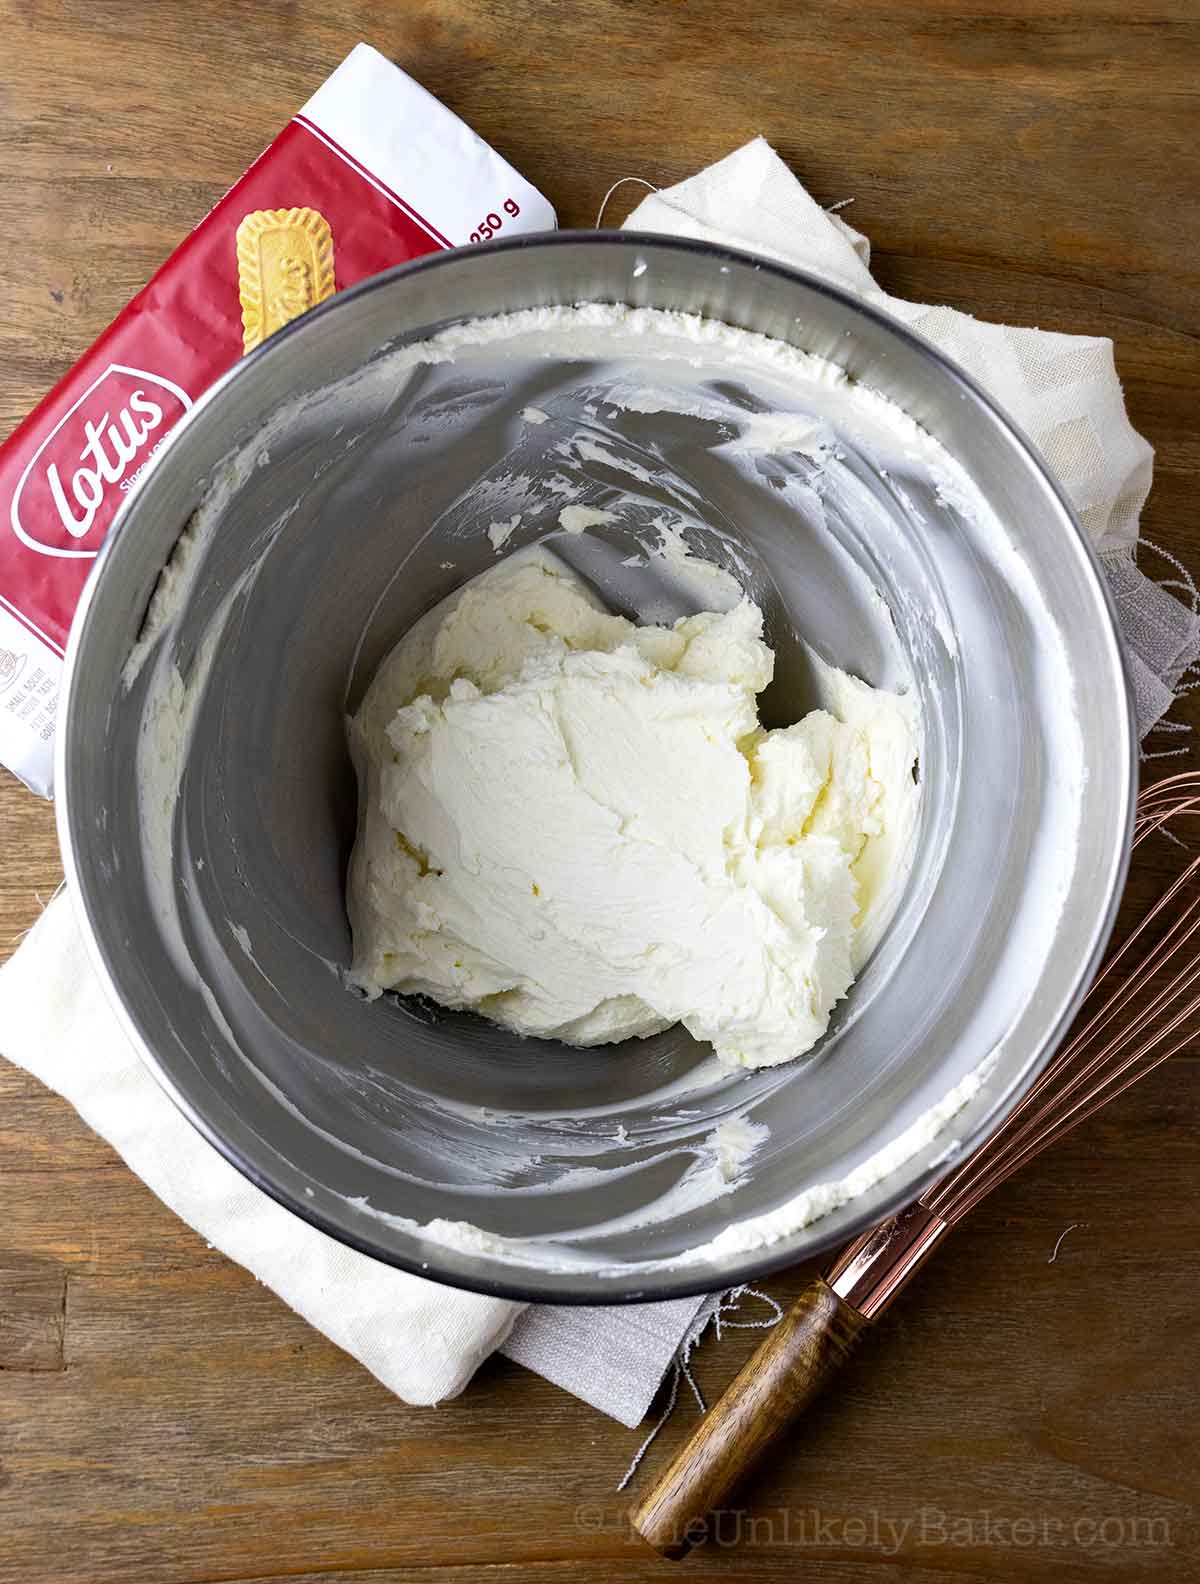
This take me about 2-3 minutes.
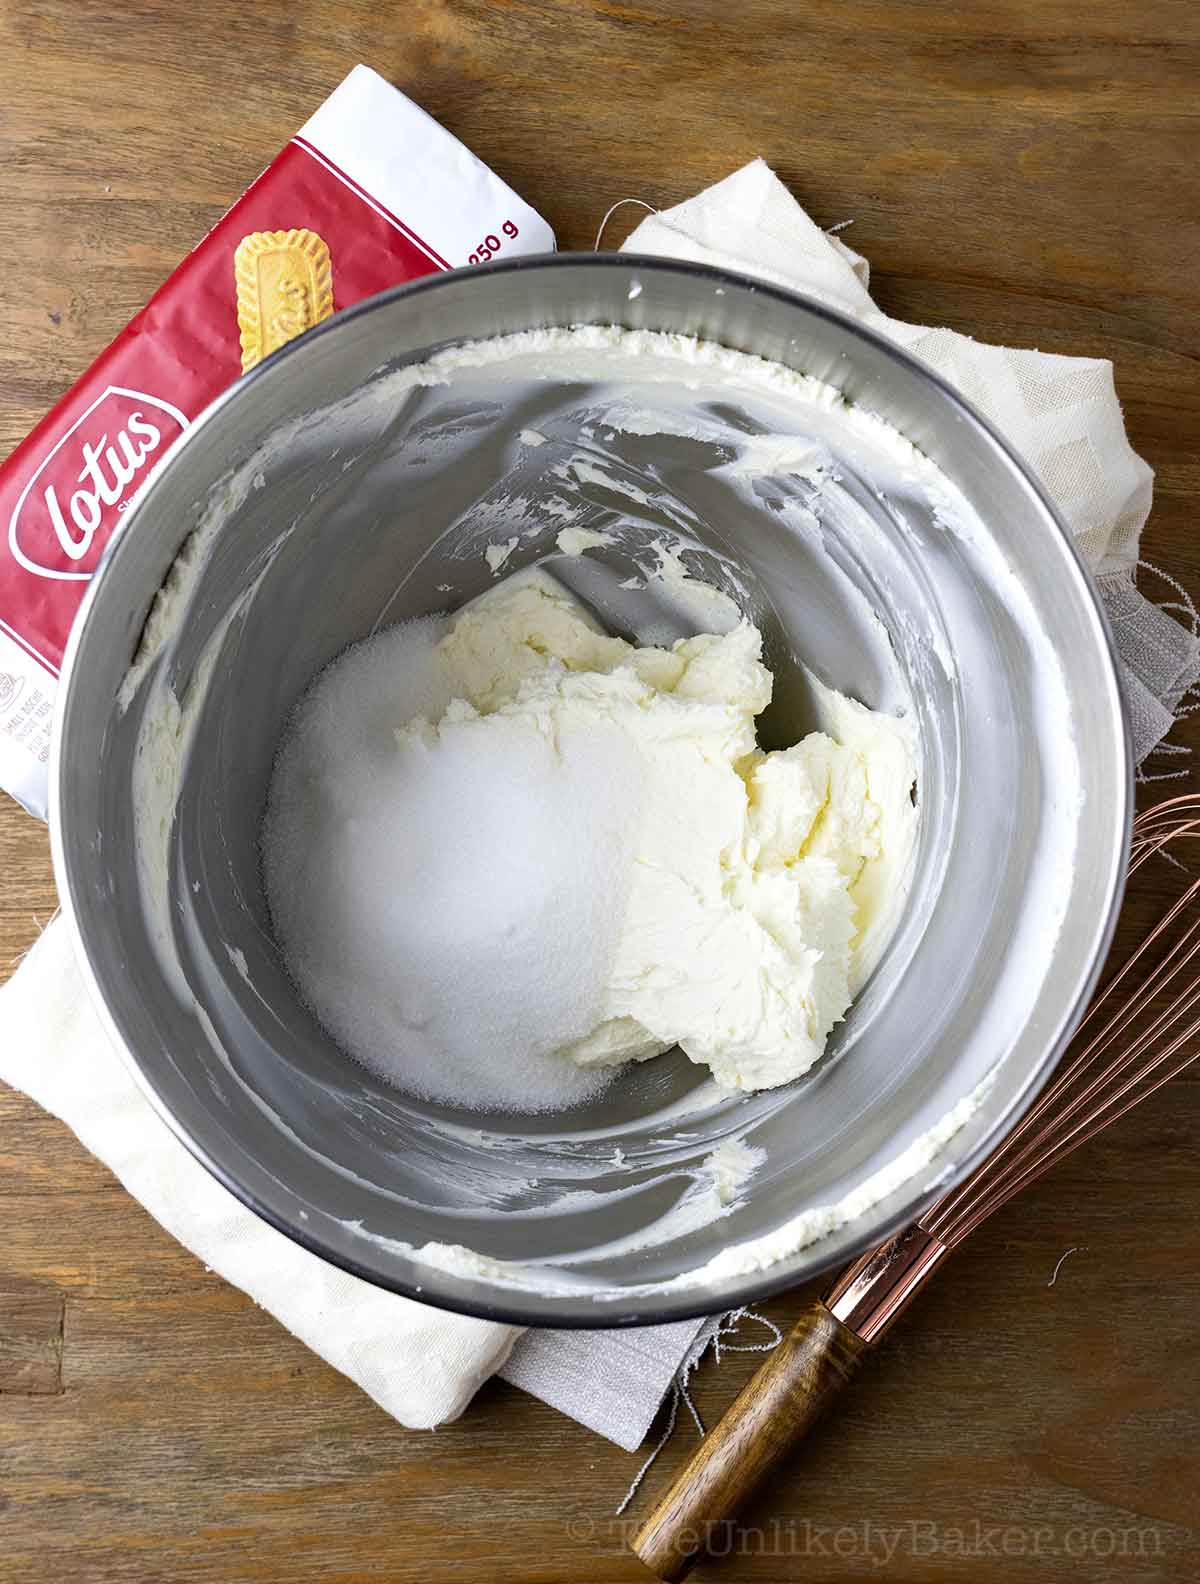
Add sugar.
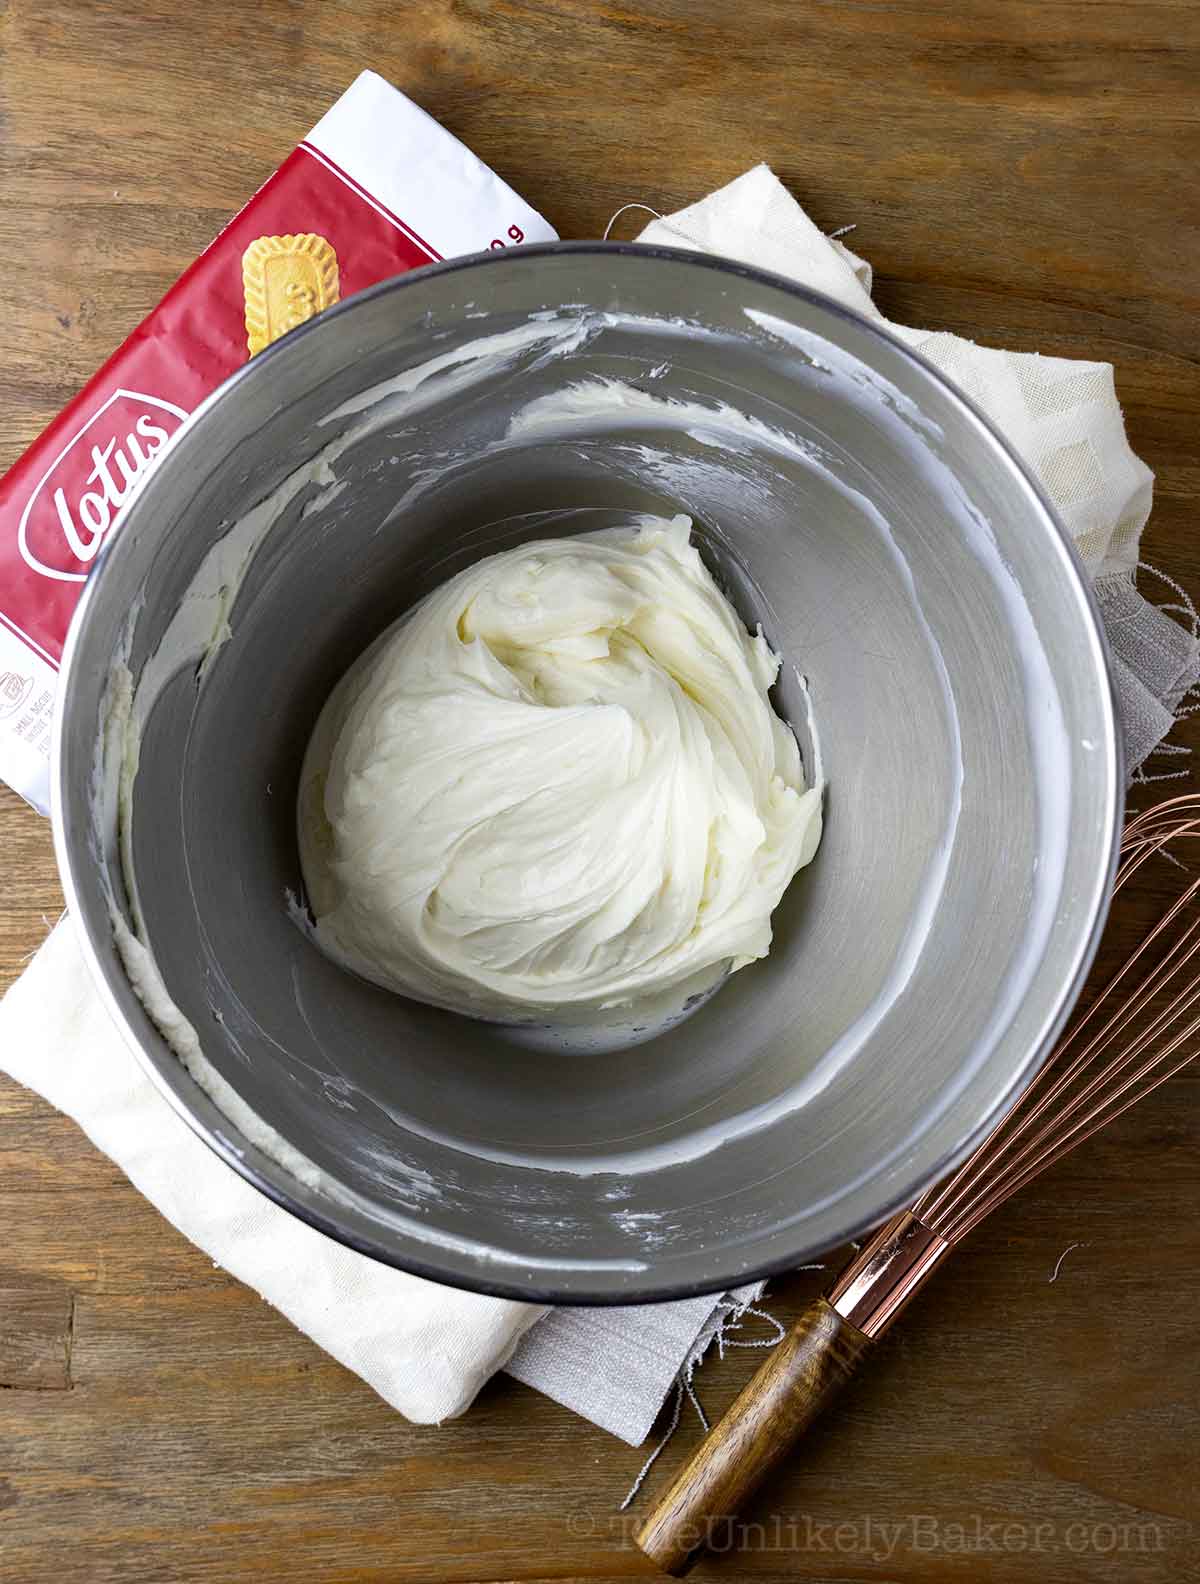
Continue beating for another 2 minutes.
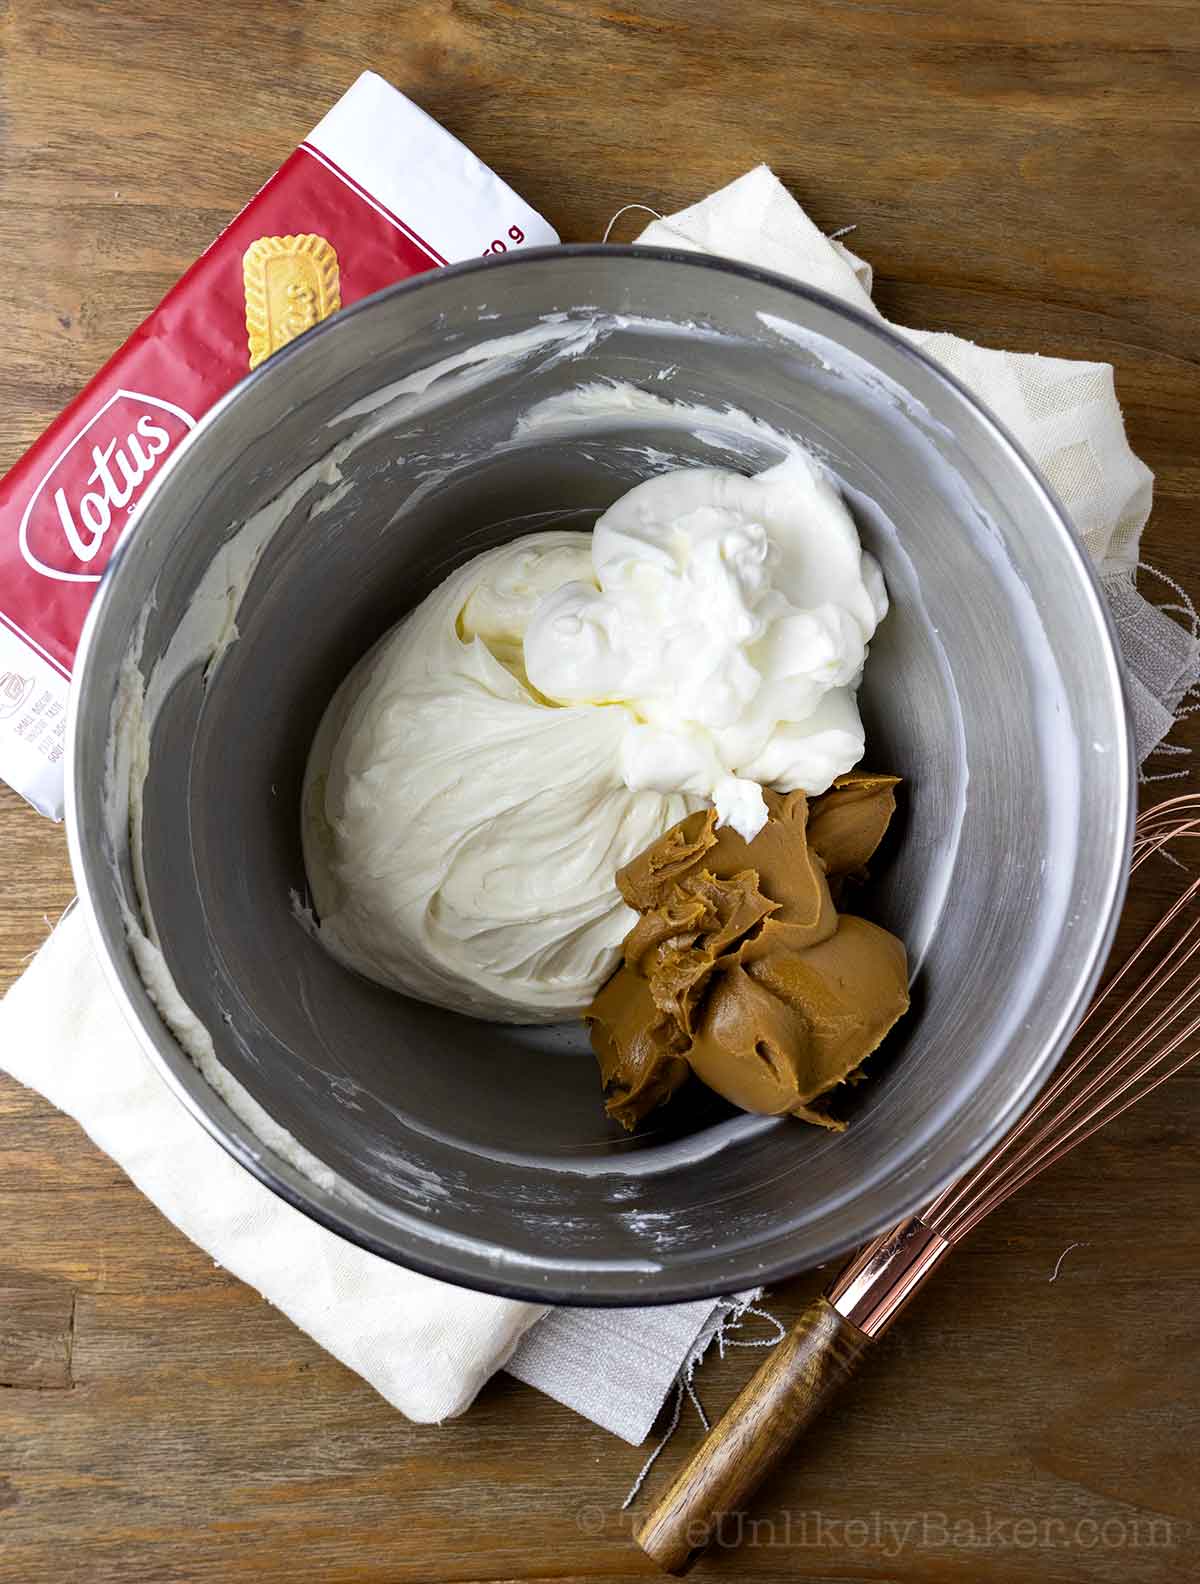
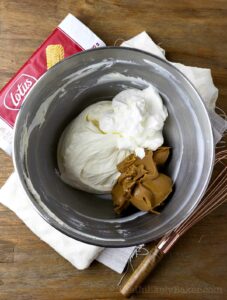
Add cookie butter spread and sour cream.
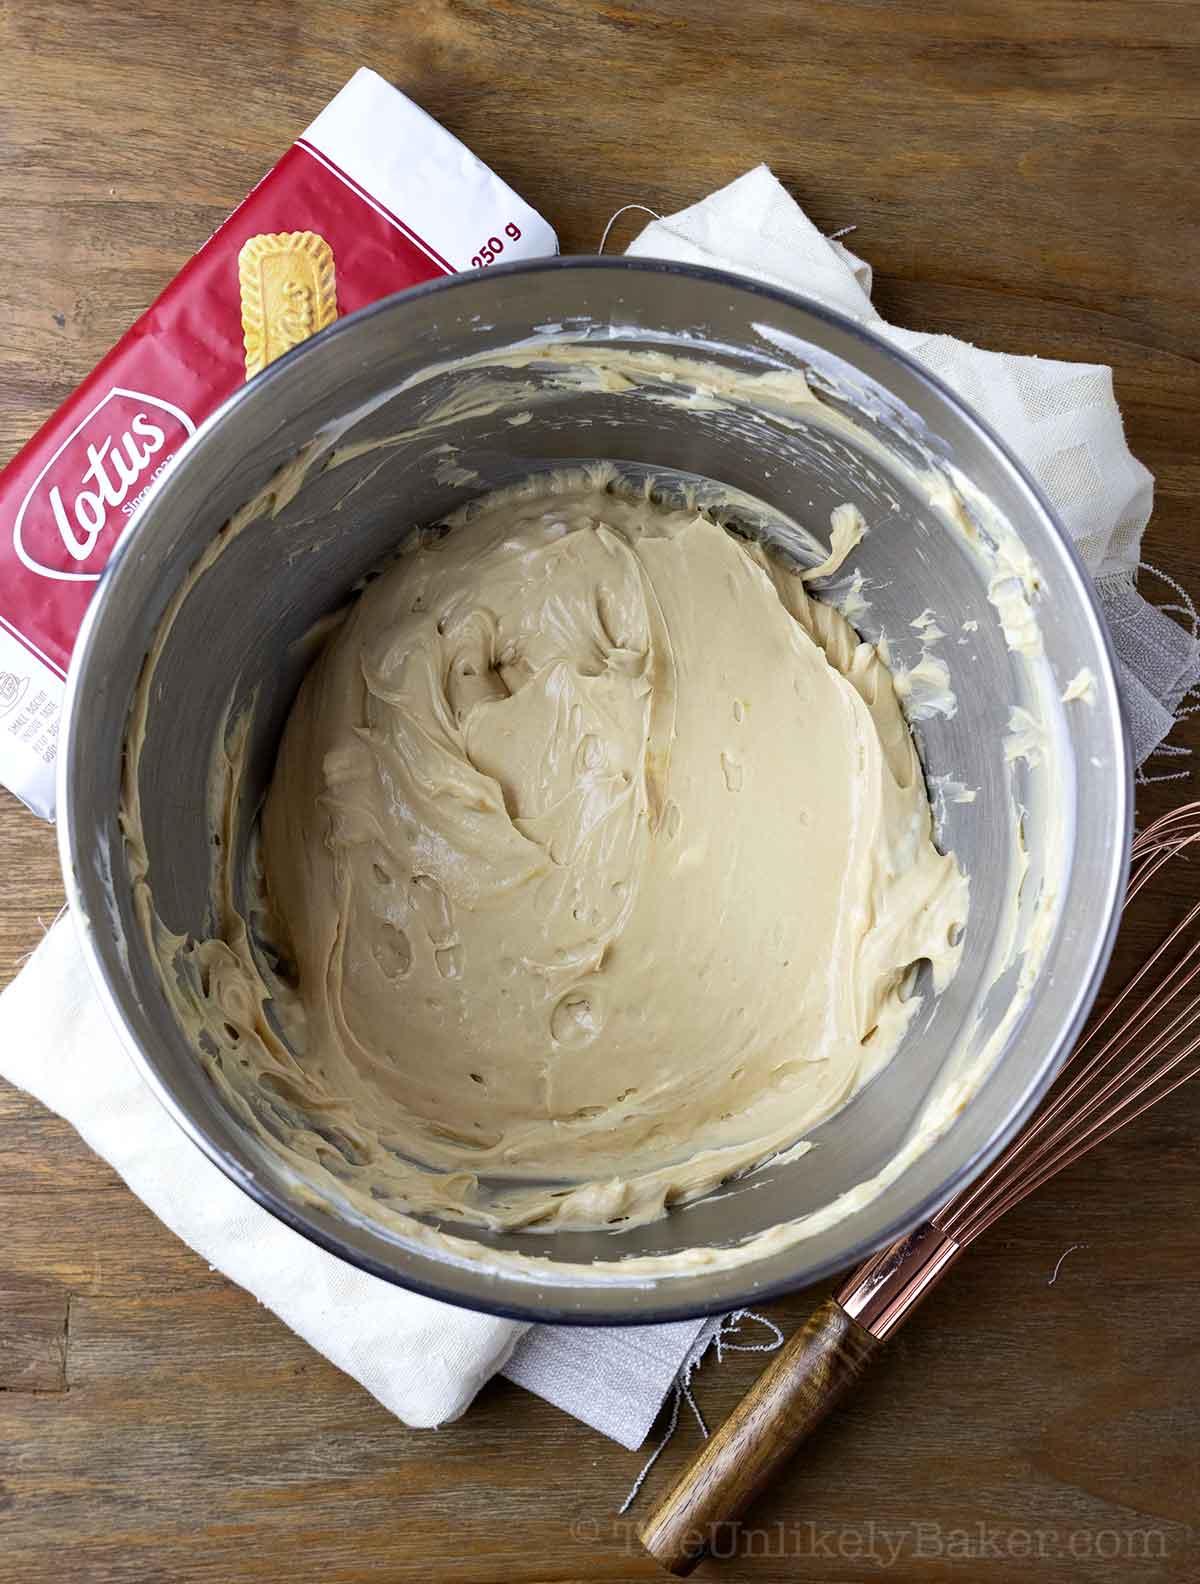
Beat until smooth and incorporated.
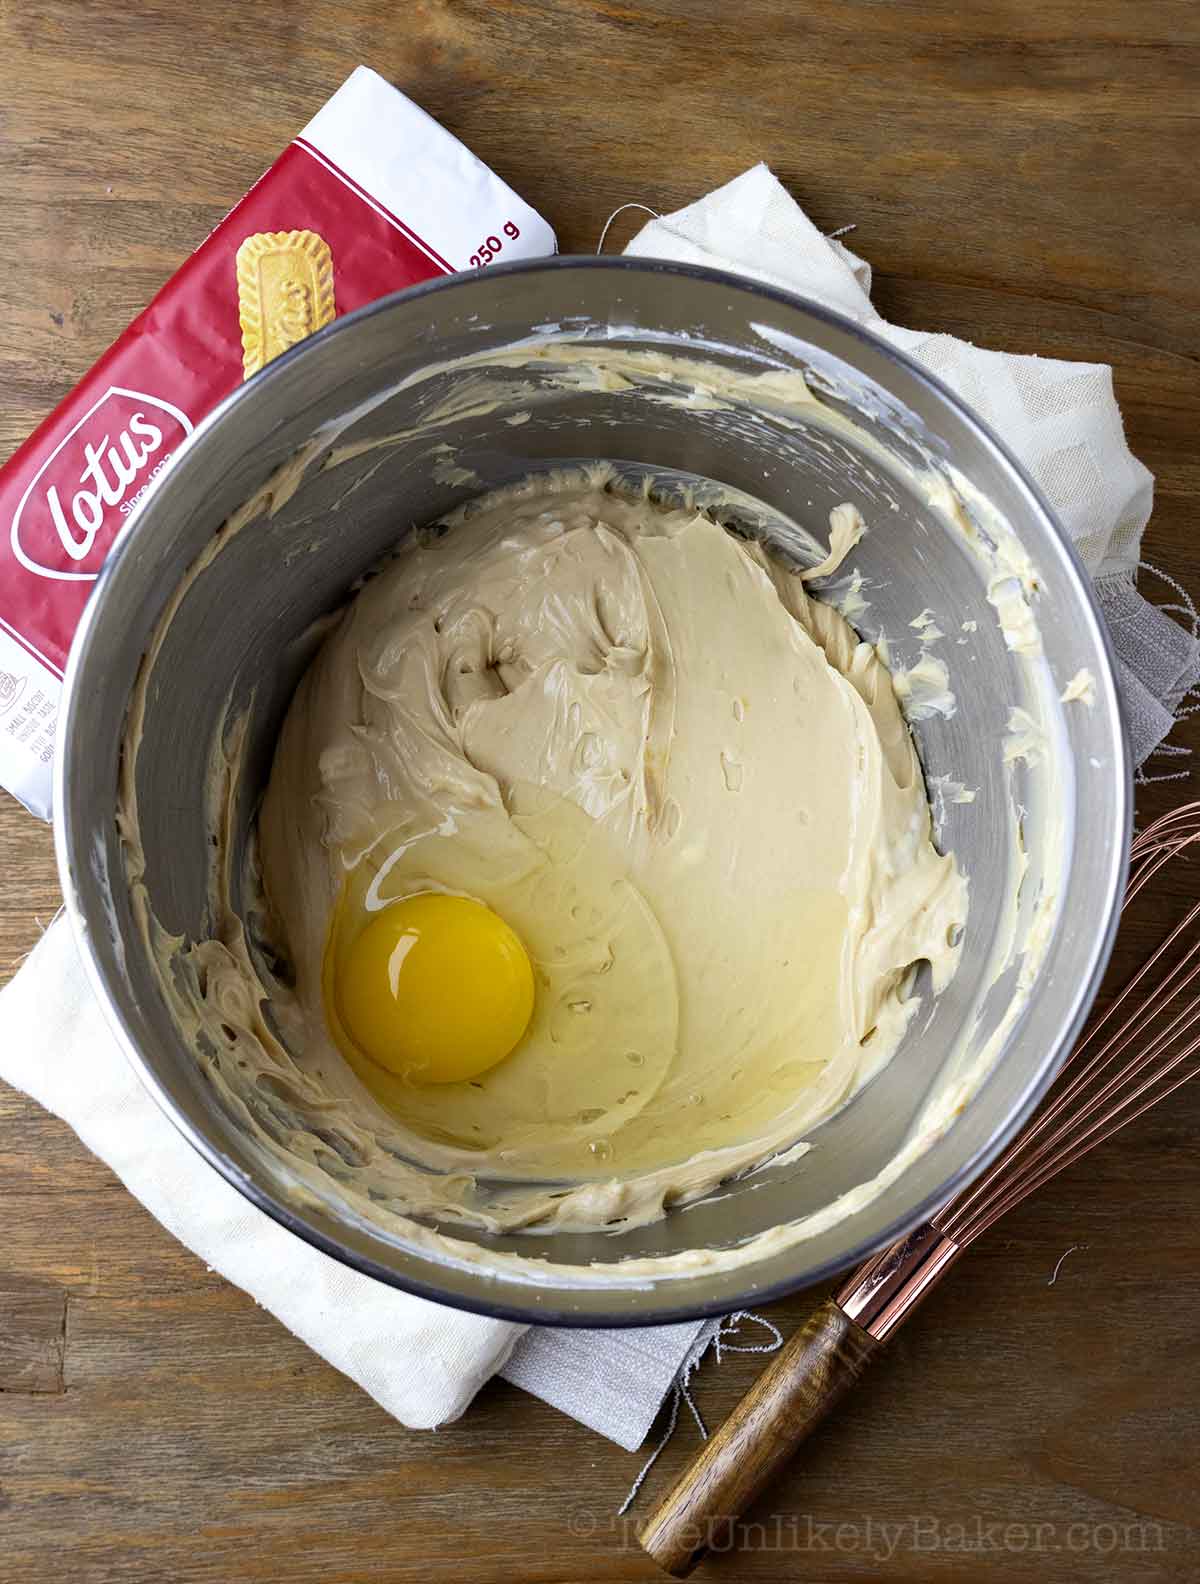
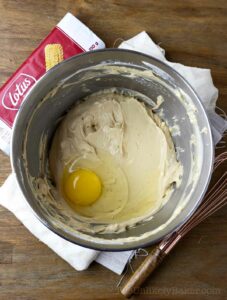
Add eggs one a time, beating each one just until combined. Remember to scrape the bottom and sides of your bowl to make sure you’re getting to every last inch of batter.
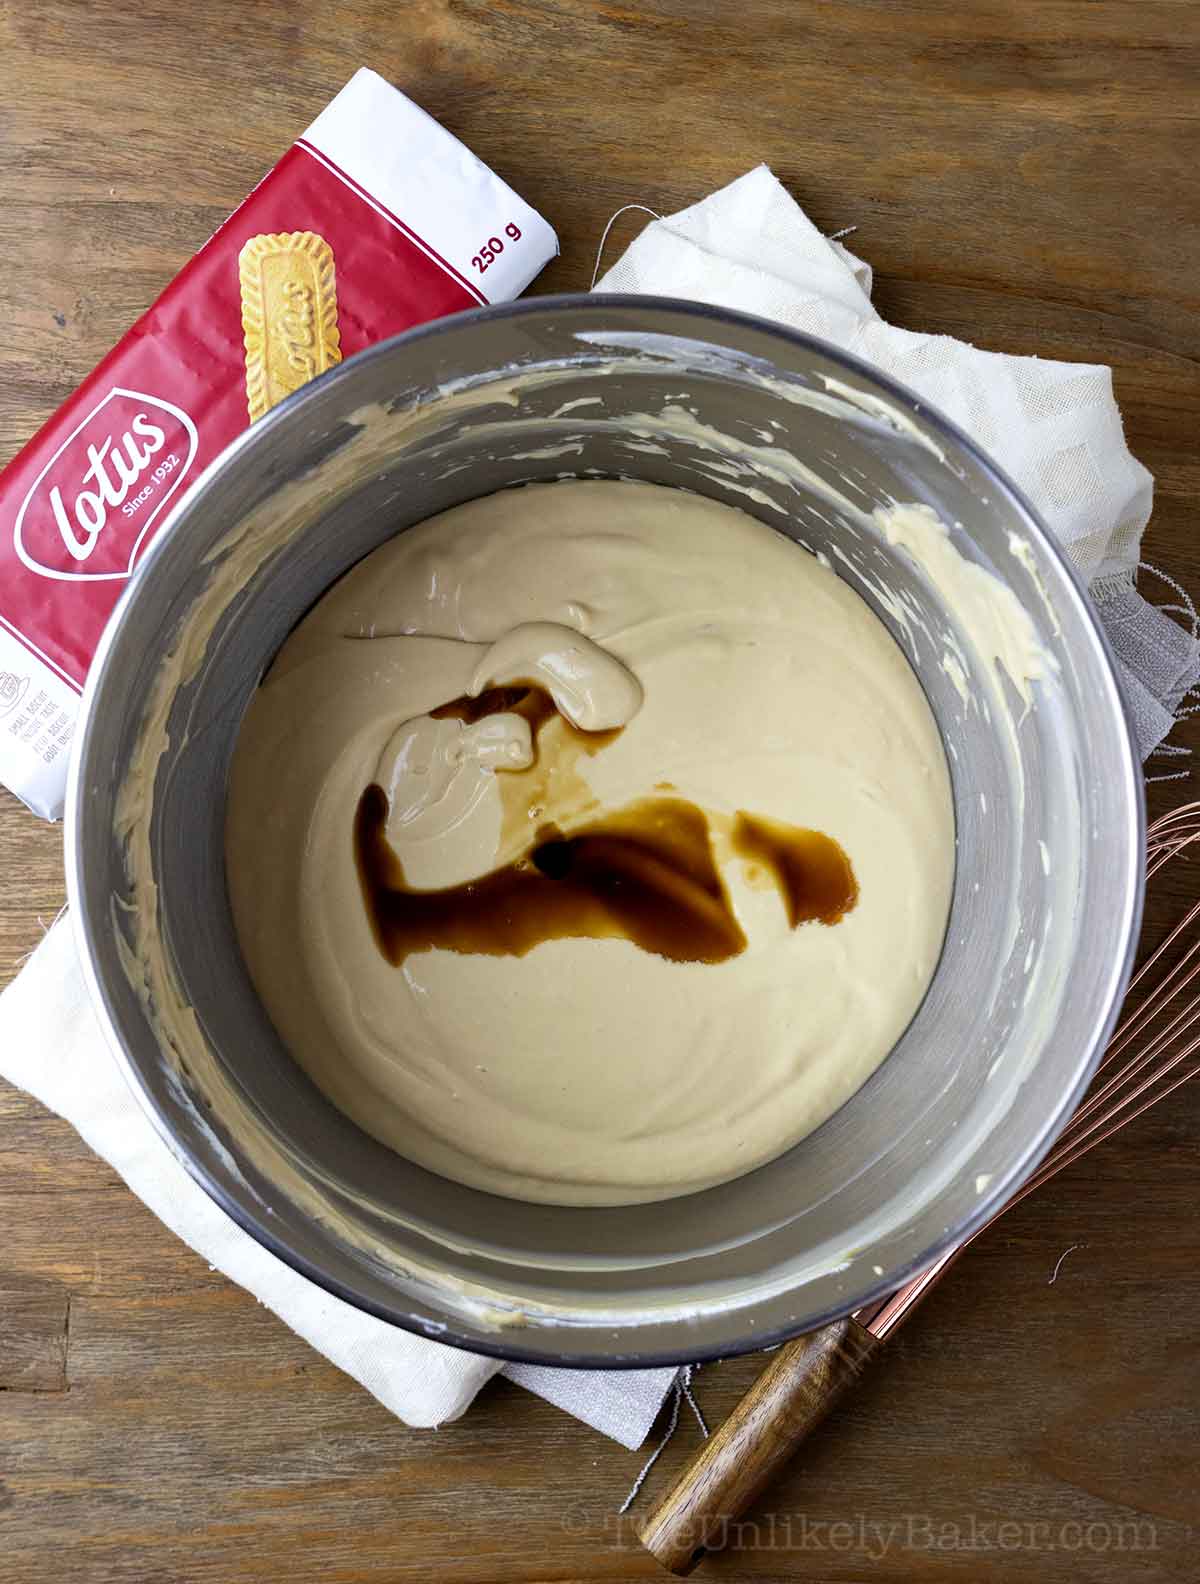
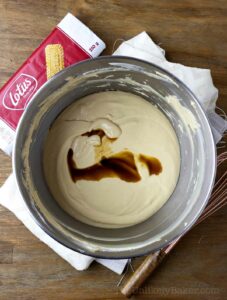
Add vanilla extract and salt.
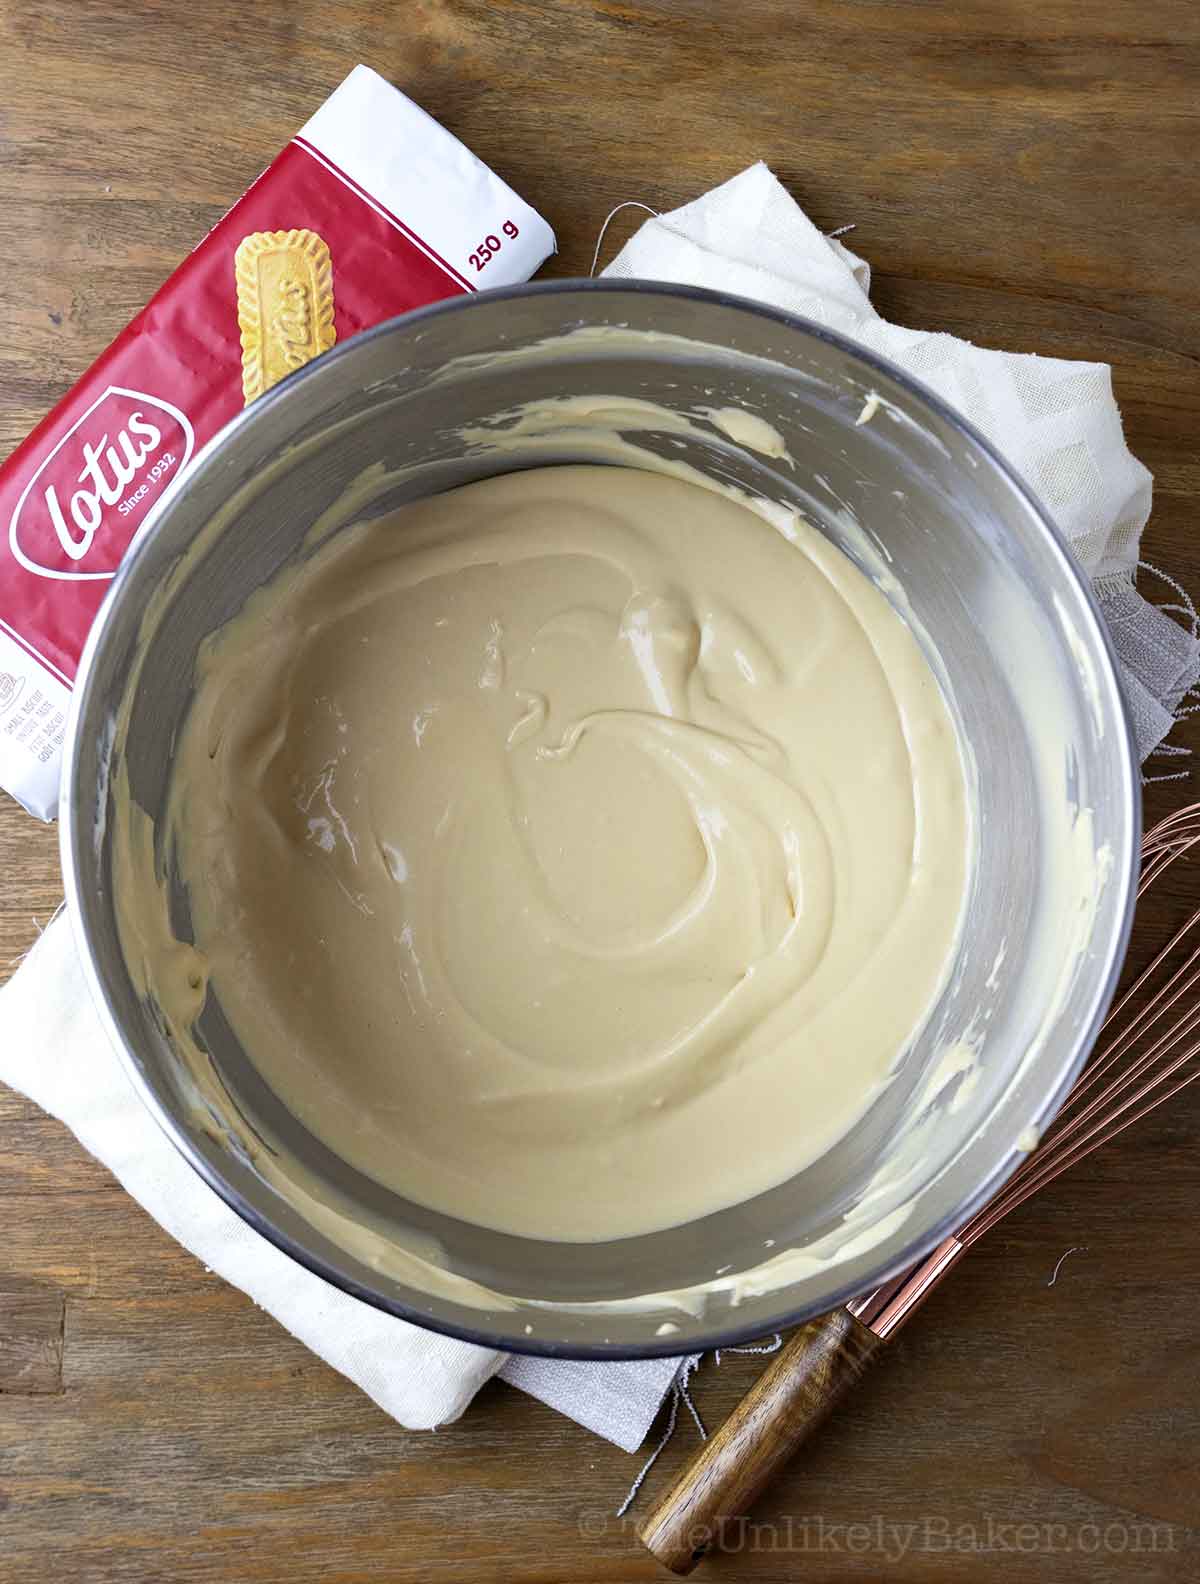
Stir until combined.
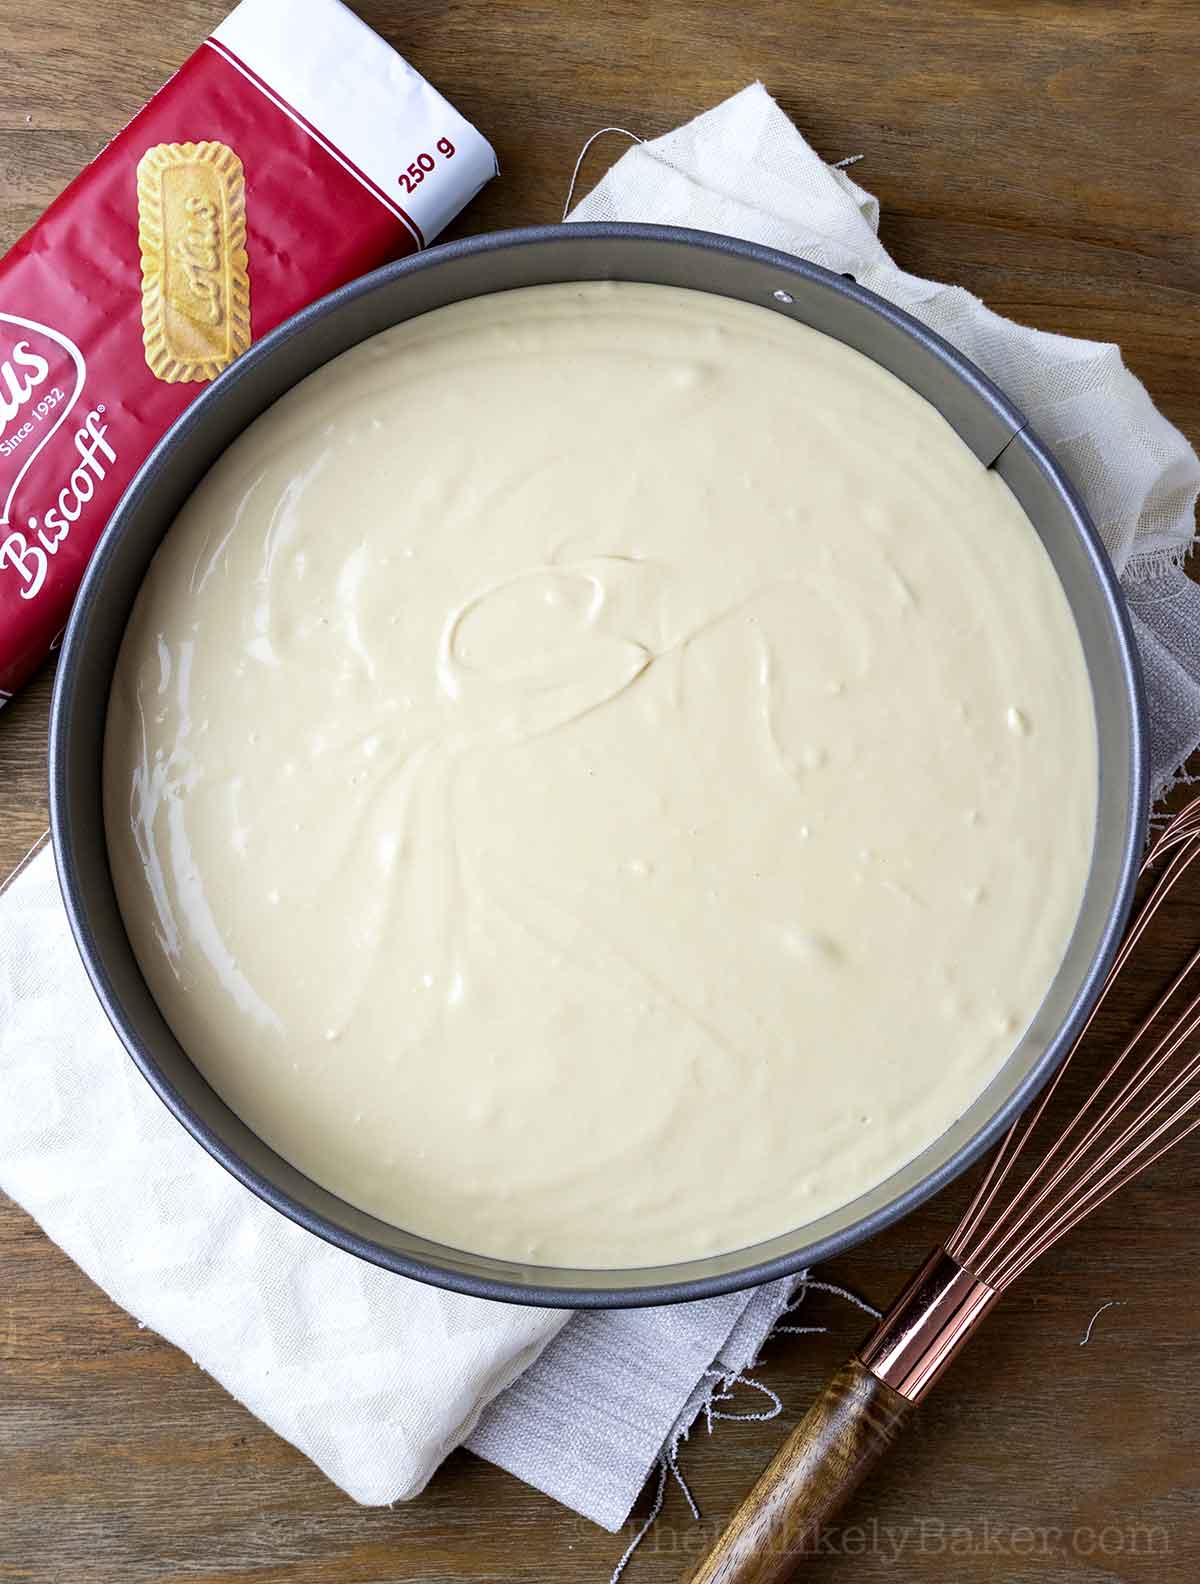
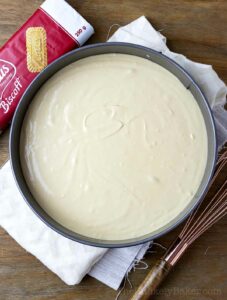
Pour the batter into your pan and tap gently on your counter. Place the pan on your oven’s middle rack. Place a roasting pan filled with hot water on the bottom rack.
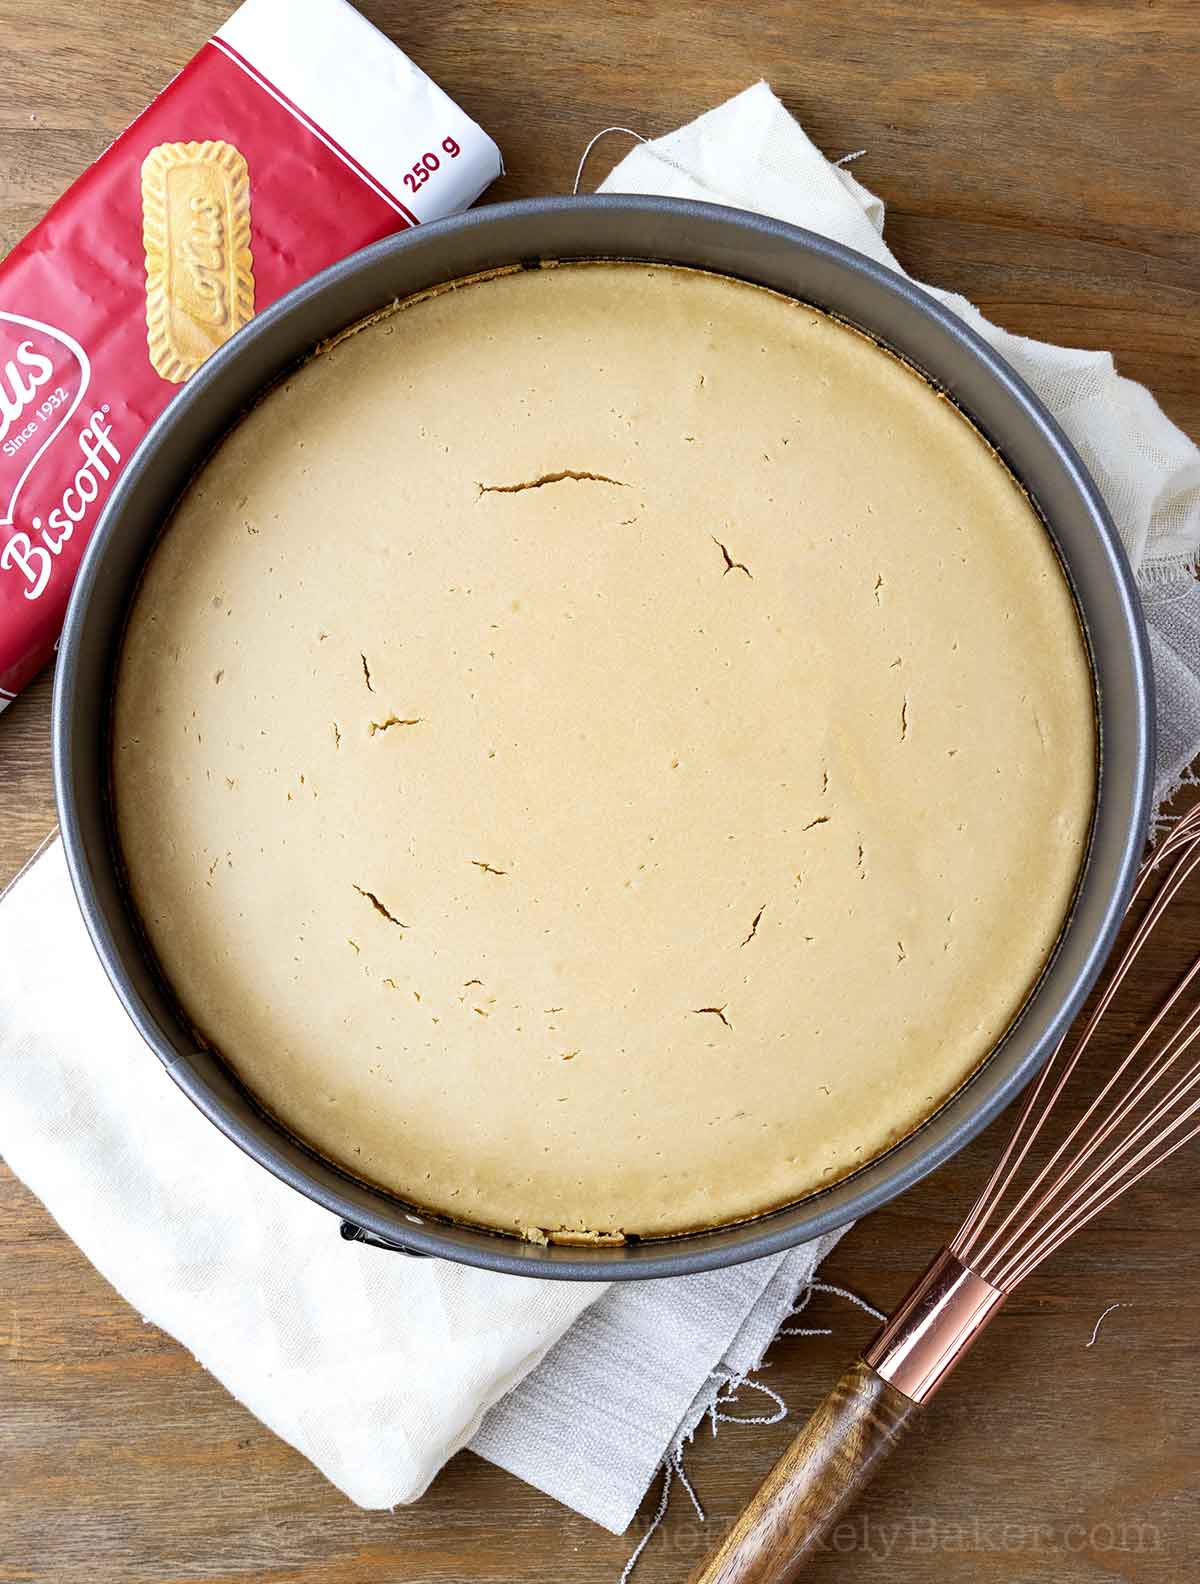
Bake for 30 minutes at 325F then lower the oven temperature to 300F and bake for 15 minutes more or until set (see expert tips). Turn the oven off, open the oven door slightly but keep the cheesecake inside for another hour so it can gradually cool.
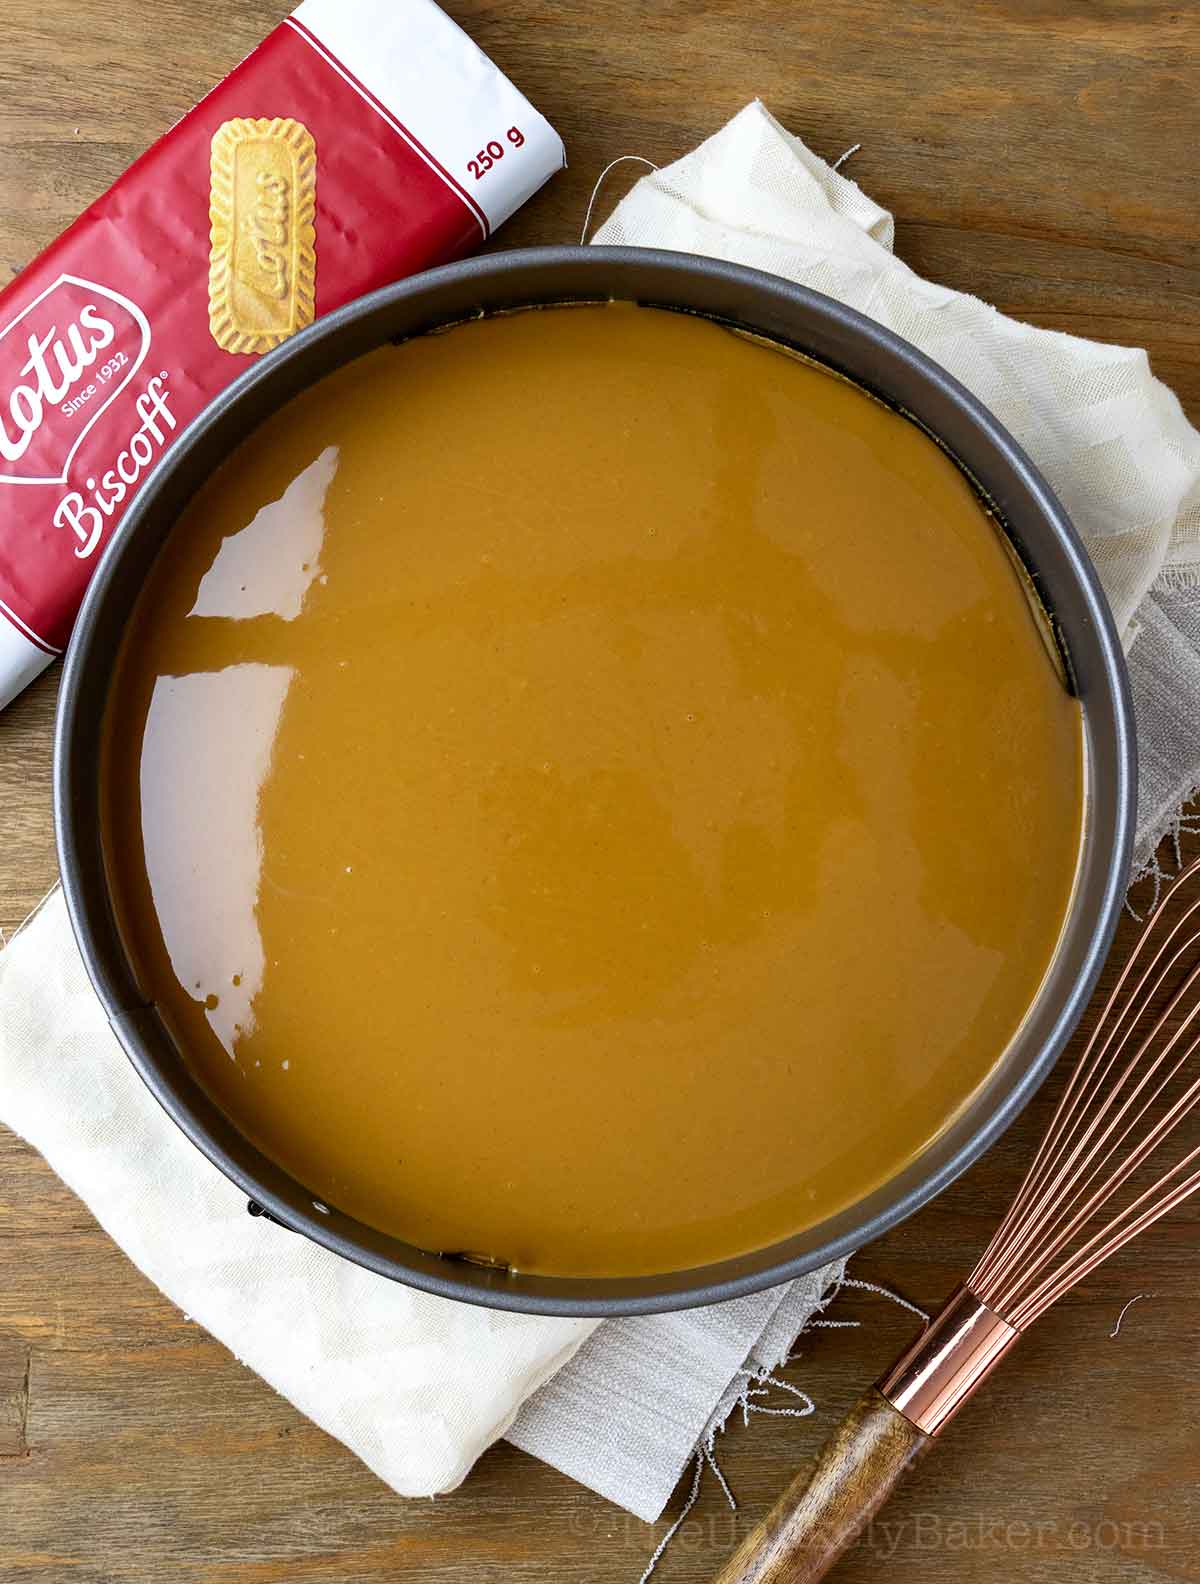
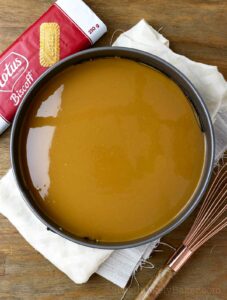
Take the cheesecake out of the oven, run a thin, sharp knife around the edges to separate the cake from the pan. Microwave about a cup of Biscoff spread for 15-20 seconds or until spreadable. Then pour over cheesecake. Spread evenly.
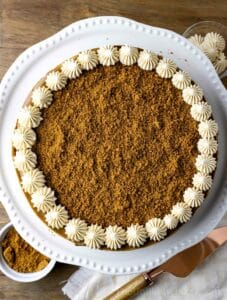
Place the cheesecake (still in the pan) in the fridge to chill 6-8 hours, preferably overnight. When you’re ready to serve, top with cookie crumbs, decorate as desired. Enjoy!
Expert tips
For the best cheesecake every time, remember:
- Start with room temperature ingredients. This ensures a smooth cheesecake batter and helps prevent the cheesecake from cracking later.
- Add eggs 1 at a time and beat for about 15 seconds or just until blended. Avoid over beating the batter because you don’t want to incorporate too much air into it.
- Before putting your cheesecake in the oven, gently tap your pan on the counter a few times to release any air bubbles hiding in the batter.
- Patience is key! Don’t be tempted to open the oven door to check on your cheesecake.
- Cool your cheesecake gradually. Once it’s done, turn the oven off but keep the cheesecake in the oven for about an hour with the oven door slightly open.
- And remember to chill the cheesecake completely too. Wait until it’s completely set before cutting into it.
Recipe FAQs
Traditionally, cheesecakes are baked in a water bath — you wrap your springform pan with aluminum foil and place it on a roasting pan halfway filled with water. The idea is to create a gentle and even heat around the cheesecake.
My problem with this method has always been seeping i.e. water would always get into my cheesecake no matter how well I wrapped it.
Happily, I discovered a new way to bake cheesecakes without all this mess and fuss.
Simply place a roasting pan with hot water on the lower rack of the oven with the cheesecake baking on the middle rack. No cracks, no seeping, just perfect creamy cheesecakes every time!
Of course you can continue baking cheesecakes using a water bath if you like but I hope you try this new method too. It’s a game changer.
Here are some signs to look for:
– The edges of the cheesecake should be slightly puffy and the centre should be almost set but still slightly wobbly (not soupy though).
– To be sure, gently shake the pan, the center should jiggle ever so slightly. This center part will set as the cheesecake cools.
Not quite there yet? Continue baking but watch your cheesecake carefully. Over-baking is one of the causes of cracking.
You can! Simply use a mini cheesecake pan with removable bottoms, or a cupcake pan lined with paper liners.
Watch your baking time because mini cheesecakes will get done sooner.
You can! Instead of using a springform pan, you can use a 9×9 inch square pan lined with parchment paper.
Store the cheesecake covered in the fridge. It should keep up to 5 days.
You can also choose to freeze it. Either transfer the cheesecake into a freezer safe container or wrap the cheesecake while in the pan with plastic wrap, then aluminum foil.
Frozen cheesecake should keep for at least a month.
More cheesecake recipes
Love cheesecakes as much as I do? Check out these recipes:
We hope you love this creamy Biscoff cheesecake as much as we do.
Happy baking!
Did you make this Biscoff cheese cake recipe? I’d love to hear all about it! Leave a comment or a star rating below. You can also tag me on Instagram or Facebook. I’d love to see your creations!
You can also find me on Pinterest, Twitter and YouTube.
Biscoff Cheesecake
Equipment
Ingredients
Cookie Crust
- 1 8.8-oz pack Biscoff cookies crushed into crumbs
- ⅓ cup unsalted butter melted and slightly cooled
- pinch salt
Cheesecake Filling
- 2 8-oz block cream cheese room temperature
- ½ cup granulated sugar
- 7 oz Biscoff spread about ¾ cup, plus more for topping
- ¾ cup sour cream room temperature
- 1 tsp vanilla extract
- pinch salt
- 3 pieces large eggs room temperature
Instructions
- Preheat oven to 325F. Line the bottom of a 9-inch springform pan with parchment paper and set aside.
- In a medium bowl, combine all crust ingredients and stir until evenly moist.1 8.8-oz pack Biscoff cookies, ⅓ cup unsalted butter, pinch salt

- Transfer to your prepared pan and use the back of a spoon or measuring cup to pack it tightly to the bottom. Set aside.

- Using a handheld electric mixer or a stand mixer fitted with the paddle attachment, beat cream cheese on med/high speed until fluffy (2-3 mins).2 8-oz block cream cheese

- Add sugar and continue beating for another 2 minutes.½ cup granulated sugar

- Add Biscoff spread and sour cream. Beat until smooth and incorporated.7 oz Biscoff spread, ¾ cup sour cream

- Add vanilla extract and salt and stir until combined.1 tsp vanilla extract, pinch salt

- Add eggs one a time, beating each one just until combined. Remember to scrape the bottom and sides of your bowl to make sure you’re getting to every last inch of batter.3 pieces large eggs

- Pour the batter into your pan and tap gently on your counter.

- Place the pan on your oven's middle rack. Place a roasting pan or a 9×13 inch baking pan filled with hot water on the bottom rack.
- Bake for 30 minutes at 325F then lower the oven temperature to 300F and bake for 15 minutes more or until set.
- Turn the oven off, open the oven door slightly but keep the cheesecake inside for another hour so it can gradually cool.
- Take the cheesecake out of the oven, run a thin, sharp knife around the edges to separate the cake from the pan.

- Microwave about a cup of Biscoff spread for 15-20 seconds or until spreadable. Pour over cheesecake. Spread evenly.

- Place the cheesecake (still in the pan) in the fridge to chill 6-8 hours, preferably overnight.
- When you’re ready to serve, top with cookie crumbs and decorate as desired. Enjoy!

Video
Notes
- The yield depends on how you slice your cheesecake. Note that this is very rich and a little goes a long way. The estimated nutrition information is based on 16 servings.
- See post for tips on how to check for doneness, how to prevent cracking and more.
Nutrition
Nutritional information are estimates only.

Lorena
I followed baking instructions as per your recommendation with roasting pan on bottom rack with hot water, instead of bath for the cheesecake. 325 for 30 minutes and 300 for fifteen. Turned oven off left slightly ajar(about an inch) for an hour before removing from oven.
To my dismay there was a huge crack in my cake. Seems like it was a great idea in theory but execution was a miss.
Now I don’t have time to bake another one, so my question to you is about salvaging the cake because now I have to put topping on. Can I place a piece of rice paper on the top so that the biscoff spread does not ooze into the cake and stays on top?
Answer appreciated. Thank you
Jolina
Hi Lorena, the topping should cover the crack. It will seep into the crack but it won’t be noticeable and it will still be delicious! You can also top with whipped cream. I always bake my cheesecakes this way and hardly get any cracking. It might be worthwhile to check your oven temp.