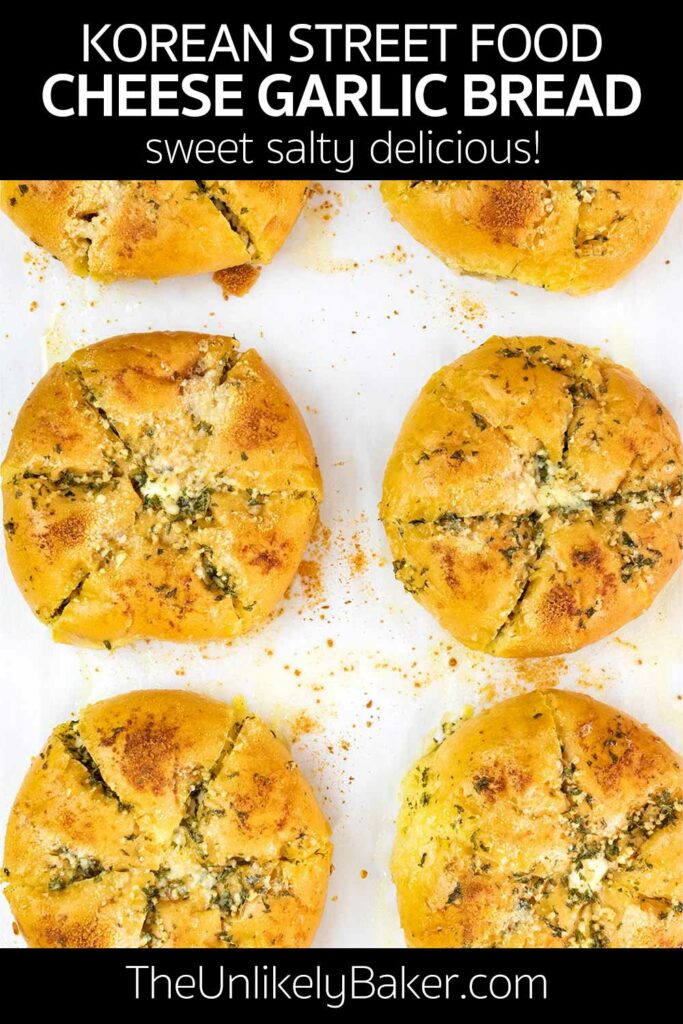
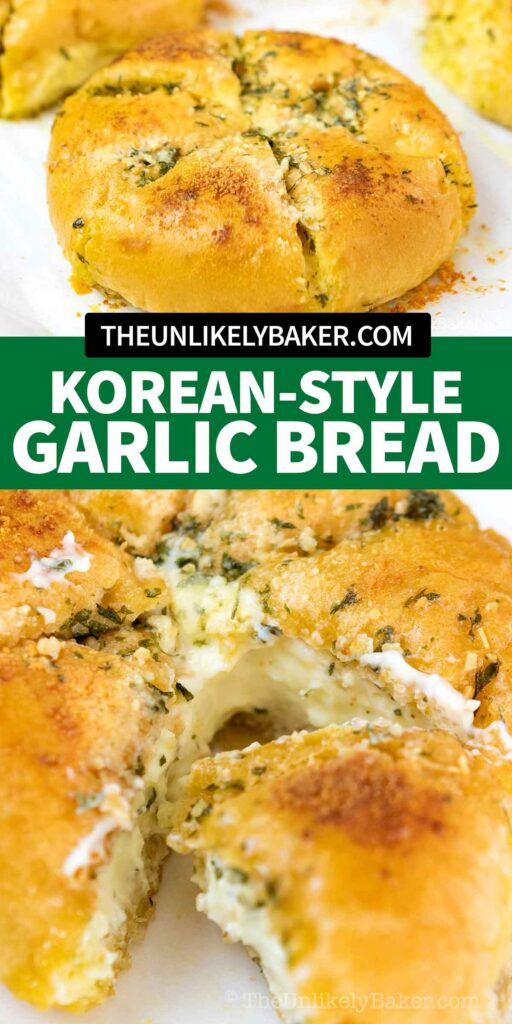
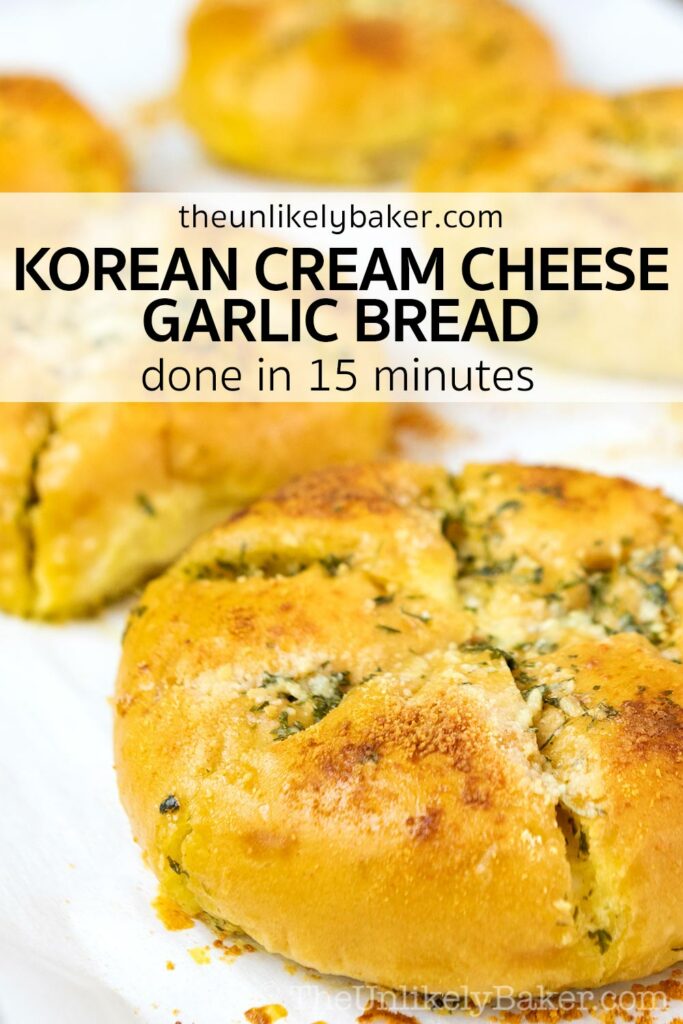
Korean garlic bread is sweet and salty, soft and crunchy in one mouthwatering bite. Filled with sweetened cream cheese and dipped in rich, creamy garlic butter, this is unlike any garlic bread you’ve had before. Best of all, it’s done in 15 minutes.
(Are you a fan of all things sweet and savory? Try these crispy baked chicken wings — baked not fried then drizzled with a sticky soy sauce garlic brown sugar sauce. So good! And these cheese bars are perfectly sweet and salty you can’t stop at just one.)
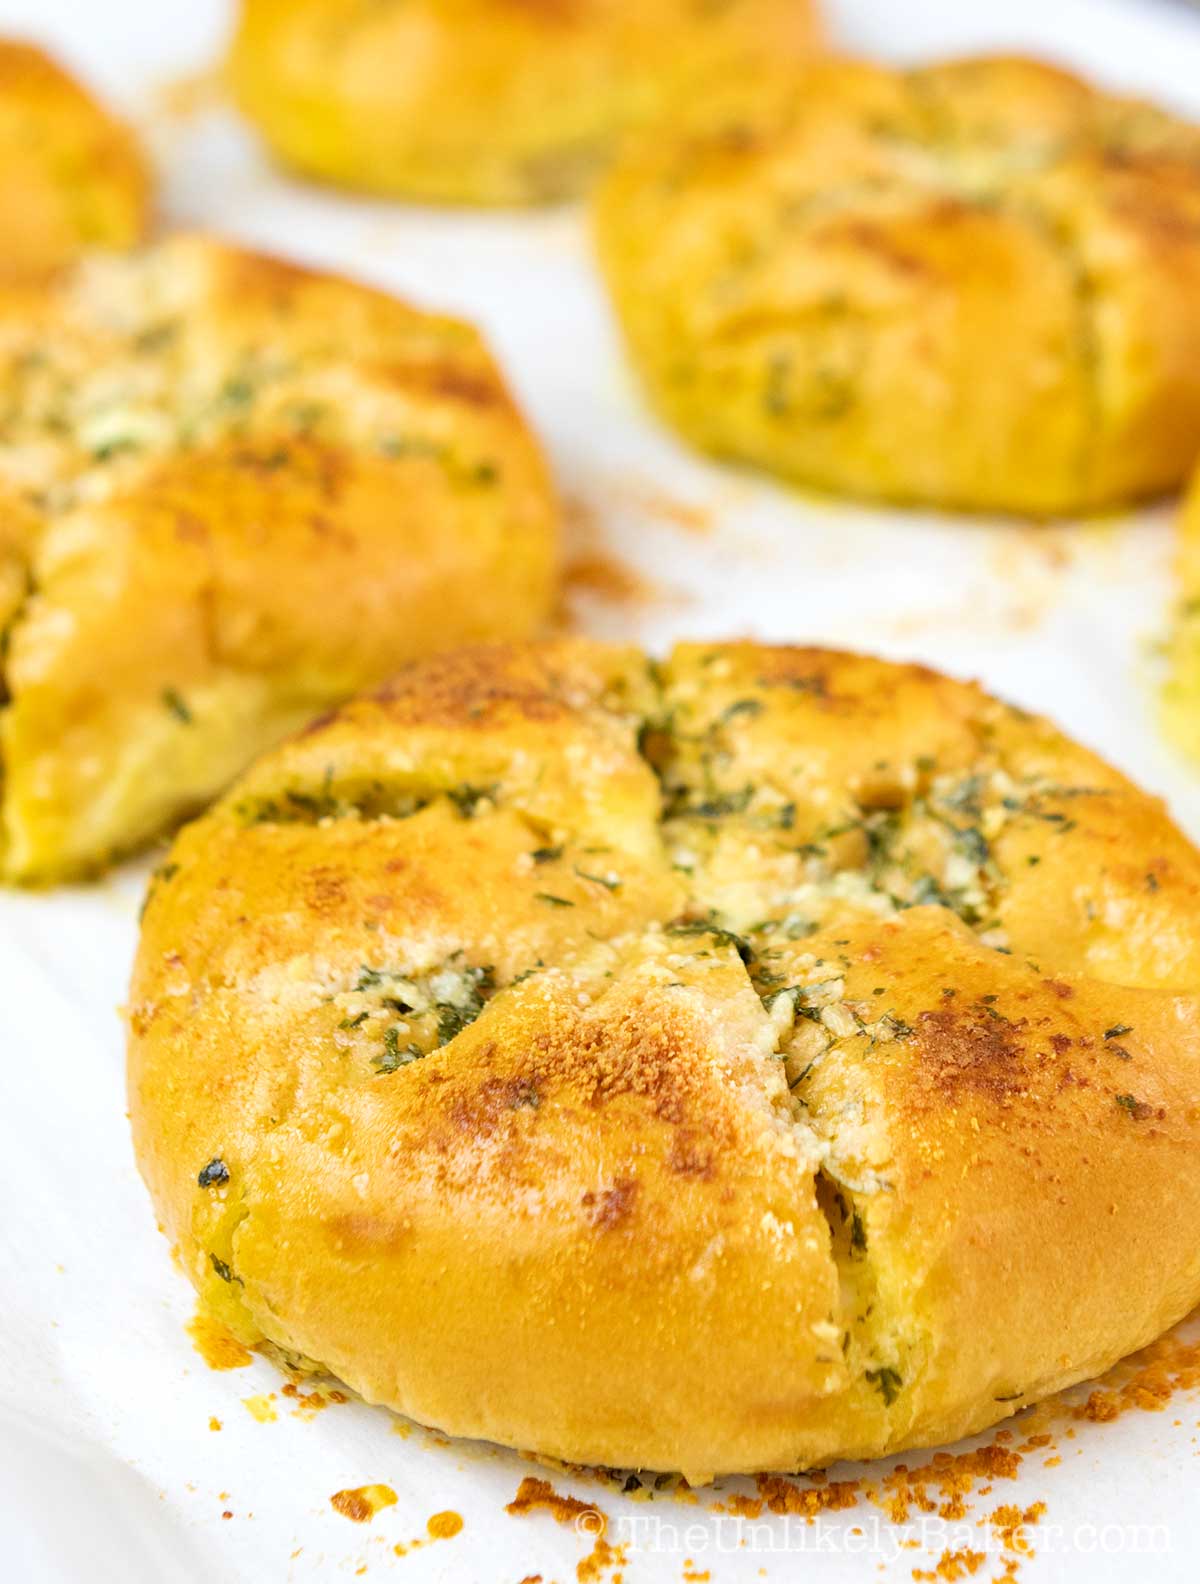
I’m a little late to the garlic bread with cream cheese game.
It’s been around for a few years but I only recently stumbled upon a video on YouTube of this Korean bakery baking a big batch of soft, fluffy Korean buns which turned into crispy, cheesy, golden brown discs of deliciousness.
The video has millions of views, my 20 or so included. I can’t stop watching, it was mesmerizing.
Unfortunately, I can’t find a local place that sells them.
Fortunately, I love to bake and I’ve made my own version so I can make them any time.
And being the lazy baker that I am, my Korean garlic bread recipe is quick and easy but comes out delicious every time. Use your favourite store-bought bread for added convenience.
Let’s get to it.
What is Korean garlic bread
This garlic bread is a popular Korean street food. It’s a bread bun or roll that’s cut into wedges, filled with cream cheese and dipped in garlic butter (which is why it’s also sometimes called Korean cream cheese garlic bread).
It’s been around a while and has gained a strong following in other Asian countries like Singapore and the Philippines.
I haven’t yet seen sold it where I am (I live in Ontario, Canada); good thing it’s very easy to make at home.
Difference from regular garlic bread
Unlike regular garlic bread that’s usually made of garlic, butter and herbs spread liberally on bread then baked or toasted until golden brown, Korean garlic bread uses a garlic butter mixture closer to custard.
The garlic butter sauce for this recipe contains eggs and milk and that makes the sauce creamier, richer and more delicious.
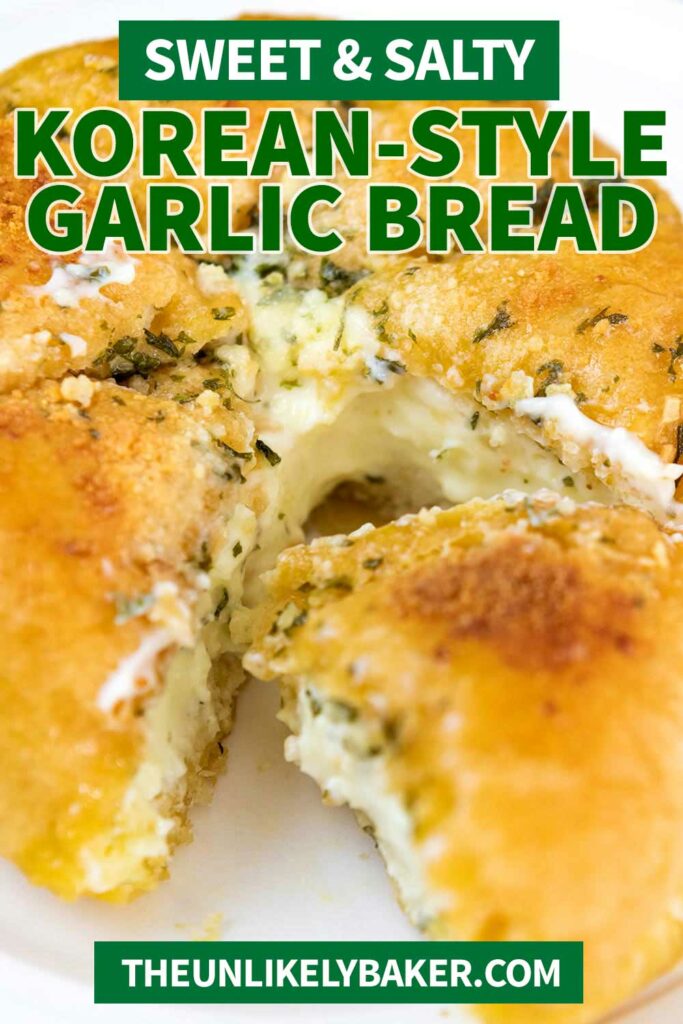
Also, as the name suggests, Korean garlic cheese bread has sweetened cream cheese in it for that sweet and salty combination we’re always craving for.
What does it taste like
Not sure what that would taste like? In a word: delicious!
Sweet cream cheese, salty garlic sauce, perfectly crunchy crust, soft custardy bread. And you get all that in one bite. It really works and it’s so good.
Why you’ll love this recipe
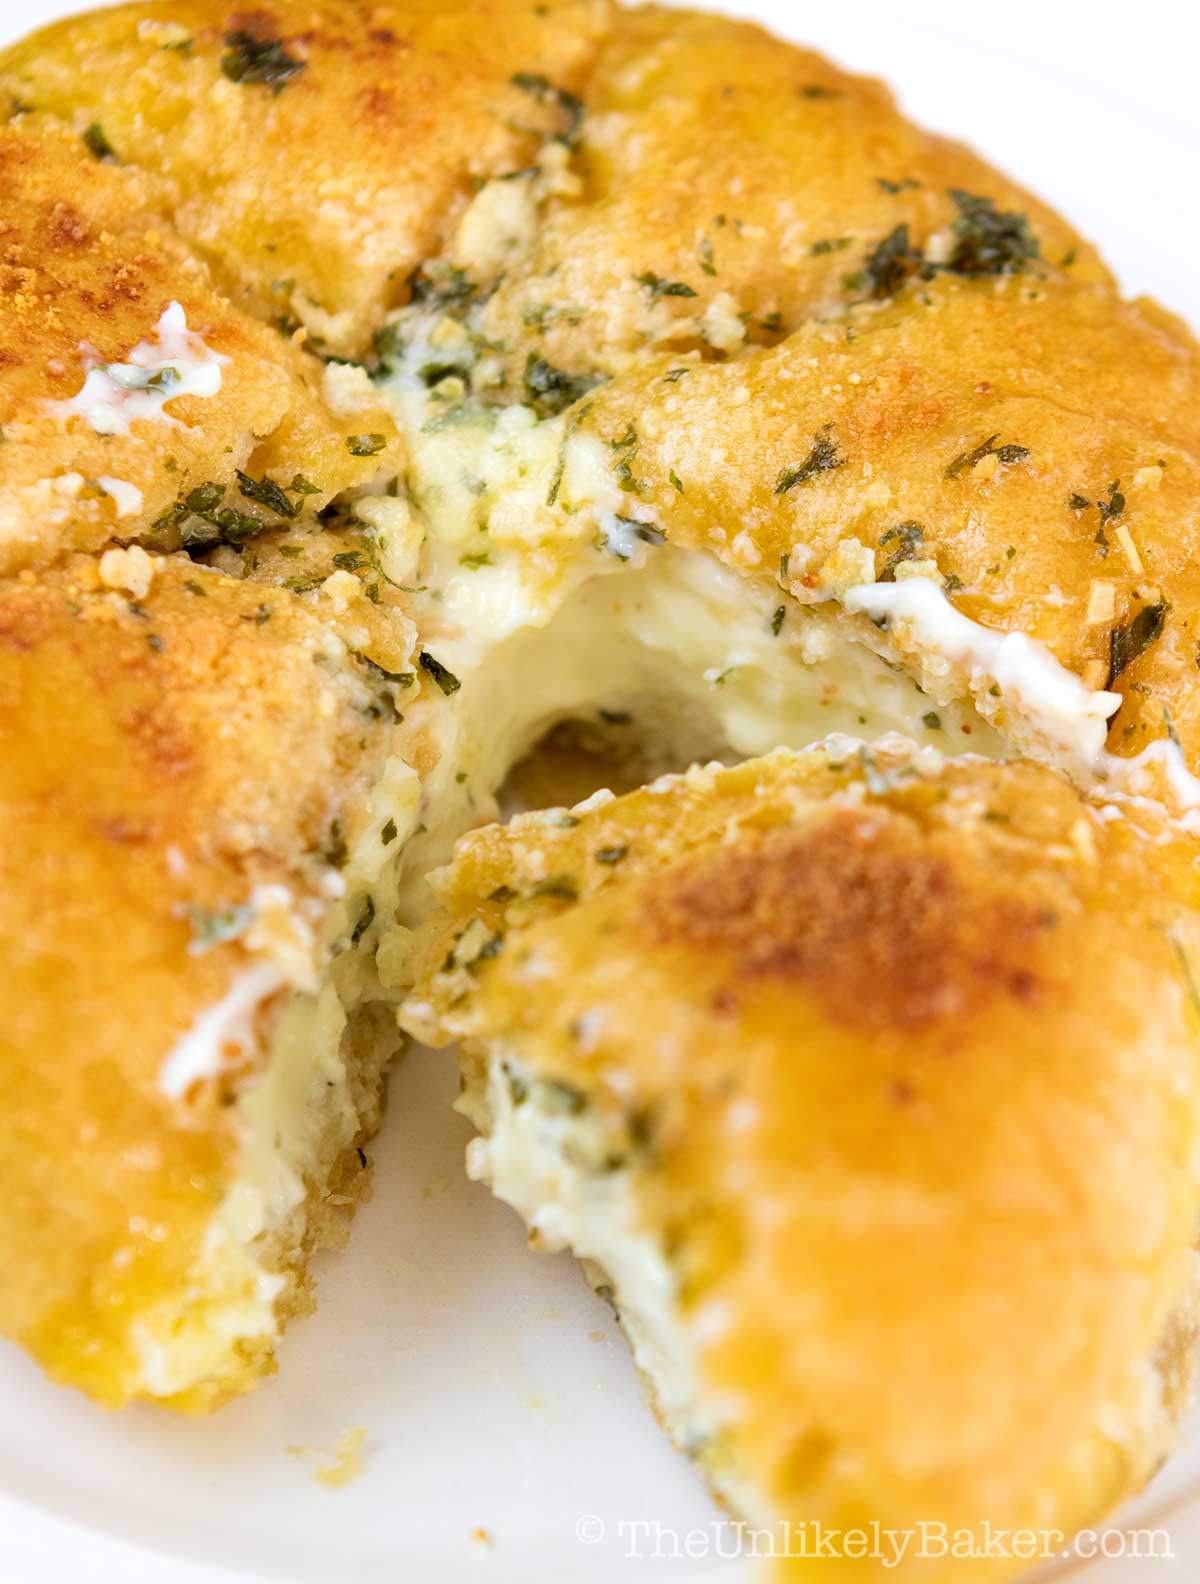
Make this recipe once and you’ll be hooked.
- First, it’s very easy. It uses ready-made bread so you don’t have to deal with bread dough, flour, yeast and all that jazz.
- Second, it’s a very forgiving recipe. It really is hard to mess this up. It comes out delicious and looking fabulous every time. Rustic is the way to go.
- Also, it’s very customizable. Want more garlic flavour? Simply add more garlic. Want it sweeter? Add a touch of honey to your cream cheese. In the YouTube video I’m obsessed with, they sprinkled sliced green onions on top of the baked bread and you can certainly do that too.
- It’s done in less than 15 minutes. You’re done as soon as your bread turns a lovely golden brown. Takes no time at all.
- It’s also freezer-friendly. I promise you won’t often have leftovers but in case you do, these bread rolls are easy to freeze and reheat.
How to make
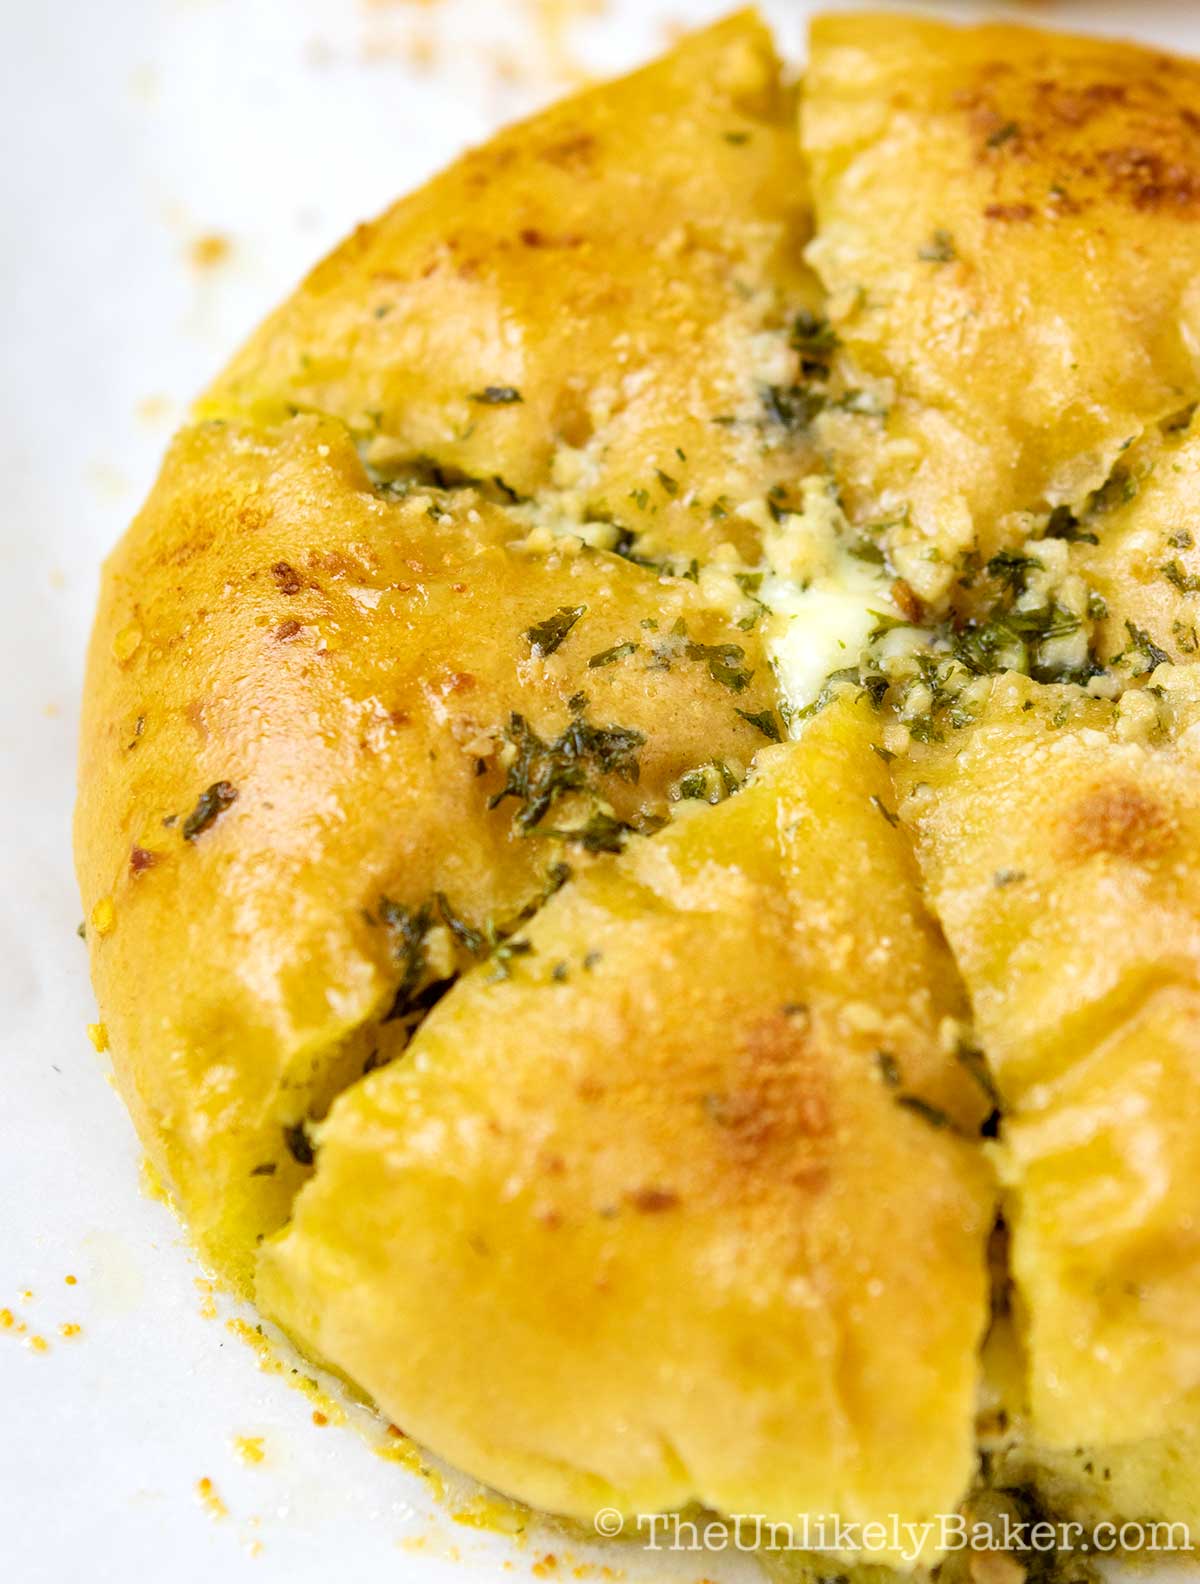
If you prefer homemade bread, go for it. I love baking bread too but this is one of those times where I find buying good quality bread is the way to go.
It makes the recipe easier, more convenient and done in less than 15 minutes. No proofing, no kneading, no double baking.
Ingredients
You’ll need simple ingredients. Key things to note:
- Bread rolls or buns – see FAQs below to help you choose the best kind of bread to use
- Cream cheese – use the ones available in blocks, not in tubs, and buy full-fat as much as possible
- Milk – I use whole milk; you can substitute with cream or half and half
- Garlic – I use pre-minced garlic sold in bottles
- Parmesan cheese – optional but highly recommended
Baking tools
You don’t need special baking tools or gadgets to make these. Just items you already have in your kitchen:
- Baking sheet — I use a commercial sized baking sheet
- Serrated knife to cut the bread
- Mixing bowls
- Measuring spoons and cups
I use my handheld electric mixer to beat the cream cheese but this can also be easily done by hand.
Step-by-step photos
Preheat your oven to 350F. Line a large or commercial sized baking pan with parchment paper and set aside.
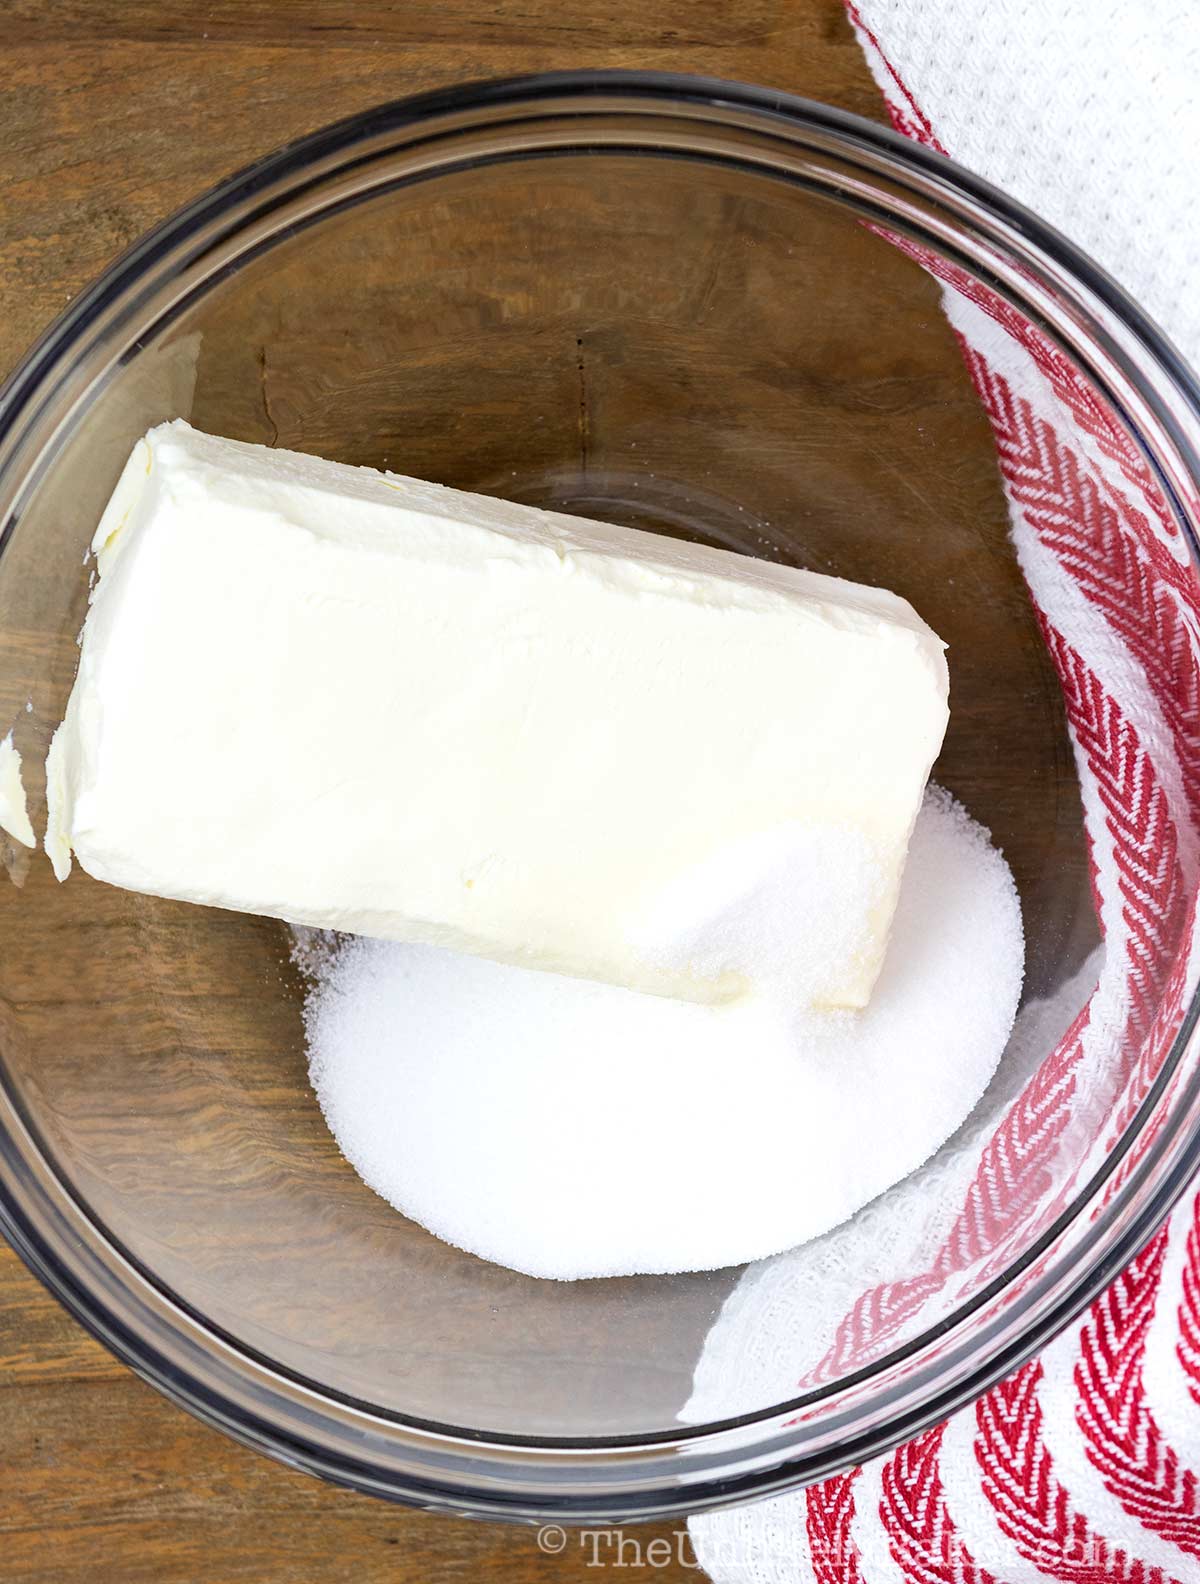
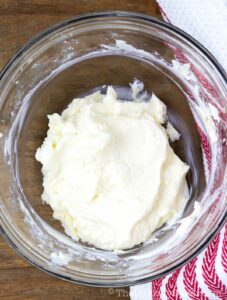
In a medium-sized bowl, beat softened cream cheese with sugar…
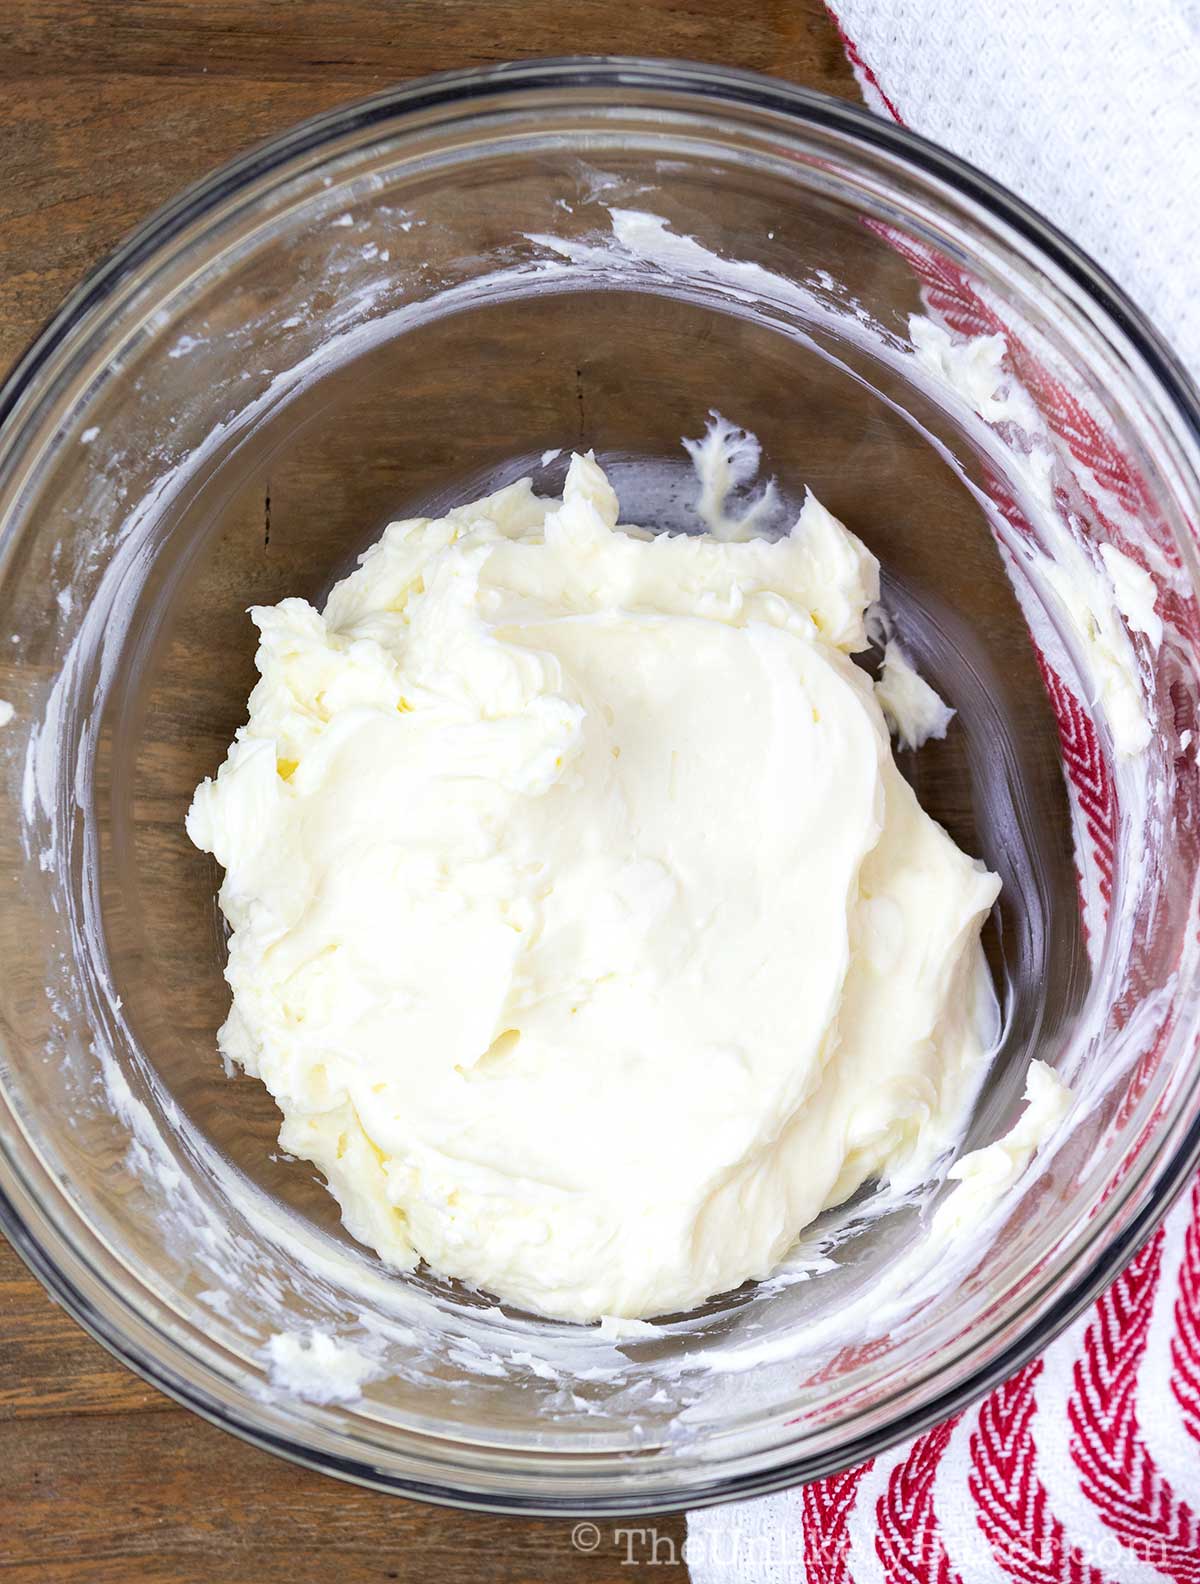
…until smooth and incorporated.
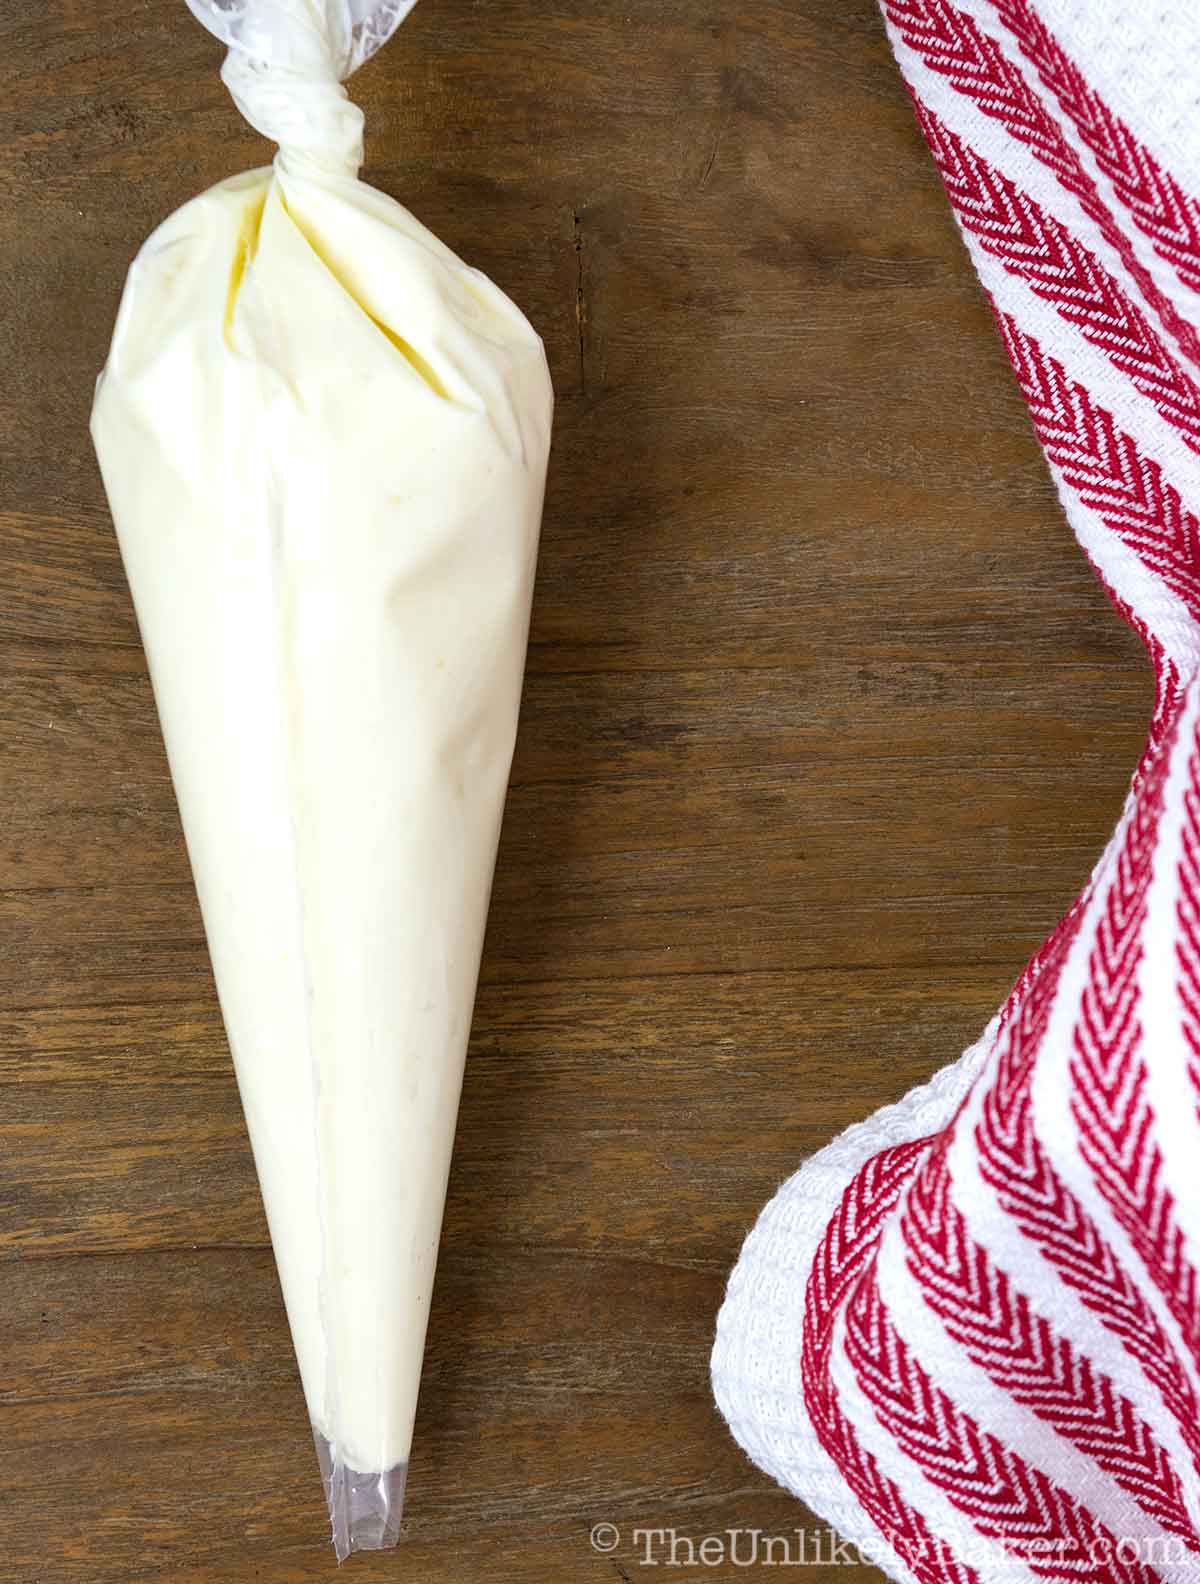
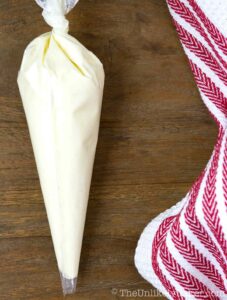
Transfer the cream cheese mixture to a piping bag or a large Ziploc bag with one of the corners cut off and set aside.
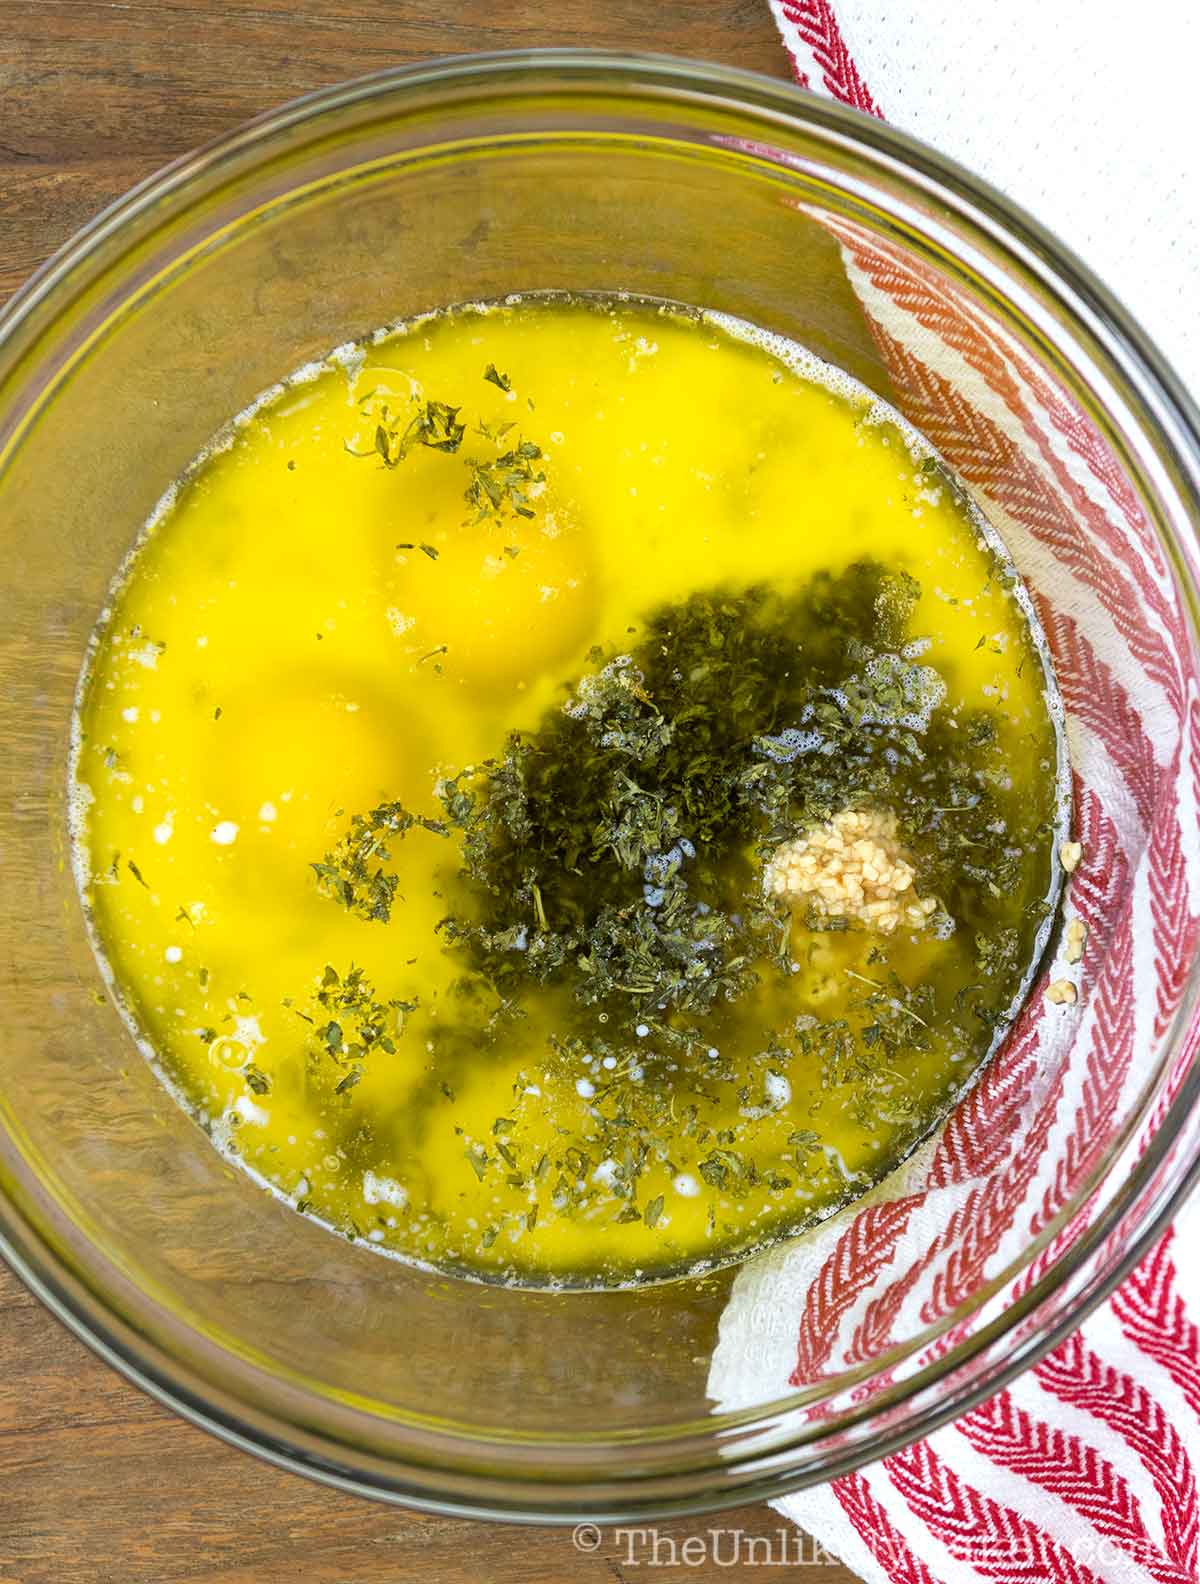
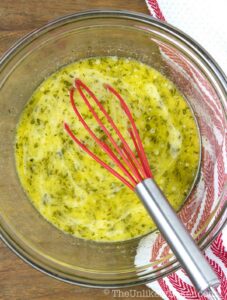
In another bowl (large enough so you can dip your whole bread in), whisk melted unsalted butter, milk, minced garlic, dry parsley, sugar and eggs…
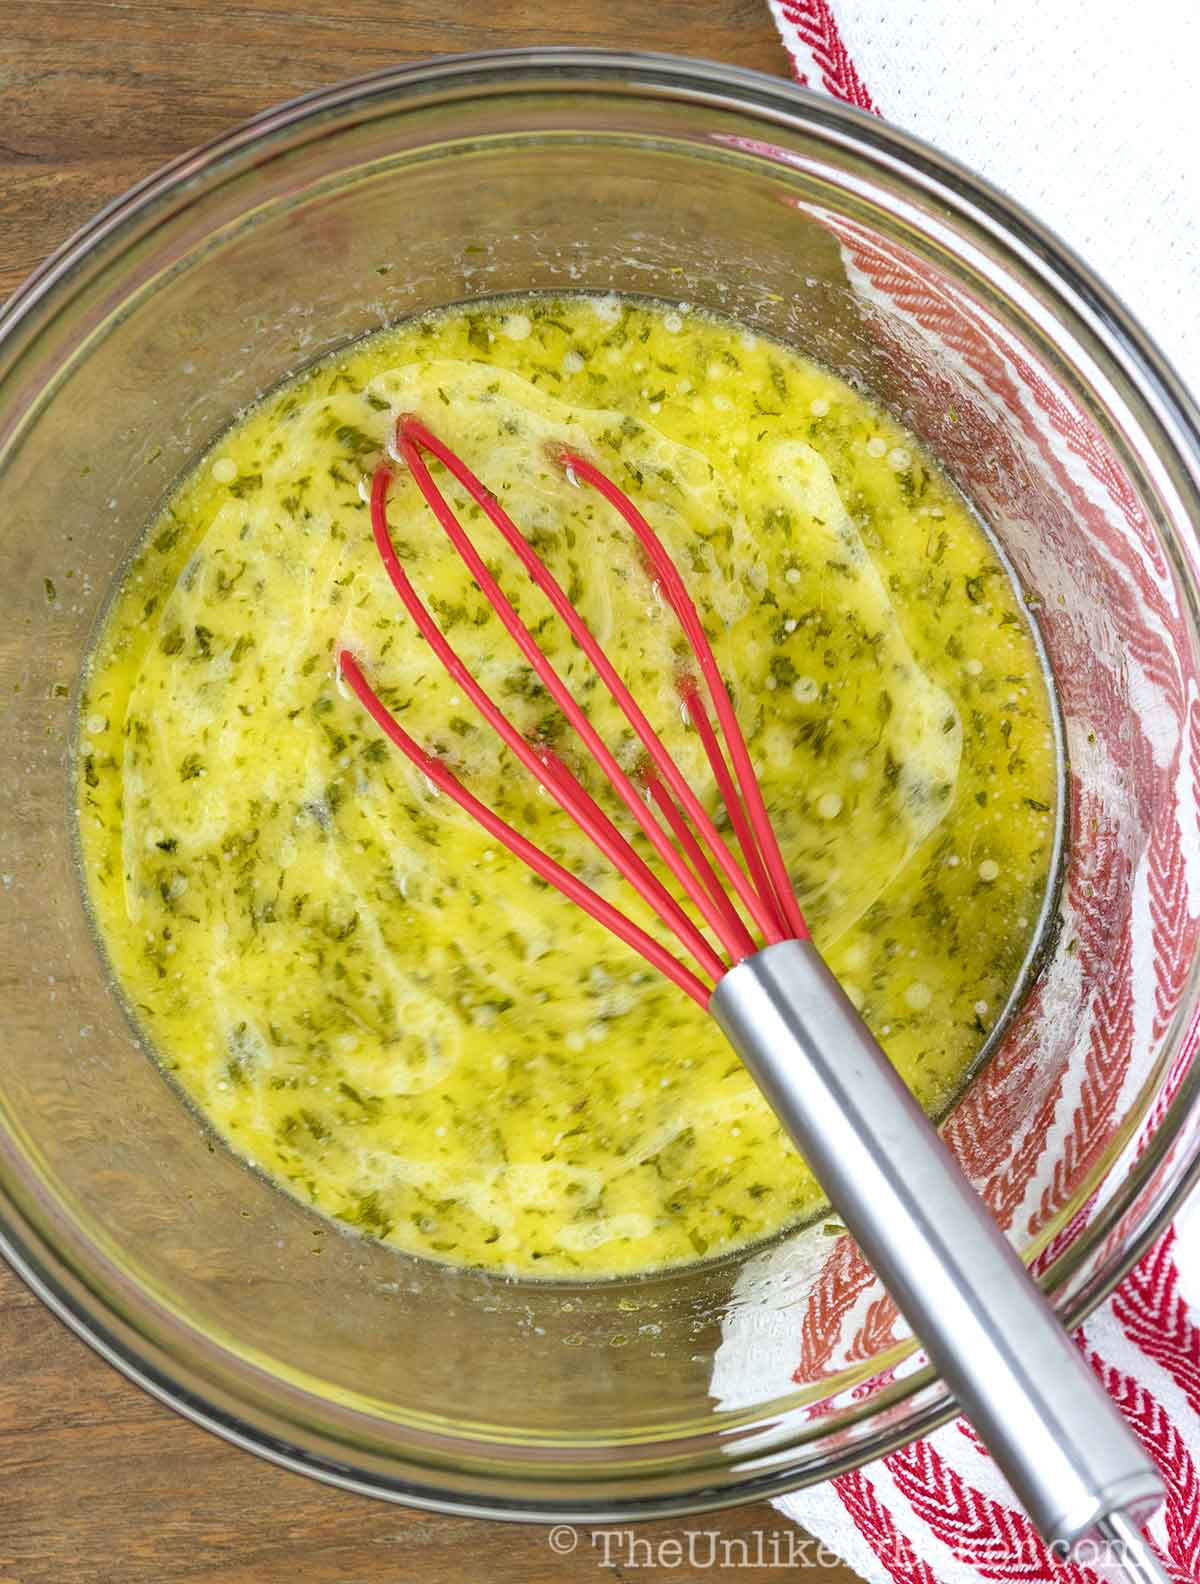
… until combined.
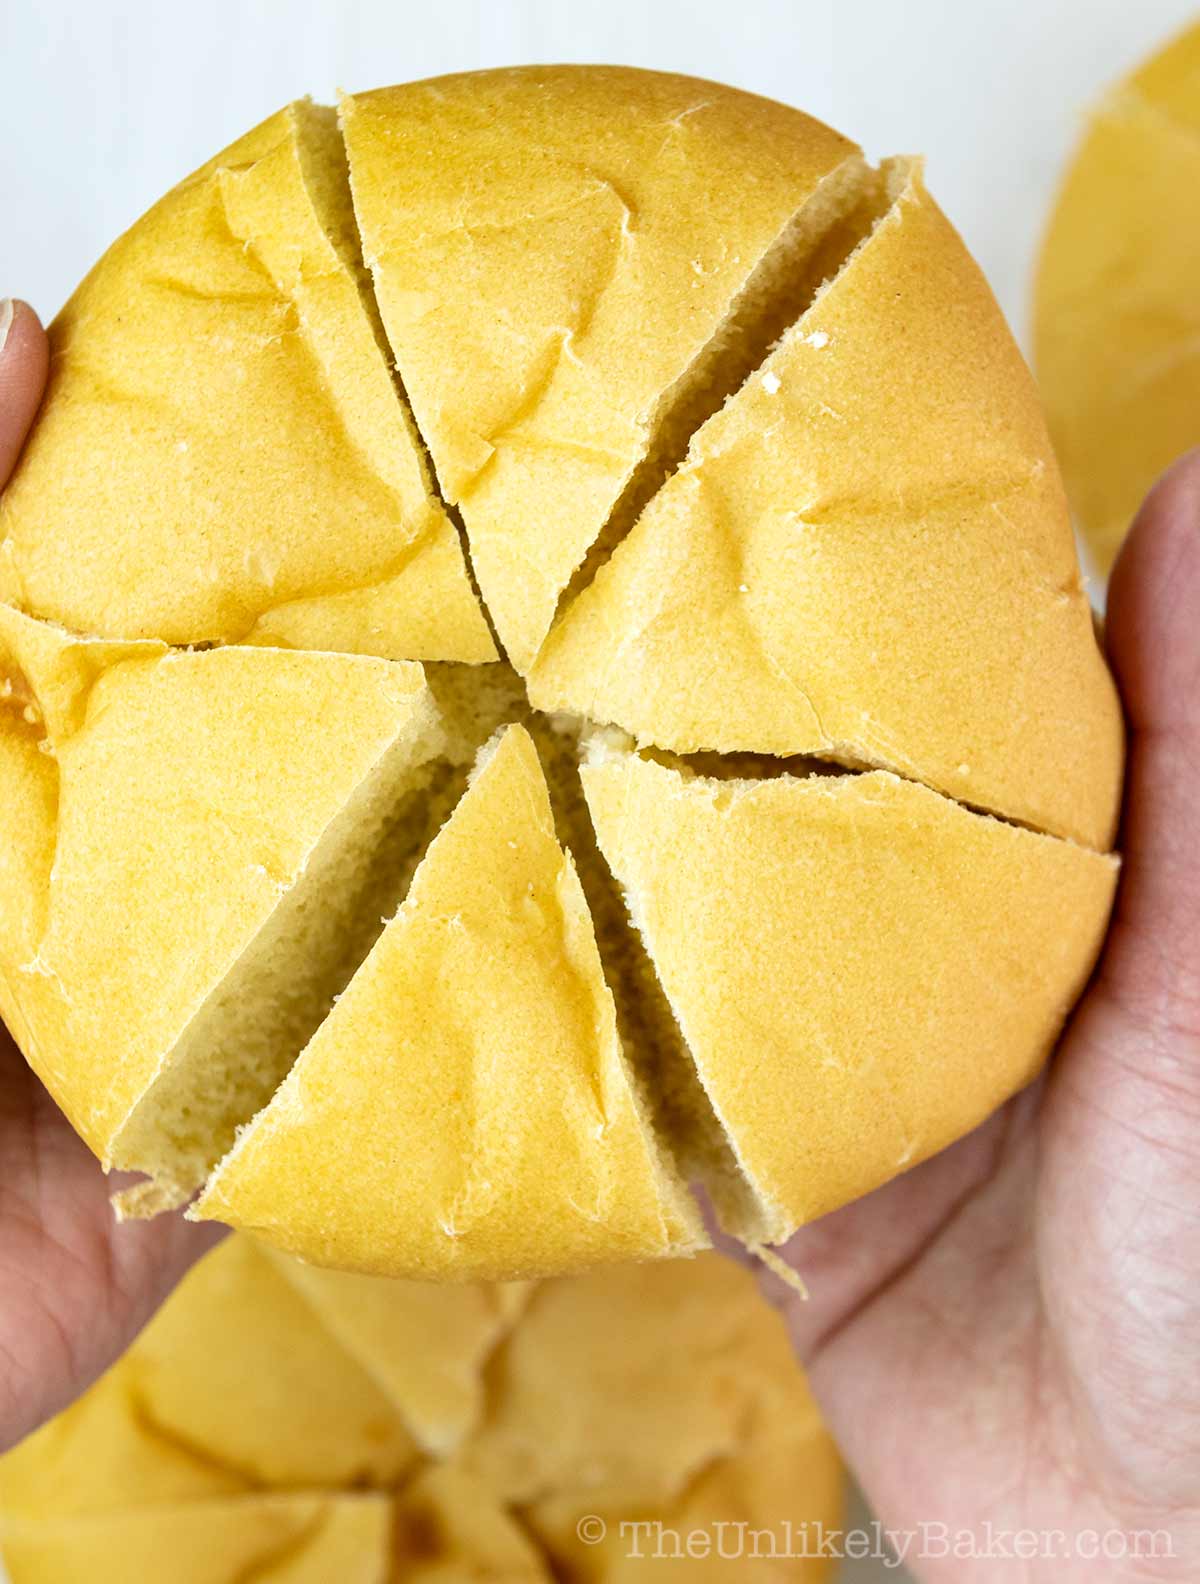
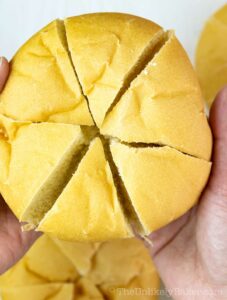
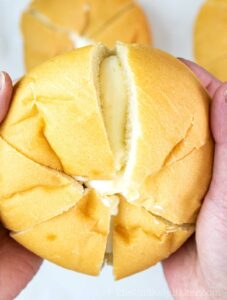
Take a piece of bread and make 3 slices (which would result to 6 wedges). Make sure not to slice the bread all the way through. You want to cut about 90% to the bottom but not slice the bread completely.
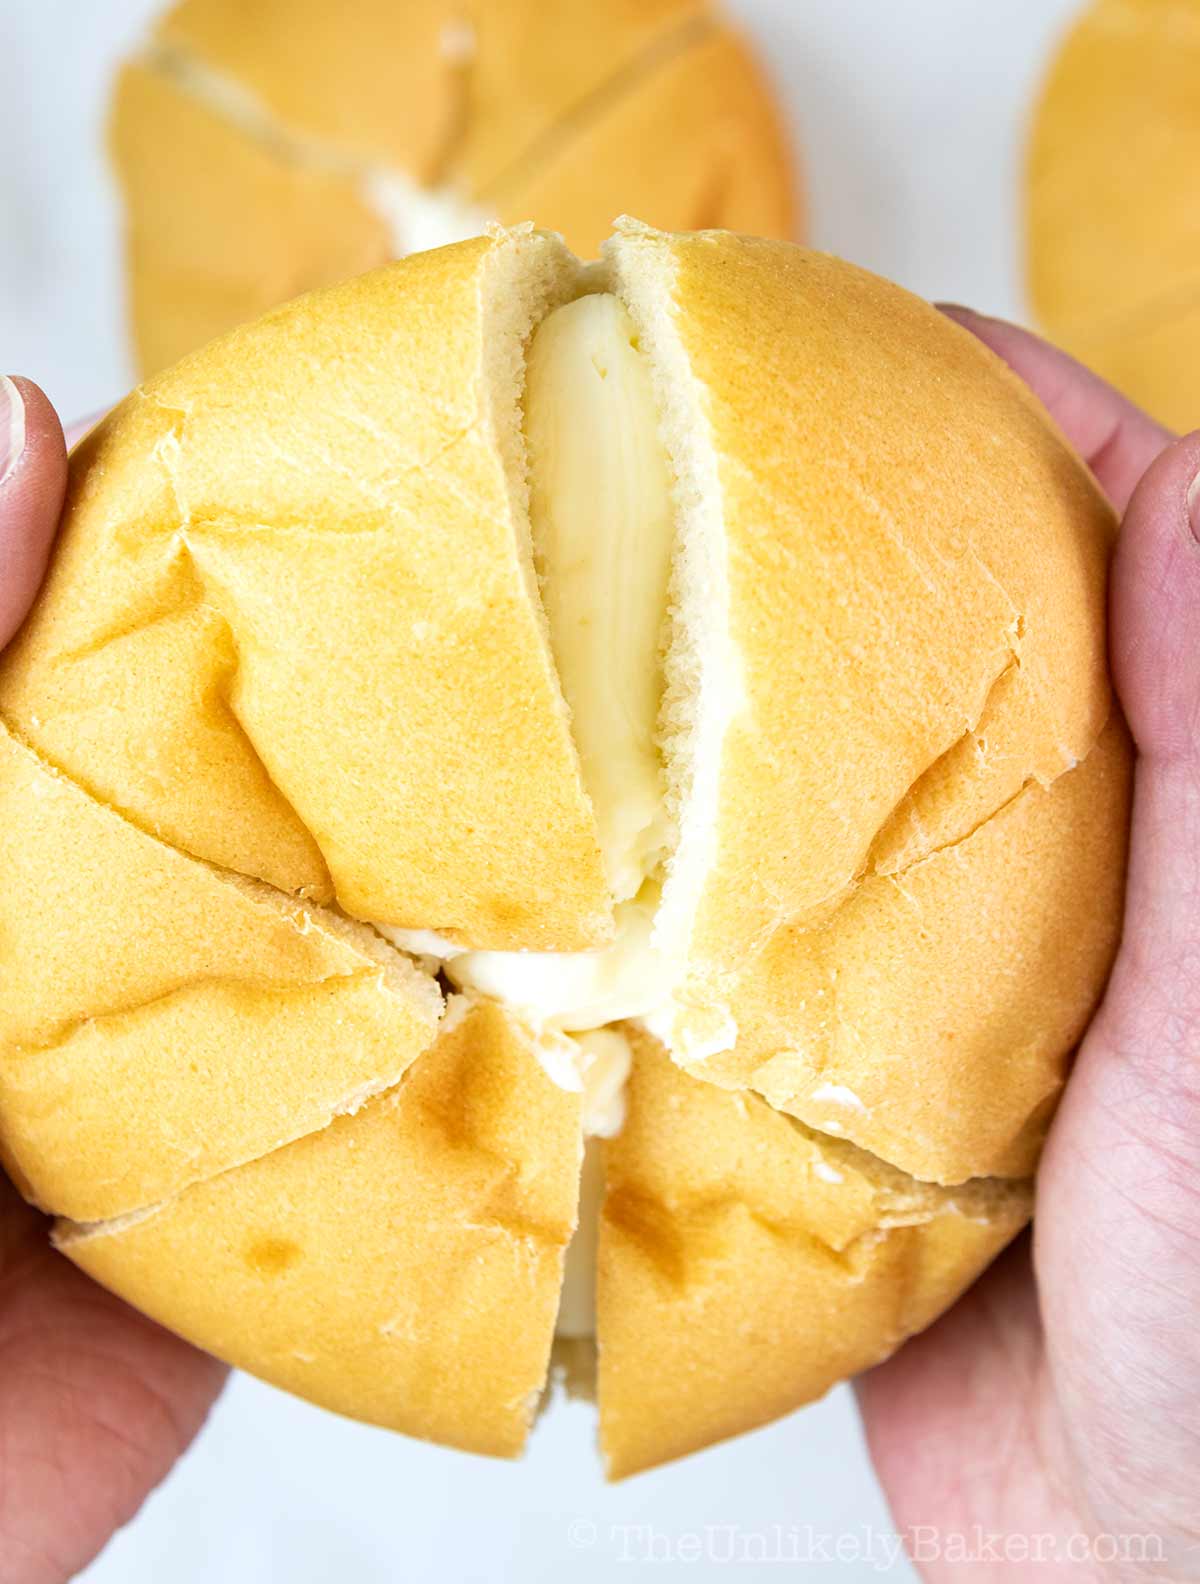
Pipe cream cheese filling into each wedge and on the middle of the bread.
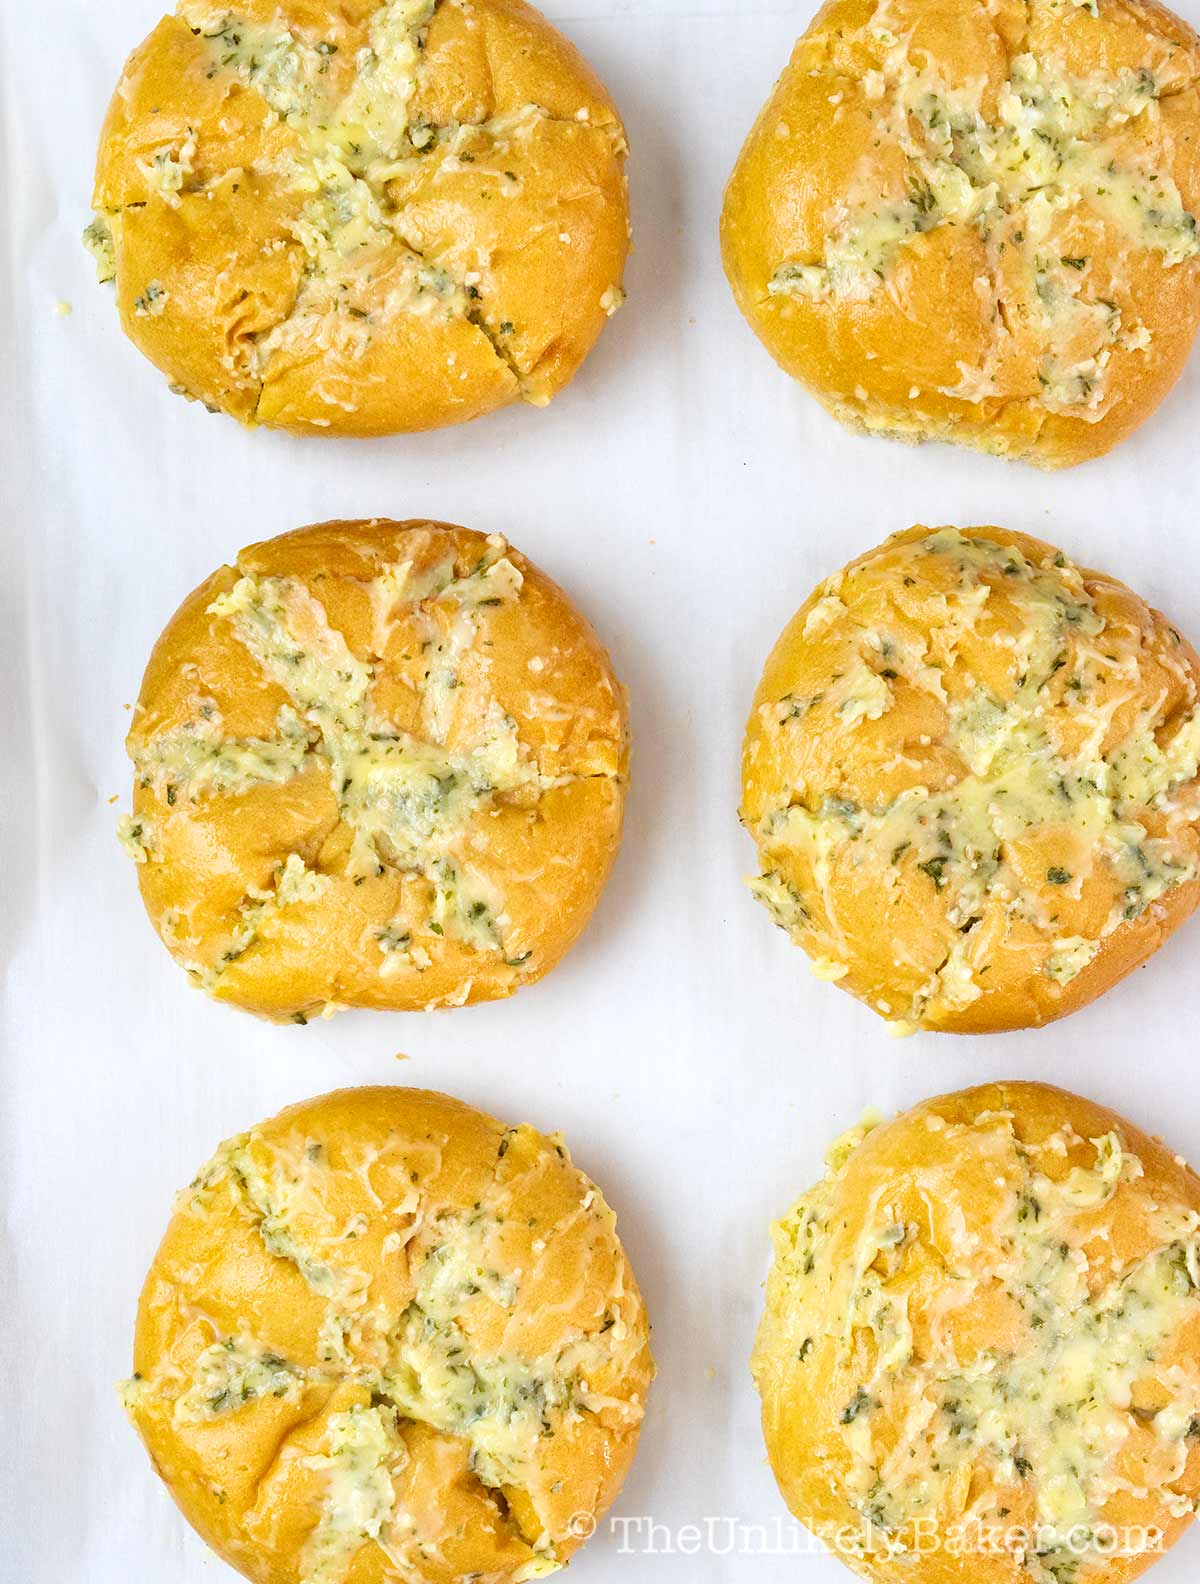
Then dip each bread top side down into your garlic mixture. Don’t worry, the cream cheese will stay in place. Remember that you want the sweet garlic mixture to get into every nook and cranny of your bread roll so after you’ve dipped all of your bread, spoon extra garlic mixture between your wedges to make sure each slice is coated.
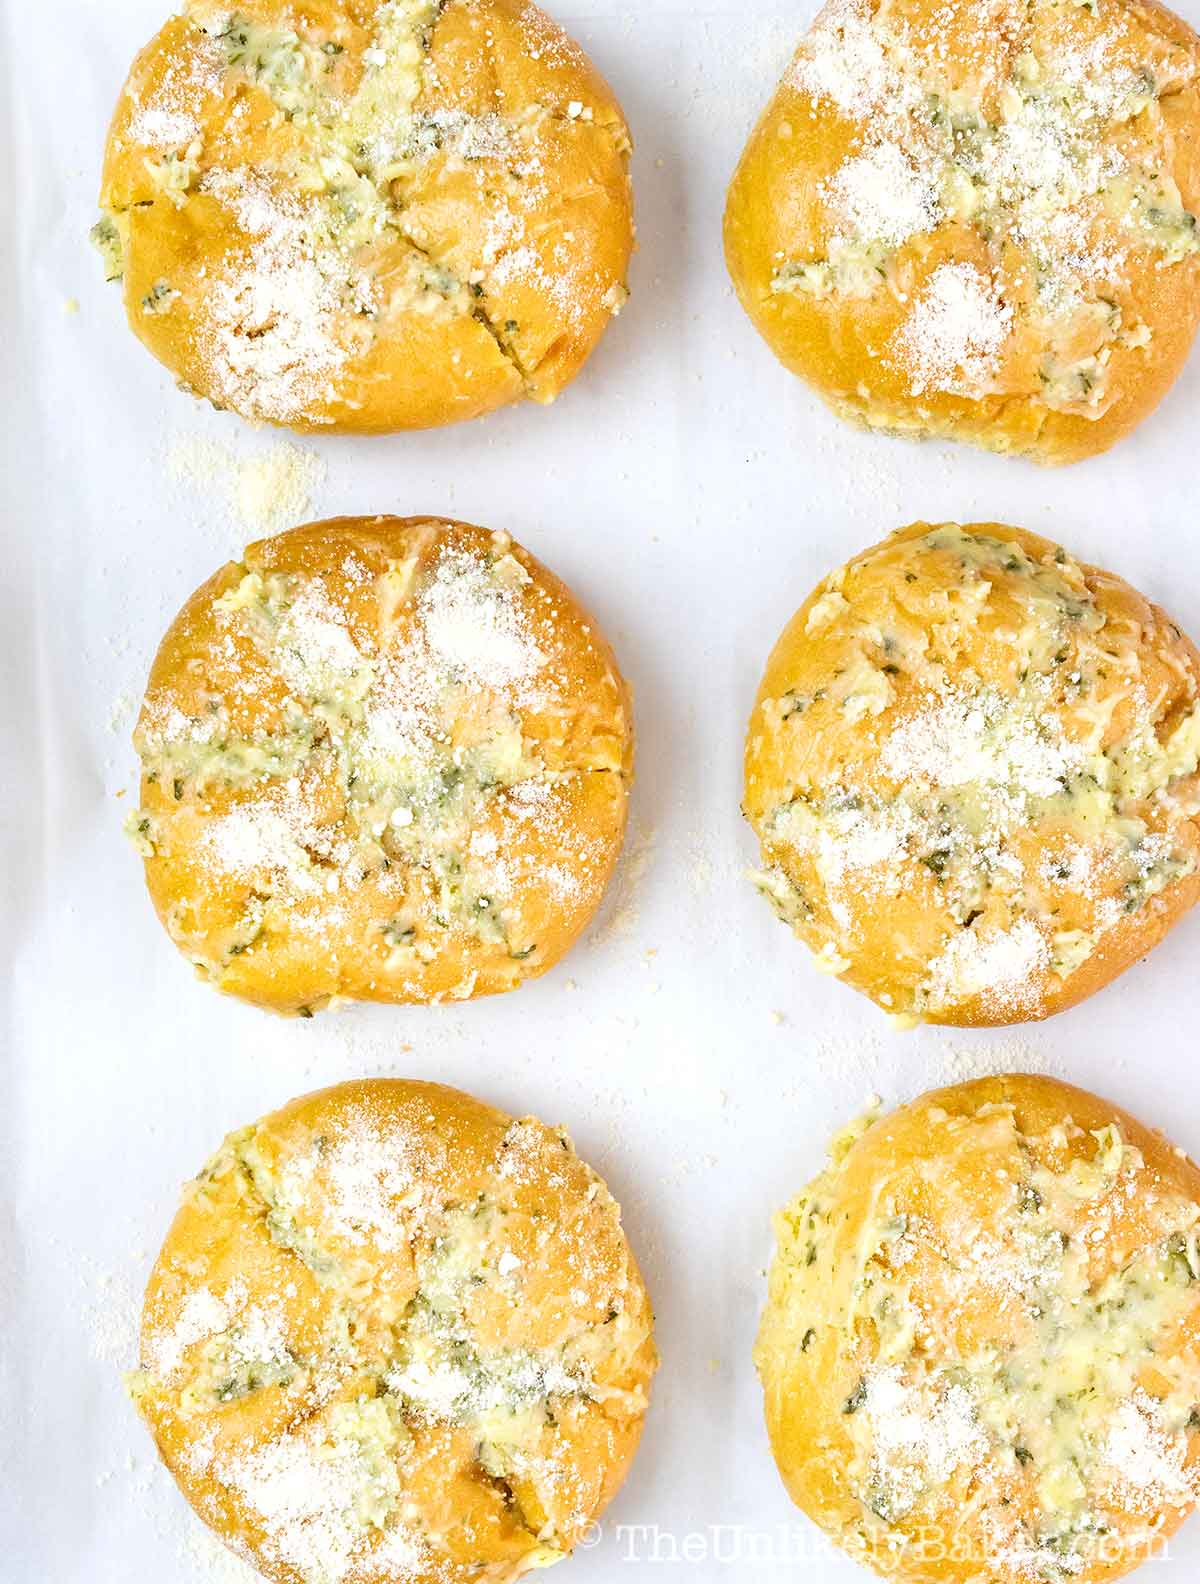
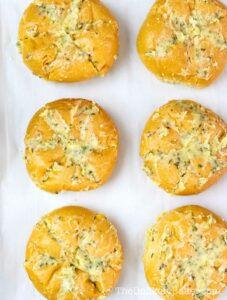
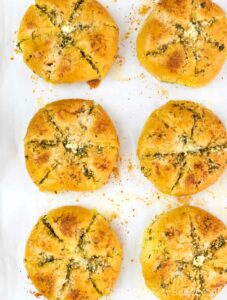
Place the bread on your baking sheet, sprinkle some parmesan cheese (optional but highly recommended!).
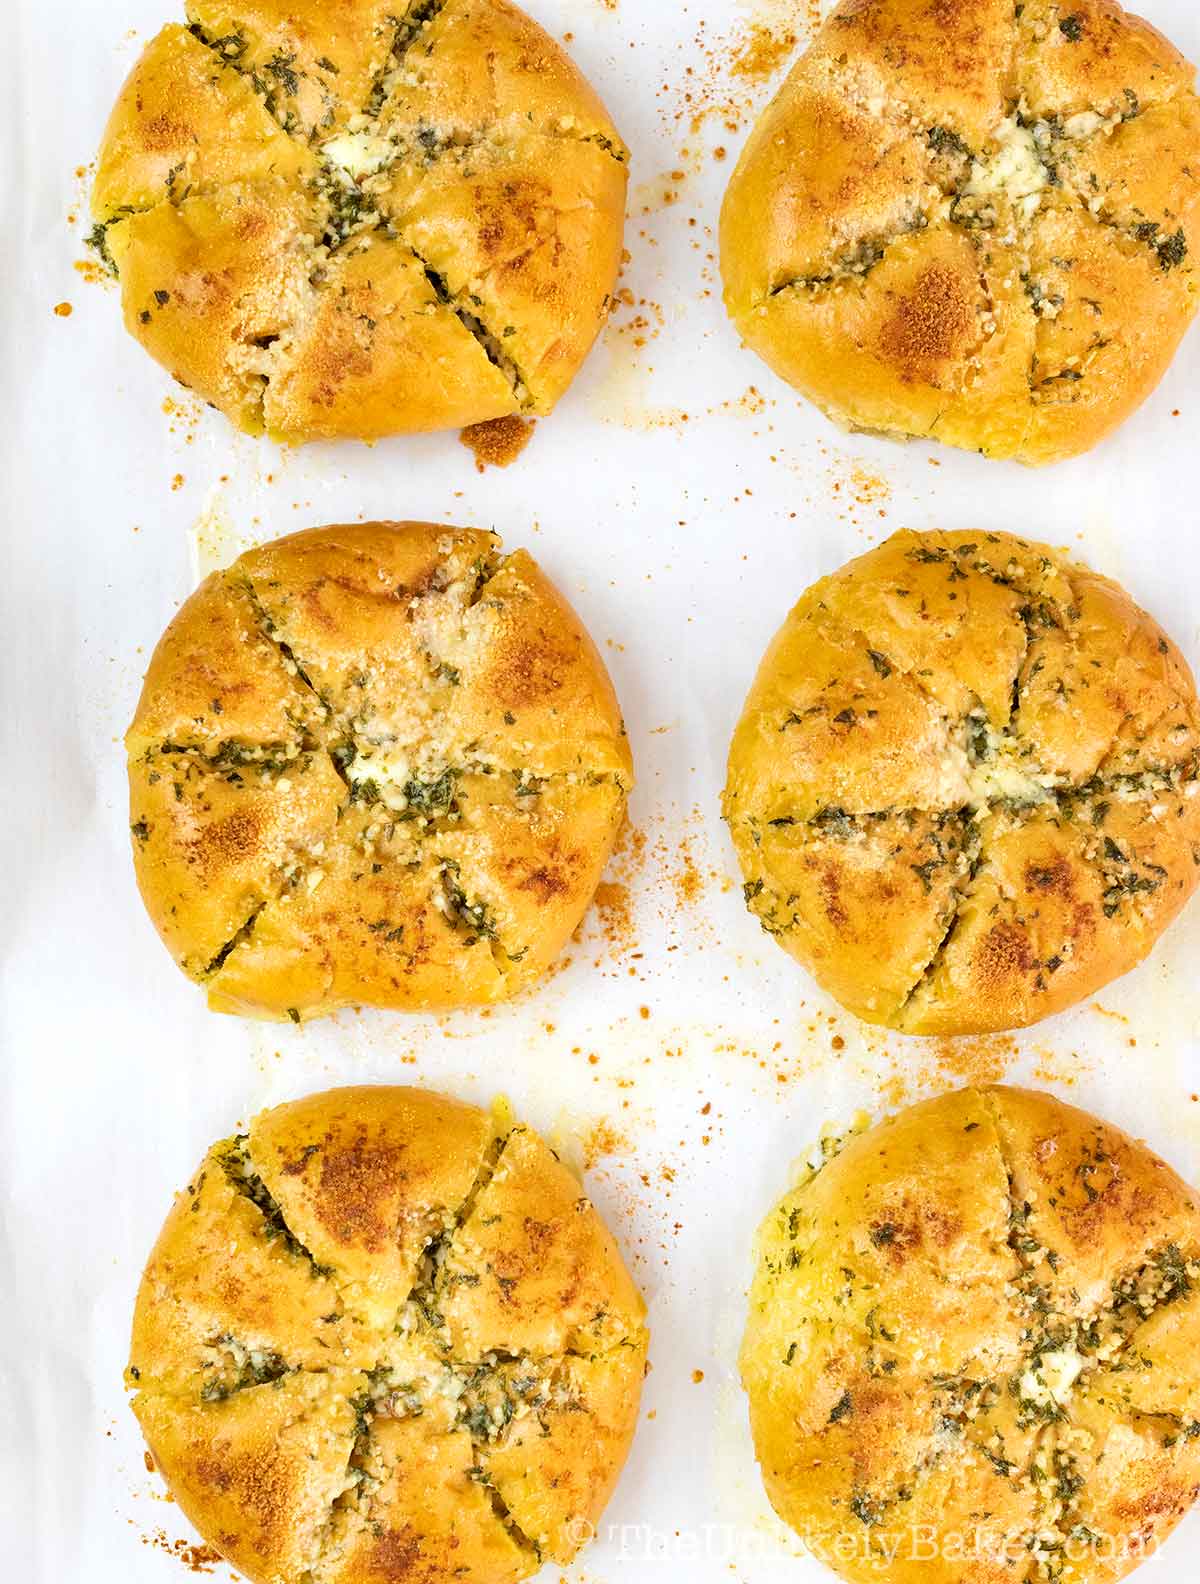
Bake for 10-15 minutes or until the tops turn golden brown.
Recipe FAQs
Easy, right? Here are some more baking tips and answers to your frequently asked questions to make this bread recipe even easier.
Korean cream cheese garlic bread is best eaten the day they’re made.
Leftovers can be kept in an airtight container in the fridge and consumed the next day. If you want to keep them for longer, the best way to store them is to freeze them.
– Allow to cool completely then wrap each piece of bread in plastic wrap
– Place them in a freezer-safe container or a Ziploc bag
Frozen garlic bread should last for at least a month. Refrigerated bread tends to get stale quickly so it’s best to eat them the next day, or within 2 days at the most.
To reheat, bring out of the freezer (or fridge) so the cream cheese filling can have the chance to thaw. If you’re short on time, you can microwave for 20 seconds or so.
Then pop into your oven toaster or in your oven preheated to 350F and reheat for about 10 minutes or just until the bread is heated all the way through.
To avoid browning or burning the tops, loosely cover with aluminum foil. 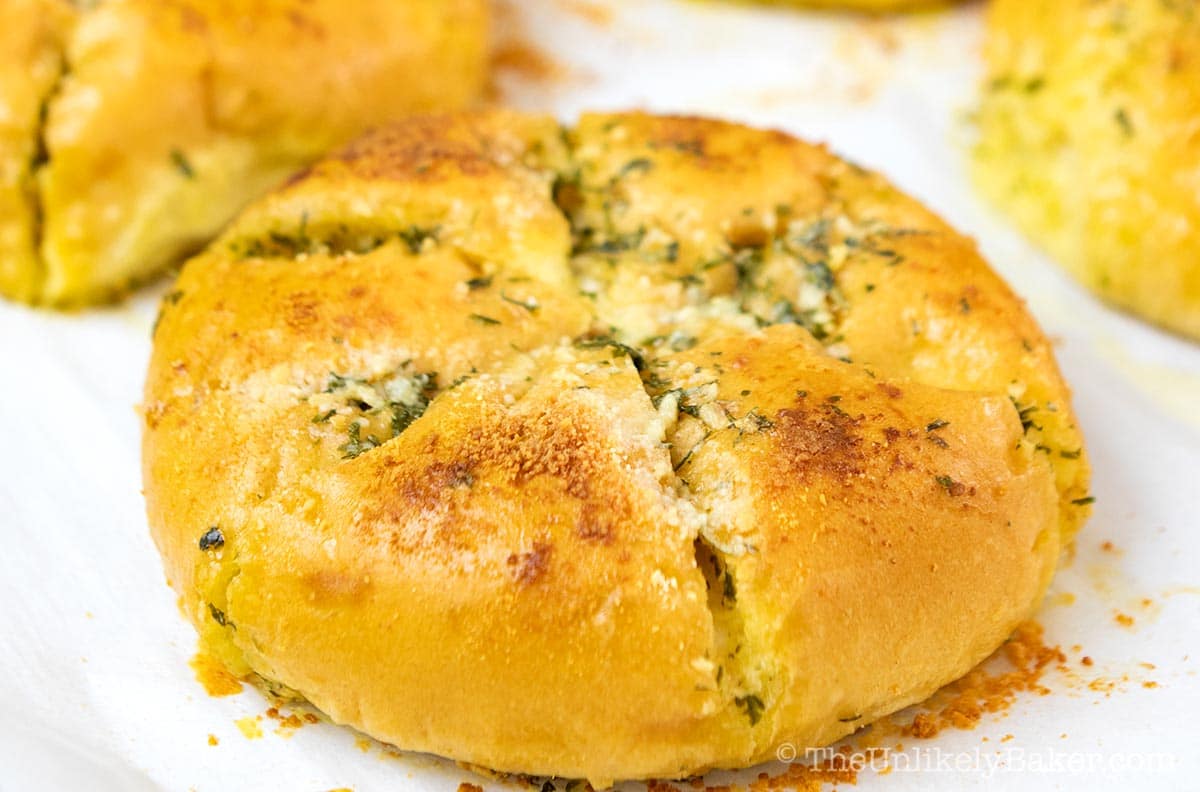
When choosing the kind of bread to use in this recipe, consider the following:
1. Freshness. If you have a favourite local bakery that makes fresh bread, find your bread rolls there.
2. Size. You want a bread roll or bun that’s between 4 to 6 inches in diameter. Anything smaller and it’s going to be challenging to slice wedges. If you have bigger bread, adjust the recipe so that you’ll have enough cream cheese mixture for the filling.
3. Crust. Don’t go for really hard crusted bread — the crust makes it difficult for all that sweet garlic butter to absorb and baking them a second time will make their crust even tougher. You don’t want a very soft and fluffy bread either — the ones that flatten and lose their shape at the slightest touch. The perfect bread is a somewhere in the middle — firm, but soft and fluffy inside.
I always use large Kaiser buns from our local bakery that are 5 inches in diameter.
This usually happens when your butter is warm but the rest of your ingredients are cool. To avoid this from happening, try and get your ingredients to roughly the same temperature.
If it does happen, no worries. Just give your garlic mixture a good whisk and carry on. It will still be delicious.
Hope you enjoy this one-of-a-kind garlic bread. Eat it as a snack or even for breakfast. It goes well with coffee or tea. You can even have it with pasta.
It’s a taste of Korean street food right in your own home.
Serve it with lasagna with cheese ravioli, roasted tomato garlic soup or garlic parmesan chicken pasta for a truly memorable meal!
Fan of all things garlic? Try this making homemade garlic butter. You’ll want to spread it on everything! Have an air fryer? You can make air fryer frozen garlic bread.
And if you’re a fan or garlic and cheese, you’ll love this garlic and herb baked brie.
Love Korean cuisine? Mandu rice is for you.
Happy baking!
Did you make Korean cream cheese garlic bread? I’d love to hear all about it! Leave a comment or a star rating below. You can also tag me on Instagram or Facebook. I’d love to see your creations!
You can also find me on Pinterest, Twitter and YouTube.
Korean Garlic Bread
Ingredients
- 6 pcs large bread rolls or buns 4-6 inches in diamater
For the sweetened cream cheese filling
- 1 8-oz block cream cheese softened
- ¼ cup granulated sugar
For the garlic butter mixture
- 1 cup unsalted butter melted and allowed to cool
- ½ cup milk can substitute cream or half & half
- 2 tbsp sugar
- 2 tbsp minced garlic
- 1 tbsp dry parsley flakes
- 2 pcs large eggs room temperature
- parmesan cheese for sprinkling optional
Instructions
- Preheat your oven to 350F. Line a large or commercial sized baking pan with parchment paper and set aside.
- In a medium-sized bowl, beat softened cream cheese with ¼ cup sugar until smooth and incorporated.

- Transfer the cream cheese mixture to a piping bag or a large Ziploc bag with one of the corners cut off and set aside.

- In another bowl (large enough so you can dip your whole bread in), whisk 1 cup melted unsalted butter, ½ cup milk, 2 tbsp sugar, 2 tbsp minced garlic, 1 tbsp dry parsley and 2 eggs until combined.

- Take a piece of bread and make 3 slices (which would result to 6 wedges). Make sure not to slice the bread all the way through. You want to cut about 90% to the bottom but not slice the bread completely.

- Pipe cream cheese filling into each wedge and on the middle of the bread.

- Then dip each bread top side down into your garlic mixture (don’t worry, the cream cheese will stay in place). Remember that you want the sweet garlic mixture to get into every nook and cranny of your bread roll so after you’ve dipped all of your bread, spoon extra garlic mixture between your wedges to make sure each slice is coated.

- Place the bread on your baking sheet, sprinkle some parmesan cheese (optional) and bake for 10-15 minutes or until the tops turn golden brown.

Video
Notes
- When choosing the bread to use for this recipe, consider its freshness, size and the kind of crust it has. See post for details.
- If your garlic butter mixture solidifies, just give it a good whisk and carry on.
- See post for more tips, storage instructions and FAQs.
Nutrition
Nutritional information are estimates only.

Nina
This was delicious Jolina! And very easy to make. Thanks for the recipe.
Jolina
Glad you liked it Nina!
Janelle
These were so good!!! Not sure if we’ll eat it with pasta because of the sweetness but no matter it’s amazing on it’s own. I just spread the cream cheese into the wedges and it worked but a little messy. Next time I’ll pipe them like you said. Thanks for the recipe!
Jolina
Glad you liked them Janelle! We honestly can’t get enough of this garlic bread 🙂
Pia
I’ve seen youtube videos of this too! But they always baked their own bread and I was turned off. So happy to find your recipe, it was easy to SO GOOOOOODDDD. We loved it definitely a keeper!! Thanks!!
Jolina
Glad you liked them Pia! It’s really super convenient to use your favourite bread.
Rose
I have been craving for korean garlic bread! Tasted it once and didnt think it’s this easy to make. Trying soon.