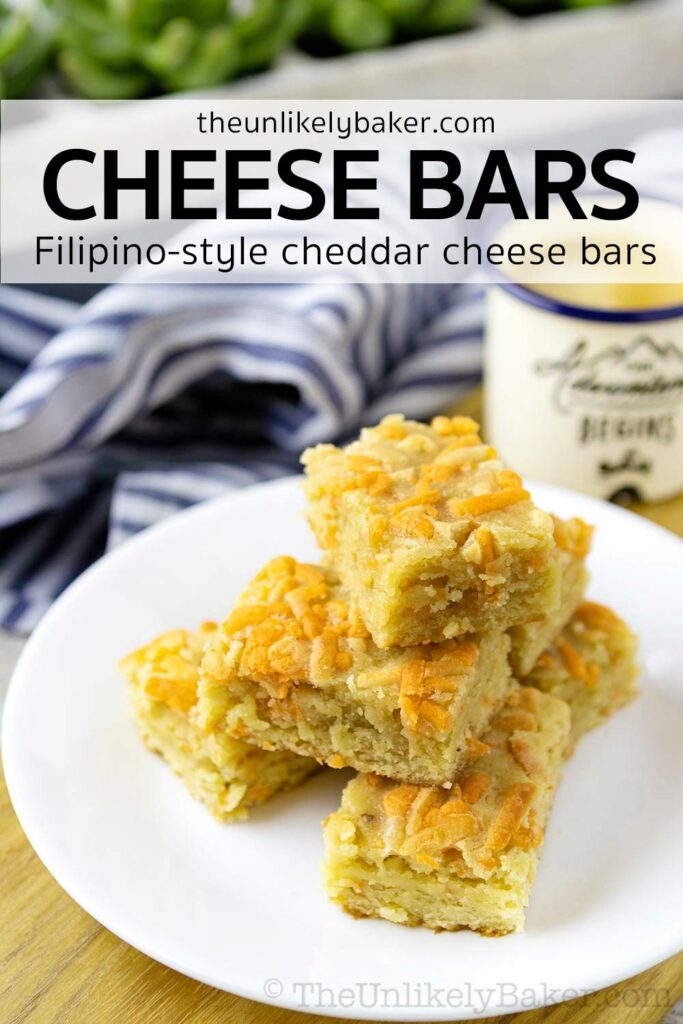
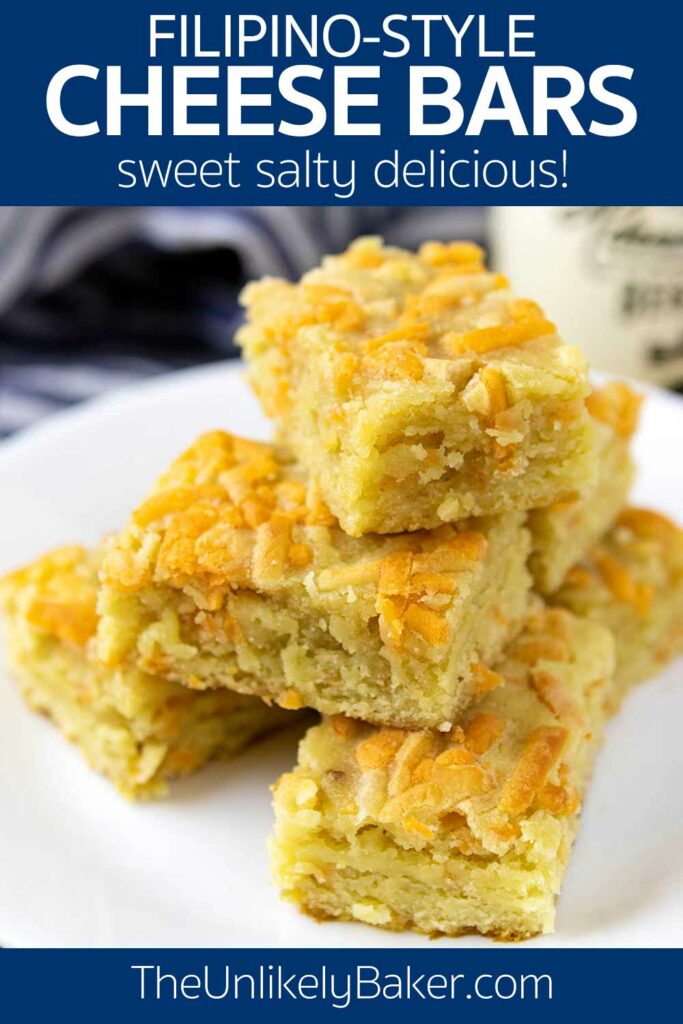
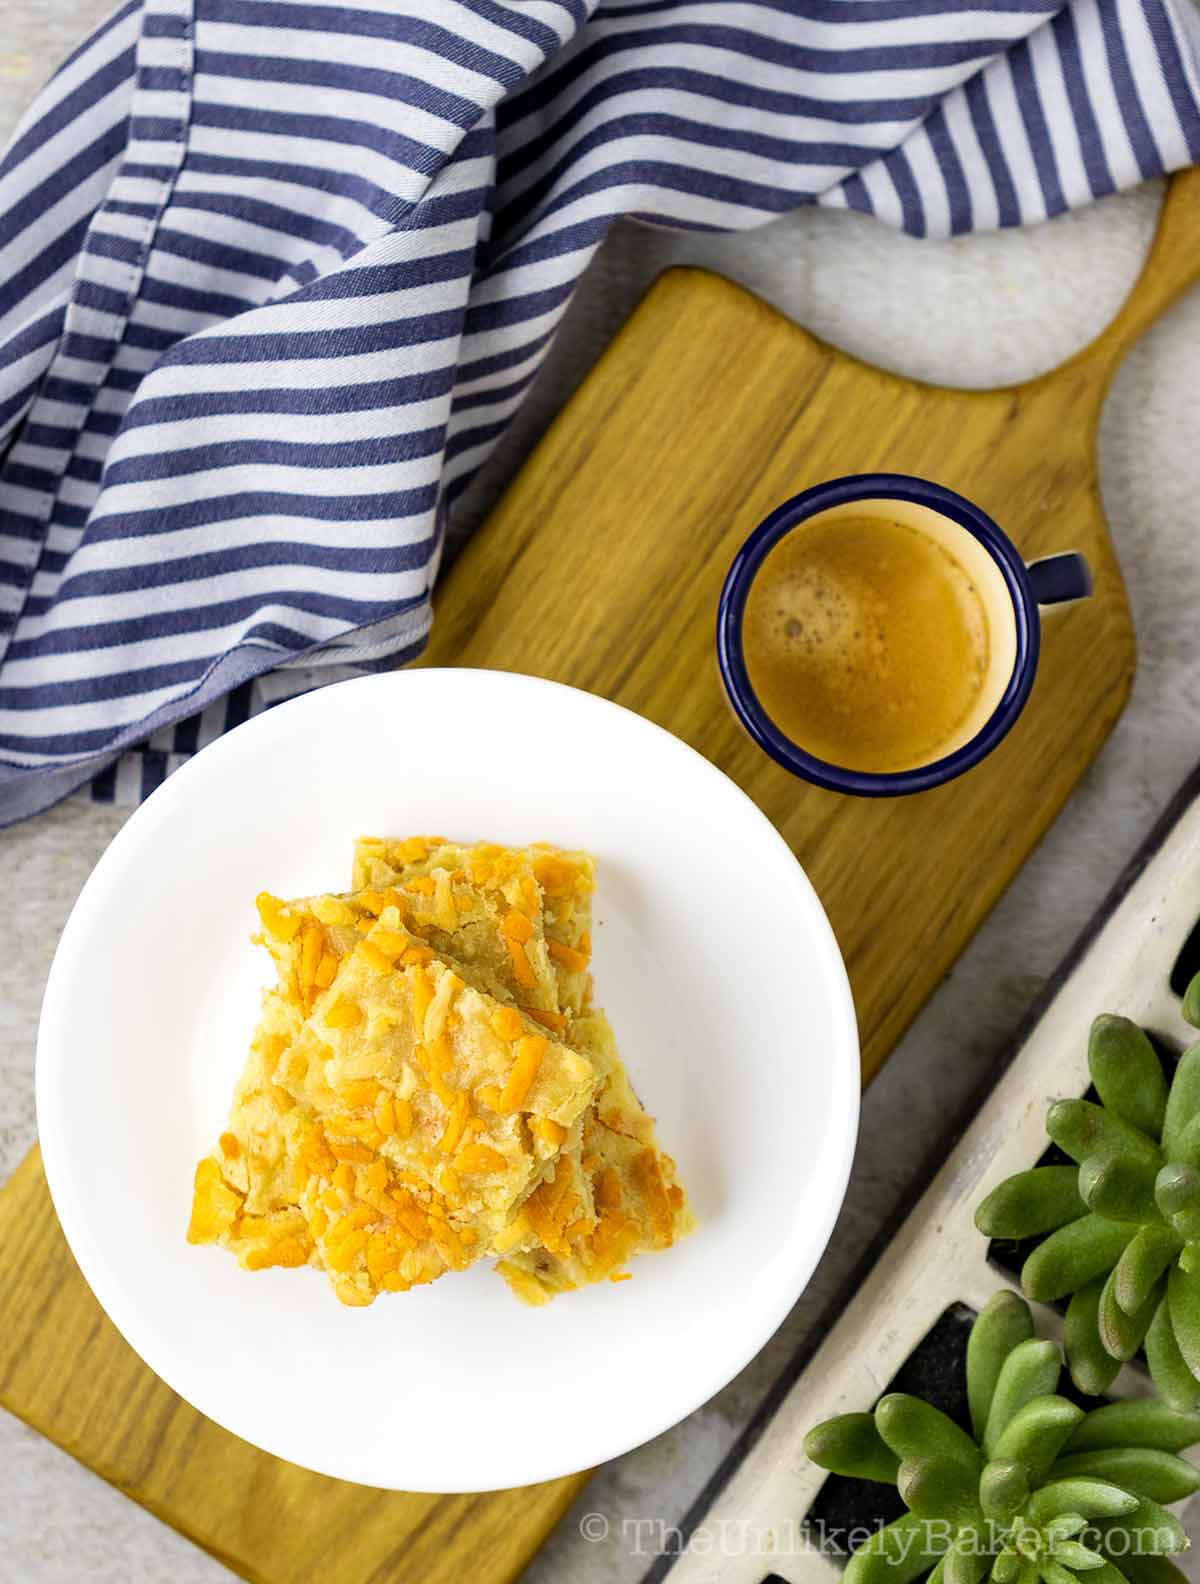
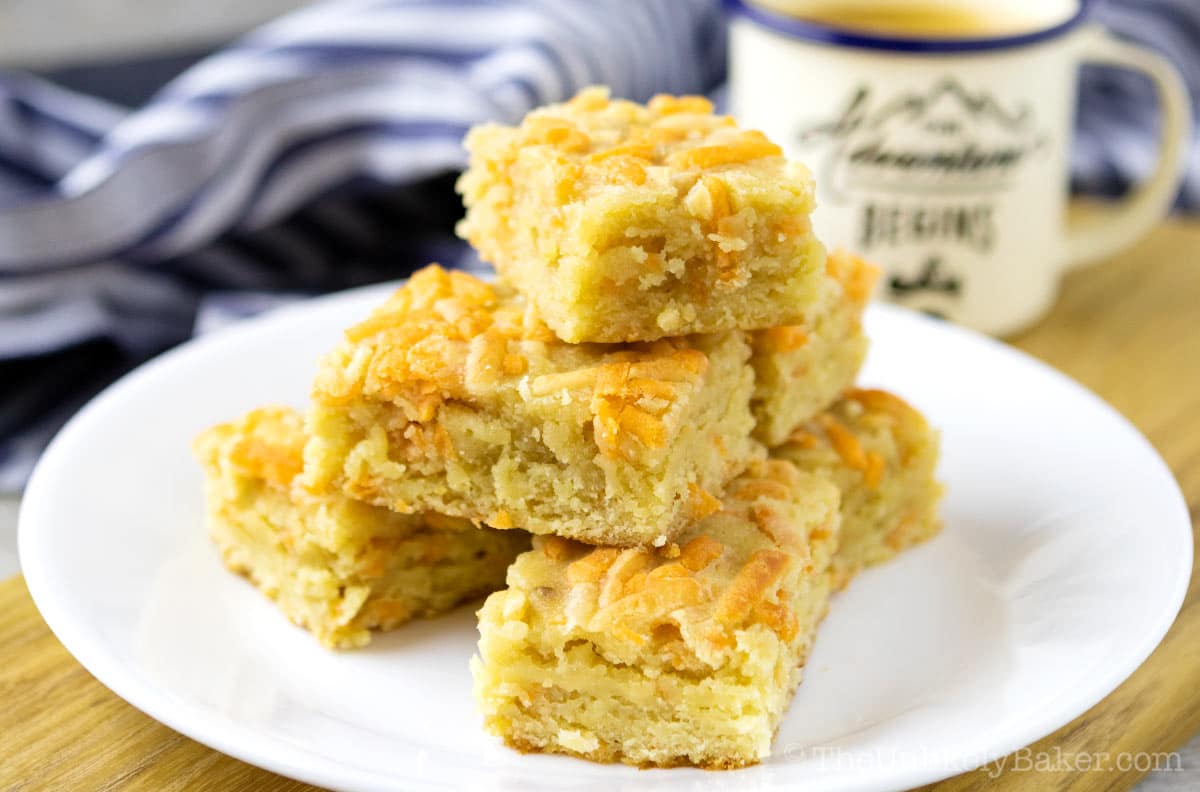
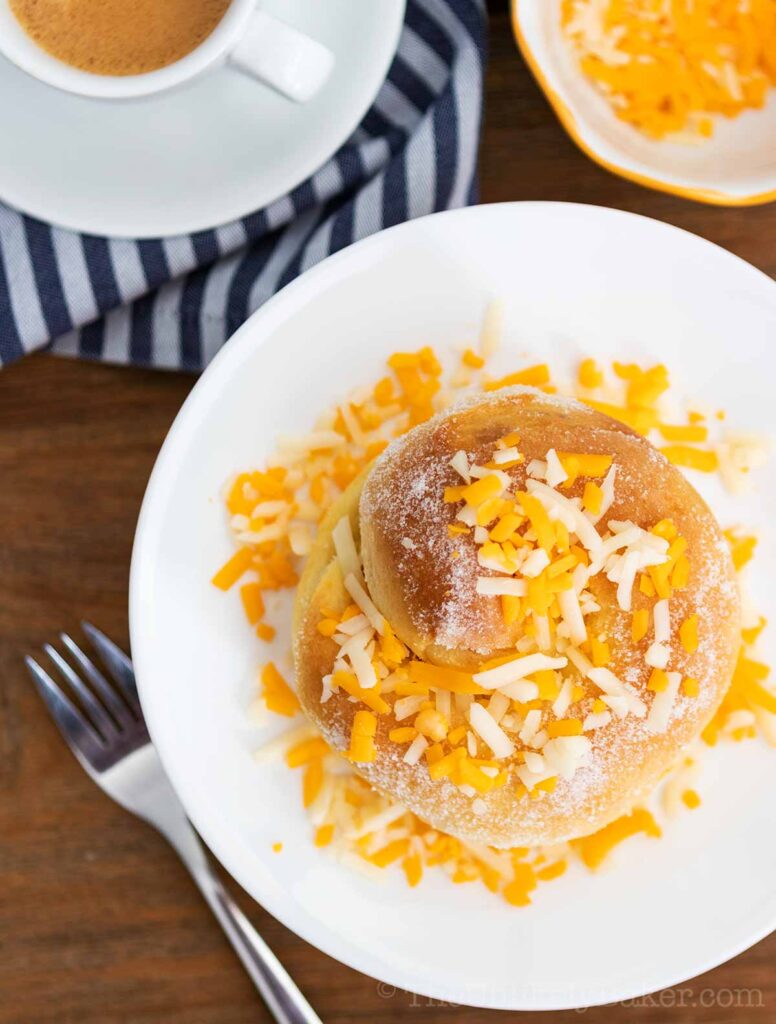
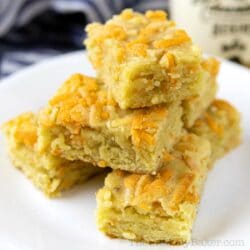
Cheese bars Filipino-style are the perfect sweet and salty treat. Tender but firm, easy to make, a childhood favourite.
(Fan of things sweet and salty? You will love the combination of sweetened cream cheese and creamy garlic butter in Korean cream cheese garlic bread. And these cheese cupcakes are an extra special sweet and cheesy treat.)
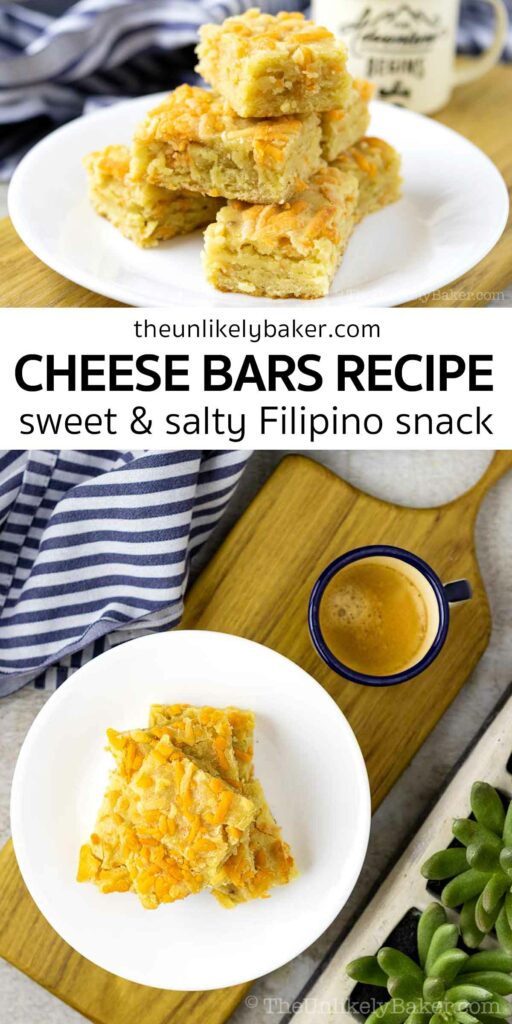
Cheese bars are a popular Filipino snack — texture like brownies, sweet and salty, oh-so-cheesy.
I have fond memories of buying cheese bars from our school cafeteria. Those were thinner, cut into triangles like pizza (no idea why), with slightly burnt cheese on top. So good!
My version is thicker, tender but still has that familiar bite to it, and you can put as much cheese on top of it as you want.
Let’s bake.
What are cheese bars?
These cheese bars are not cream cheese squares, cream cheese bars or cheesecake bars (though I have this amazing pecan pie cheesecake bars you must try).
There’s no cream cheese mixture because there’s no cream cheese and we’re not making a cheesecake (though try ube cheesecake if you’re in a cheesecake rut).
This recipe is, quite literally, for bars made with good old fashioned cheddar cheese for a unique, delicious, sweet and salty party.
Why you’ll love them
Despite the absence of cream cheese, you’ll love Filipino cheese bars because:
- They’re sweet and salty. Not too sweet, not too salty, just the perfect balance that’ll make you want more.
- The recipe is easy. This is not a finicky recipe. It’s easy to follow and pretty hard to mess up.
- The cheese bars travel well. You can bring them with you to picnics and potlucks, pack them in a lunch box, give them out as gifts.
- And they taste just like how you remember them. Best of all, if you’ve had cheese bars at your school too, these taste just like them. But better.
How to make
These cheddar bars are easy to make, and even easier to eat.
Ingredients
To make this cheese bars recipe, you’ll need:
- Unsalted butter
- Granulated sugar
- Brown sugar
- Eggs
- Vanilla extract
- Powdered milk — see FAQs below for more info
- Cheese — cheddar cheese is best; if not available, make sure you choose a firm/hard and sharp cheese for this recipe
- All purpose flour
(Love cheese? Make some cheese crisps!)
Baking tools
I use my stand mixer to mix the batter but you can also use a handheld electric mixer. It will be challenging to stir by hand because the batter is sticky and thick.
Other than that, you’ll need the following:
- 9×13 inch baking pan
- Cheese grater — or you could use pre-shredded cheese like I do
- Measuring cups and spoons
- Bench scraper to cut the bars but a sharp knife will do too
I also always recommend using a kitchen scale to weigh your ingredients and an oven thermometer to make sure you’re always baking at the correct temperature.
Step-by-step photos
Preheat oven to 350F and lightly grease a 9×13 inch baking pan. Line the pan with parchment paper with a slight overhang on each side.
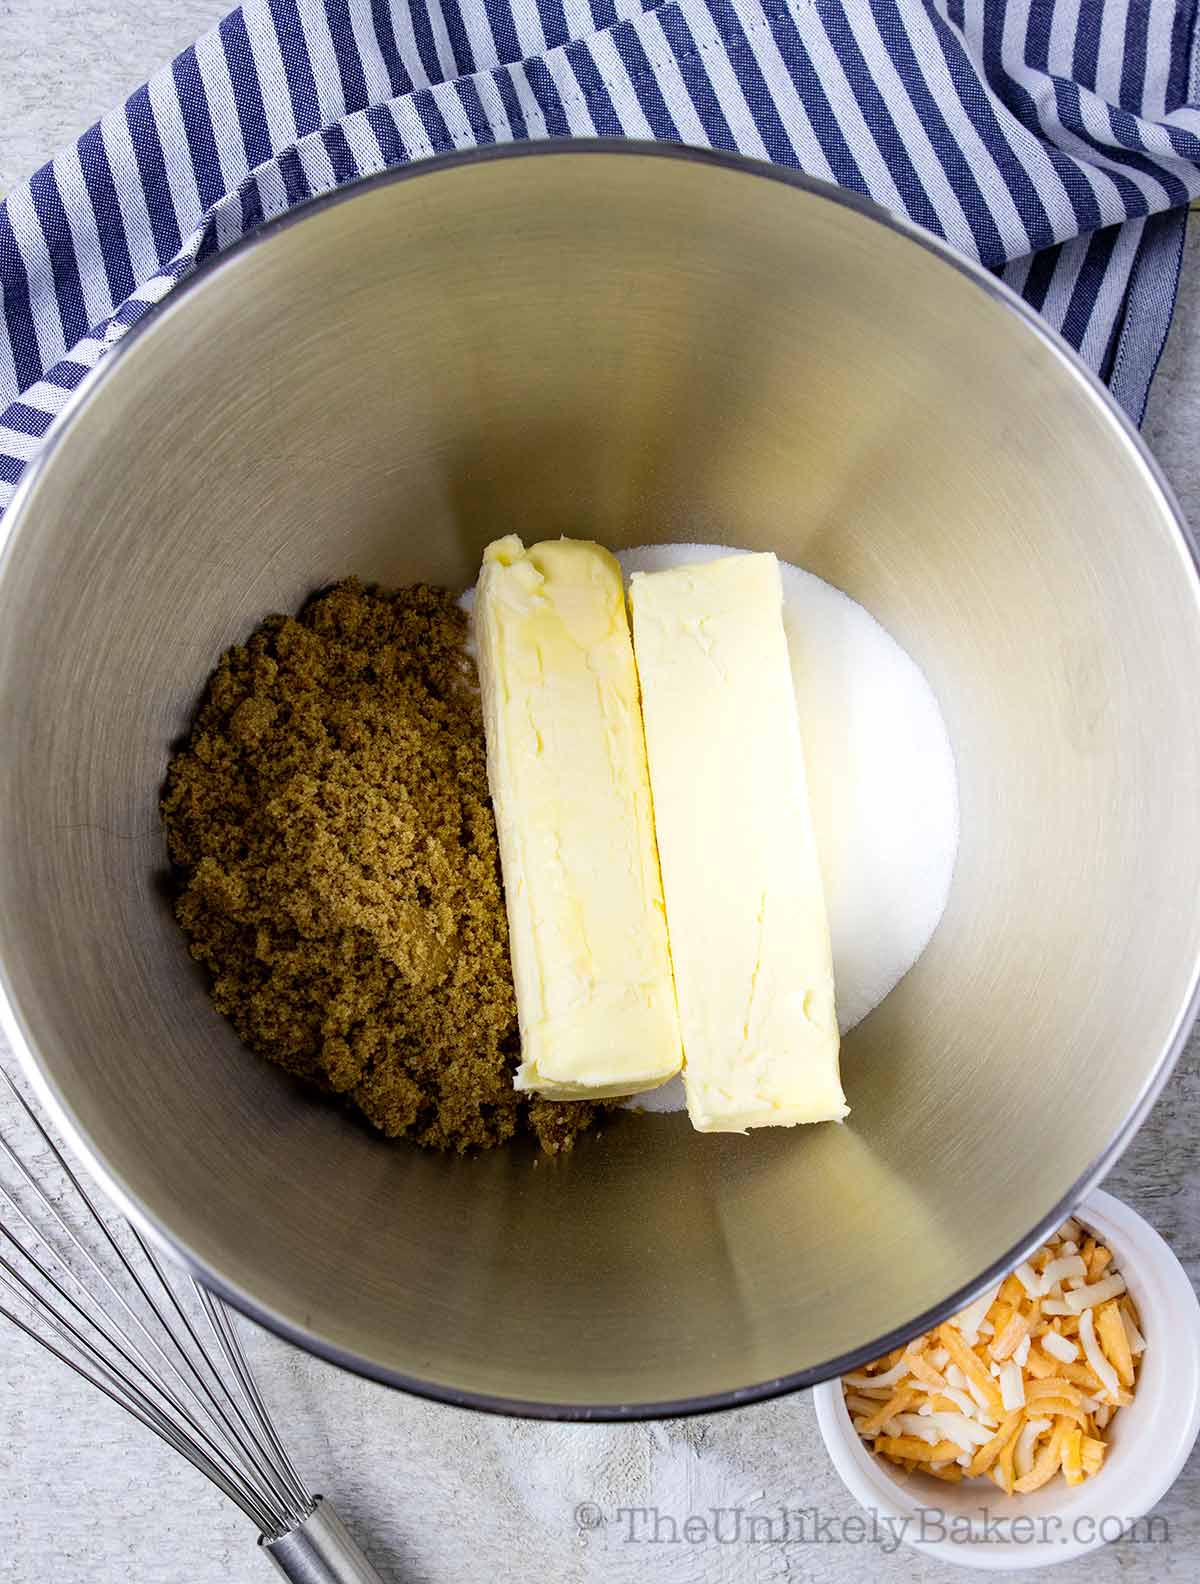
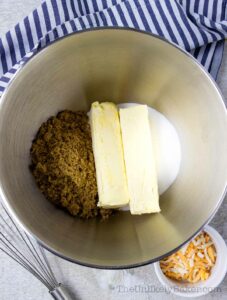
In a large bowl using a handheld electric mixer, or using a stand mixer fitted with the paddle attachment, beat butter, granulated sugar and brown sugar on medium-high speed…
…until light and fluffy.
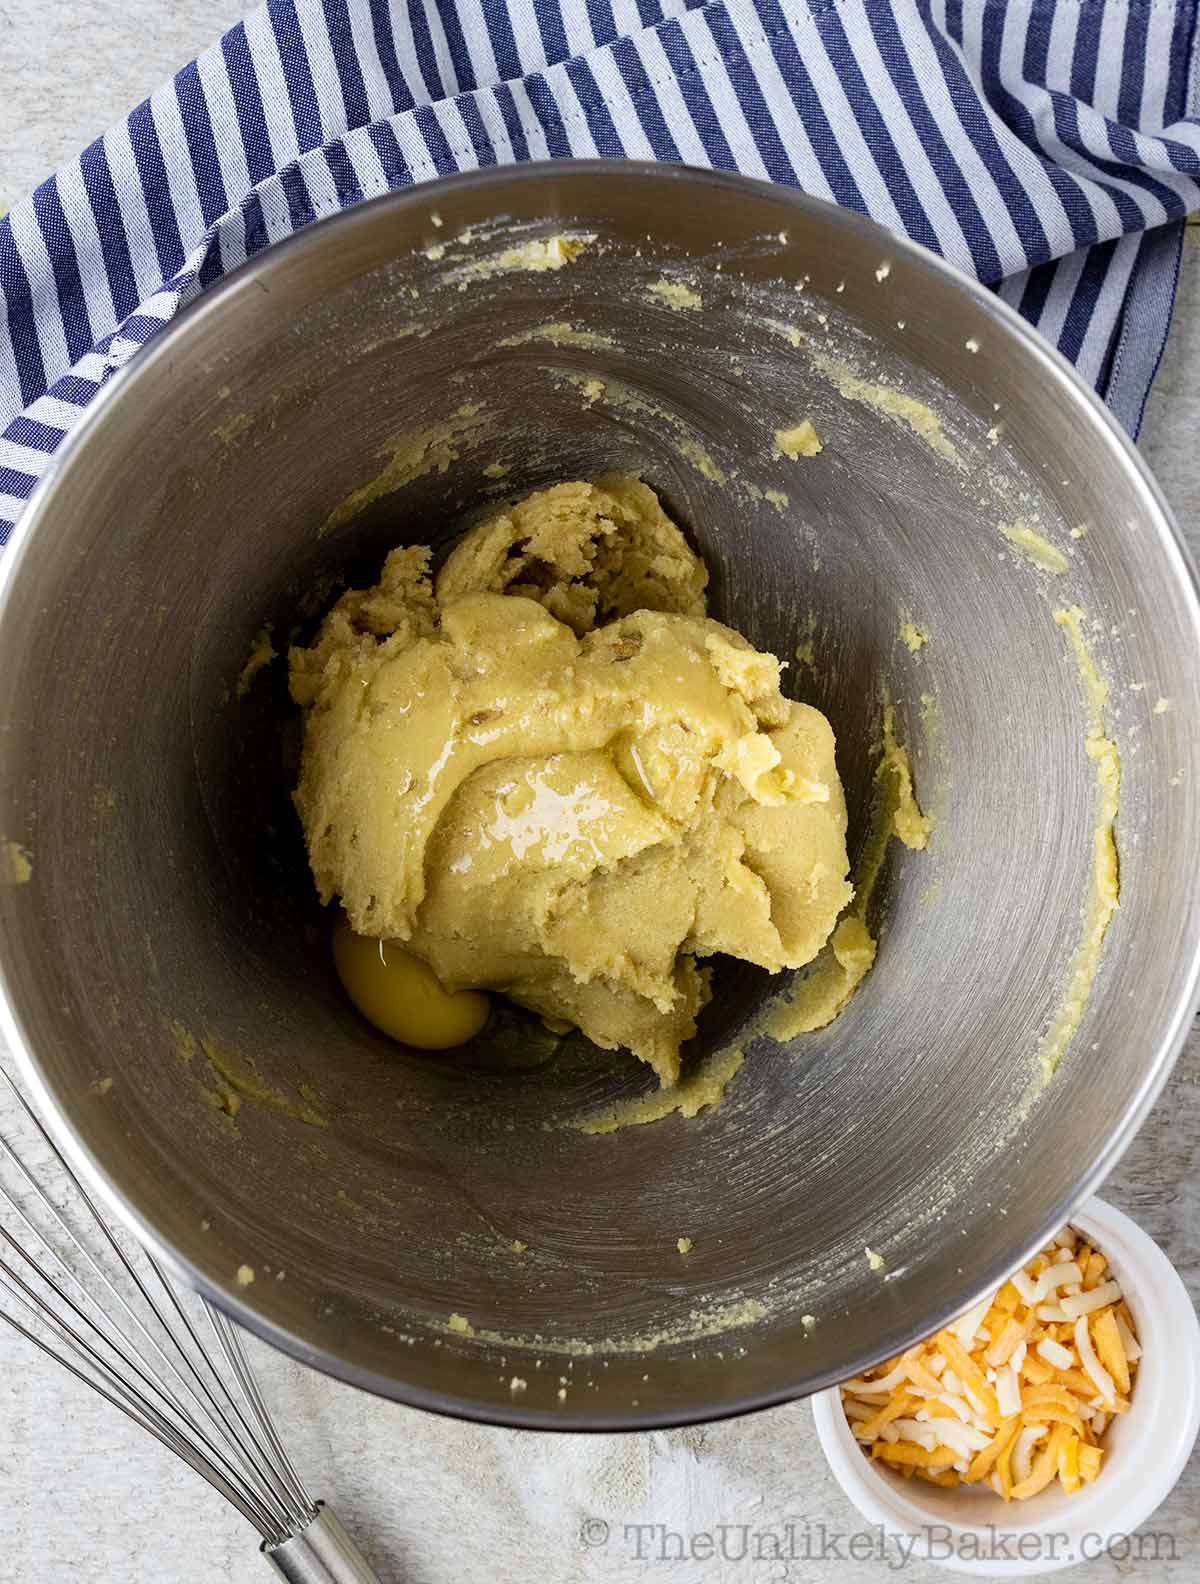
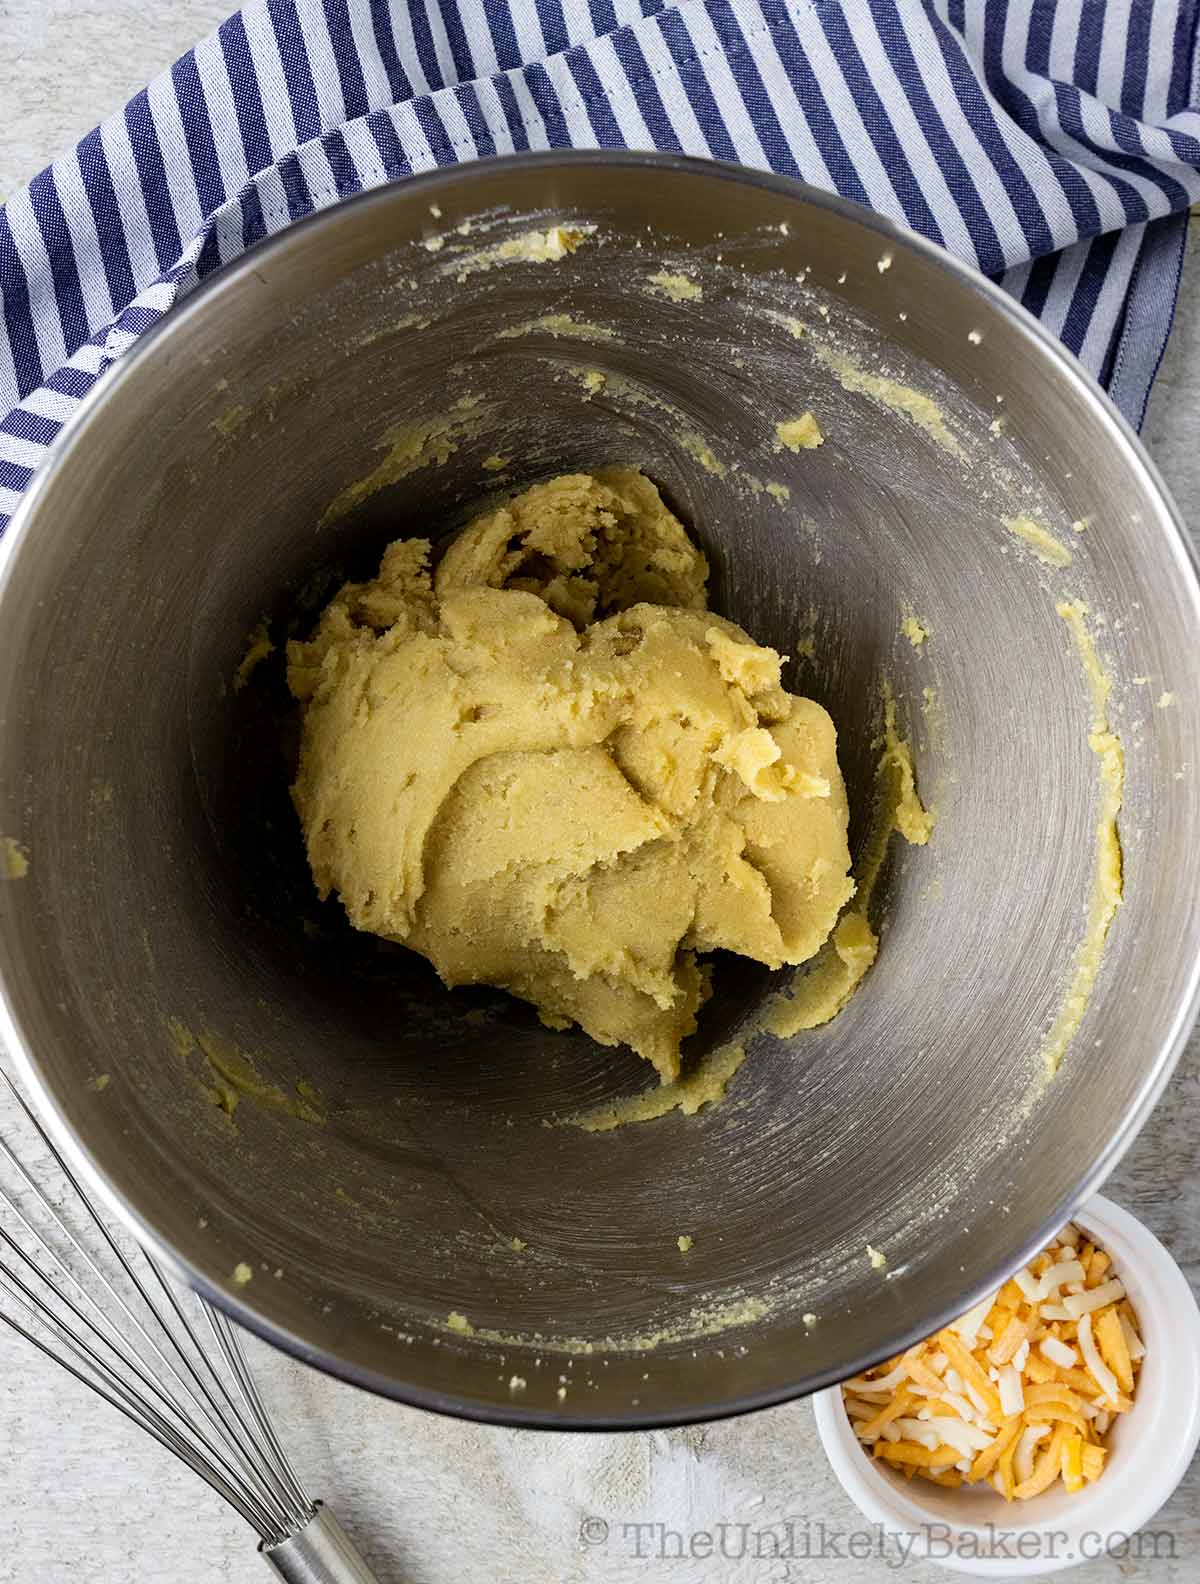
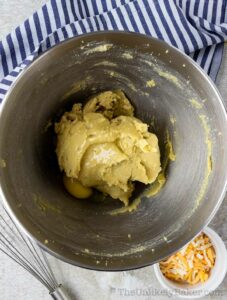
Add eggs one at a time.
Make sure each addition is incorporated.
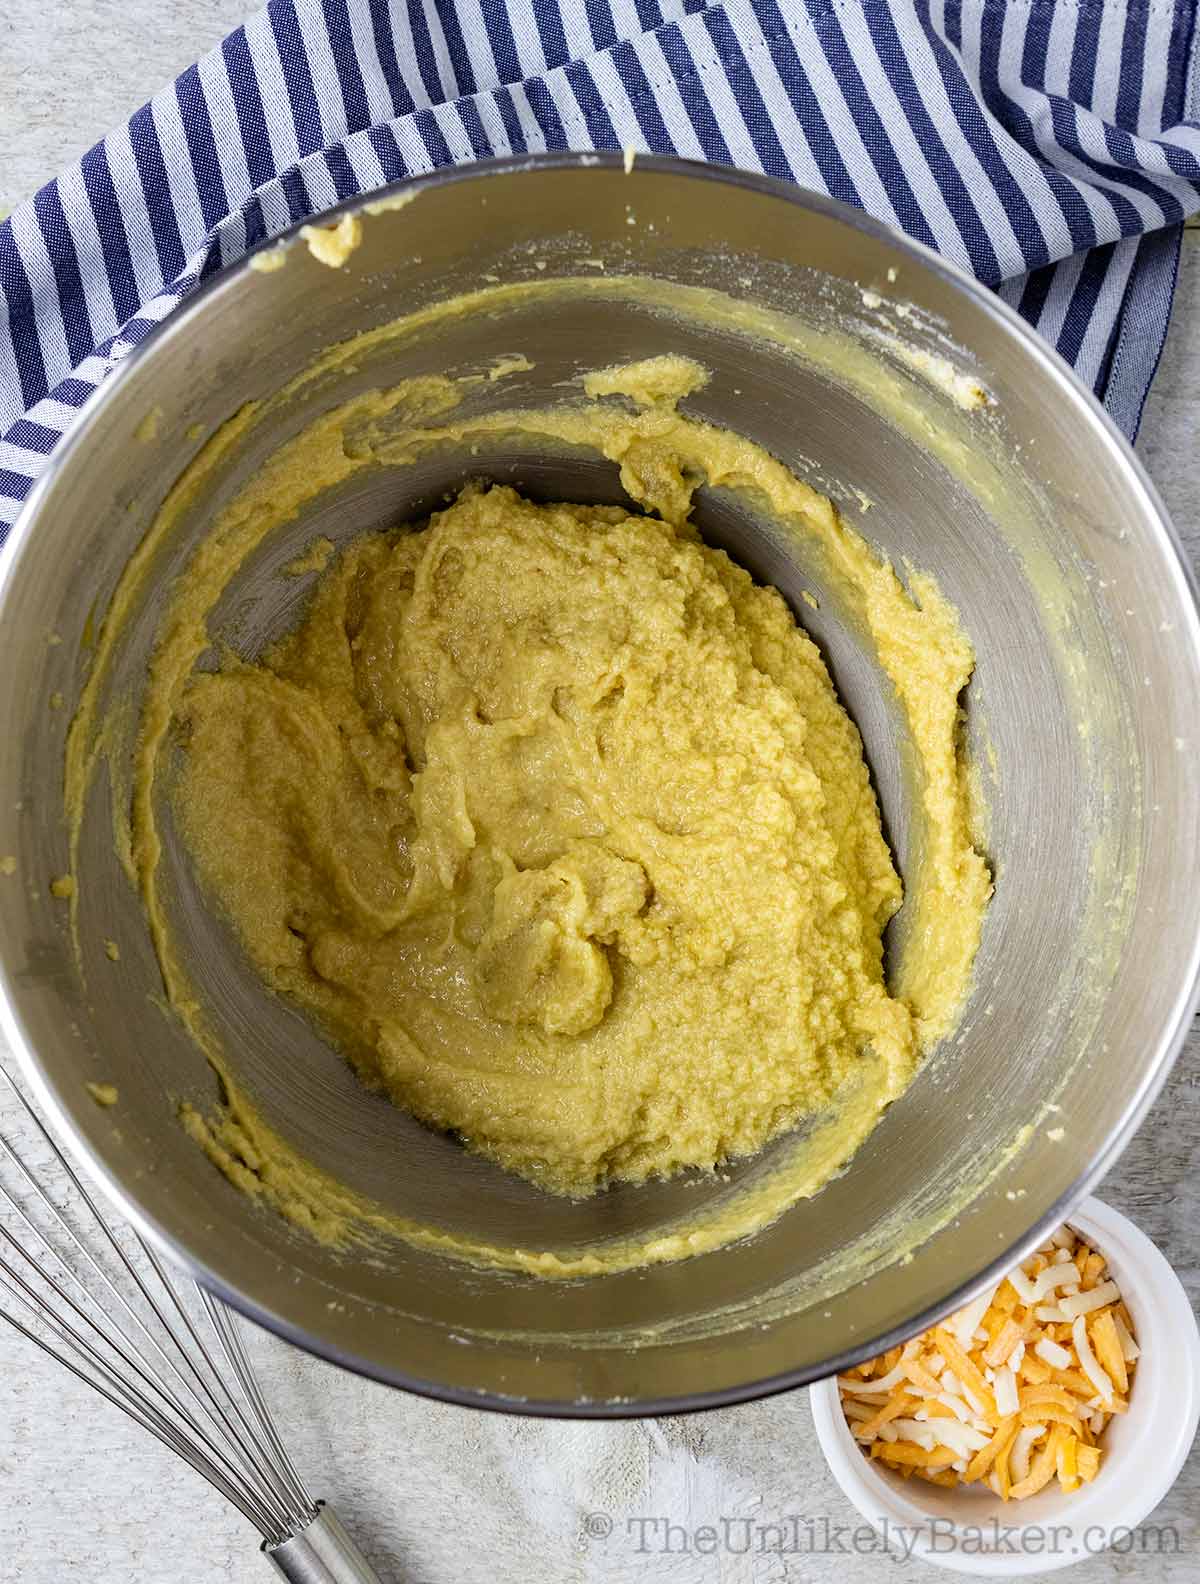
Stir in vanilla extract and powdered milk.

Stir until well blended.

Add in the cheese.
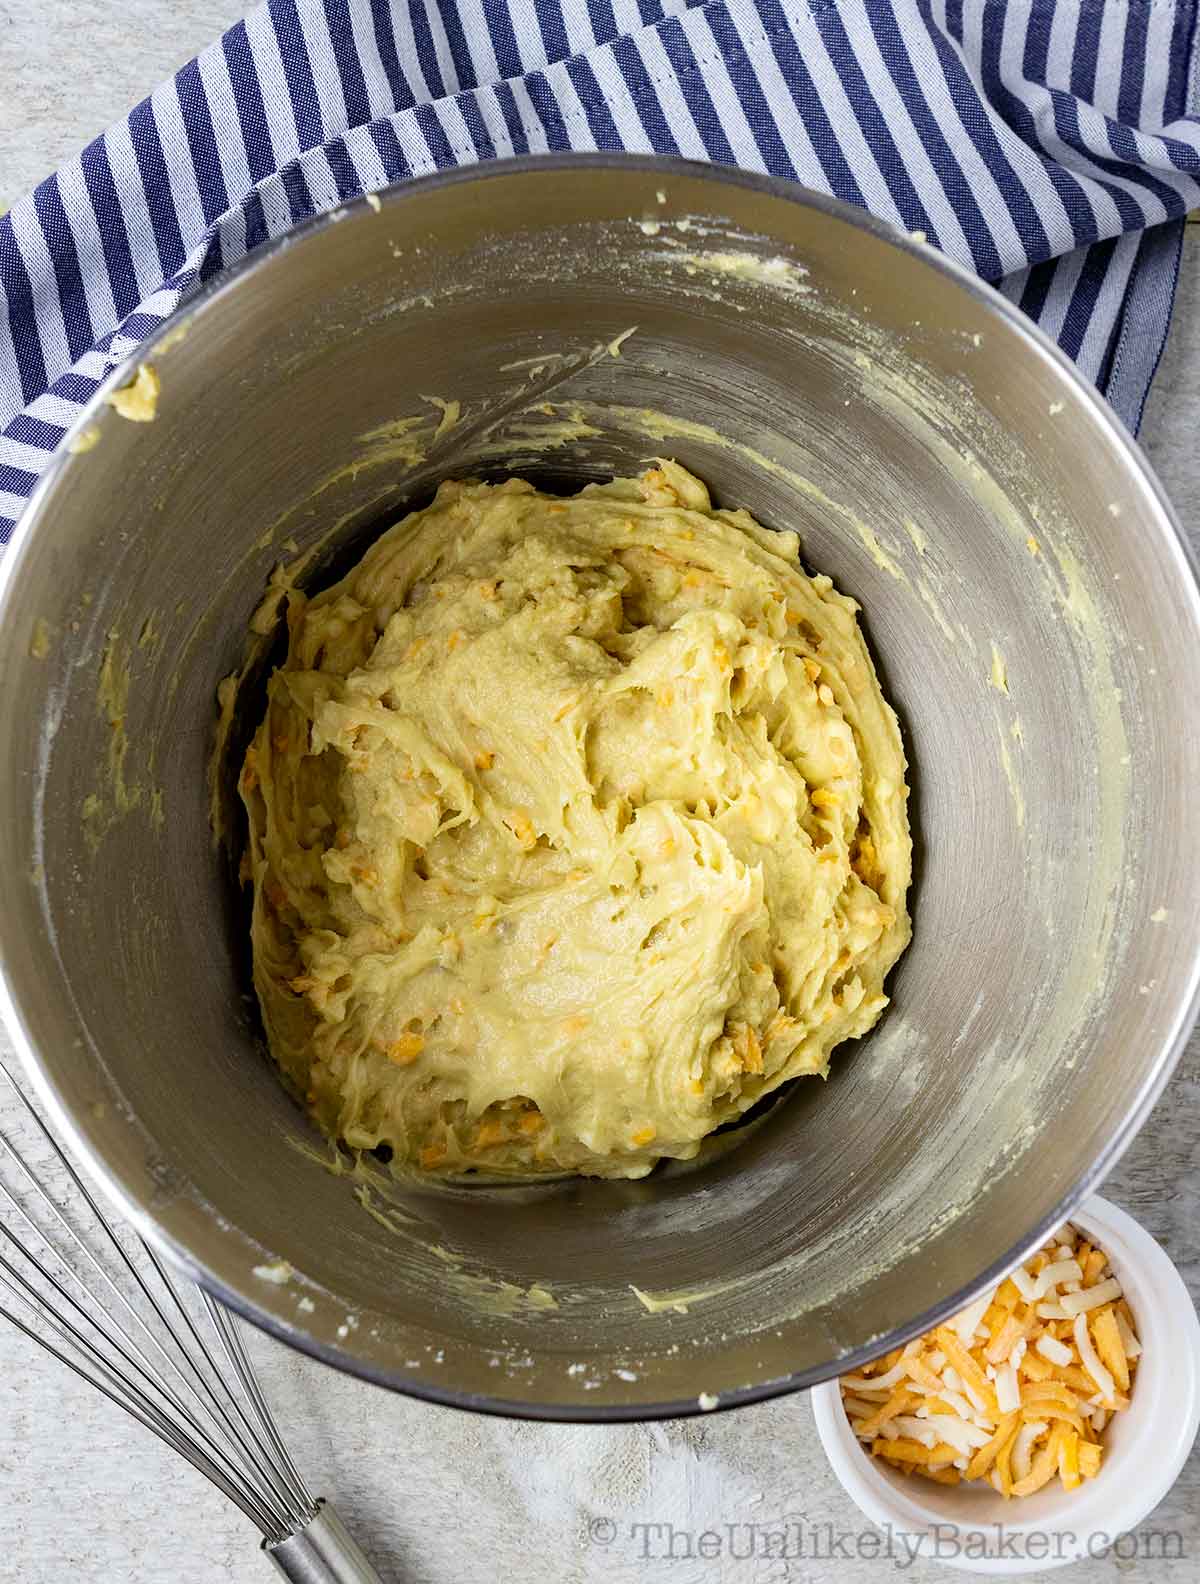
Stir until combined.

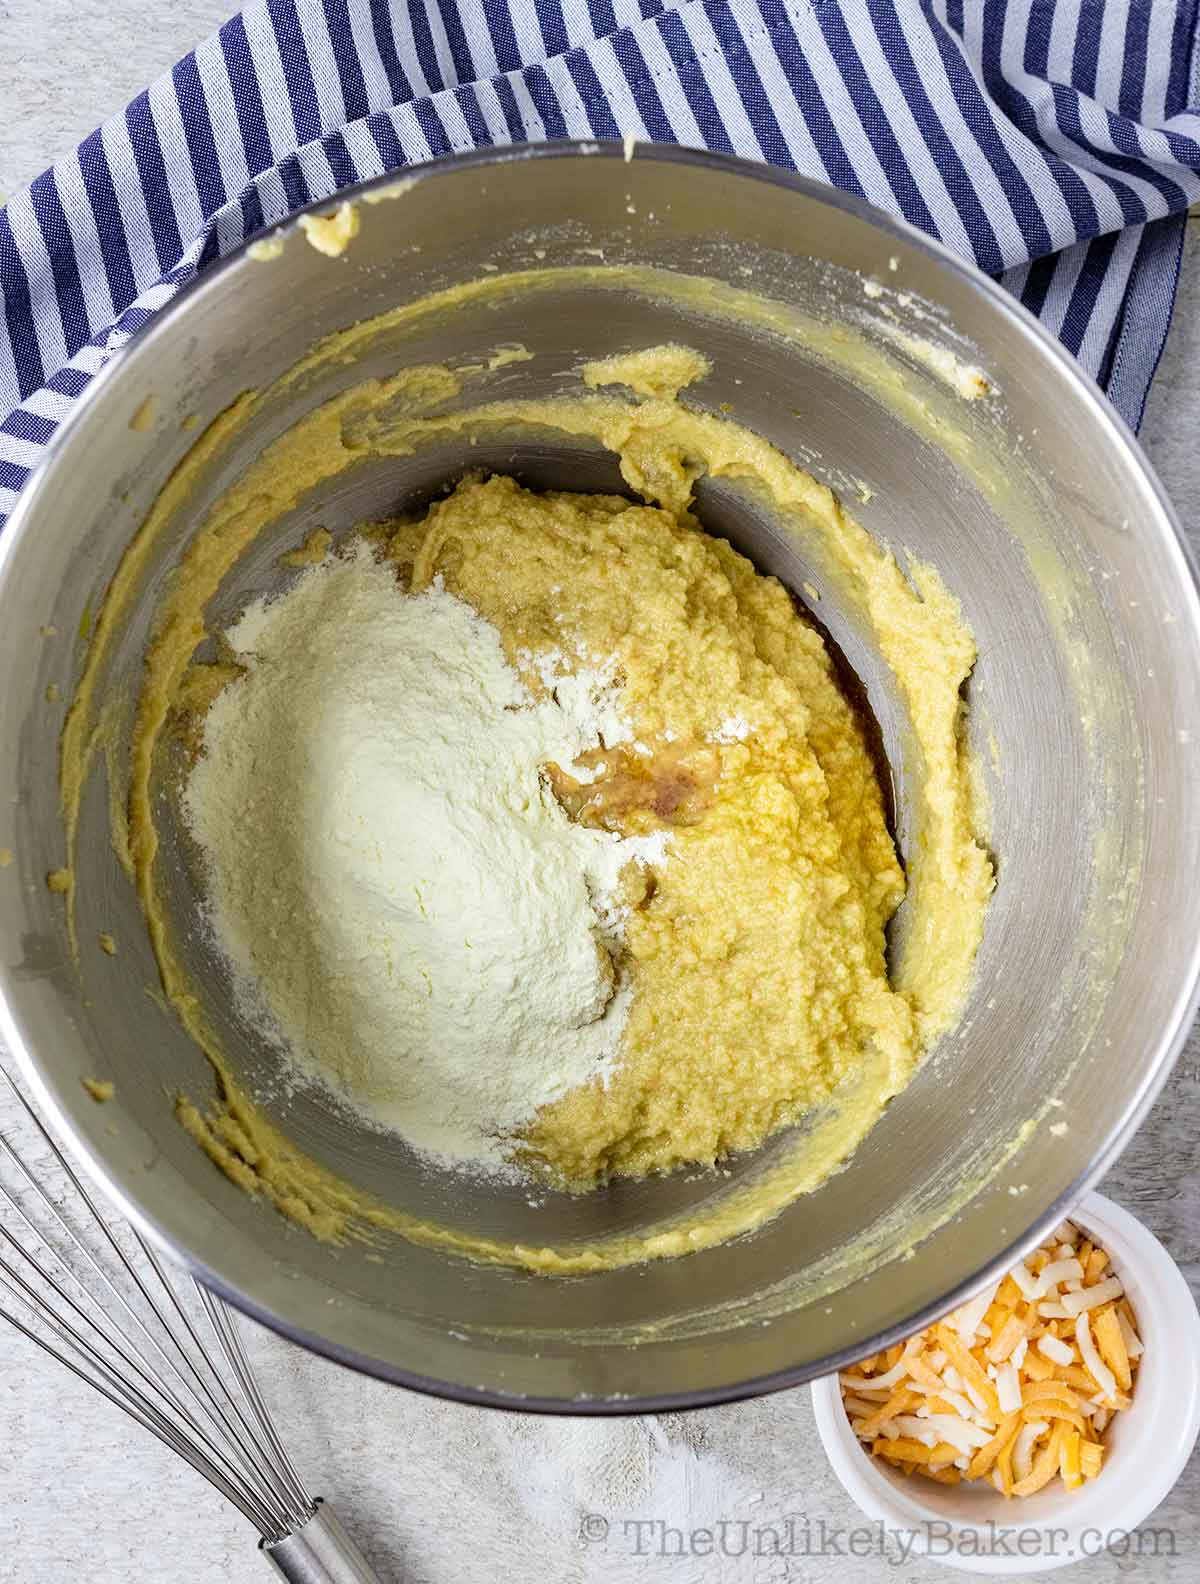
Add the flour in thirds and stir just until combined. Don’t over mix.
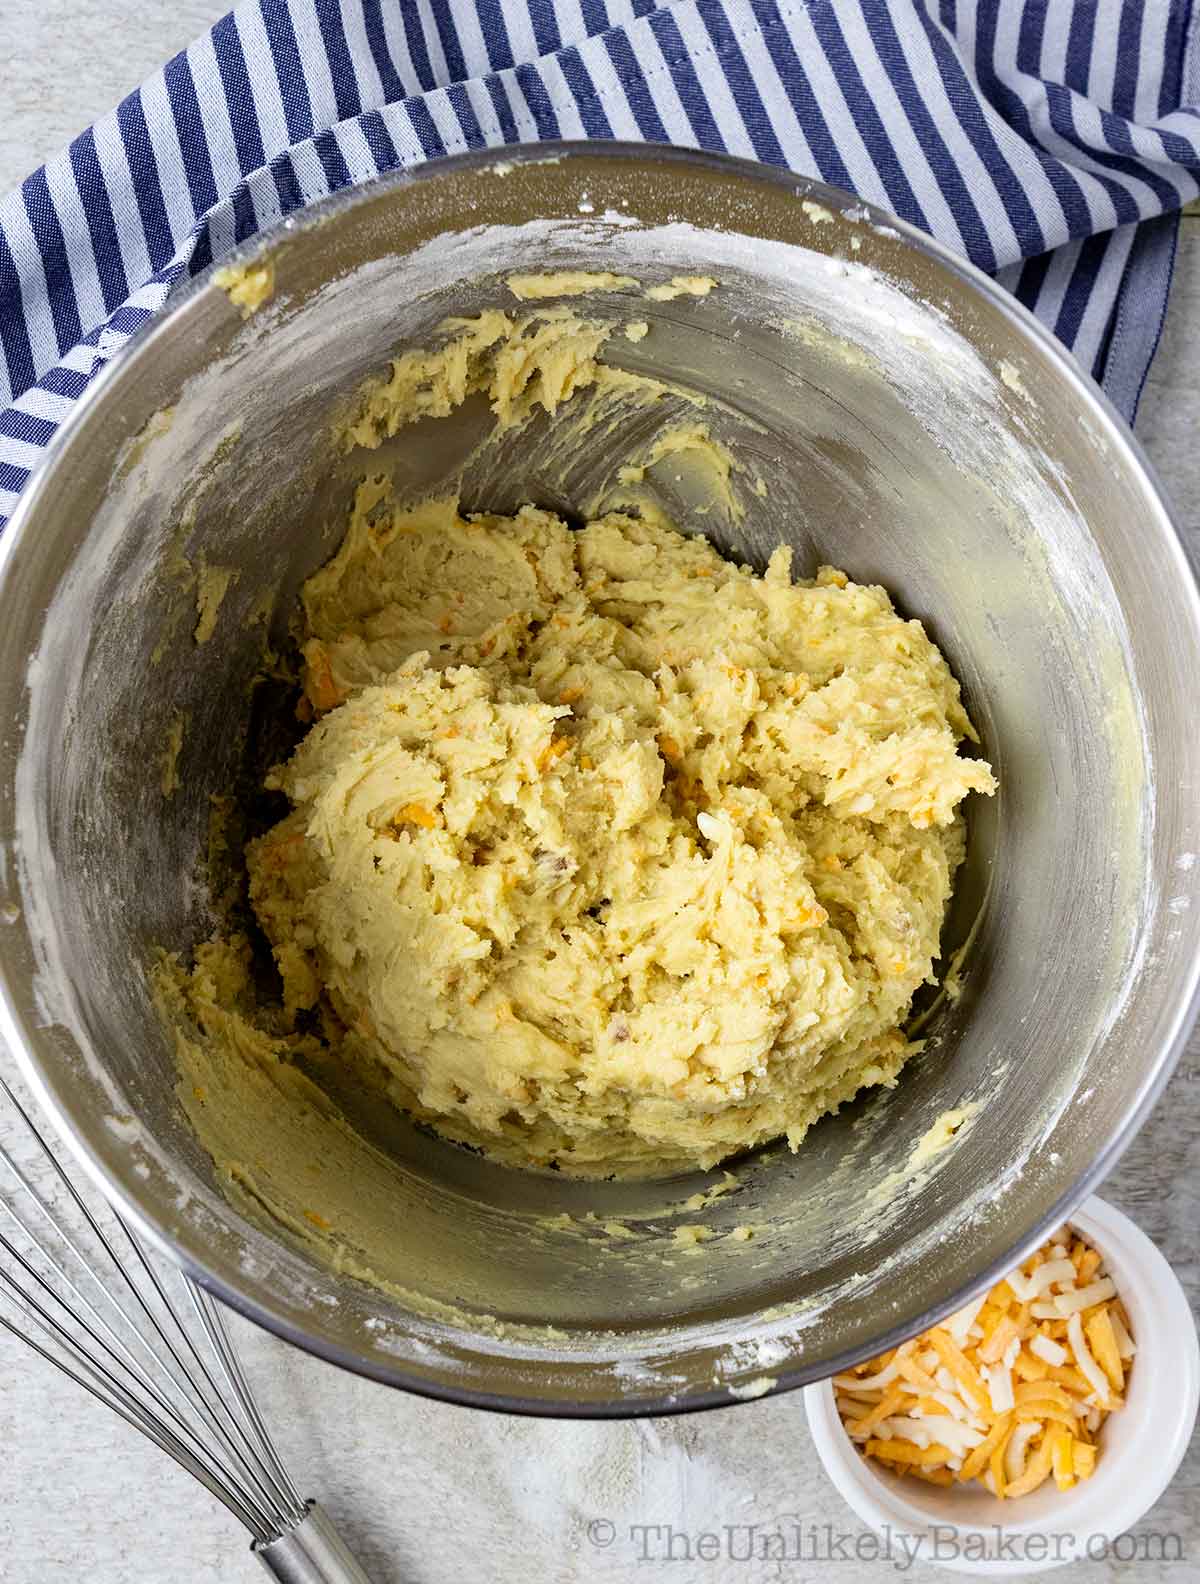
Remember to scrape the bottom and sides of your bowl in each step.
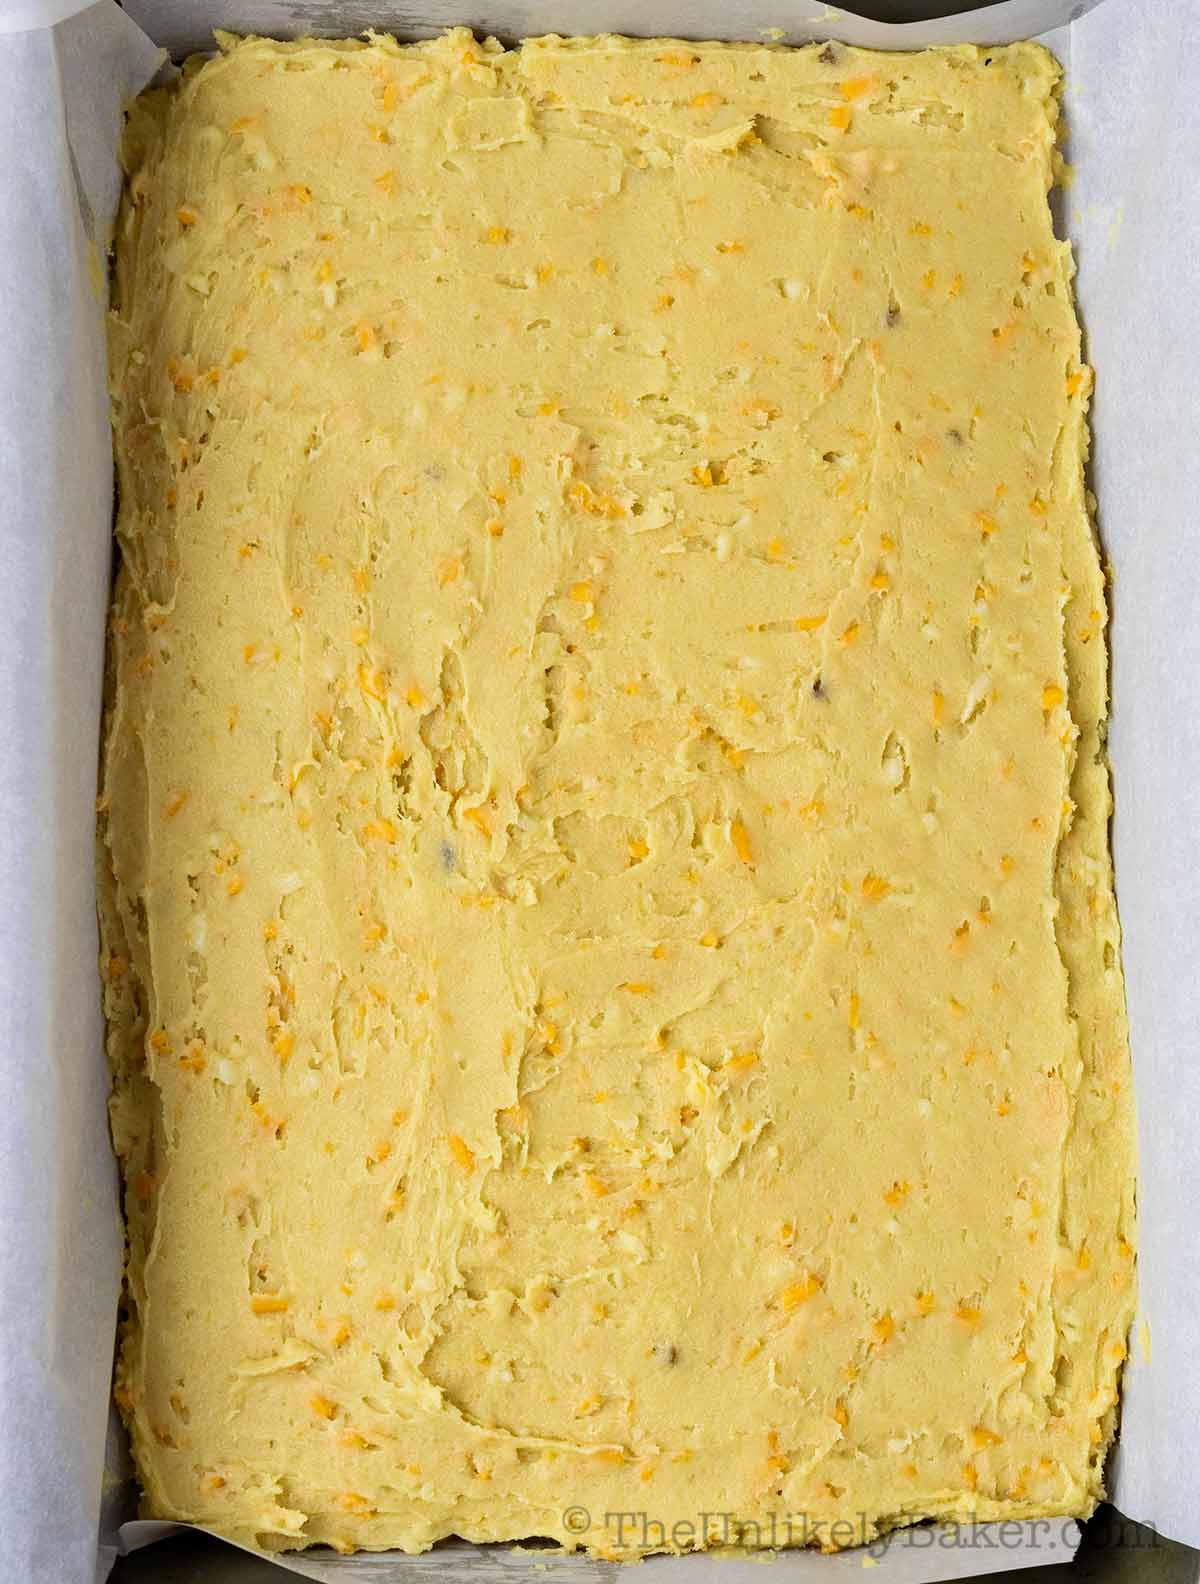
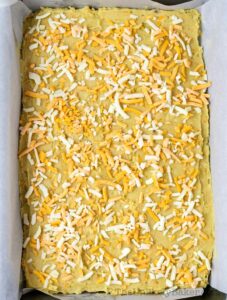
Transfer the batter into your prepared pan and spread evenly.

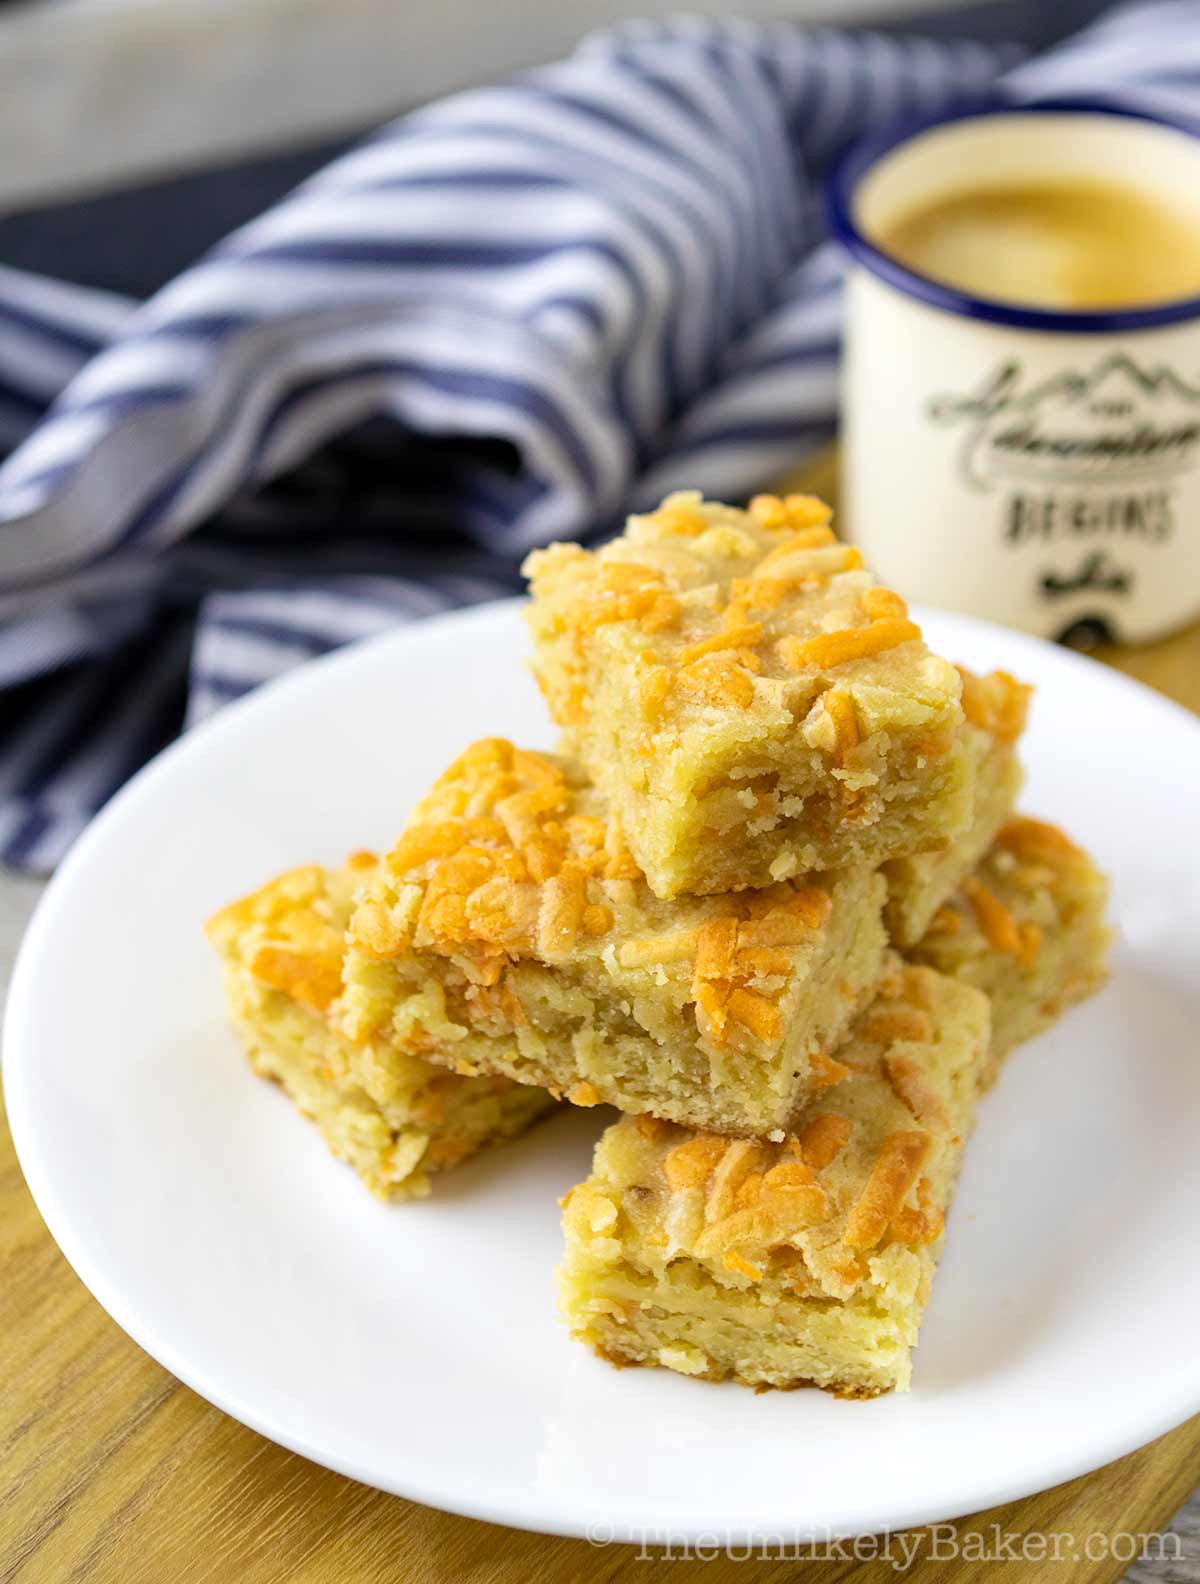
Sprinkle with more cheese on top. I usually just ensure the whole top is properly covered however, you can add as much cheese on your cheese layer as you like.
Bake for 20-25 minutes or until the bars turn golden brown on the edges, look matte and dry, and a toothpick inserted in the centre comes out with minimal dry crumbs.
Allow the bars to cool in the pan before slicing. Cut them into bars or squares, or even triangles if you’re feeling sentimental. Enjoy!
Recipe FAQs

Easy, right? Here are more baking tips and FAQs to make this recipe that much easier to make.
Powdered milk (or sometimes called skim milk powder) is nutritionally equivalent to fresh milk and is relatively non-perishable, less expensive and easier to store (source). It’s great to use in baking.
You can usually find it in the baking aisle and not in the dairy section.
In general, when baking, you can substitute milk for powdered milk using a ratio of 1:4, i.e. 1 cup of milk for every ¼ cup of powdered milk.
However, in this recipe, that will introduce too much liquid. I don’t recommend using regular milk in this instance.
You can keep these sweet and salty bars on the counter, in an airtight container. They should keep for up to 3 days but note that they become crumblier as they sit.
You can also keep them in the fridge. Enjoy them chilled, bring them out to come down to room temperature, or choose to warm them for a few seconds in the microwave.
Other cheesy recipes

Love everything cheesy, sweet and savoury? Try these other recipes where cheese is the star:
- Creamy cheese custard inside a buttery crust. These Hokkaido cheese tarts are luxurious and incredibly delicious.
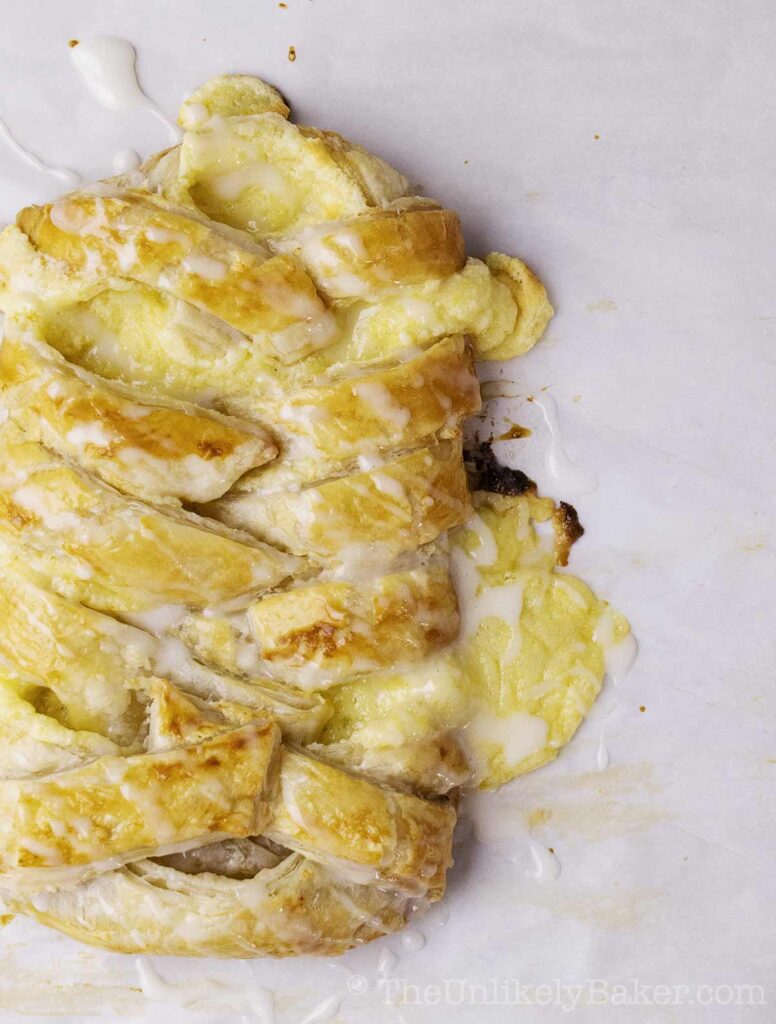
- Lemon cream cheese puff pastry braid is a delicious, lemony, buttery treat perfect with your morning coffee or afternoon tea. Made with ready-made puff pastry and a luxurious lemon cream cheese filling.
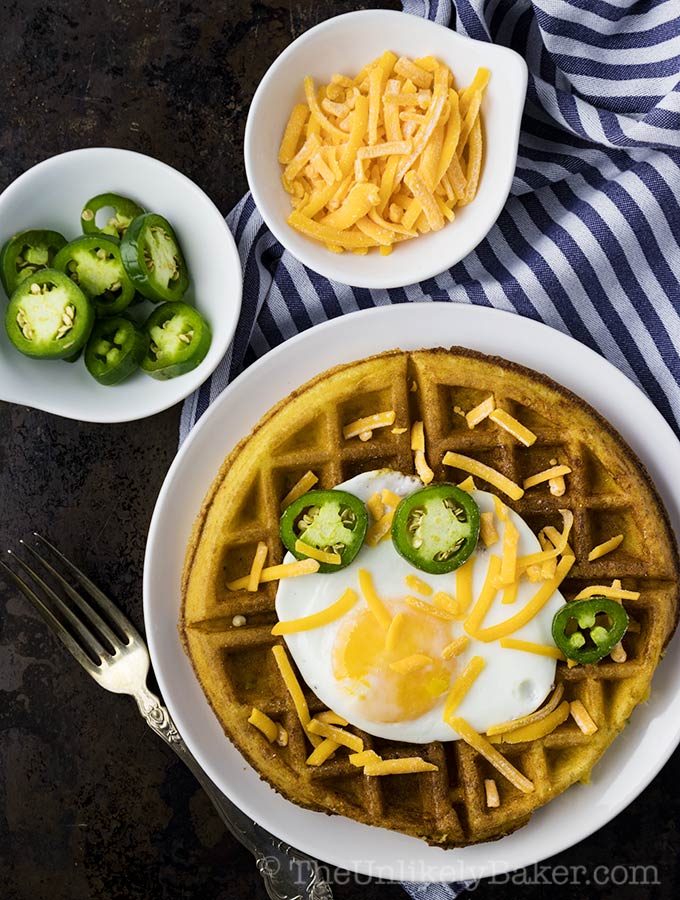
- Treat yourself to these scrumptious jalapeño cheddar waffles. Top them with fried egg and start the day right.
- This is the best ensaymada recipe that’s simple to follow so you can make soft, sweet, cheesy ensaymada at home any time.
Happy baking!
Did you make cheddar cheese bars? I’d love to hear from you in the comments section below.
And let’s get social! Find me on Facebook, Pinterest, Instagram, Twitter and YouTube.
Cheese Bars Filipino Recipe
Ingredients
- 1 cup unsalted butter room temperature
- 1 cup granulated sugar
- ½ cup brown sugar
- 3 pcs large eggs room temperature
- 1 tbsp vanilla extract
- ½ cup powdered milk
- 4 oz shredded cheddar cheese about 1 cup, more for topping
- 2½ cups all-purpose flour
Instructions
- Preheat oven to 350F and lightly grease a 9×13 inch baking pan. Line the pan with parchment paper with a slight overhang on each side.
- In a large bowl using a handheld electric mixer, or using a stand mixer fitted with the paddle attachment, beat 1 cup unsalted butter, 1 cup granulated sugar and ½ cup brown sugar on medium-high speed until light and fluffy.

- Add eggs one at a time, making sure each addition is incorporated.
- Stir in 1 tbsp vanilla extract and ½ cup powdered milk until well blended.
- Add in the cheese and stir until combined.
- Add the flour in thirds and stir just until combined. The batter will be thick and sticky but don’t over mix. And remember to scrape the bottom and sides of your bowl in each step.
- Transfer the batter into your prepared pan, spread evenly and sprinkle with more cheese on top (see notes).
- Bake for 20-25 minutes or until the bars turn golden brown on the edges, look matte and dry, and a toothpick inserted in the centre comes out with minimal dry crumbs.
- Allow the bars to cool in the pan before slicing. Enjoy!


Video
Notes
- Total yield depends on how big or small you slice your bars.
- For the cheese topping: I usually just ensure the whole top is properly covered however, you can add as much cheese on your cheese layer as you like.
- See post for complete step-by-step photos, more baking tips and FAQs.
Nutrition
Nutritional information are estimates only.

Kath
Can I make this ahead and freeze it?
Jolina
Hi Kath, I haven’t tried so I can’t say for sure how freezing will affect the texture. I usually just keep them in the fridge.
Antoi
These were delicious and just like I remember them! Blast from the past 🙂 Thanks for the recipe and the trip down memory lane.
Jolina
You are most welcome! Glad you liked them 🙂
Liz
@Jolina, this is so yummy, kaya lang na overbake ko yata ung saken kc mejo dry.
Jolina
Hi Liz, these are really supposed to be on the drier side, not as moist as brownies.
Clarissa
Yes I remember cheese bars they’re thin with yummy burnt cheese. Yours look much better than my memory lol. Can’t wait to make these. Thanks xx
Rachelle
I’ve never had these kinds of cheese bars before. Looks so good! I’m always up for something salty and sweet.
Shar
Wow! I already love cheese too much and now I get to know about your recipe!! It’s an interesting mouth-watering one.
Stephanie
Oh my gosh, these are delicious! I made these for a snack and my boys devoured them.
Jolina
Glad you liked them!