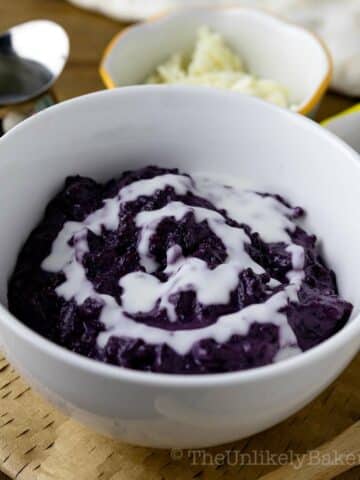
Ube mochi is tender, chewy and one of the most delicious ways to enjoy ube or purple yam. Based on the widely popular Hawaiian butter mochi, it’s one of the easiest recipes to make too! 1 bowl, less than 10 ingredients, done in less than an hour, happiness in every bite.
(Love everything ube? Check out this collection of the best ube dessert recipes. And if you’d like to try the Filipino version of mochi, check out this espasol recipe.)
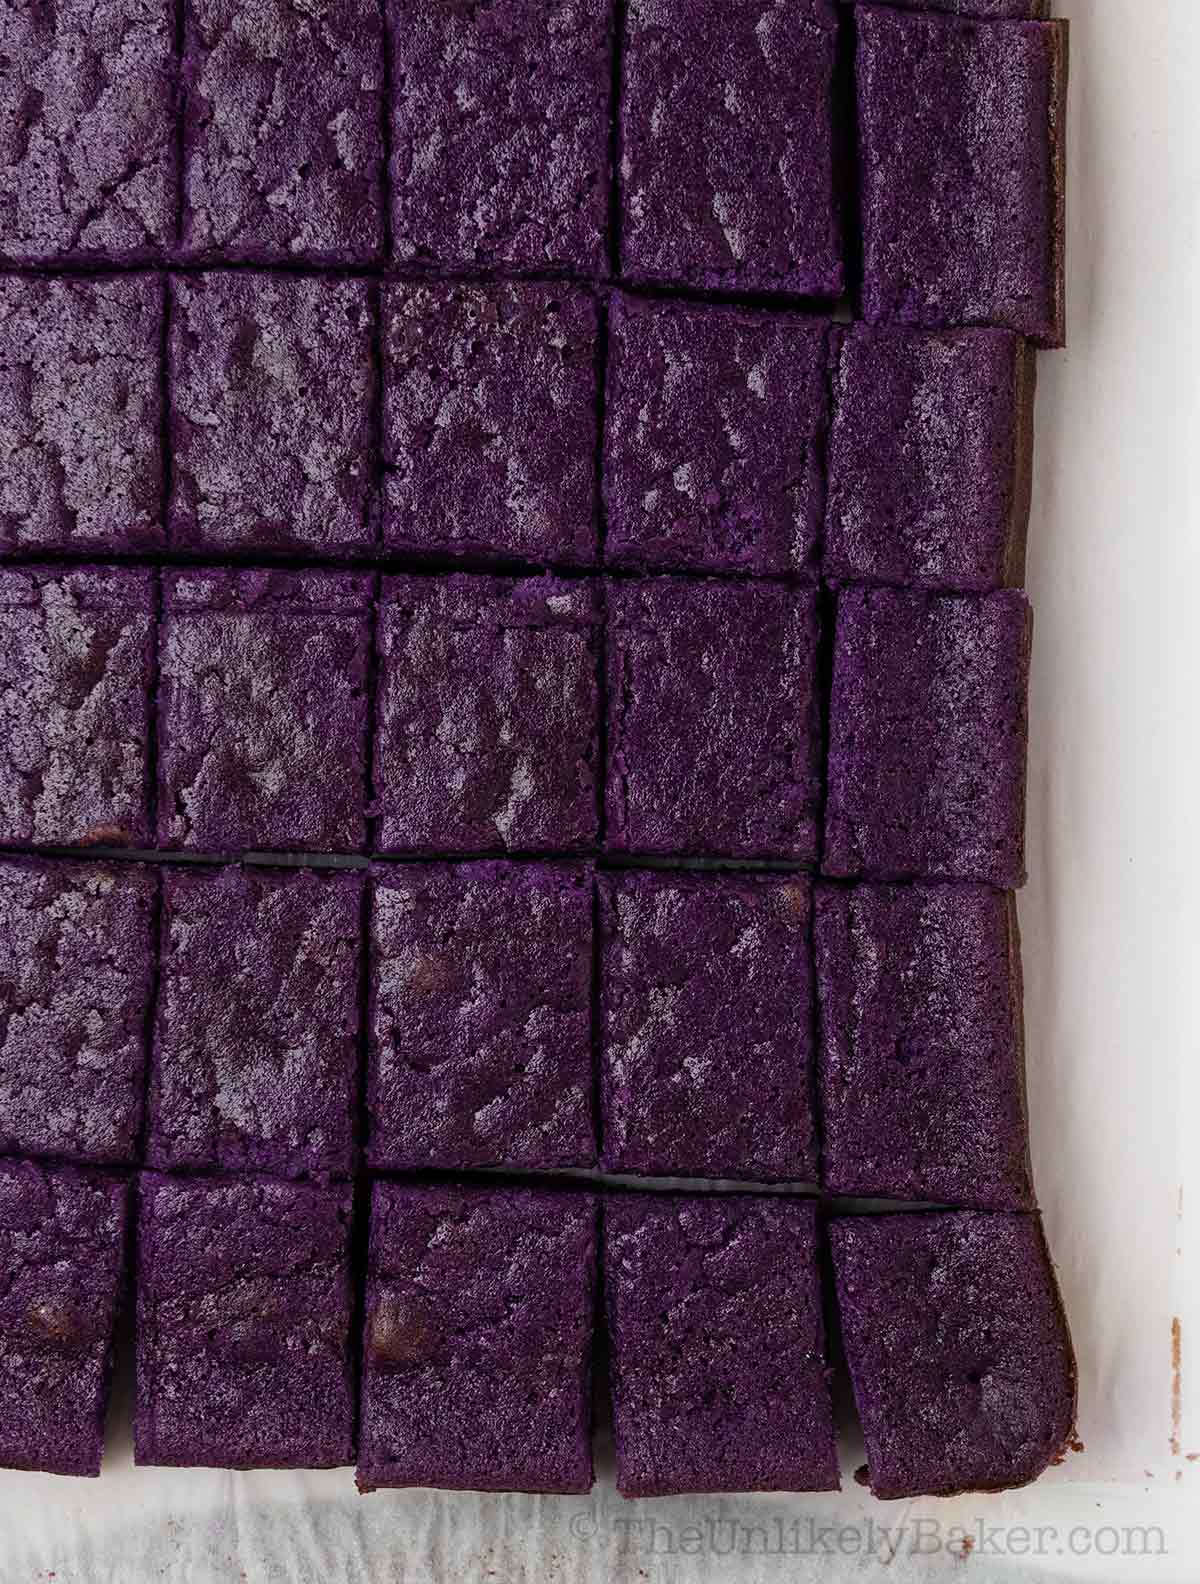
Ube mochi has been making the rounds ever since Trader Joe’s introduced their Ube Mochi Pancake & Waffle Mix.
It was such an amazing product that people started using it to make ube mochi cakes, cookies, muffins, bread and more.
This recipe is different in that it doesn’t use a pre-made mix but it’s just as easy to make. And even more amazing.
Let’s get to it.
What is ube mochi
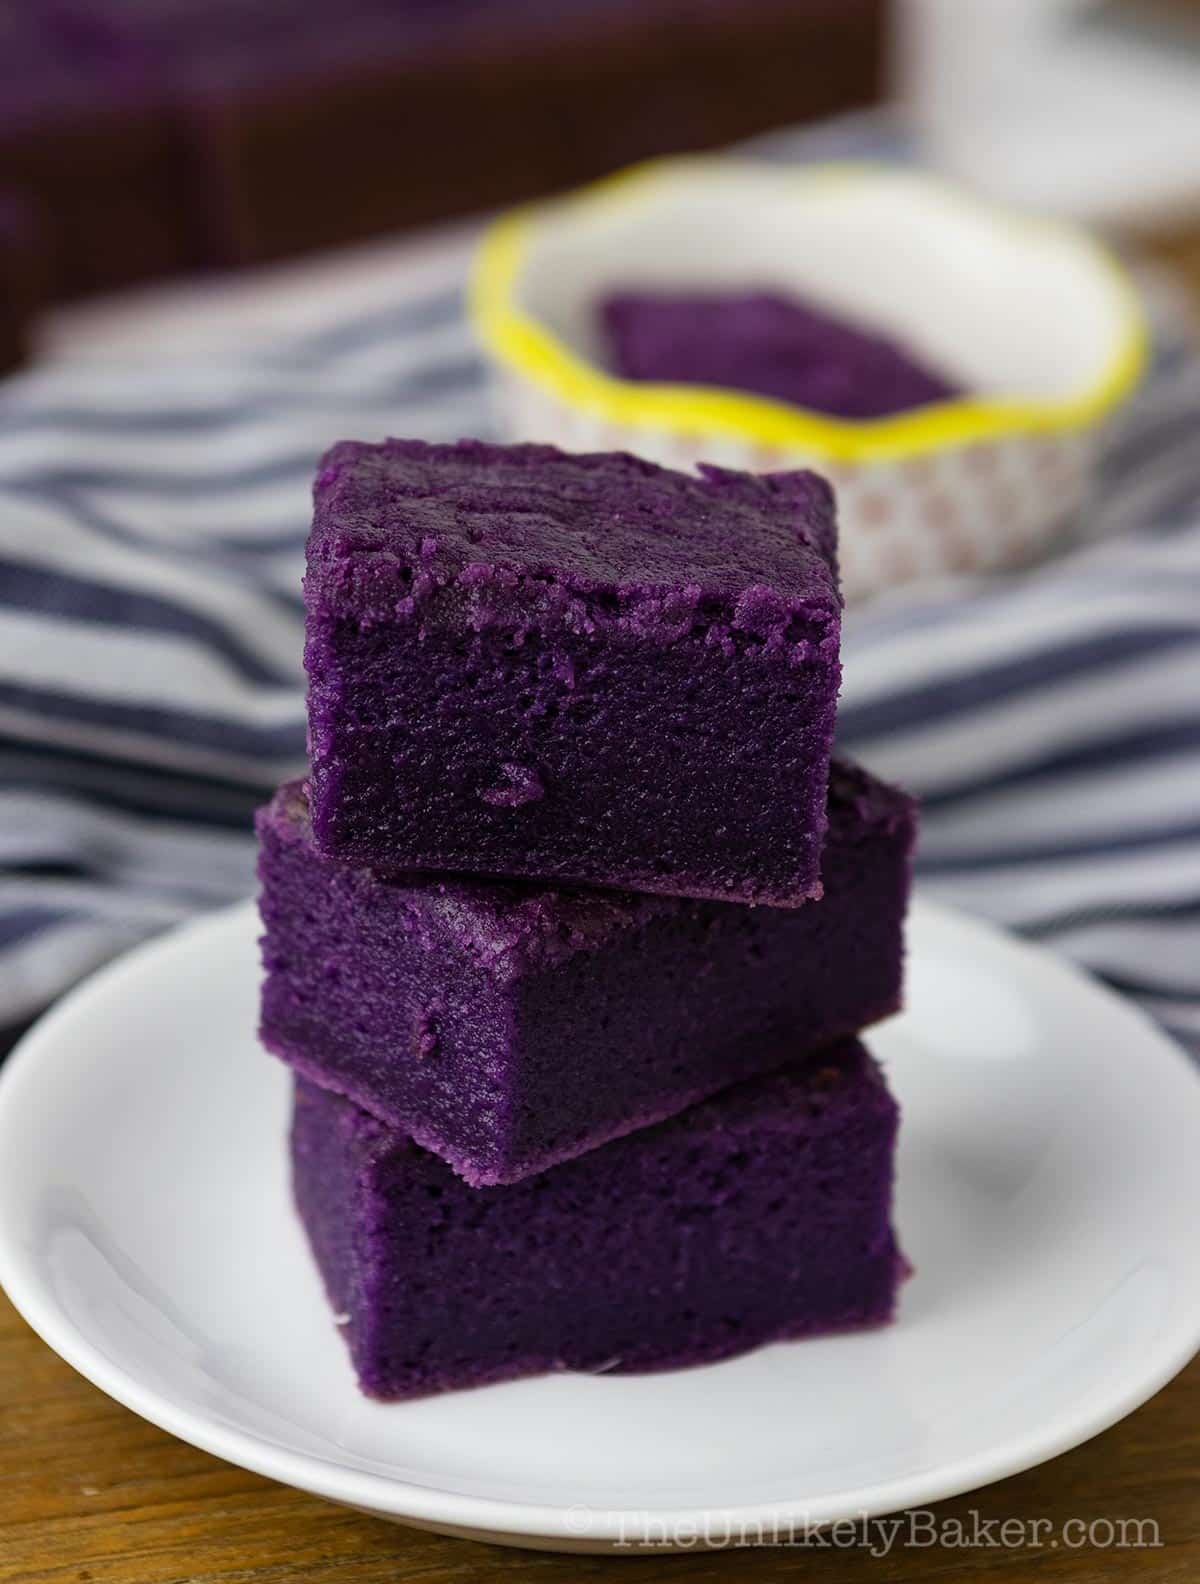
The word “mochi” refers to two different treats — the Hawaiian snack we have here, and Japanese mochi, which is shaped like a bun and filled with red bean paste, matcha, chocolate and more.
Both are made of Mochiko, a Japanese sweet rice flour made from cooked mochigome, a glutinous variety of short-grain rice.
In addition to mochiko, ube butter mochi is also made with coconut milk for a perfectly tropical treat.
It’s then baked until deliciously tender and chewy. There’s nothing quite like it!
Why you’ll love it
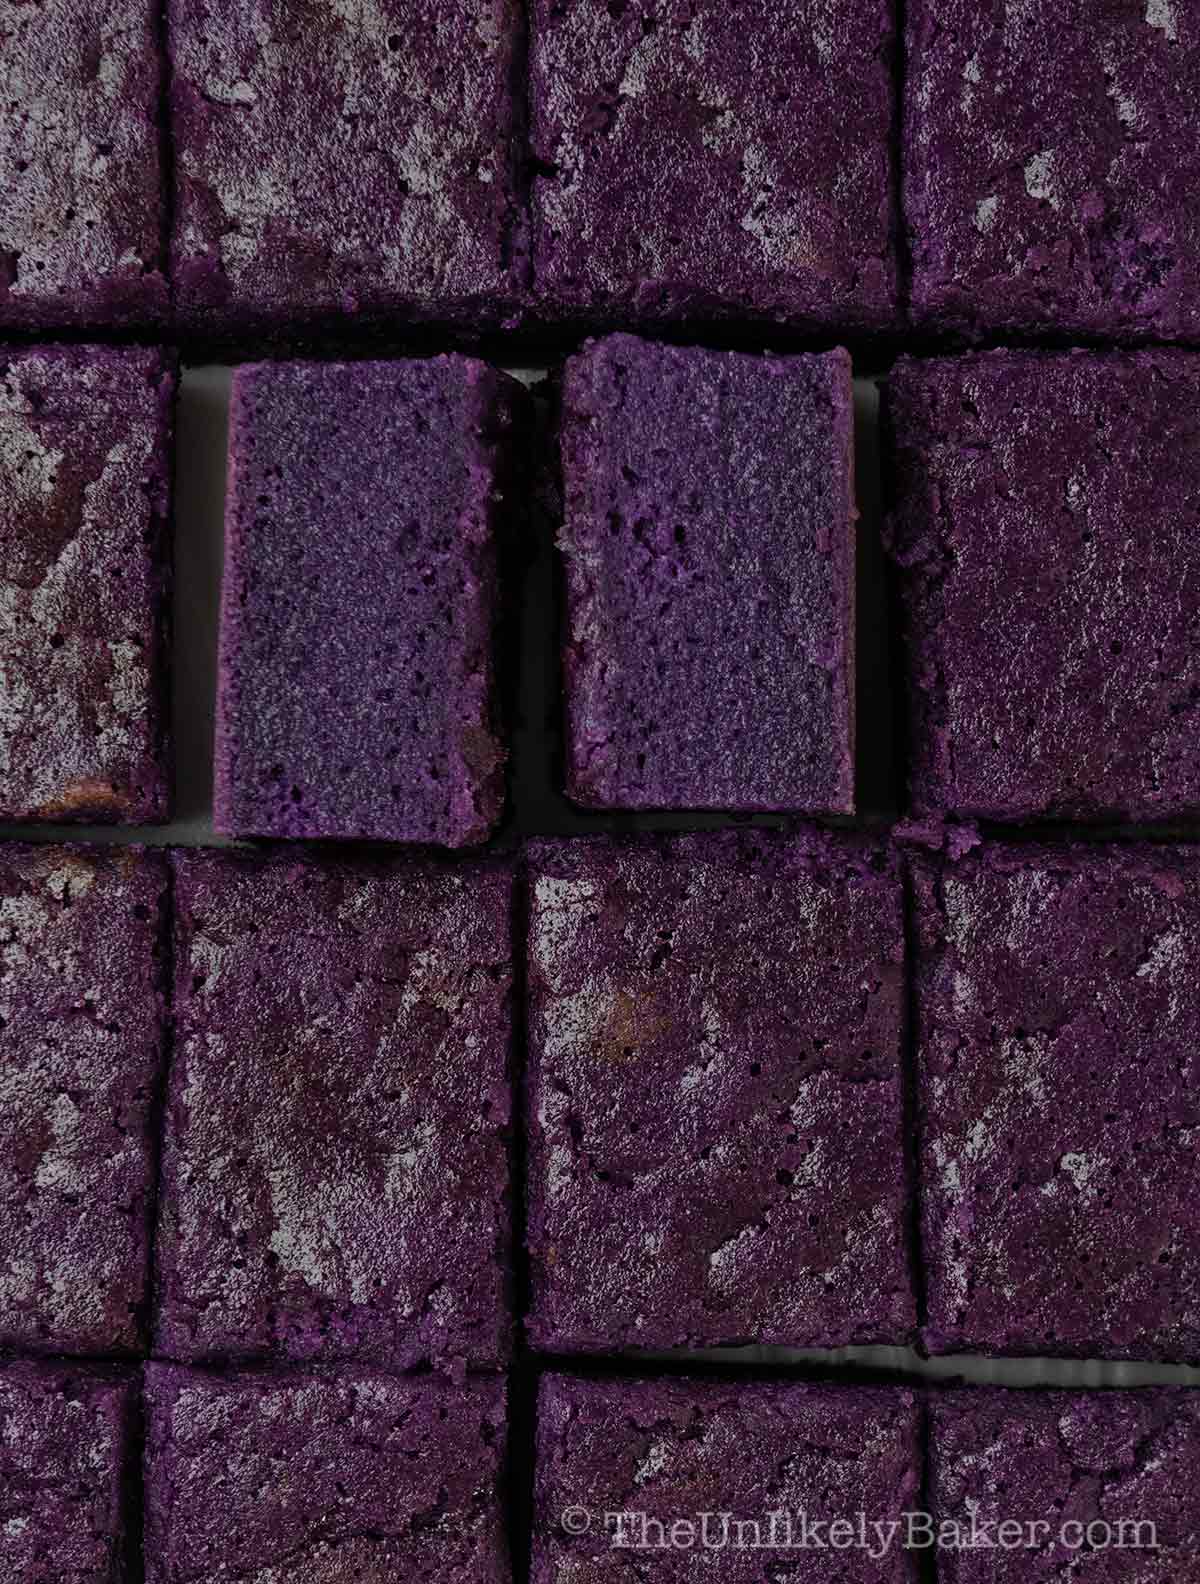
Ube butter mochi is one of the easiest ube treats you can make. It’s similar to ube brownies (some people call it ube mochi brownies) but way chewier.
I love making it, hope you do, too.
- 1-bowl recipe. Don’t you just love recipes that only use 1 bowl? Makes for easy cleanup! And you’ll need less than 10 ingredients too.
- Straightforward steps. Each step is simple and straightforward. No special techniques or tools needed.
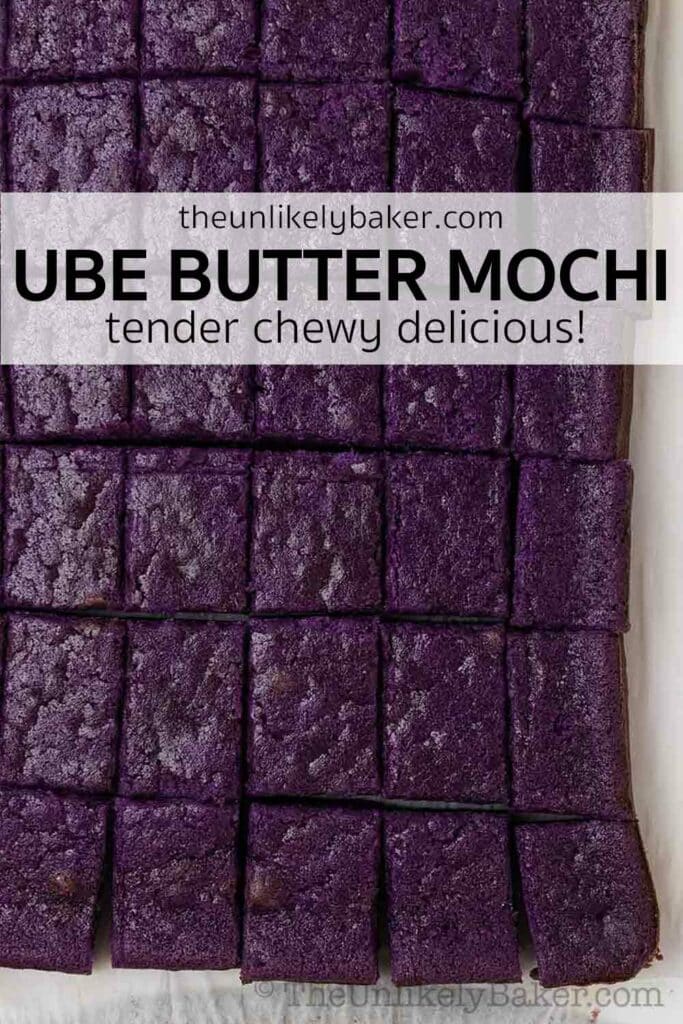
- Makes a big batch. This recipe makes a big batch of 36 bars (more, depending on how you slice them), making it perfect for potlucks, picnics, and more.
- Foolproof. Best of all, it’s an easy, no-fail recipe. Hard to go wrong with this one!
(Looking for mochi perfect for Thanksgiving? Try pumpkin mochi! Mochi muffins, banana mochi bread and chocolate butter mochi are perfect everyday grab-and-go snacks.)
How to make
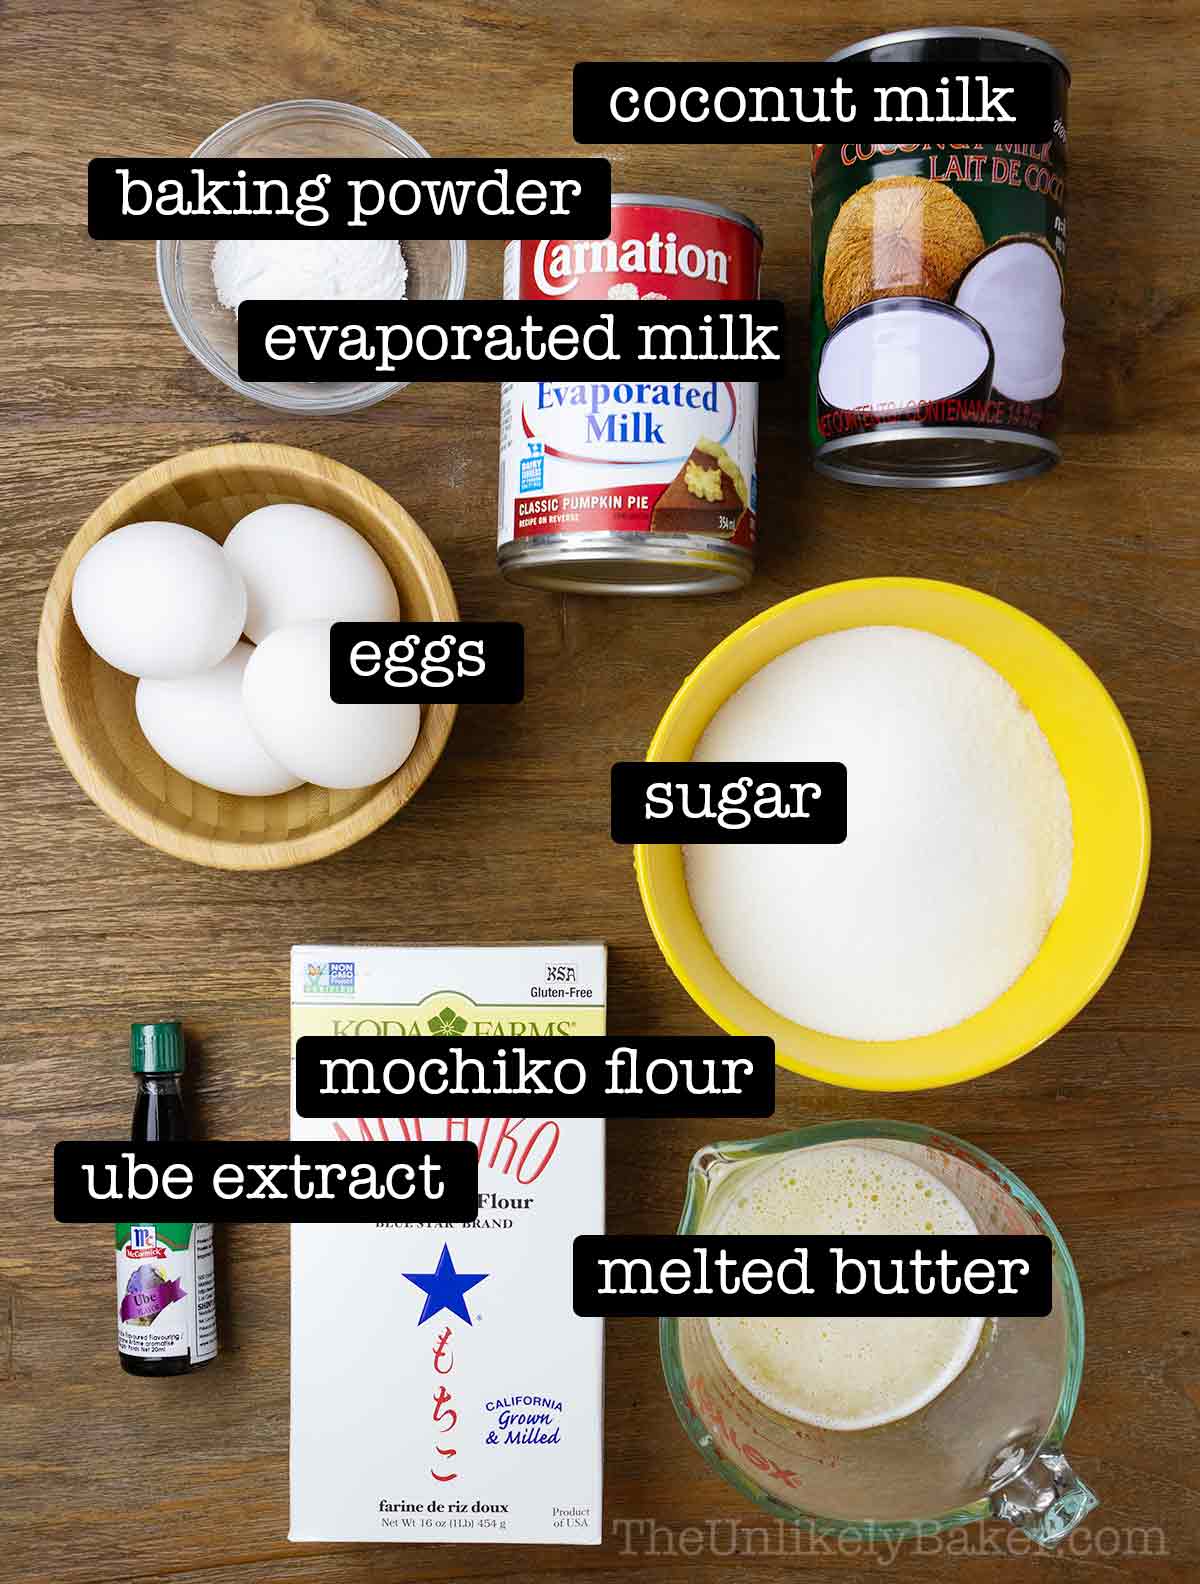
To make ube mochi, all you’ll need to do is combine all ingredients and bake. It’s that easy.
Ingredient notes
You’ll need pantry staples like butter, sugar, eggs and baking powder. A few things to note about the other ingredients:
- Ube extract — we use ube extract to flavor the mochi in this recipe. Unfortunately, you can’t substitute ube jam, ube halaya or ube powder. You can find ube extract in Asian supermarkets or on Amazon.
- Mochiko flour — while any brand of glutinous rice flour can work (sometimes also called sweet rice flour), I’ve had best results using Mochiko. You can find it in the international aisle of your supermarket, in Asian grocery stores and on Amazon.
- Evaporated milk — you’ll want to use full-fat evaporated milk for the richest and creamiest texture.
- Coconut milk — also best to use full-fat coconut milk. And make sure you’re using coconut milk and not coconut cream. I’ve found that coconut cream makes the mochi very oily.
(Got extra butter and ube extract? Make some ube butter! And if you love ube and coconut together, you’ll enjoy this ube tres leches cake.)
Baking tools
As far as baking tools, you’ll need:
- 9×13 inch baking pan
- Electric hand mixer — you can choose to mix the batter by hand but I like using my mixer for the smoothest mixture. And happily, since glutinous rice flour is actually gluten-free, there’s no risk of over-mixing the batter.
- Sharp knife or bench scraper — to slice the baked mochi.
Step-by-step photos
Preheat your oven to 350F. Line a 9×13 inch baking pan with parchment paper and set aside.
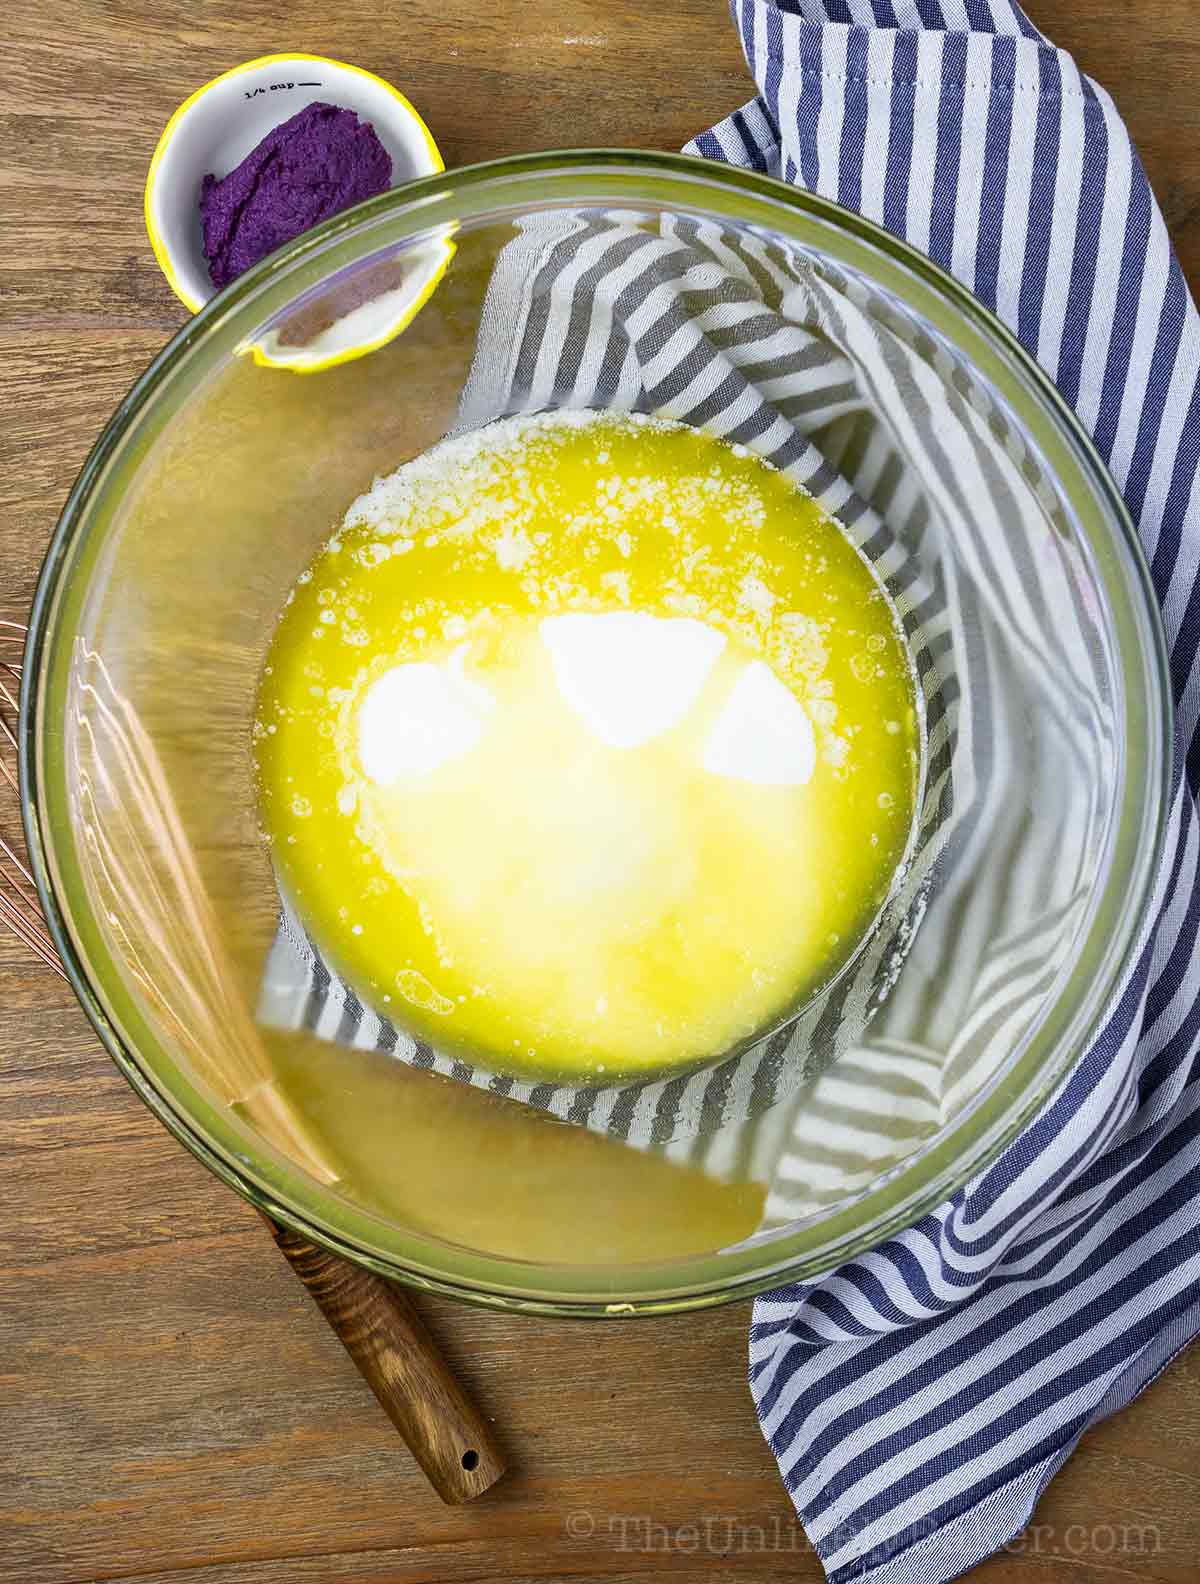
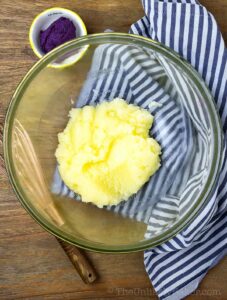
Place melted butter and sugar in a large bowl.
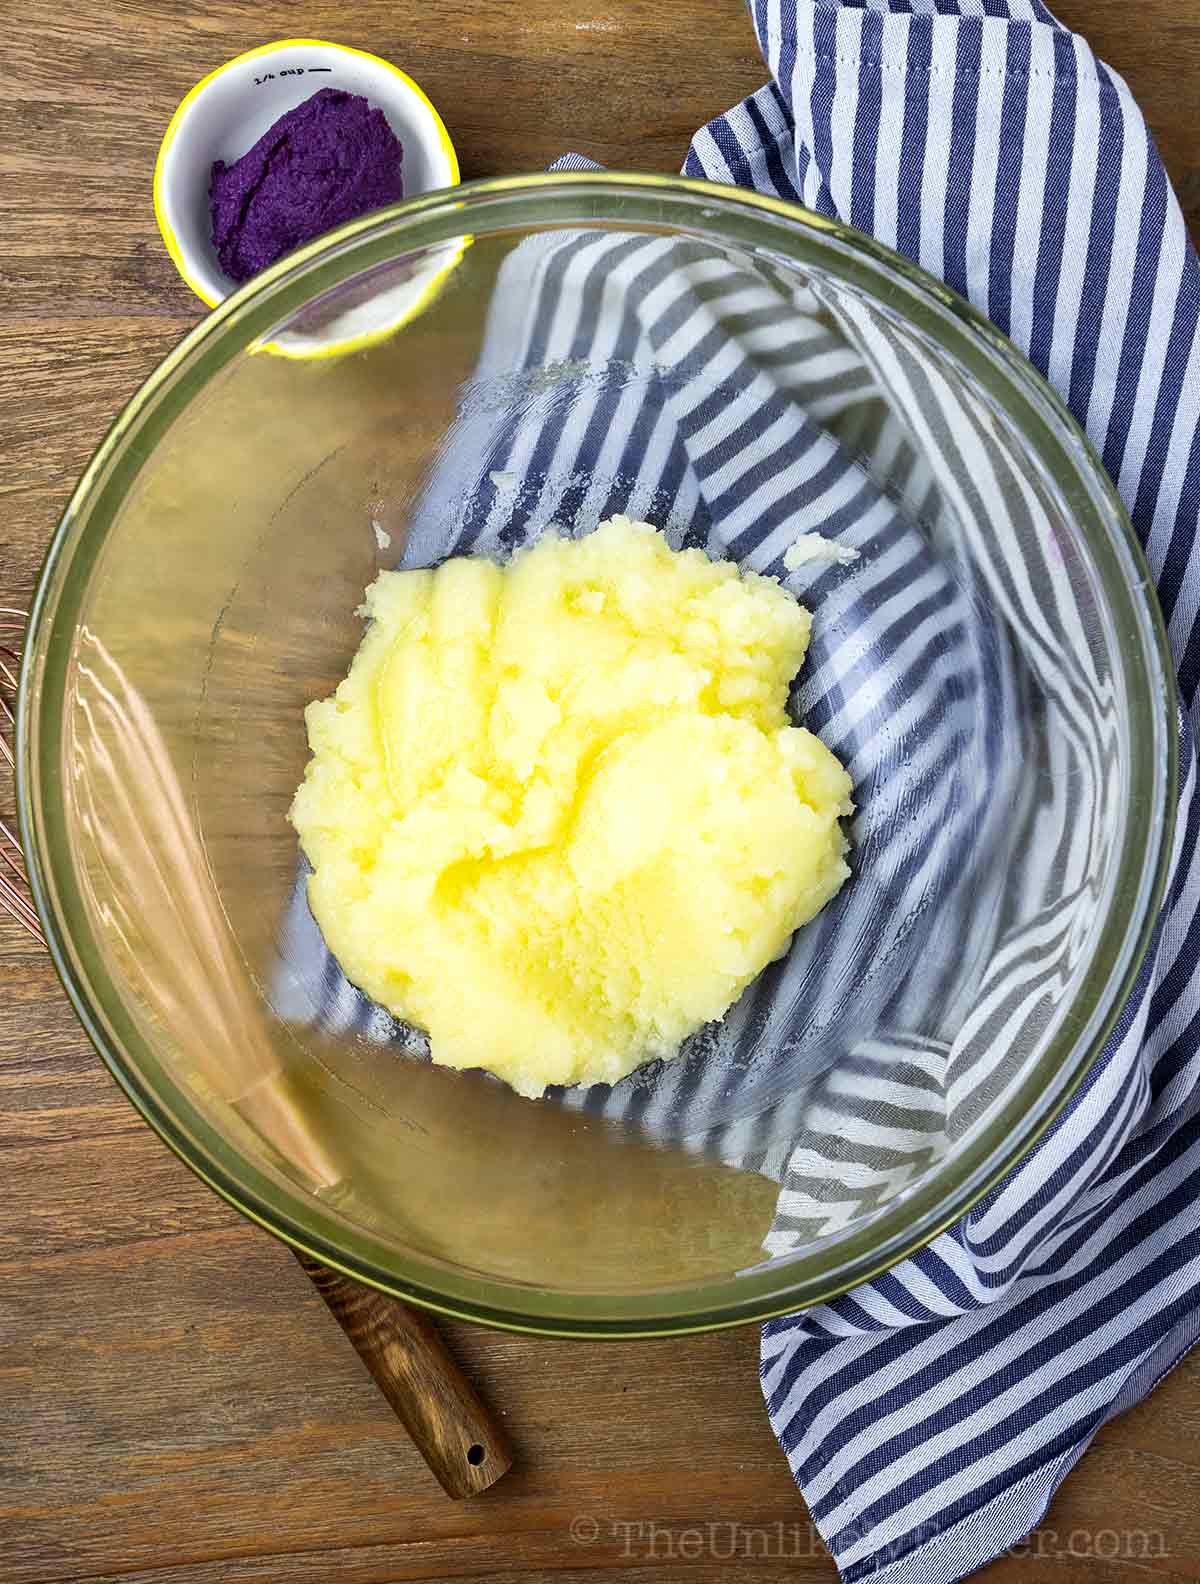
Mix until combined.
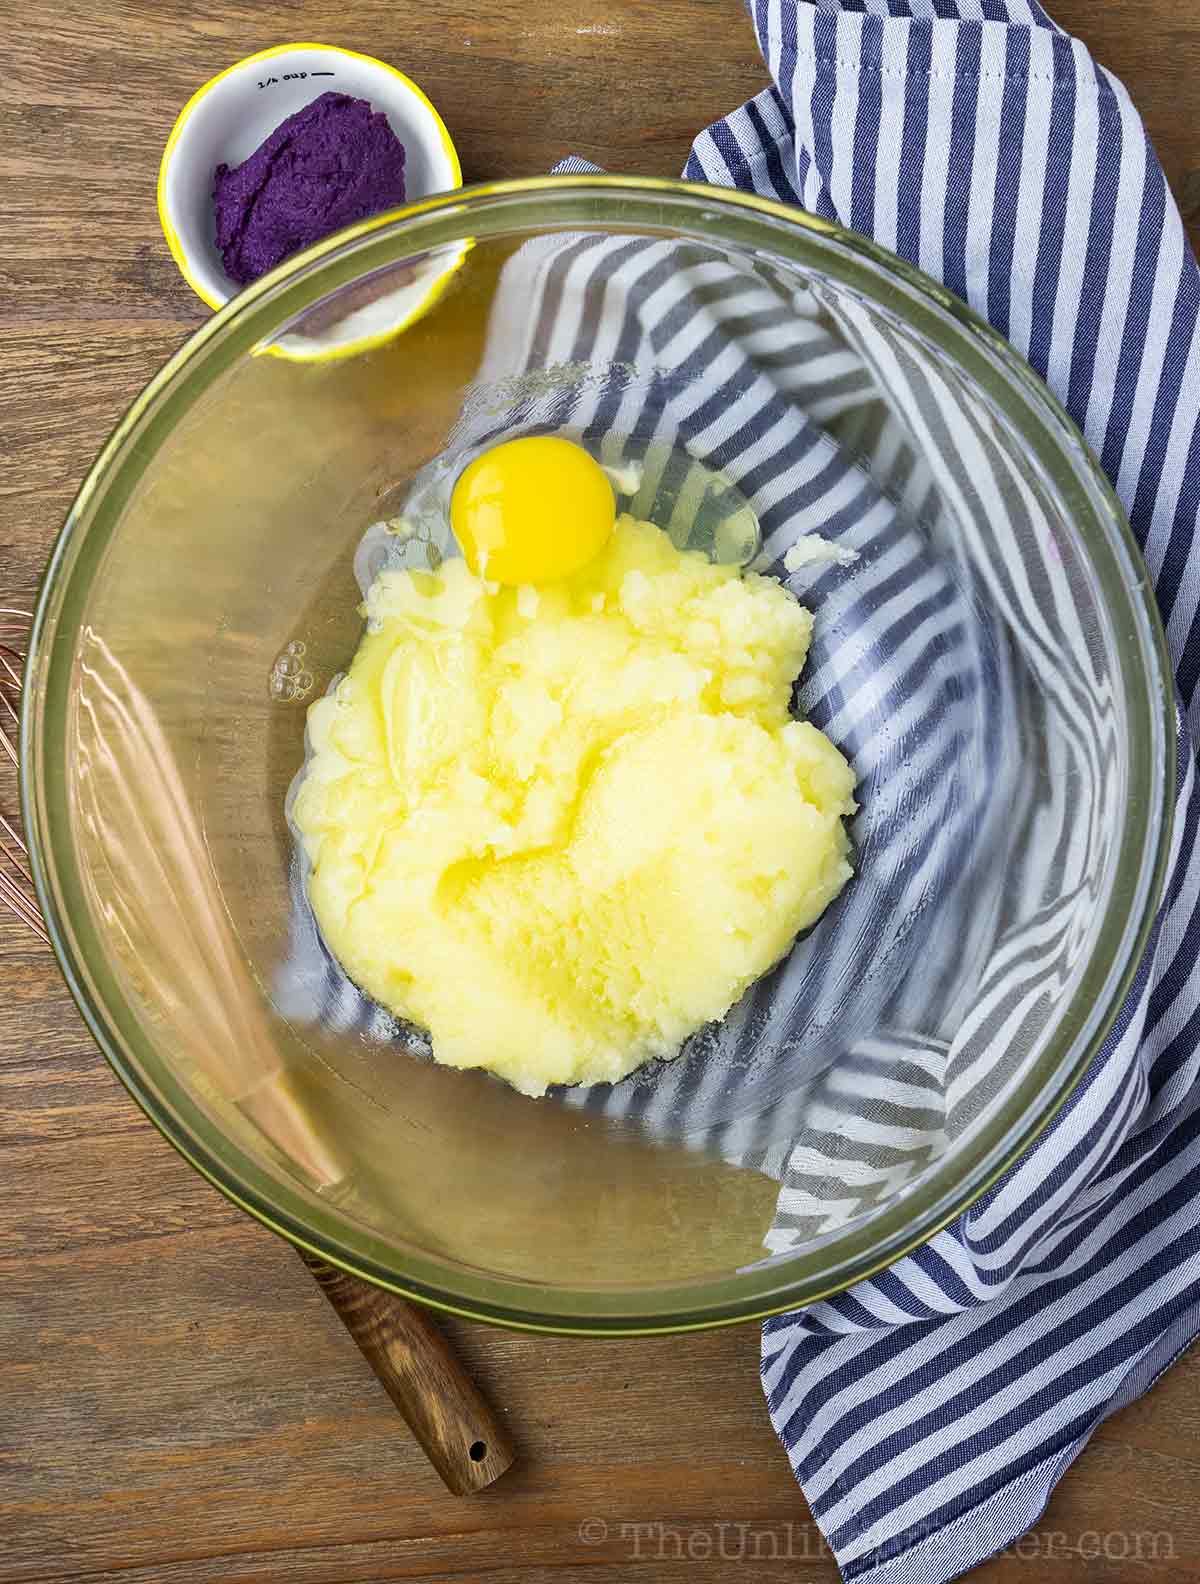
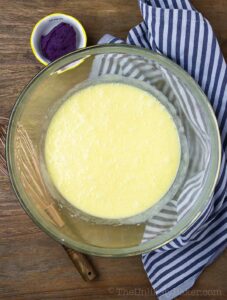
Add eggs one at a time.
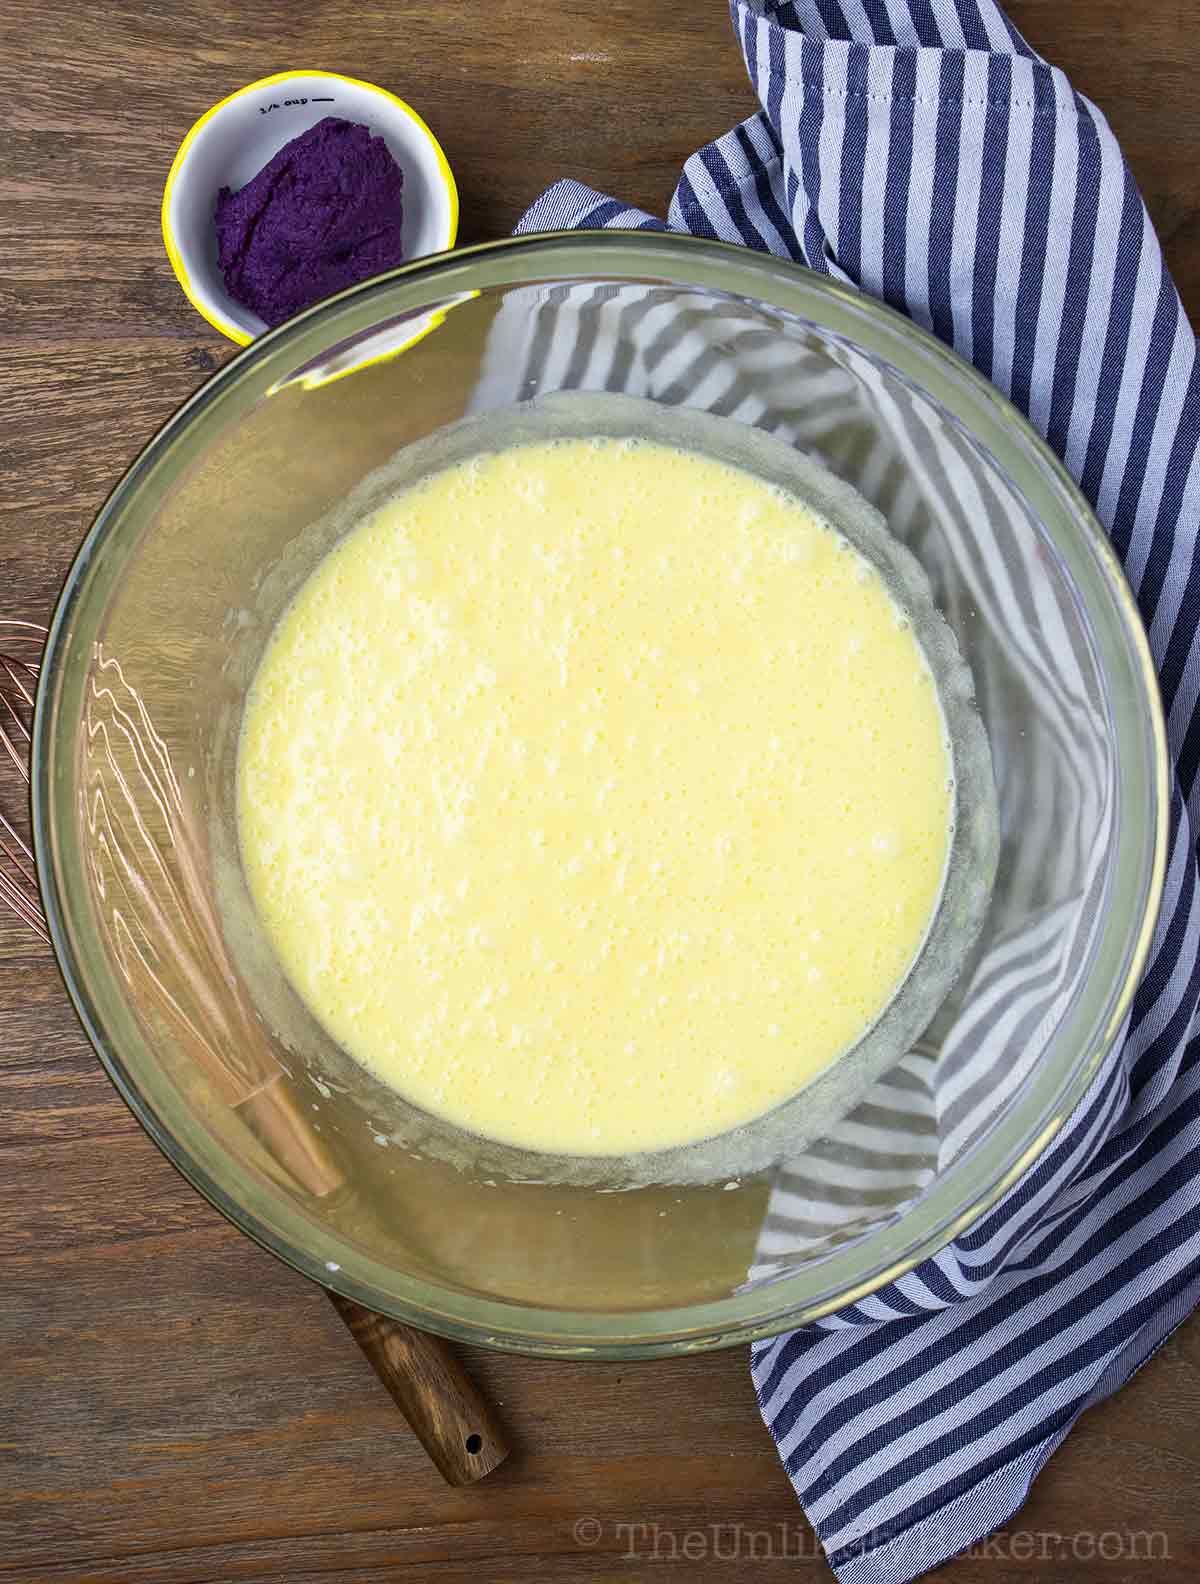
Ensure each addition is incorporated well.
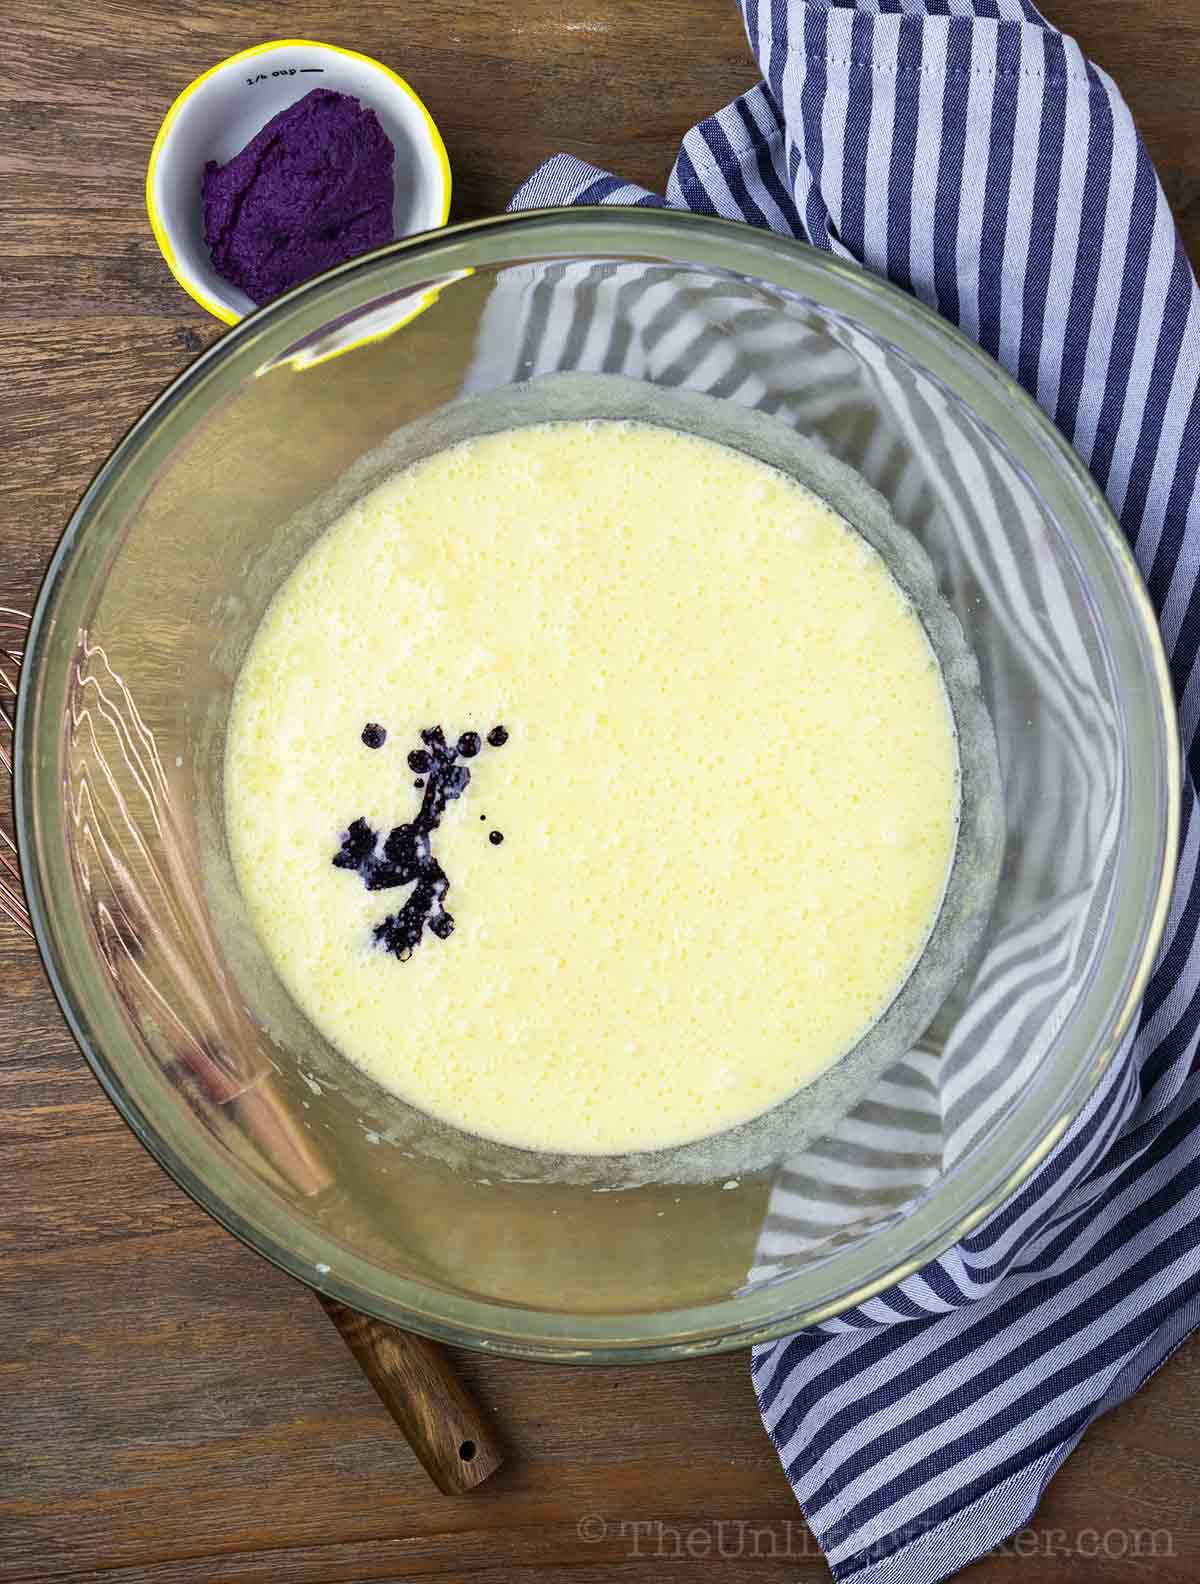
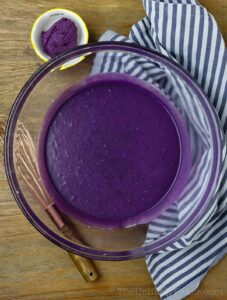
Add ube extract.
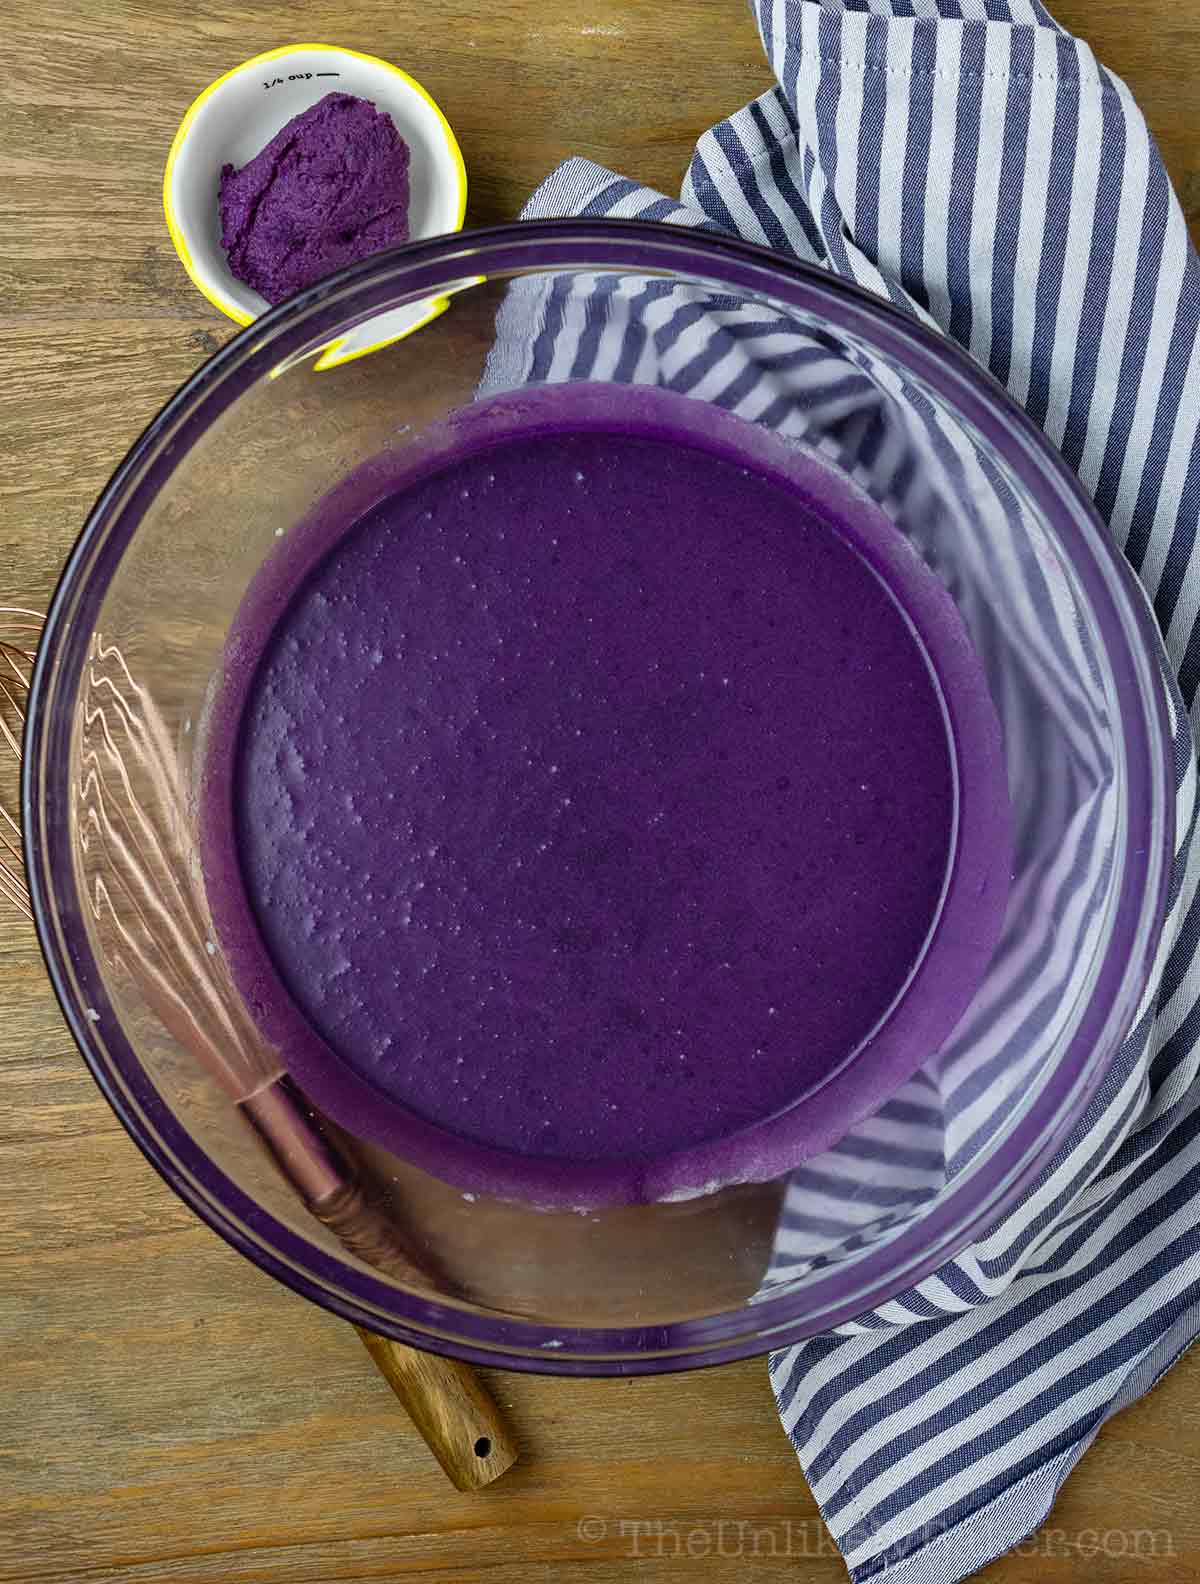
Stir until evenly blended.
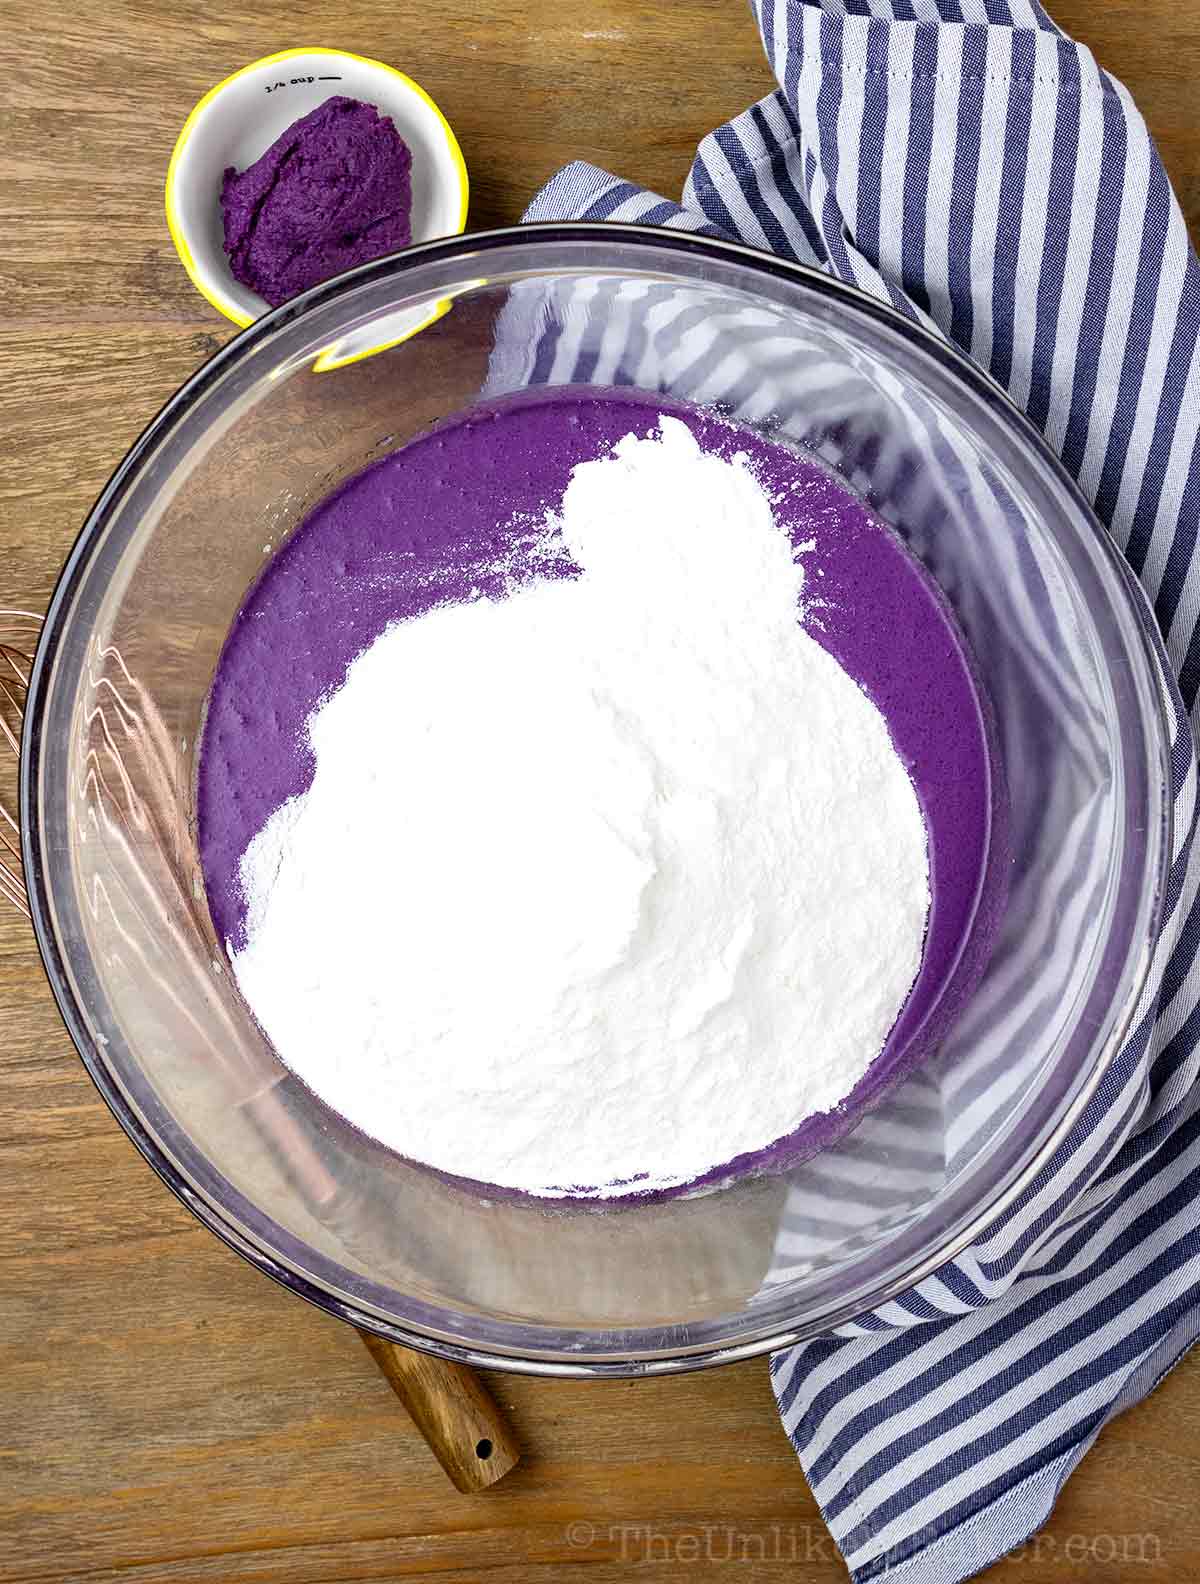
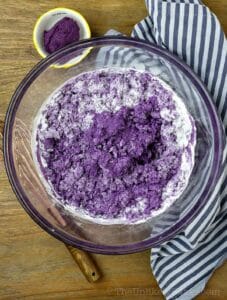
Add mochiko and baking powder.
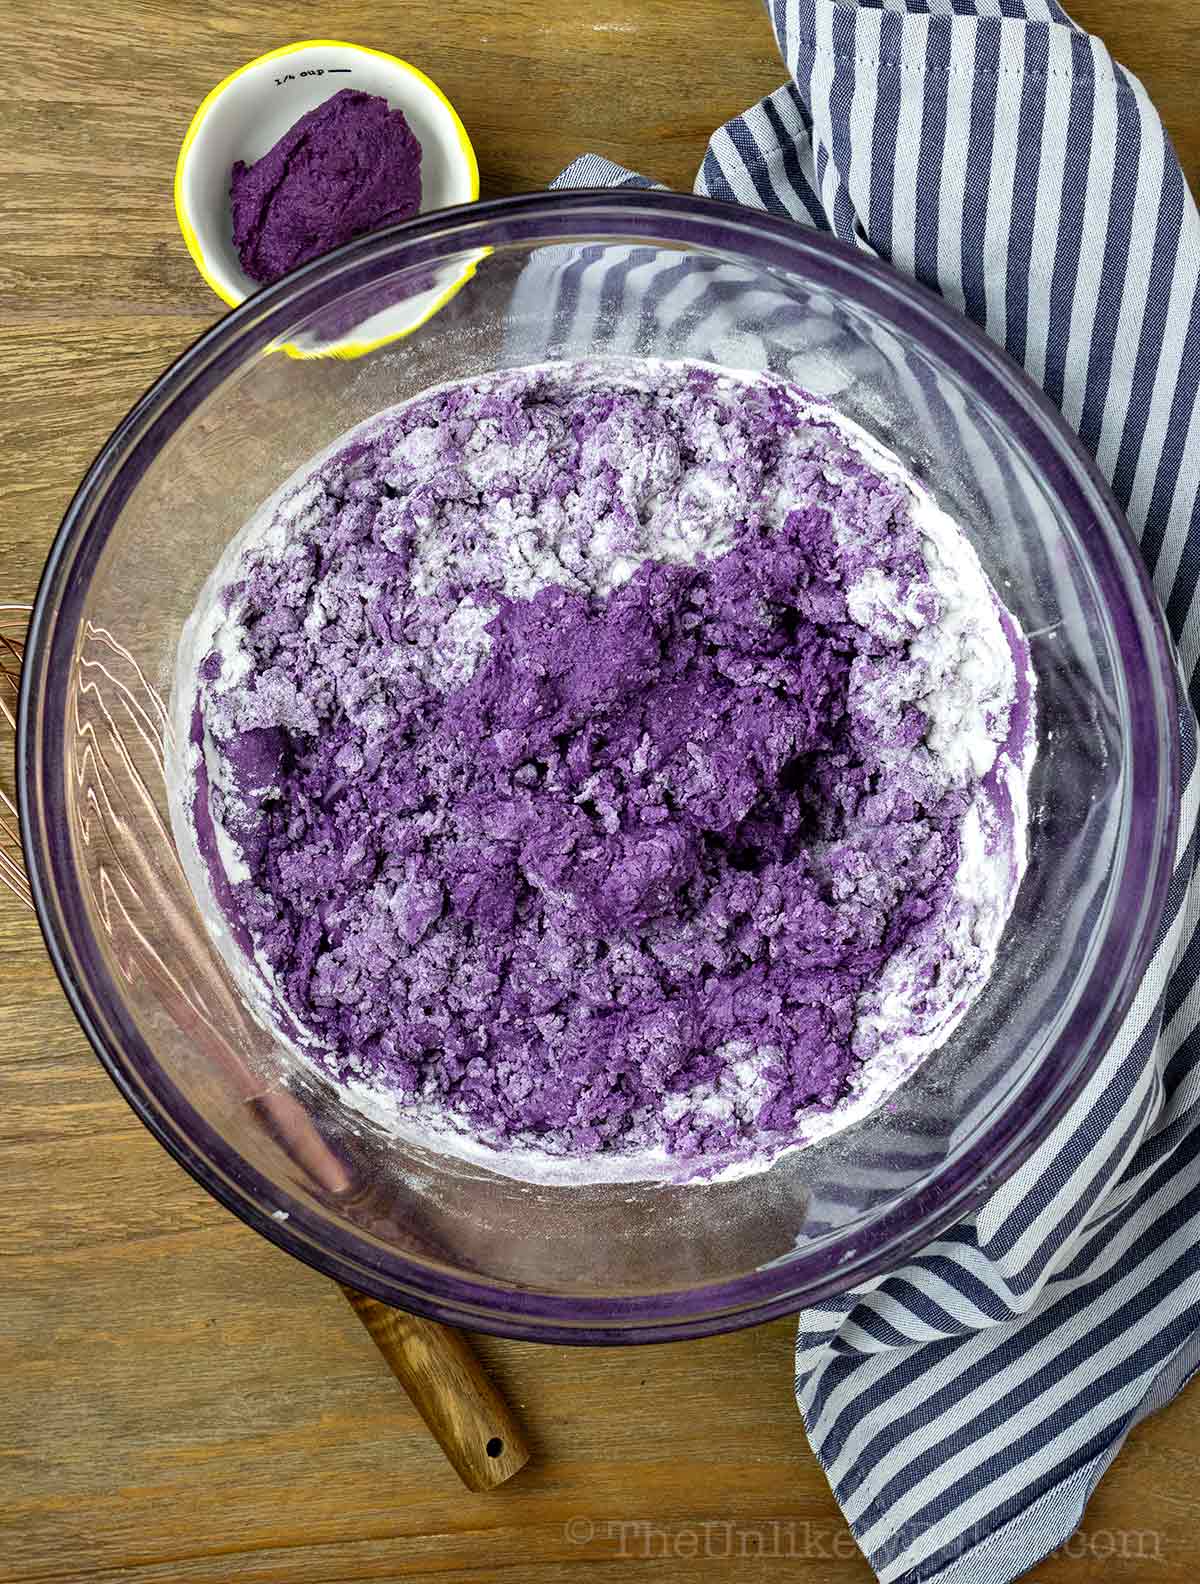
Stir until about 80-90% combined.
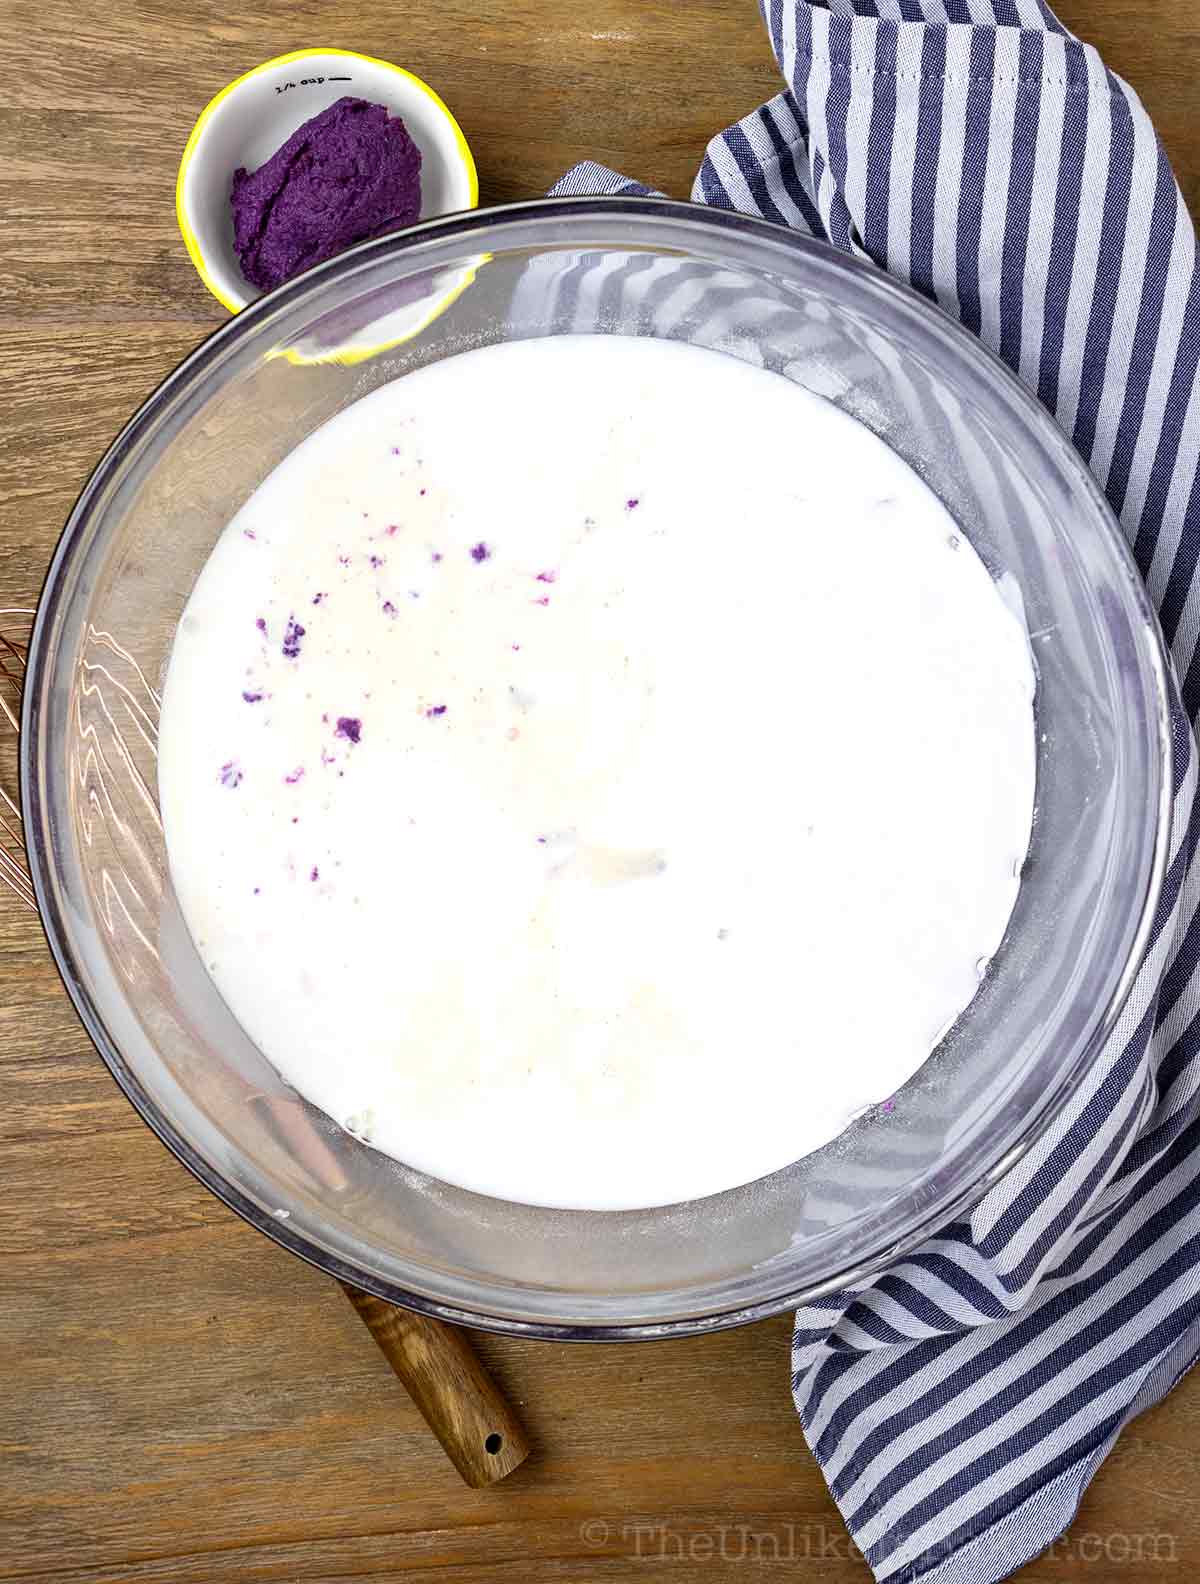
Add evaporated milk and coconut milk.
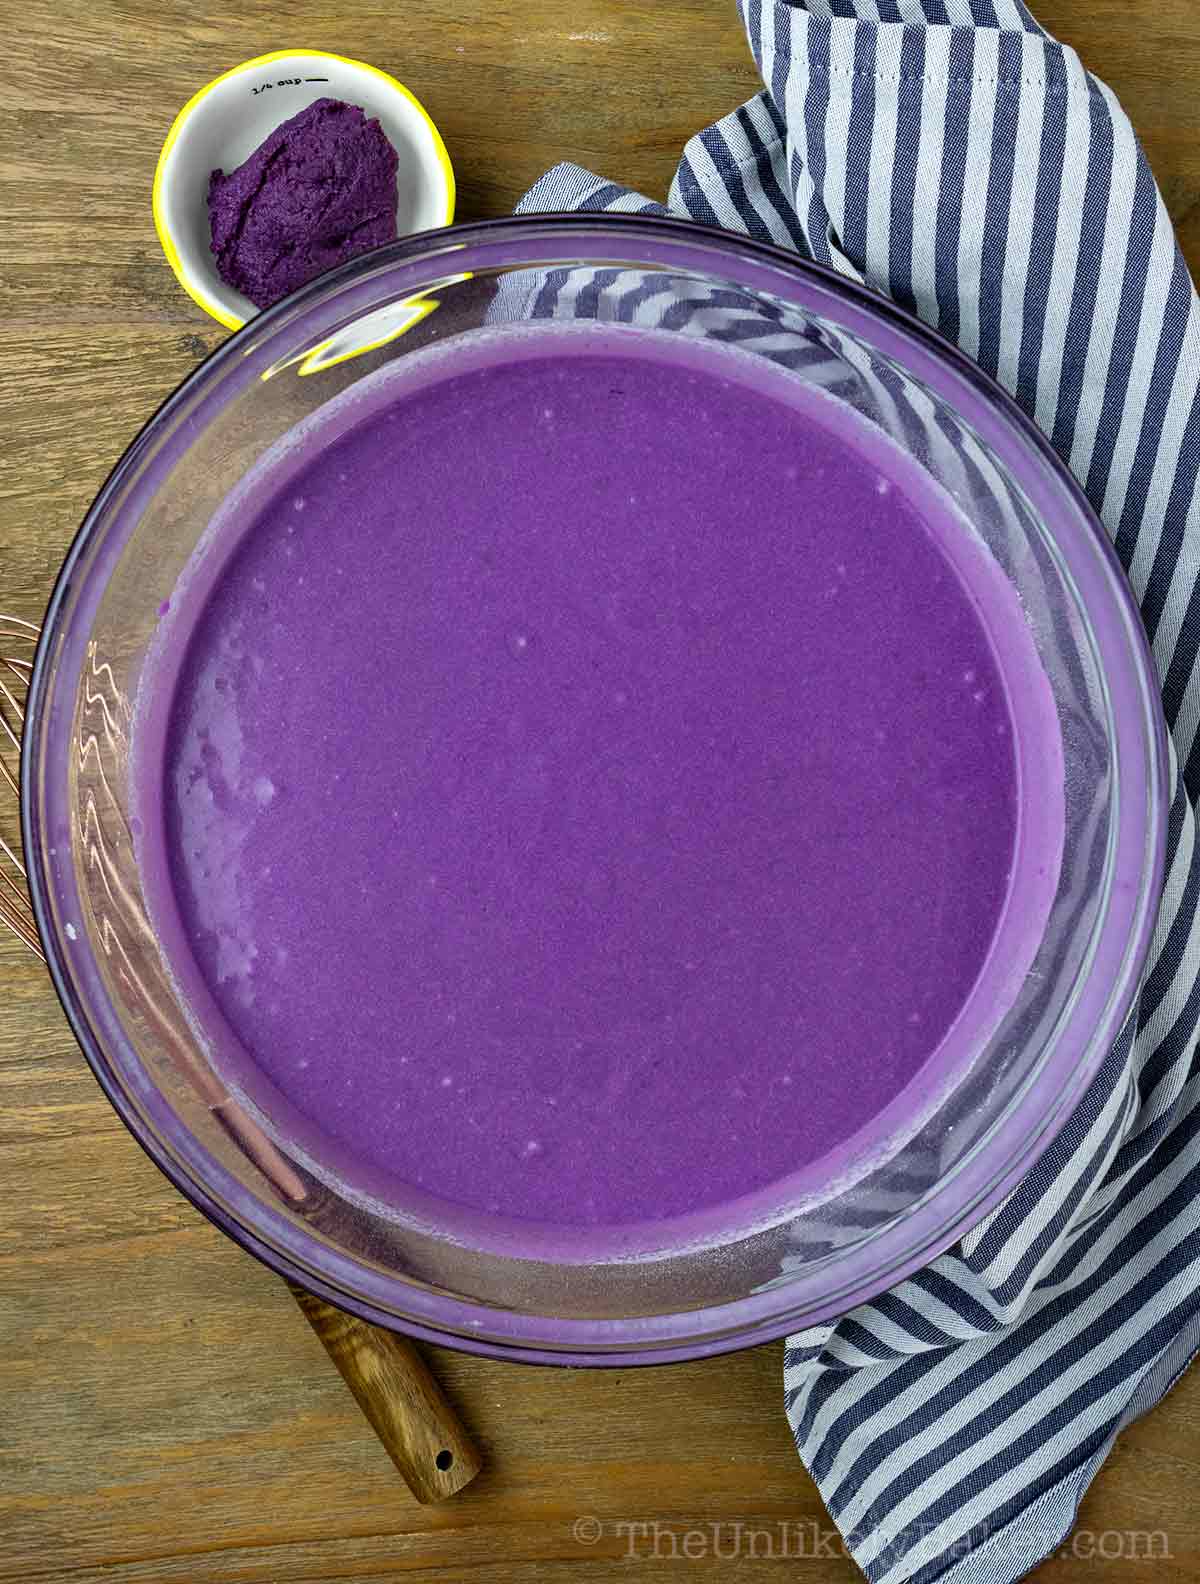
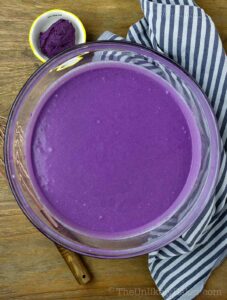
Stir until incorporated. Ensure your batter is perfectly smooth and has no lumps.
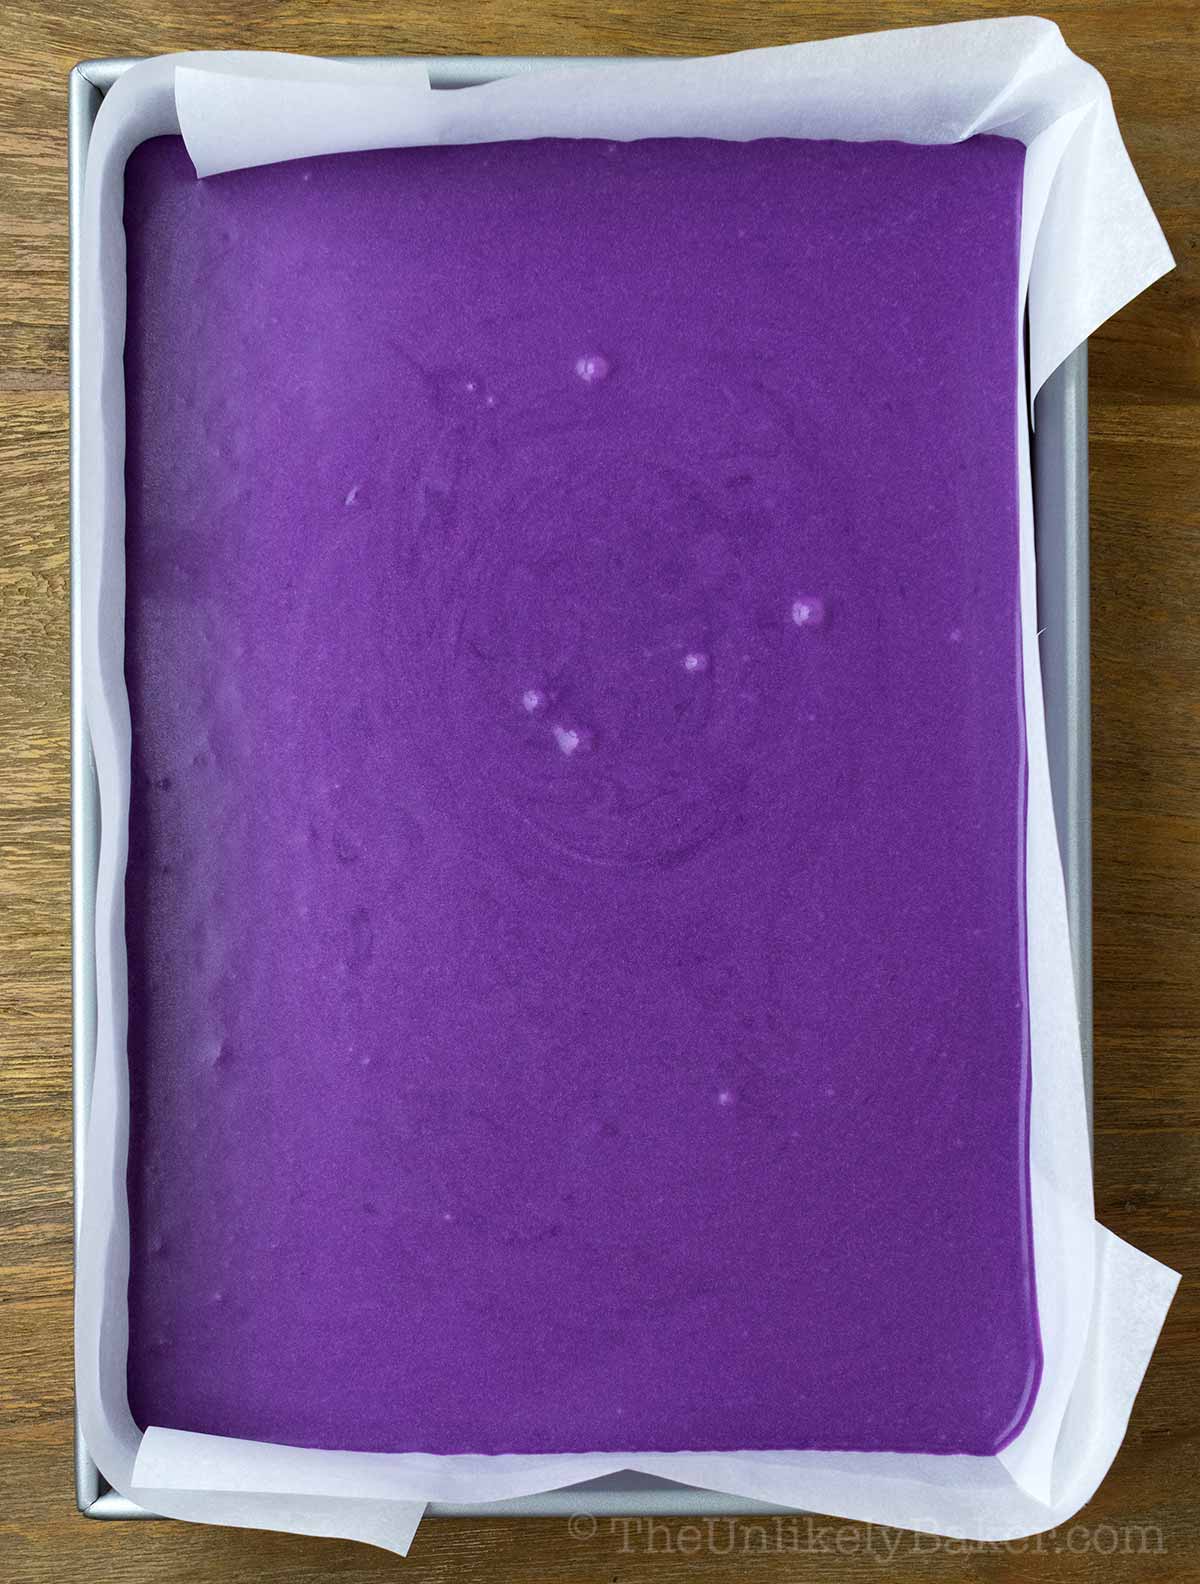
Transfer the batter to your prepared pan.
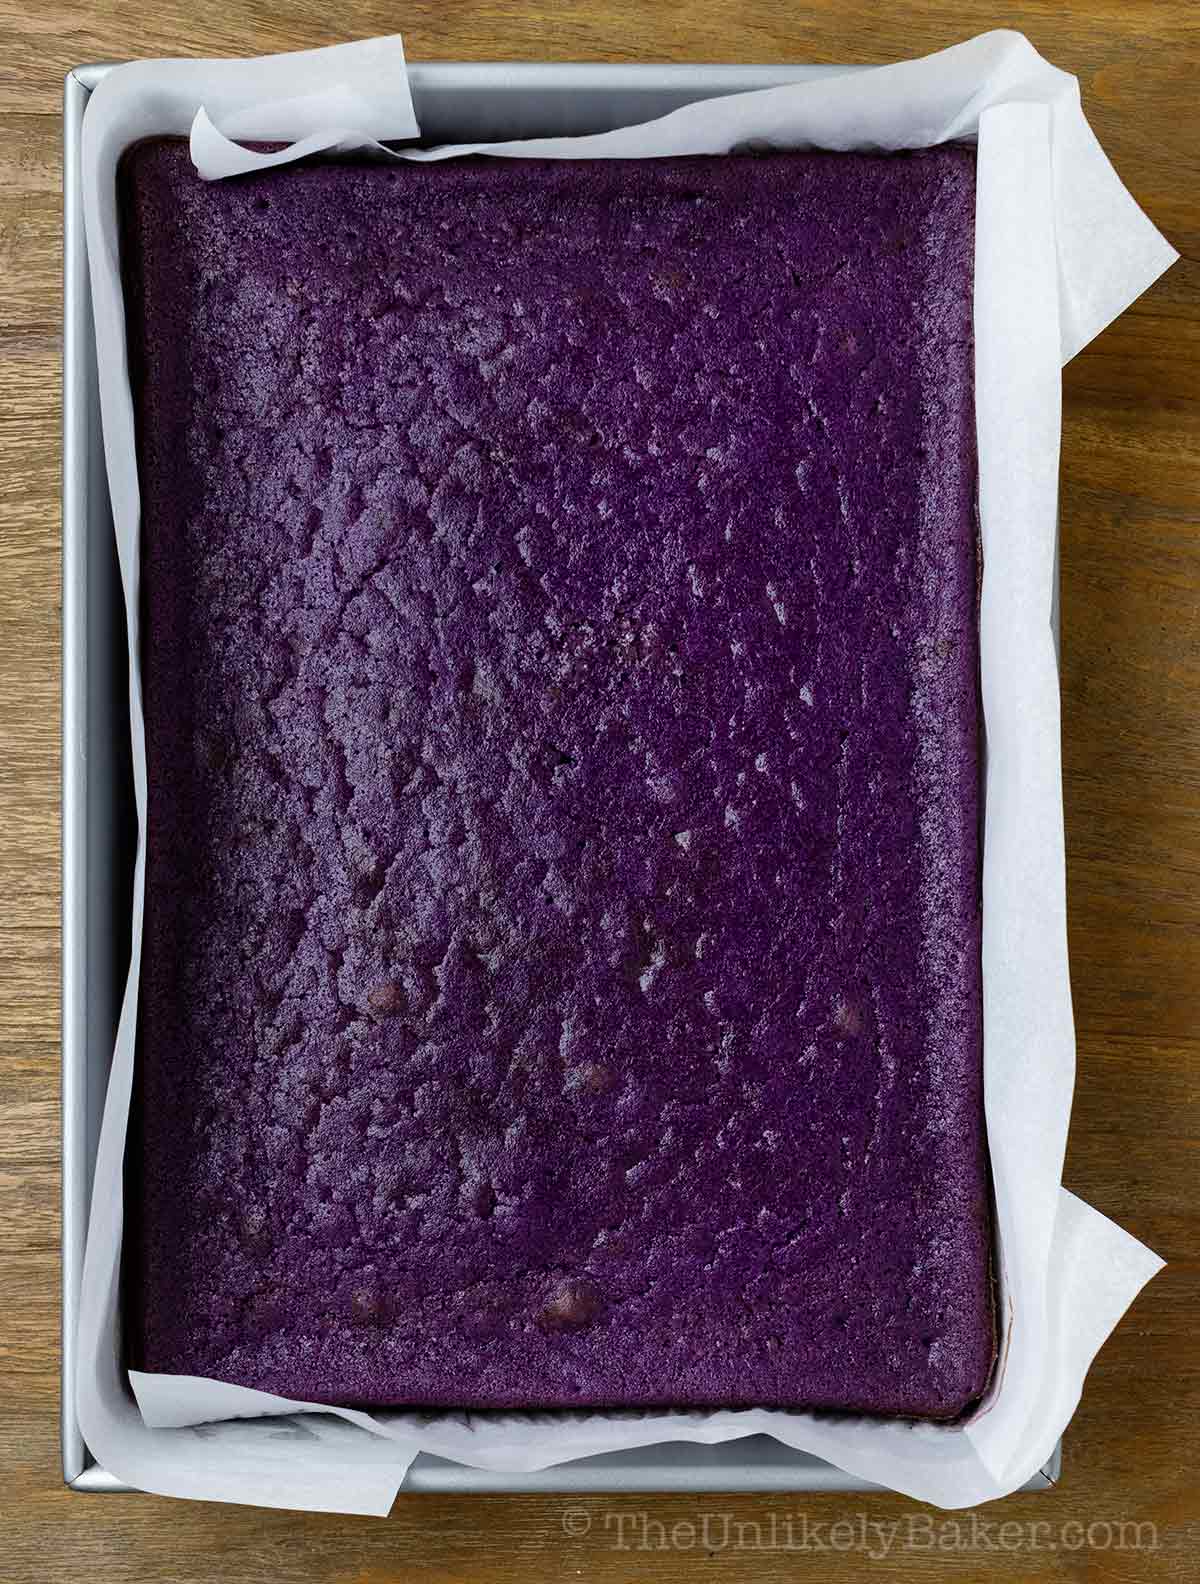
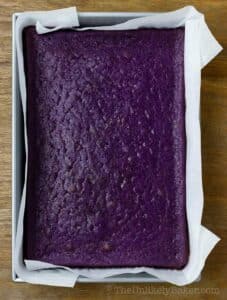
Bake for 45 minutes or until a tester inserted in the center comes out with minimal dry crumbs.
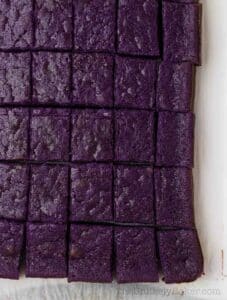
Remove from oven and allow to cool completely in the pan before slicing into bars.
Expert baking tips
Easy, right? Here are more tips for perfect ube butter mochi every time.
- Don’t be afraid to stir the batter until very smooth because there is no risk of over-mixing here. Despite its name, glutinous rice flour or mochiko is gluten-free.
- Ube mochi is delightfully chewy and sticky. For the cleanest slices, ensure the mochi is completely cool before cutting into bars. I prefer not to put it in the fridge though as I find that chilling changes the texture of the mochi dramatically.
- You’ll know your mochi is done when the sides begin to firm up and when a tester inserted in the middle comes out with minimal dry crumbs. I don’t wait until the tester comes out completely clean. Minimal dry crumbs is when I get the perfect mochi texture.
Recipes FAQs
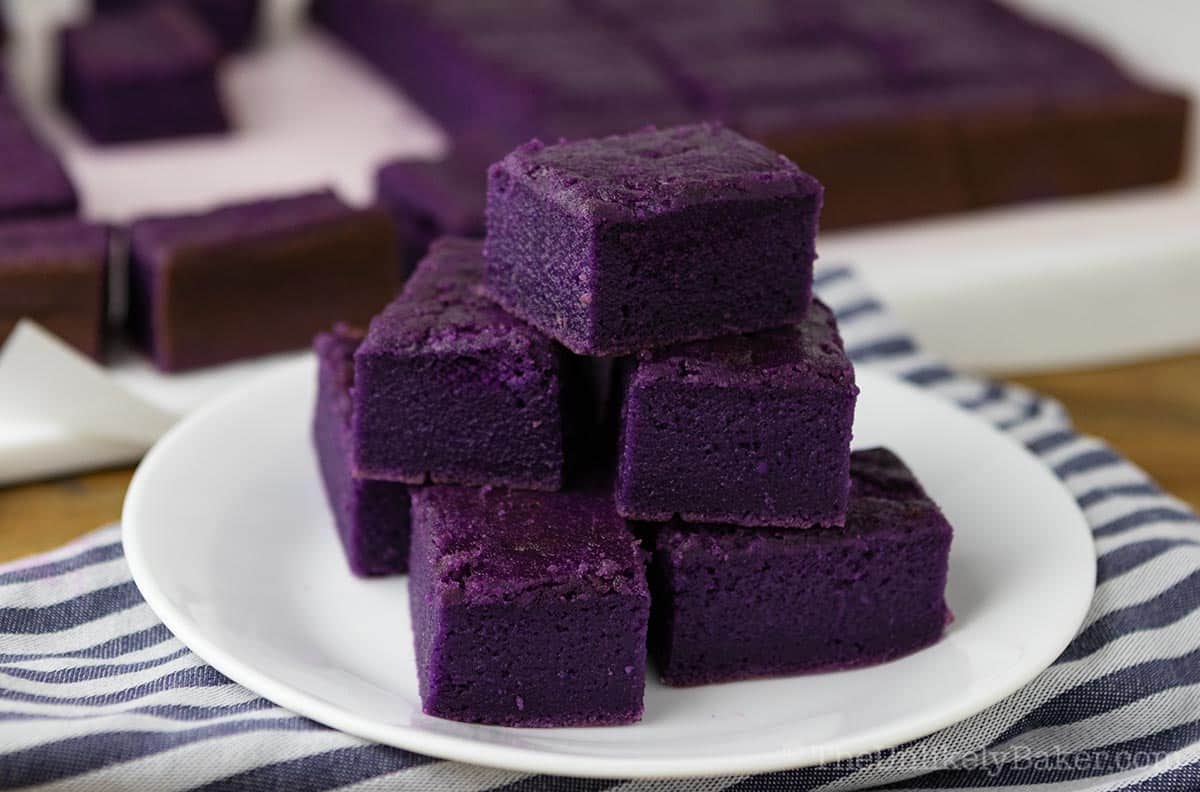
For those of you who aren’t familiar with ube, it’s the Filipino word for purple yam.
Ube is common in Asian cooking and has been a staple in Filipino cuisine for generations. It’s most often used in making desserts.
A lot of people mistake ube for taro, Okinawan sweet potato and purple sweet potato but they’re all different kinds of root vegetables and have different flavor profiles as well.
Different people describe ube flavor differently — from nutty and earthy to sweet with notes of vanilla.
Everybody agrees on one thing though — ube is delicious!
Yes! You can make ube mochi up to 2 days ahead of when you’re planning to serve them.
Ube mochi is best stored covered on your counter. They should be good for up to 3 days.
I don’t recommend storing them in the fridge because they will get tough and even warming them up won’t get that chewy texture back.
Ube recipe ideas
Want to explore more ube recipes? Try these:
Happy baking!
Did you make this ube butter mochi recipe? I’d love to hear all about it! Leave a comment or a star rating below. You can also tag me on Instagram or Facebook. I’d love to see your creations!
You can also find me on Pinterest, Twitter and YouTube.
Ube Mochi Recipe
Equipment
Ingredients
- ½ cup unsalted butter melted and allowed to cool slightly
- 1½ cups granulated sugar
- 4 pieces large eggs room temperature
- 2 tbsp ube extract
- 1 16-oz box Mochiko flour can also use glutinous rice flour
- 2 tsp baking powder
- 1 12-oz can evaporated milk
- 1 14-oz can coconut milk
Instructions
- Preheat your oven to 350F. Line a 9×13 inch baking pan with parchment paper and set aside.
- In a large bowl, stir melted butter and sugar until combined.½ cup unsalted butter, 1½ cups granulated sugar

- Add eggs one at a time. Ensure each addition is incorporated well.4 pieces large eggs

- Add ube extract and stir until evenly blended.2 tbsp ube extract

- Add mochiko and baking powder and stir until about 80-90% combined.1 16-oz box Mochiko flour, 2 tsp baking powder

- Add evaporated milk and coconut milk. Stir until incorporated. Ensure your batter is perfectly smooth and has no lumps.1 12-oz can evaporated milk, 1 14-oz can coconut milk

- Transfer the batter to your prepared pan and bake for 45 minutes or until a tester inserted in the center comes out with minimal dry crumbs.

- Remove from oven and allow to cool completely in the pan before slicing into bars.

Video
Notes
- The yield depends on how big or small you slice your mochi. The estimated nutrition information is based on 36 bars.
- Don’t be afraid to stir the batter until very smooth because there is no risk of over-mixing here. Despite its name, glutinous rice flour or mochiko is gluten-free.
- For the cleanest slices, ensure the mochi is completely cool before cutting into bars.
- You’ll know your mochi is done when the sides begin to firm up and when a tester inserted in the middle comes out with minimal dry crumbs.
- See post for more tips, FAQs and step-by-step photos.
Nutrition
Nutritional information are estimates only.

ro
hii!! i want to make this recipe tomorrow (12/4) but i would also like to try and add in ube halaya jam in addition to the ube extract. how would i go about that?
Jolina
Hi Ro, I don’t add ube jam to the mixture because it would affect the texture. Maybe you can spread some on top after it’s baked?
Lisa
Loved the chewy almost fudge like texture and was so fun to make ദ്ദി(˵ •̀ ᴗ – ˵ ) ✧
Jolina
Glad you like them Lisa!
Leilani
Love this recipe! So simple and good. I disagree with the other comments about reducing the ube extract. I found 2 tablespoons to be perfect!
Jolina
Glad you like them Leilani! 🙂
Shiela
This was delicious and so easy to make! Planning to make again. Definitely a keeper.
Jolina
Glad you liked them Shiela! Happy baking 🙂
Cely
I made this tonight, and the color of the mochi was very dark, almost looks like brownie, not deep purple. To bring out that velvety purple, I think the Ube flavor should be reduced to 1 tablespoon instead of the suggested 2 tablespoons. Also, it tasted okay, could use a bit more sweetness.
Bethany
Delicious! Pleasantly sweet without being too sweet, and although I didn’t have mochiko, just regular glutinous rice flour, it had the same chewy texture I was hoping for. I also put in just a tablespoon of ube extract (two would have taken almost my whole bottle) and it was still deep purple and full of ube flavor.
Jolina
That’s awesome Bethany! Glad you liked them!
Diana
Hi there.
I had a question for recipes involving ube in general, if I can’t find ube yams or the jam, can I substitute it with purple yam and add ube extract? Will the texture/ or taste be off? Any input is welcomed.
Thank you.
Jenn e. Pie
Hi there,
I followed the recipe, and had all ube halaya, Ube powder, and Ube condensed milk on hand in addition to one extract. It was surprisingly more liquidy than the first time I made this – I but I think the first time I made it I didn’t listen lol and put Ube halaya and Ube powder and condensed milk, in addition to the recipe – it did come out thicker. This time I only added Ube condensed milk, for additional flavor and color 🙂
My question is – ugh I forgot to use parchment paper! Will that be a problem when cutting and trying to take out the bars, you think? One pan I used glass Pyrex, and the other I used a round metal pan. Will let you know how it came out without the parchment paper thank you for sharing this super easy recipe! Oh also I used salted butter cuz that’s all we had on hand ♀️ aye nako, high blood and diabetes here we come
Jolina
Hi Jenn, you might find yourself in a sticky situation lol. Hope it worked out though!
Lo
Hi everyone. I jumped this recipe up quite a bit. I halfed the amount baking powder and used 6oz of heavy cream and 8oz of evaporated milk to sub for the coconut milk. I also tried making this with a protein powder to make it workout friendly. I used 1 and 1/4 cup sugar instead of 1 and 1/2 cup. Will let you all know how it came out!
Louise
Delcious!
Jolina
Glad you liked them Louise!
Jenny
I can’t wait to try these. I bought one serving from Koala Tea and loved it. But what do you mean by “4 pieces large eggs”? Is that just 4 large eggs?
Jenny
Jolina
Hi Jenny, yes you need 4 large eggs. Happy baking!
Yeline
Hi! I made this recipe and it’s super good! However, I used taro ube extract and my mochi came out pink instead of purple. I followed the instructions step by step. What could be the reason?
Jolina
Hi Yeline, it’s most likely due to the extract you used. Taro isn’t the same as ube, and it is lighter and slightly pink.
Fel
Hi, how do i adjust the ingredients quantity for a 8×8 square pan?
please advise, thank you! 🙂
Jolina
Hi Fel, you can try dividing the ingredients in half.
Fel
Can i replace the Ube Extract with 2 TBSP of Purple sweet potato powder if i do not have the extract?
Jolina
Hi Fel, I don’t use ube powder so I can’t say for sure. Hopefully other readers have and can chime in!
Mark
Keep in mind that while ube is sometimes referred to as a sweet potato, it’s actually a yam and yams are not closely related to sweet potatoes. So sweet potato powder is not going to be ube powder. And yes, it can be confusing in the US because for some reason we call some sweet potatoes yams so many Americans don’t know what a yam actually is. Sweet potatoes are in the order Solanales (same order that nightshades such as tomatoes, peppers, and potatoes are all in) and yams are in the order Dioscoreales.