Marshmallow ice cream is the perfect way to stay cool this summer. Creamy vanilla ice cream with a delicious hint of charred marshmallows and toasted marshmallow bits in every spoonful. With only 5 ingredients and no ice cream maker needed, you’ll want to make it all the time.
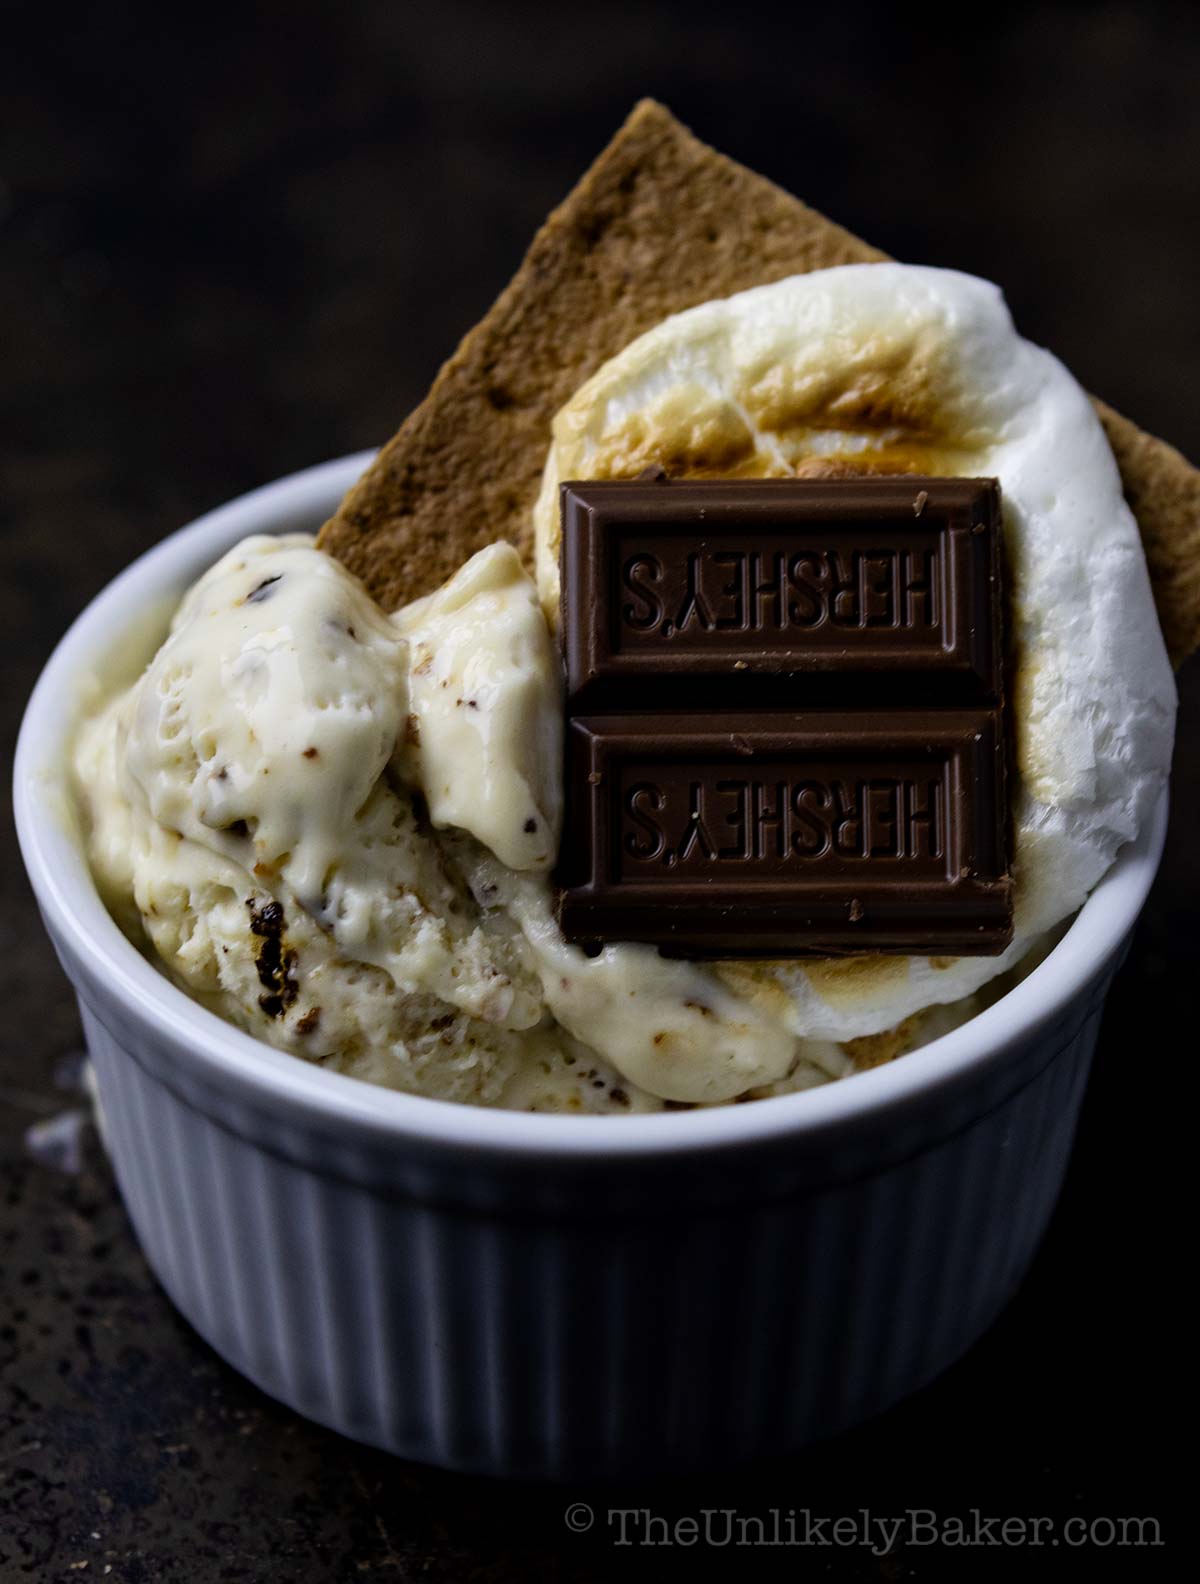
We always have marshmallows on hand because we’re one of those people who make s’mores all year. In the winter, we use our toaster oven. No shame. LOL.
We have so many leftover marshmallows from last summer so I’ve decided to go on a marshmallow dessert spree.
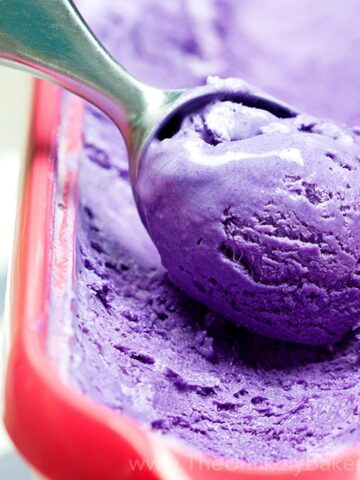
First I made ube rice krispie treats — wonderfully chewy, purple and, frankly, quite addicting!
Then I made s’mores brownies. And yes, it’s as amazing as it sounds!
These chocolate chip marshmallow cookies are delicious, too.
Next up is marshmallow ice cream. Sticky roasted marshmallows blended into a creamy vanilla ice cream base. So good.
Let’s get to it.
Why you’ll love homemade ice cream
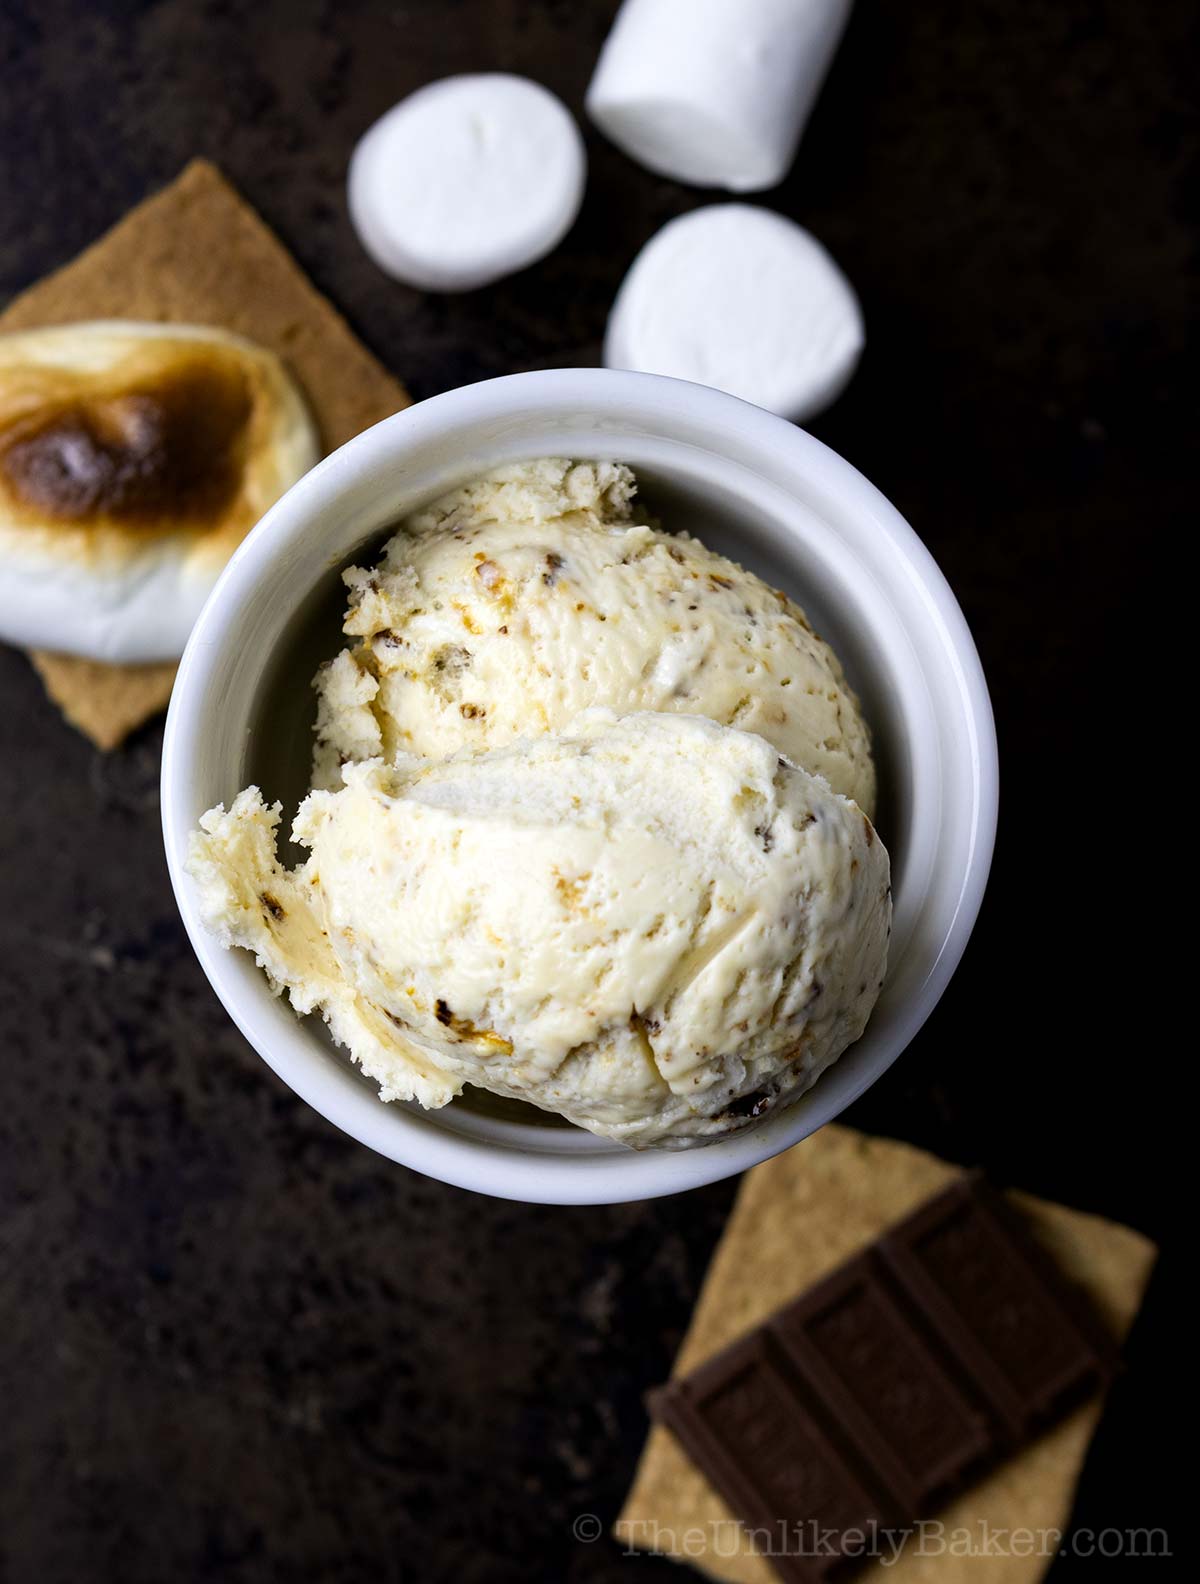
Since I learned to make ice cream at home, we very rarely buy ice cream from the store anymore because homemade ice cream is:
- So easy to make. You don’t need an ice cream maker and you’ll need very few ingredients, all of which you can actually pronounce the names of.
- Very easy to customize. I can add whatever I want and experiment as much as I want. I can create the ice cream flavors of my dreams! In fact, I haven’t yet seen a roasted or toasted marshmallow ice cream or any marshmallow flavored ice cream in store so I’m very happy to be able to make it at home.
- Creamy and dreamy. There’s a misconception that homemade ice cream (no-churn ice cream, in particular, or ice cream that don’t use an ice cream maker) is inferior to store-bought ones. However, my experience is the exact opposite. I find homemade ice cream to be creamier and, since I use higher quality ingredients, superior to the ones in my supermarket.
How to make
Making marshmallow ice cream is simple and easy.
There’s an additional step of roasting the marshmallows but it’s quick and absolutely worth it to get those bits of roasted/charred marshmallows in every bite.
Ingredient notes and tools you’ll need
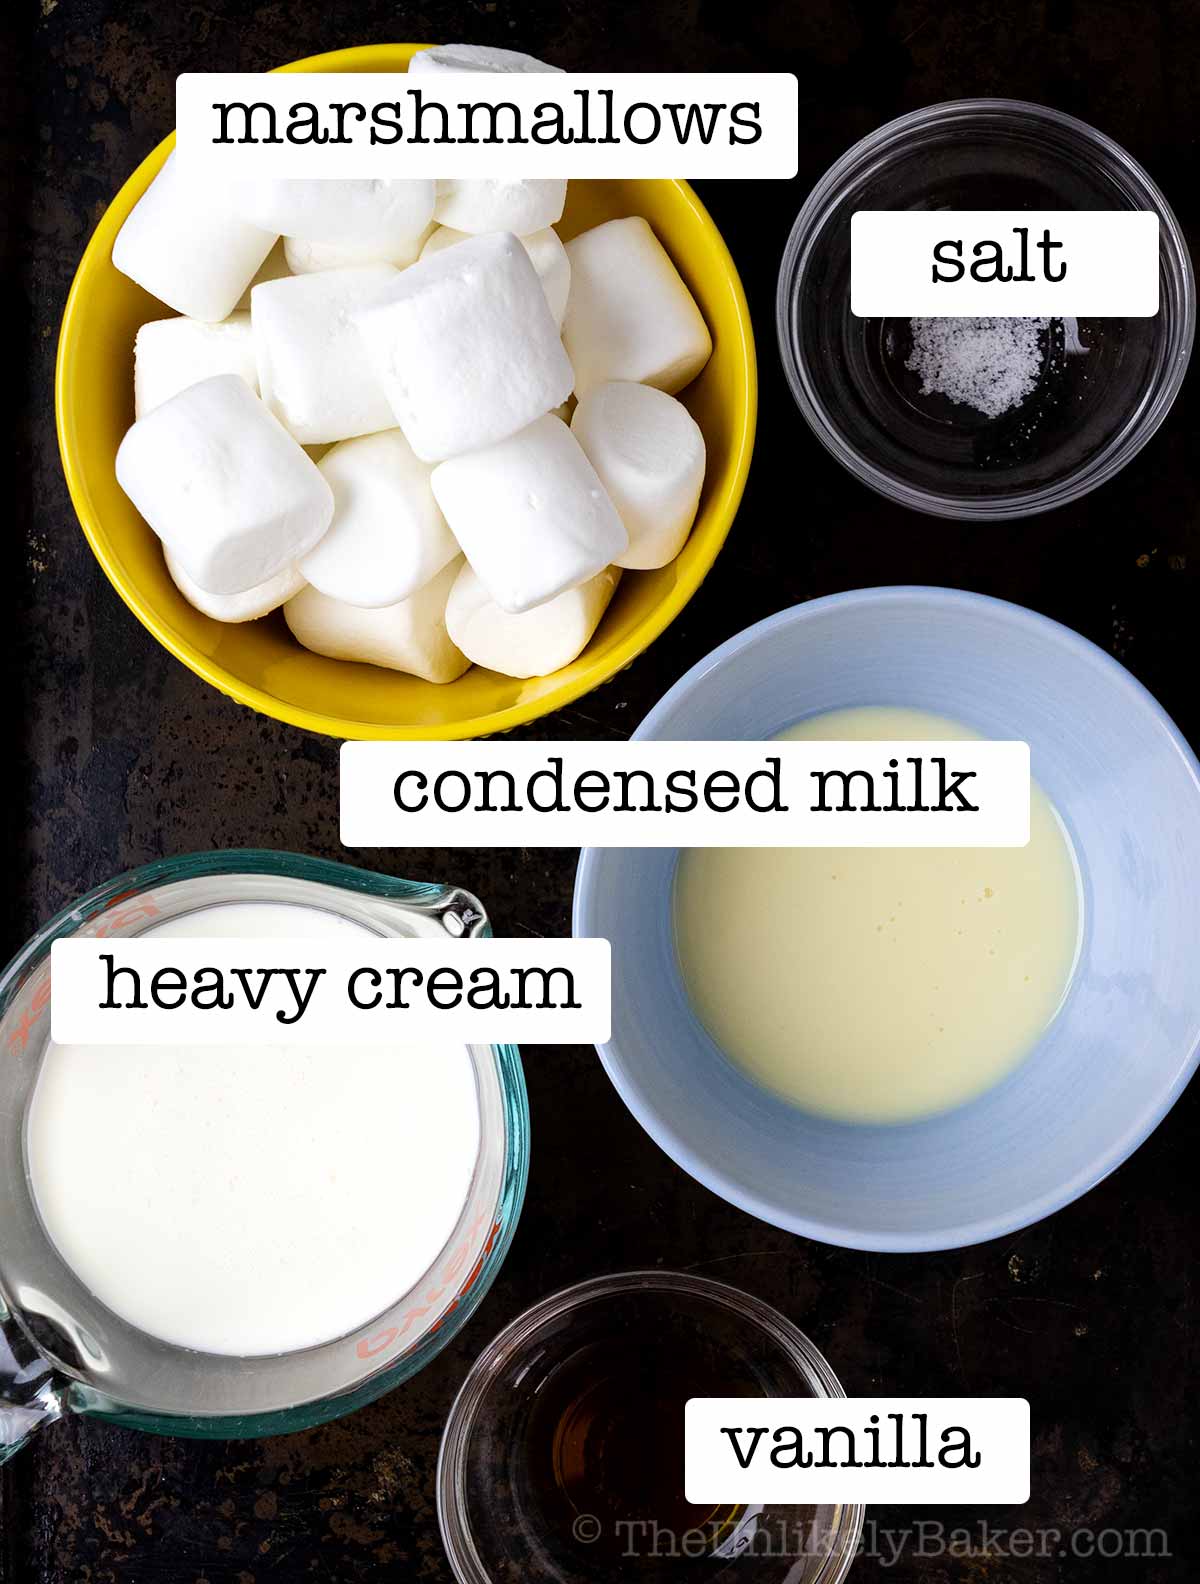
You’ll only need 5 ingredients. Important things to note:
- Sweetened condensed milk — this is what gives no-churn ice cream it’s creamy and smooth consistency.
- Heavy cream — this is called differently in different countries but for best results, choose cream that has milk fat content between 36 and 40%.
- Marshmallows — I use jumbo marshmallows because that’s what we always have on hand. But you can definitely use the same amount of regular-sized or mini marshmallows.
As far as tools go, you’ll only need an electric mixer and not an ice cream machine.
What I highly recommend are freezer-safe containers with tight-fitting lids to store your ice cream in.
I know others put their homemade ice cream in loaf pans but I find these ice cream containers work better.
Step-by-step photos
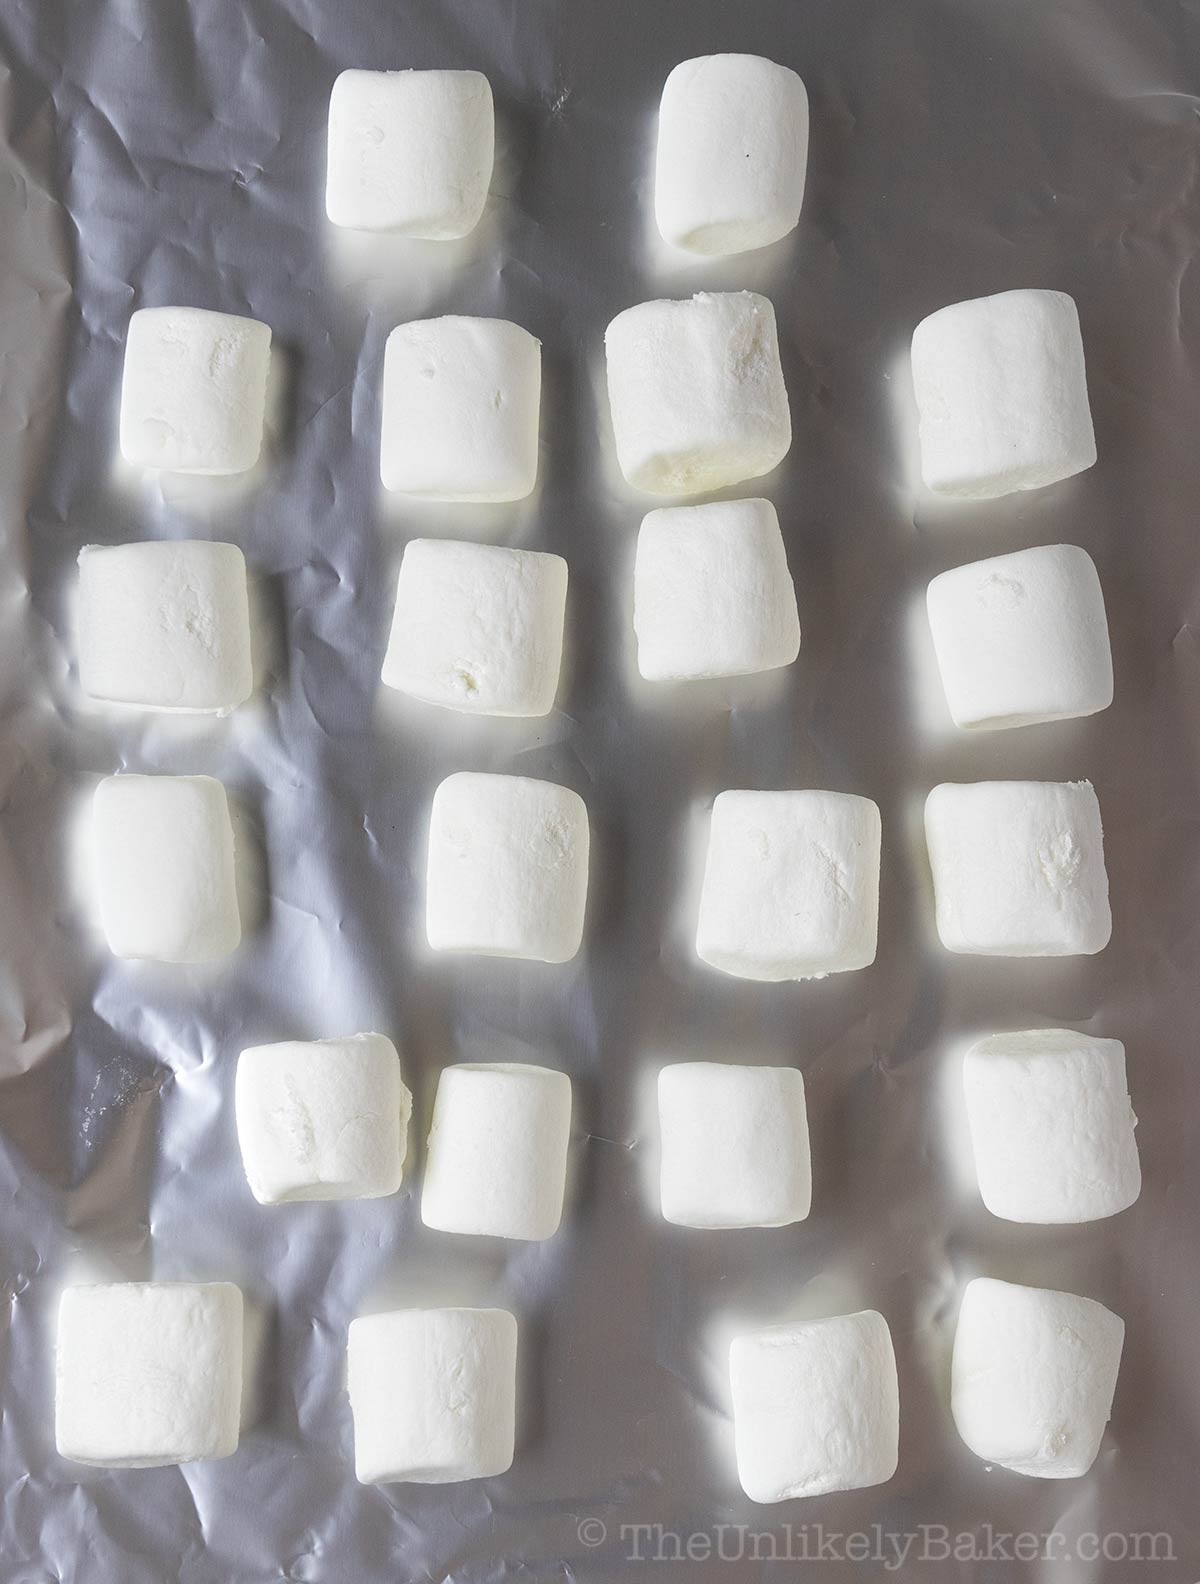
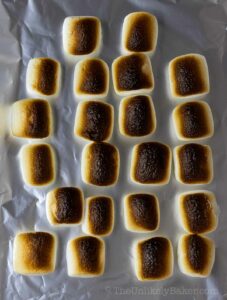
Place marshmallows on foil lined baking sheet.
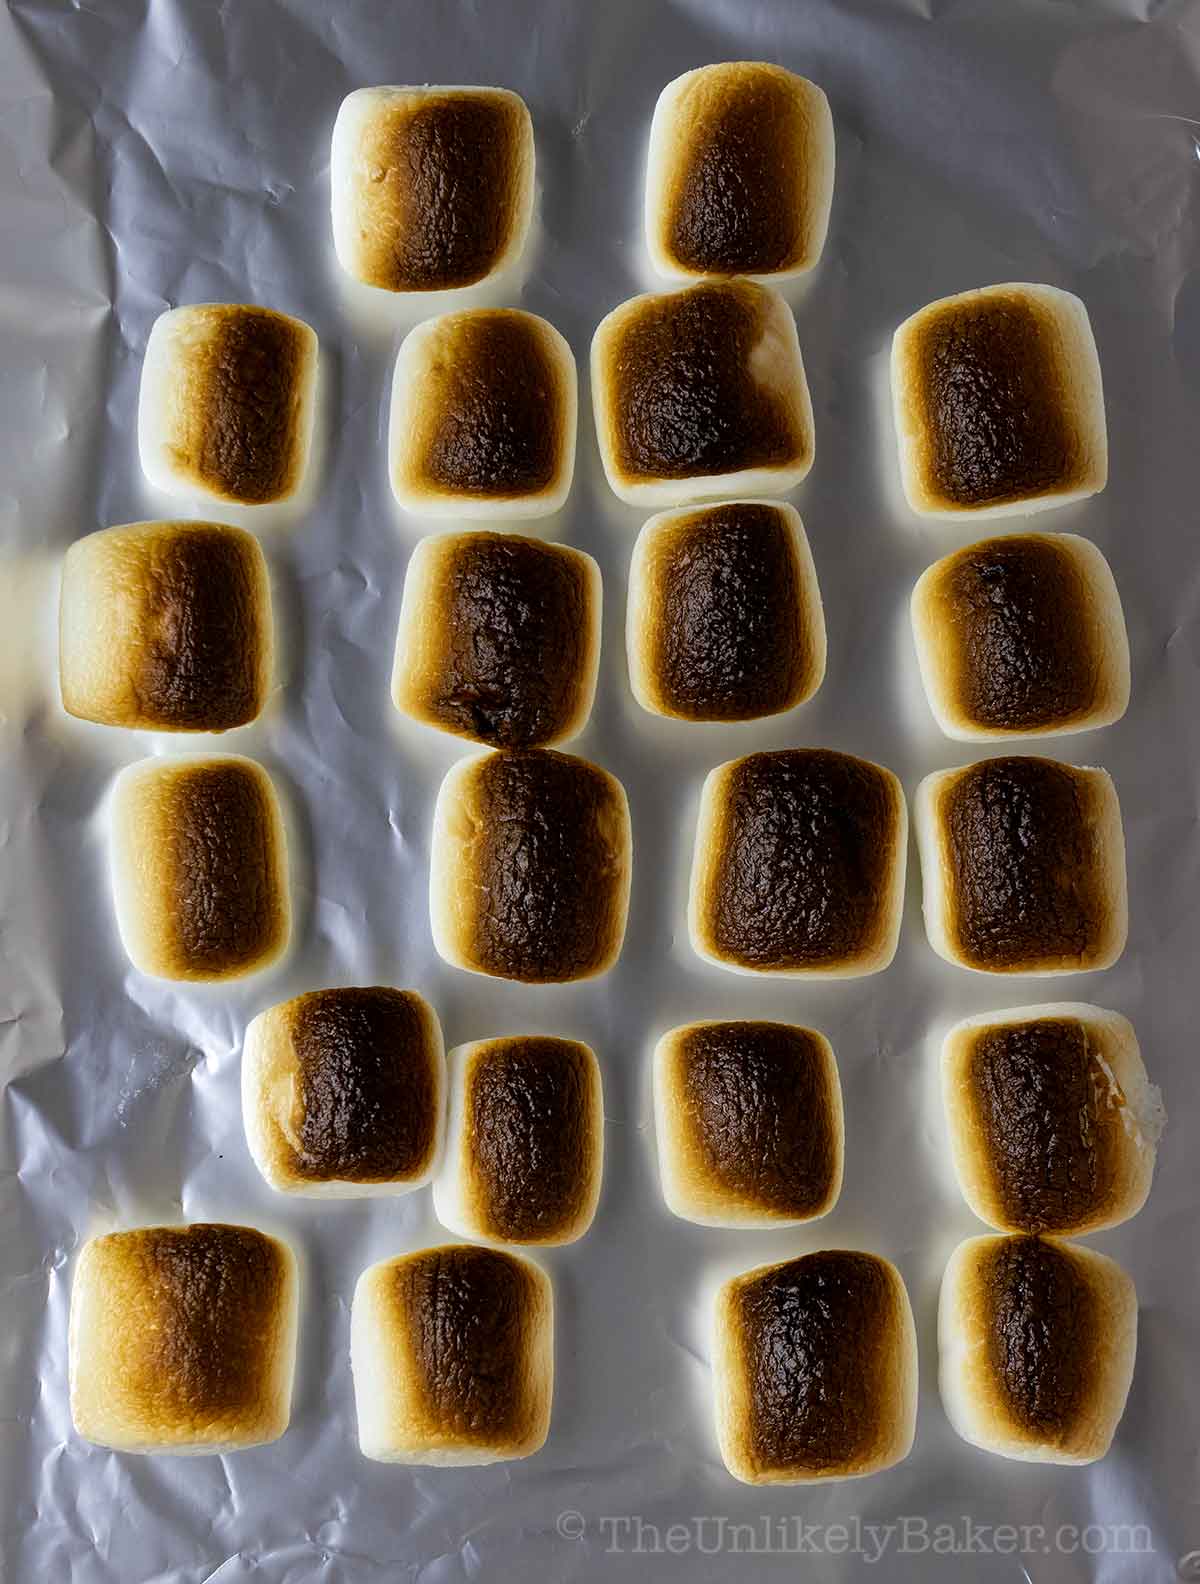
Broil until charred.
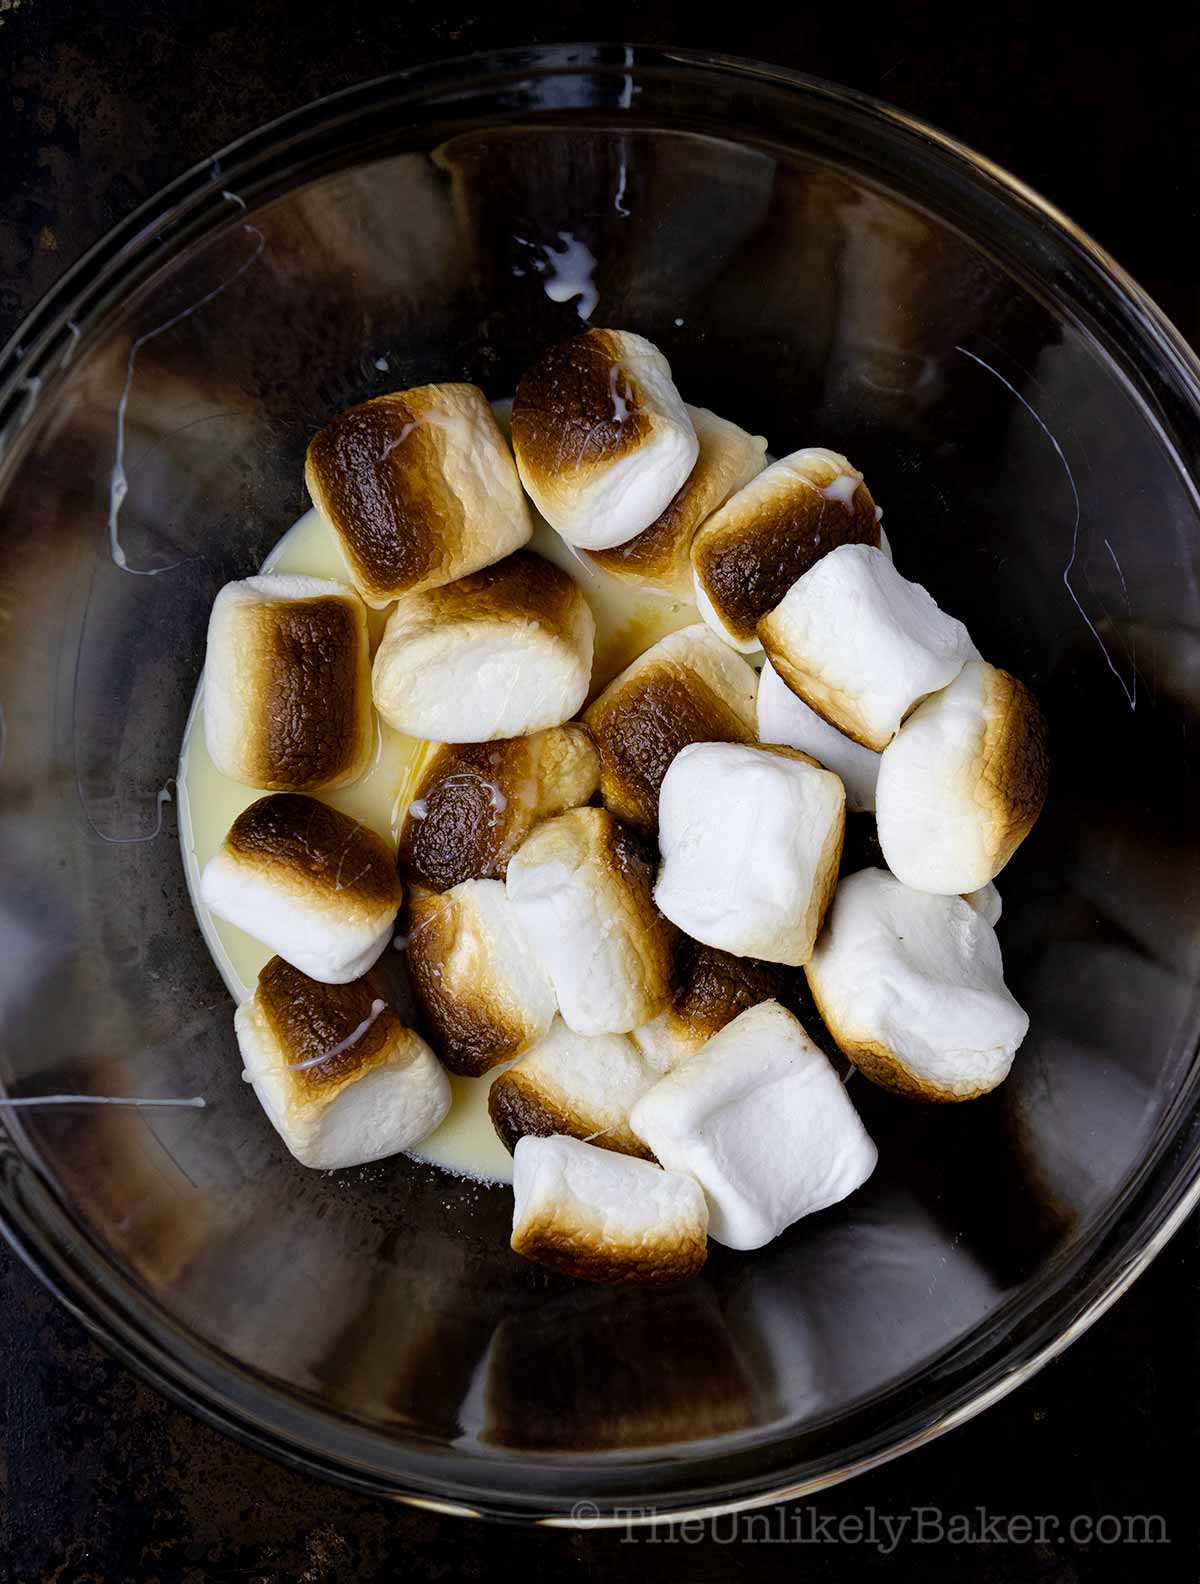
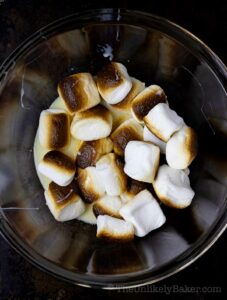
Add to a bowl with condensed milk, a pinch of salt and vanilla extract.
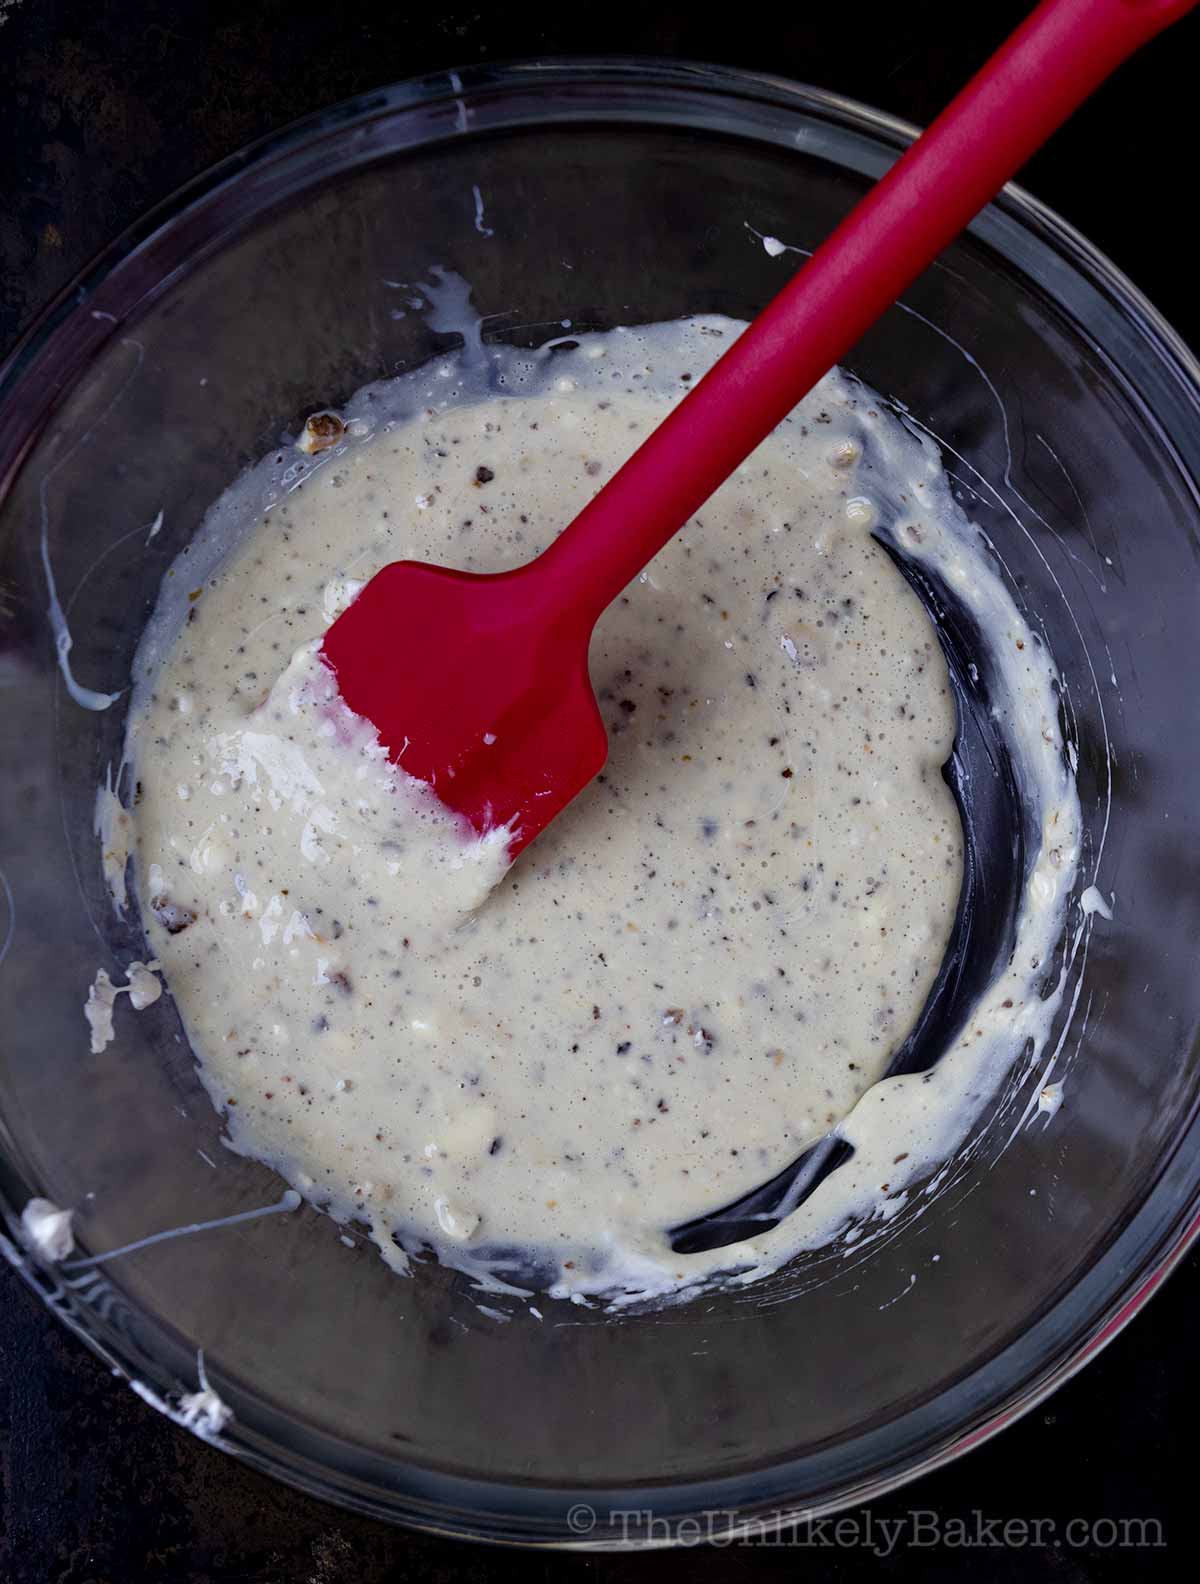
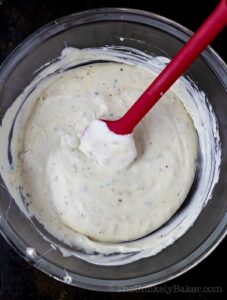
Stir until the mixture is incorporated.
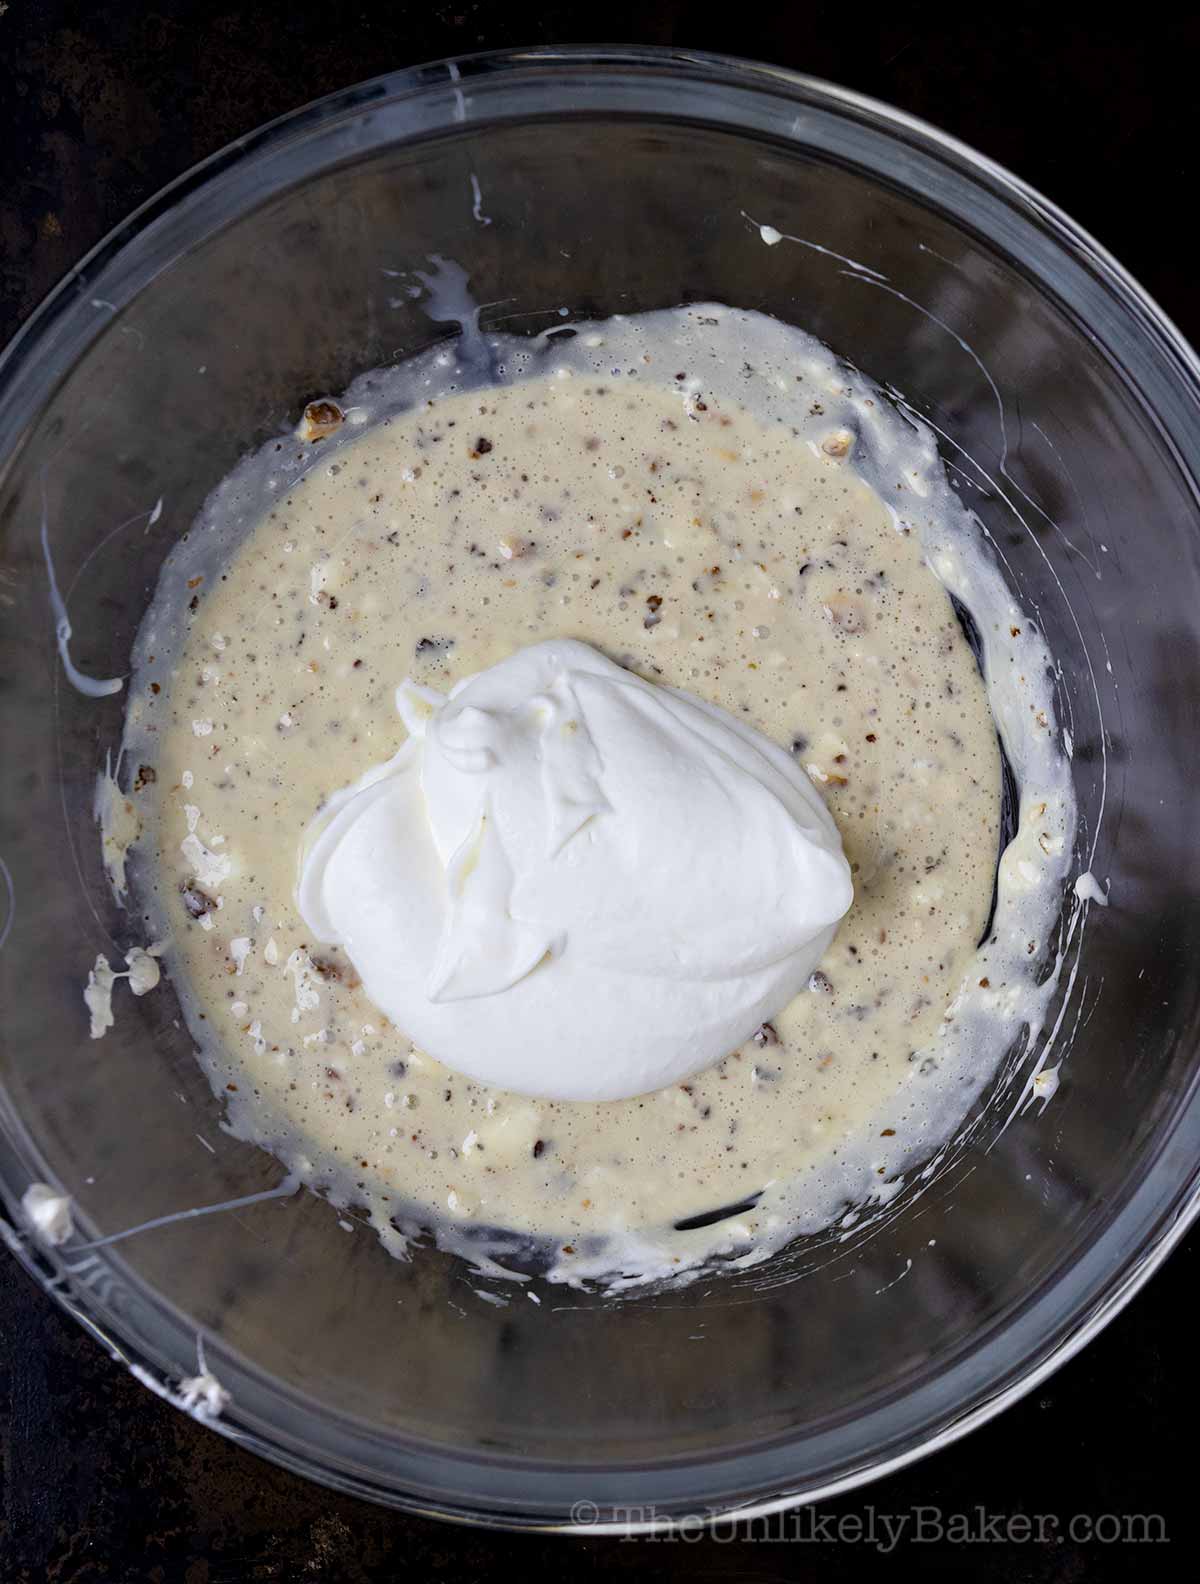
Add whipped cream.
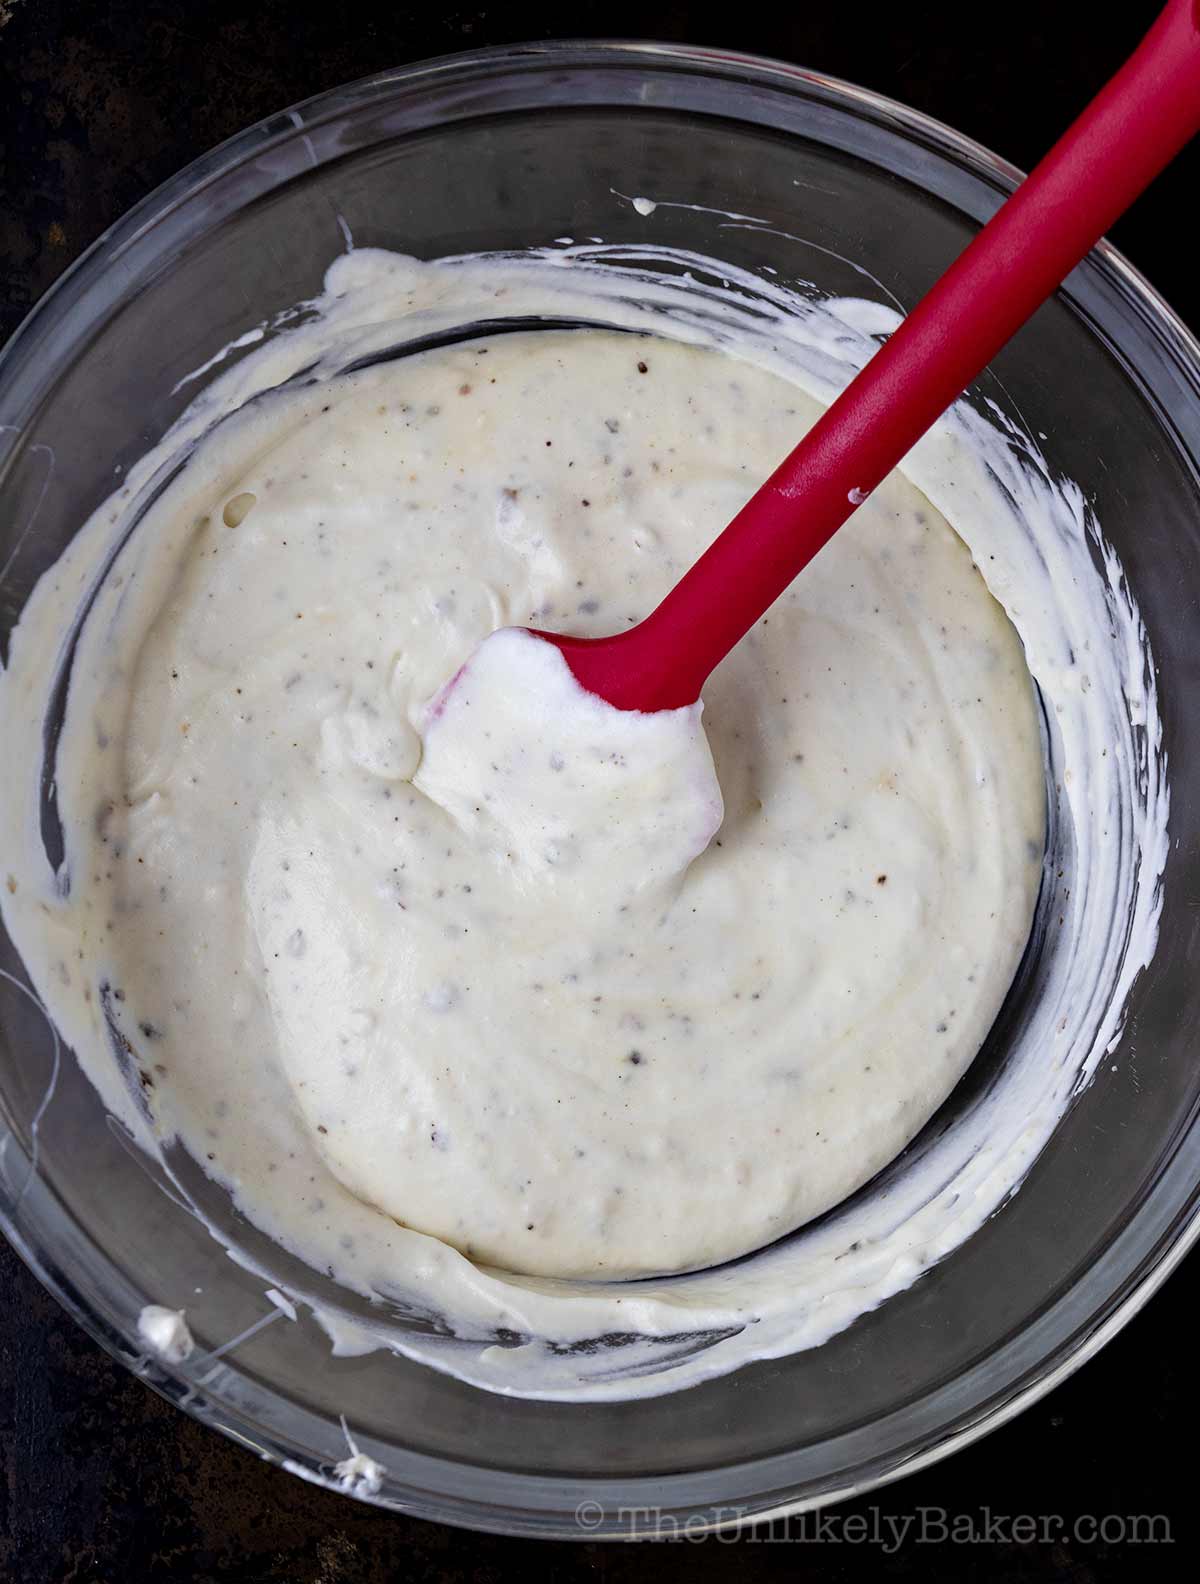
Fold until evenly blended.
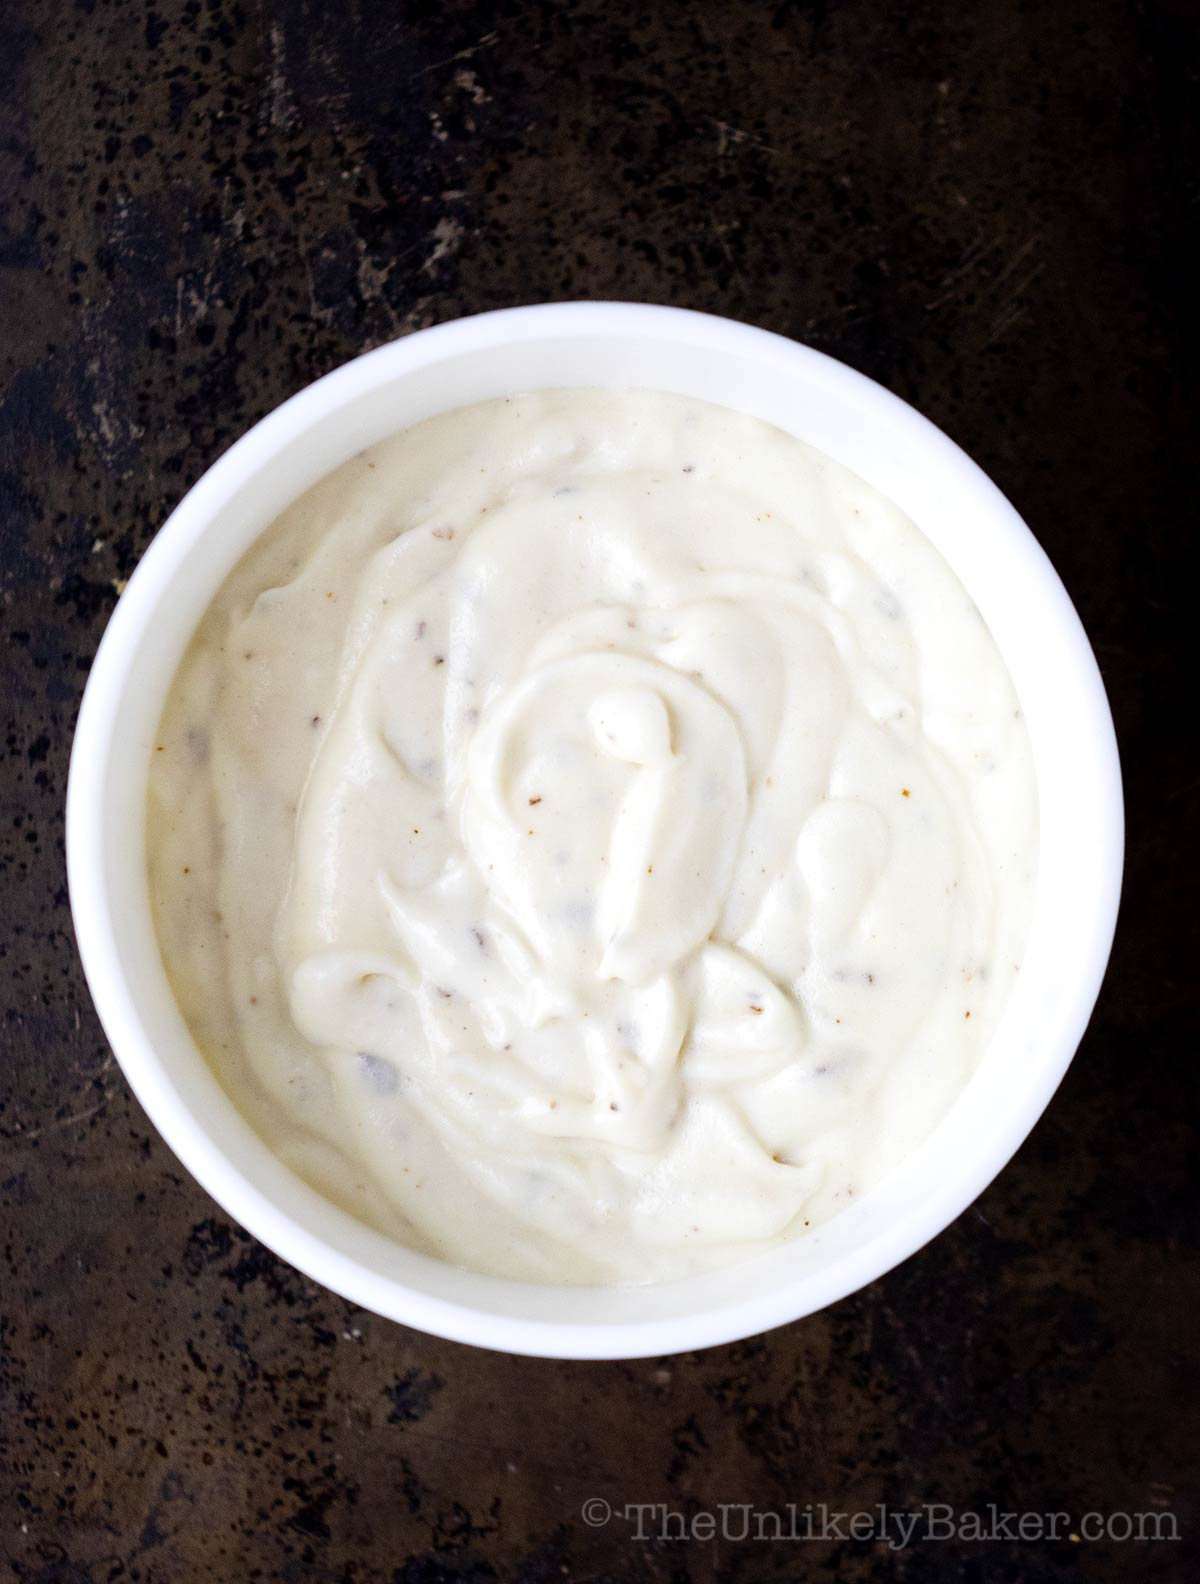
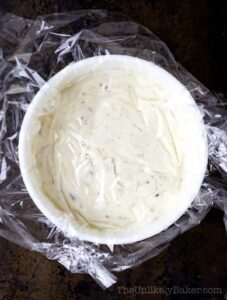
Transfer to freezer-safe container.
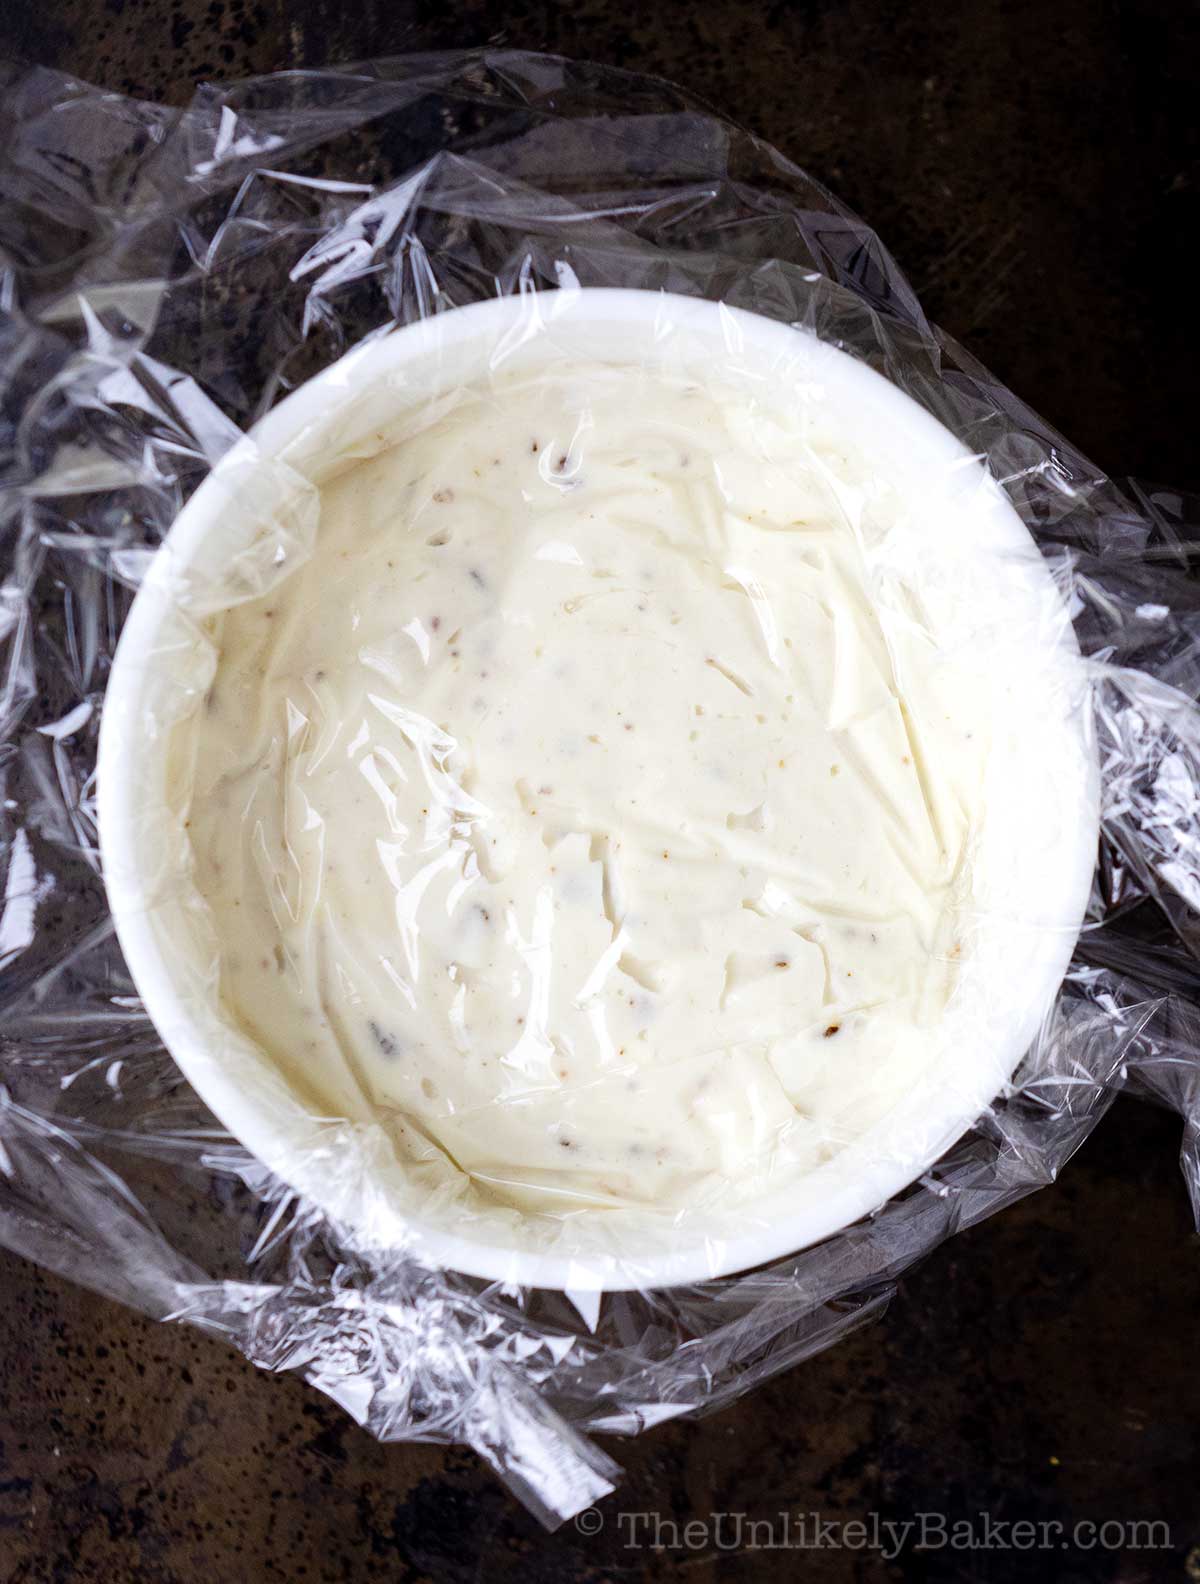
Cover with plastic wrap and chill overnight
Expert tips
Simple, right? Here are more tips for making the best ice cream at home every time.
- Don’t skip the heavy cream. Heavy cream gives your ice cream volume and structure. Anything less than 36% milk fat content won’t whip as beautifully and your ice cream won’t set as firmly.
- Taste. Then taste some more. Since no-churn ice cream has no eggs in it, it’s safe to taste as you’re making it. So go ahead and taste at every step if you like. You’re making your very own ice cream and you can make it as unique and as fabulous as you want.
- Use freezer-friendly container. Not all containers are created equal. Some would lead to ice forming at the bottom or sides of your ice cream. While others might expand in the freezer. I’ve amassed this collection of ice cream tubs since I learned how to make ice cream and I exclusively use them. I’ve owned them for years and they still look like new!
- Cover with cling wrap. To avoid ice crystals from forming on any part of your ice cream, especially the top, place cling wrap on it (place it right on the surface of the ice cream) before covering and putting in the freezer. Then when you’re ready to eat, remove the cling wrap and reveal the creamy ice cream underneath!
Serving suggestions
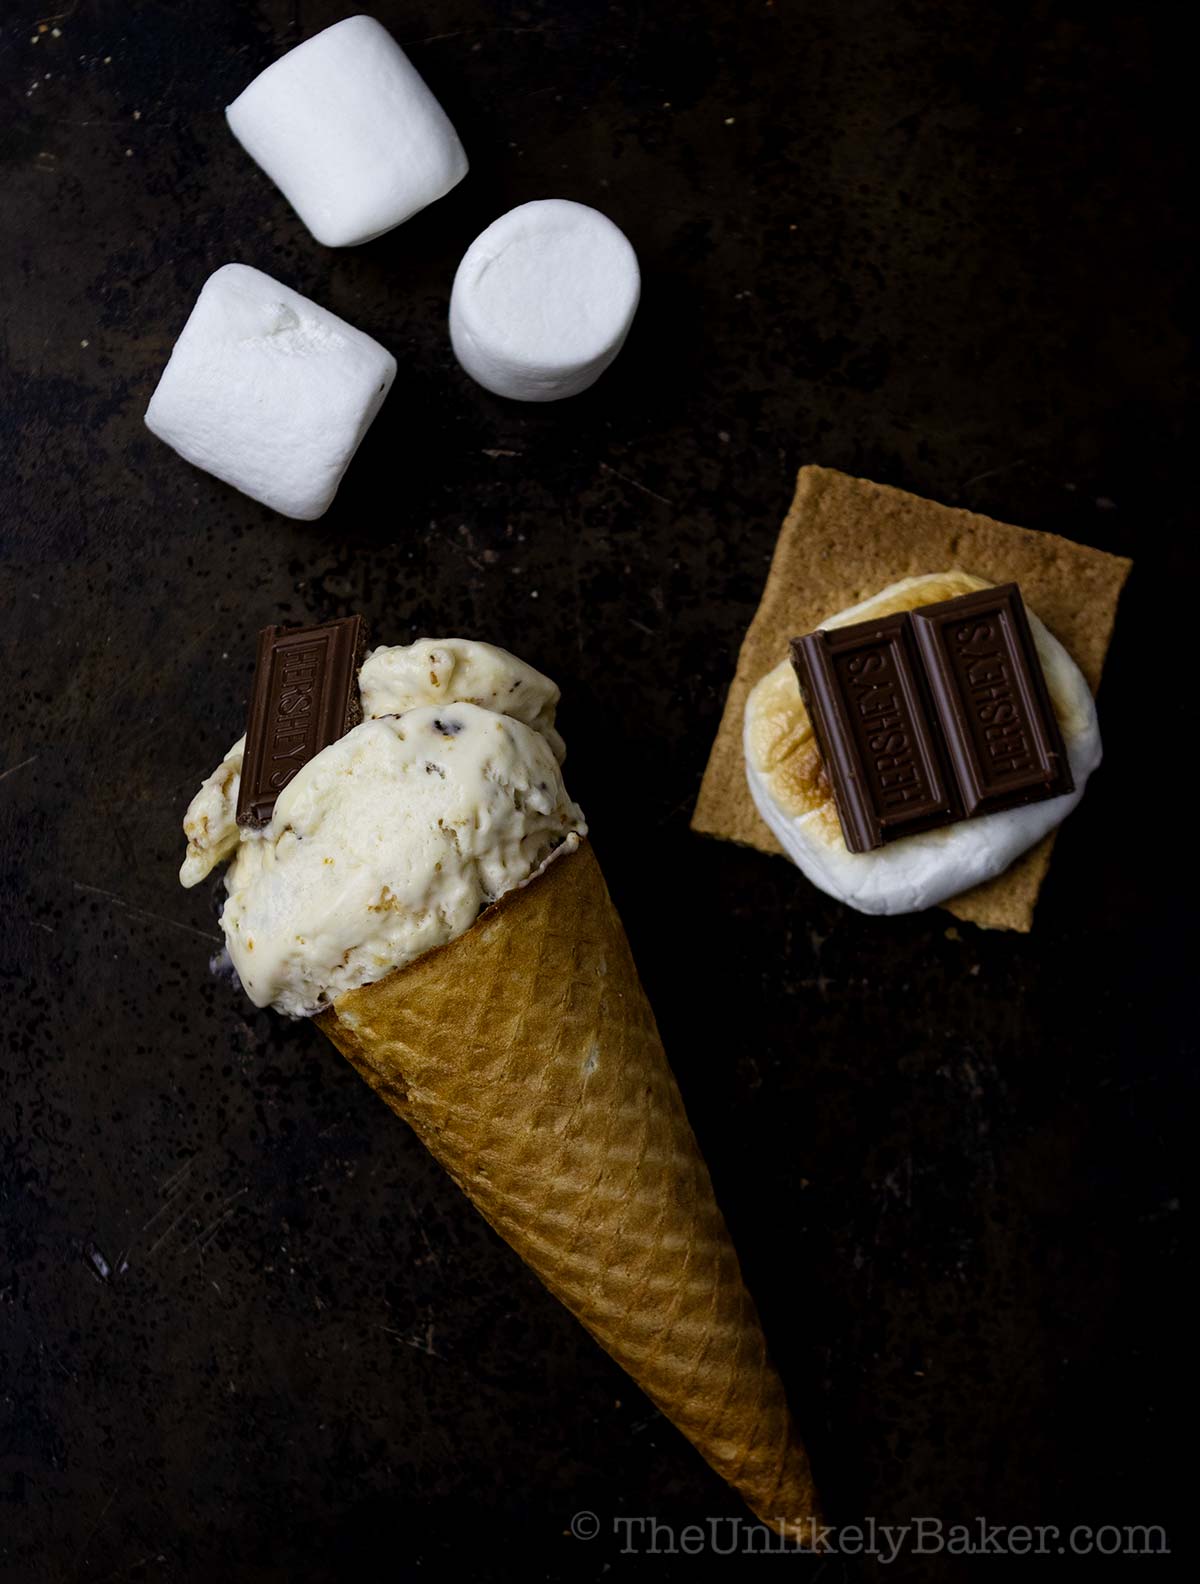
Marshmallow ice cream is not only fun to make, but fun to eat too! Enjoy with your favorite ice cream cone or have fun with the kids by making:
- Marshmallow ice cream sandwiches — sandwich the ice cream between 2 of your favorite cookies!
- Marshmallow ice cream cake — take some graham crackers, layer with marshmallow ice cream, freeze, enjoy.
- Chocolate marshmallow ice cream — simply add cocoa to the ice cream base, add chocolate chips as mix-ins, or follow this chocolate ganache recipe for the silkiest chocolate drizzle.
- Make it a rocky road — add chocolate, mini marshmallows and nuts.
- Enjoy a loaded s’mores ice cream sundae — add ice cream toppings like crushed graham crackers, chocolate chunks, and more marshmallows.
Recipe FAQs
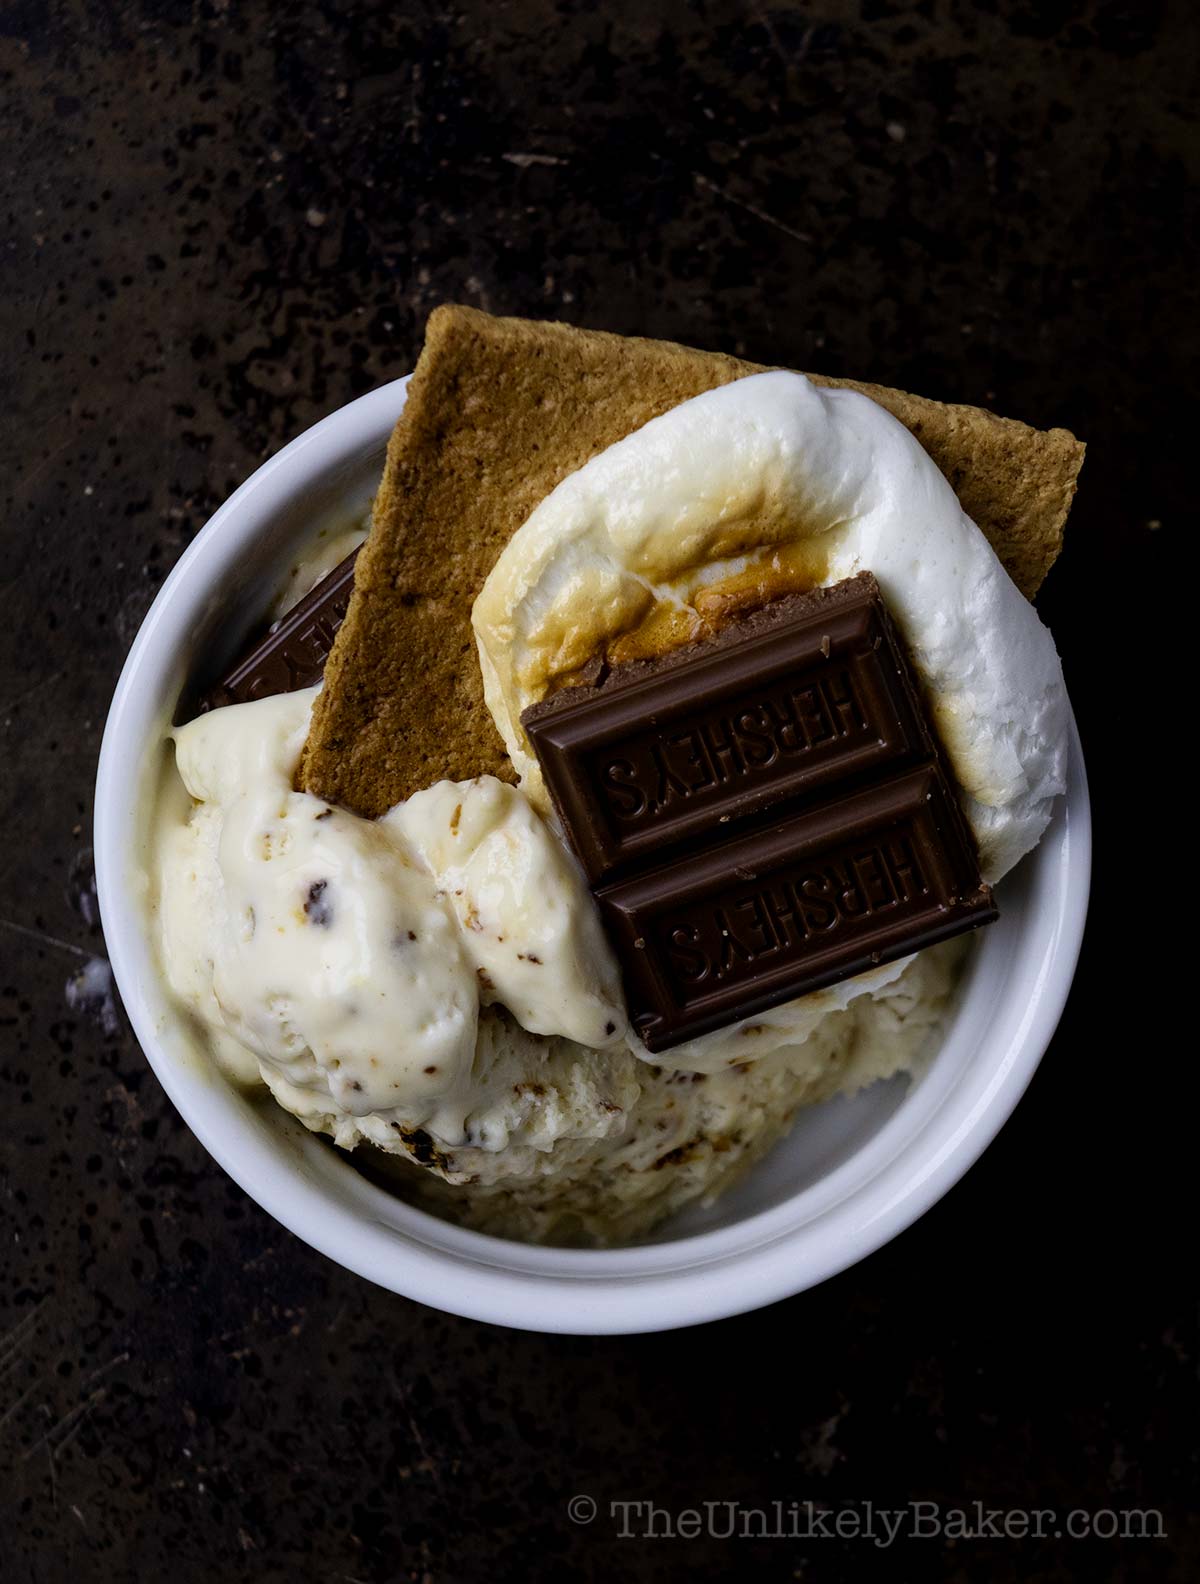
It’s delicious! Imagine creamy cold ice cream with a delicious hint of charred marshmallows and toasted marshmallow bits in every spoonful.
Half & half (10 to 18 percent milk fat) cannot be substituted for heavy cream in no-churn ice cream recipes because it just doesn’t have enough fat content for whipping.
In a pinch, you can use whipping cream (30 to 36 percent milk fat) but it will result to a lighter, softer texture.
I haven’t tried but I would highly recommend sticking to marshmallows. This way, you can roast it and get that nice charred flavor.
To prevent your ice cream from getting freezer burn or forming ice crystals:
(1) Place a piece of plastic wrap directly on the ice cream’s surface before placing the lid. This also helps prevent freezer smells from seeping into your ice cream.
(2) Make sure you use a freezer-safe container with a proper, tight-fitting lid.
It’s still safe to eat ice cream with a few ice crystals. It’s going to affect the texture and the taste though so you really want to protect it from air (its main enemy) and eat it within 2 weeks of making it.
In our house, not very long! But if kept in a freezer safe container, it should last about 2 weeks in the freezer.
Because it doesn’t have the same preservatives as store-bought, when it comes to homemade ice cream, the fresher the better.
Some tips to keep it fresh for longer:
– Cover the top with plastic wrap (see above)
– Store in a relatively shallow and flat container vs. a deep dish
– Store towards the back of your freezer so that its temperature can remain fairly constant
Other easy homemade ice cream recipes
If you love making homemade ice cream as much as I do, here are more recipes you’re sure to enjoy:
This Kool Aid ice cream is another flavor the kids will love!
Happy ice cream making!
Did you make this marshmallow ice cream recipe? I’d love to hear all about it! Leave a comment or a star rating below. You can also tag me on Instagram or Facebook. I’d love to see your creations!
You can also find me on Pinterest, Twitter and YouTube.
Marshmallow Ice Cream
Equipment
Ingredients
- 5.3 oz jumbo marshmallows you can also use regular or mini marshmallows
- 5 oz condensed milk
- 1 tsp vanilla extract
- pinch salt
- 1 cup heavy cream whipped to stiff peaks
Instructions
- Place marshmallows on foil lined baking sheet and broil on high until charred.

- Add to a large bowl with condensed milk, salt and vanilla extract. Stir until the mixture is incorporated.

- Add whipped cream and fold until evenly blended

- Transfer ice cream to freezer-safe container, place plastic wrap on surface before covering with the lid, and freeze overnight.

Video
Notes
- When you add the marshmallows to the condensed milk, the mixture will be sticky. Ensure you get to the bottom and sides of the bowl so the marshmallows are evenly blended into the mixture.
- When folding the whipped cream, do so gently so as not to deflate the mixture.
- The plastic wrap helps prevent ice crystals from forming on the top of the ice cream.
- See post for more tips, FAQs and step-by-step photos.
Nutrition
Nutritional information are estimates only.

Marge
This was such a hit! Very sticky to make but I found it strangely soothing. Will make again for sure.
Jolina
Happy to hear that Marge! Enjoy!
Susan
Hi Jolina! We saw your post on instagram and knew we wanted to make it stat! It was so good. Love the mini marshmallow bits. My daughter made a gigantic s’mores sunday too but I did not take a picture but will next time. Thanks for the recipe!
Jolina
Hi Susan, a s’mores sundae is an amazing idea! I’d love to see it. Enjoy!
Rosanne
This was marvelous! I like making ice cream for my kids and never thought to make marshmallow but wow have we been missing out! Topped with chocolate chips but next time I think I will add them to the base.
Jolina
That’s great Rosanne! Making these again soon and I think I will add chocolate chips too 🙂
Jo
Had lots of marshmallows leftover from camping and looked for a recipe to use them all up. I wanted more marshmallow flavor (this tasted more vanilla) but very good nonetheless.
Jolina
Glad you liked it Jo!
Sally
My family is obssessed with smores can’t wait to try this out!
Richelle Milar
Wow! This looks absolutely delicious and tasty! I would really love to try this awesome recipe! My kids are going to love this!
Catalina
I would like to make this ice cream for my family! It’s the perfect summer treat!