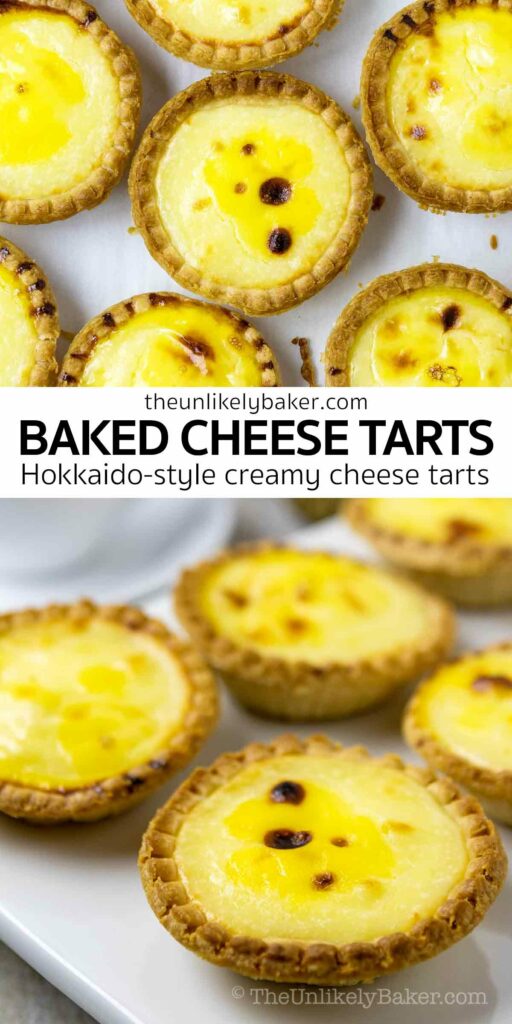

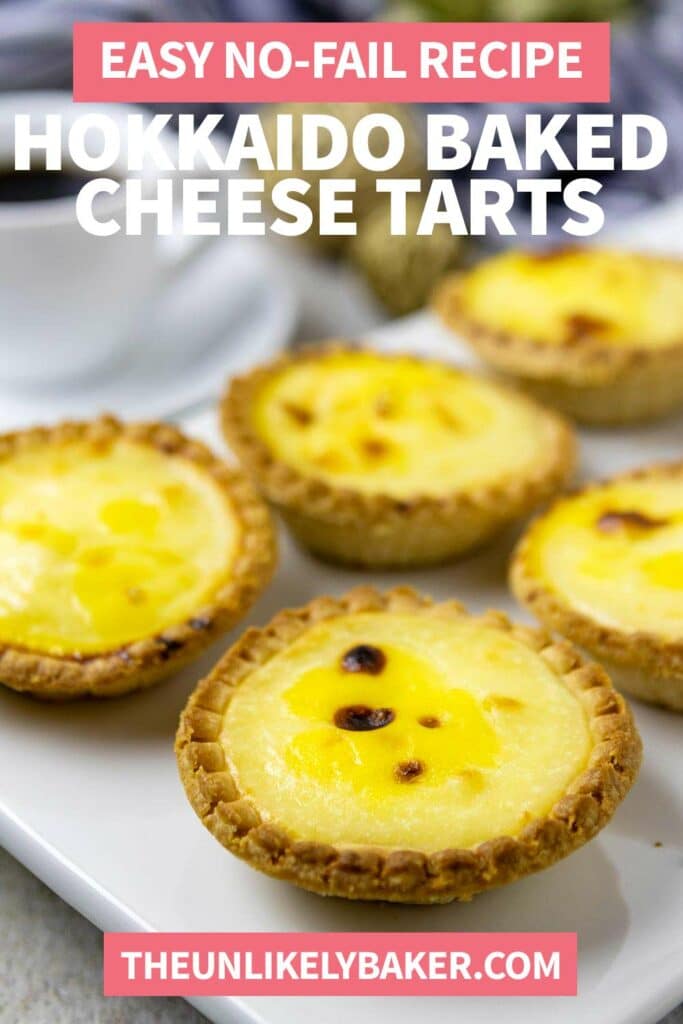
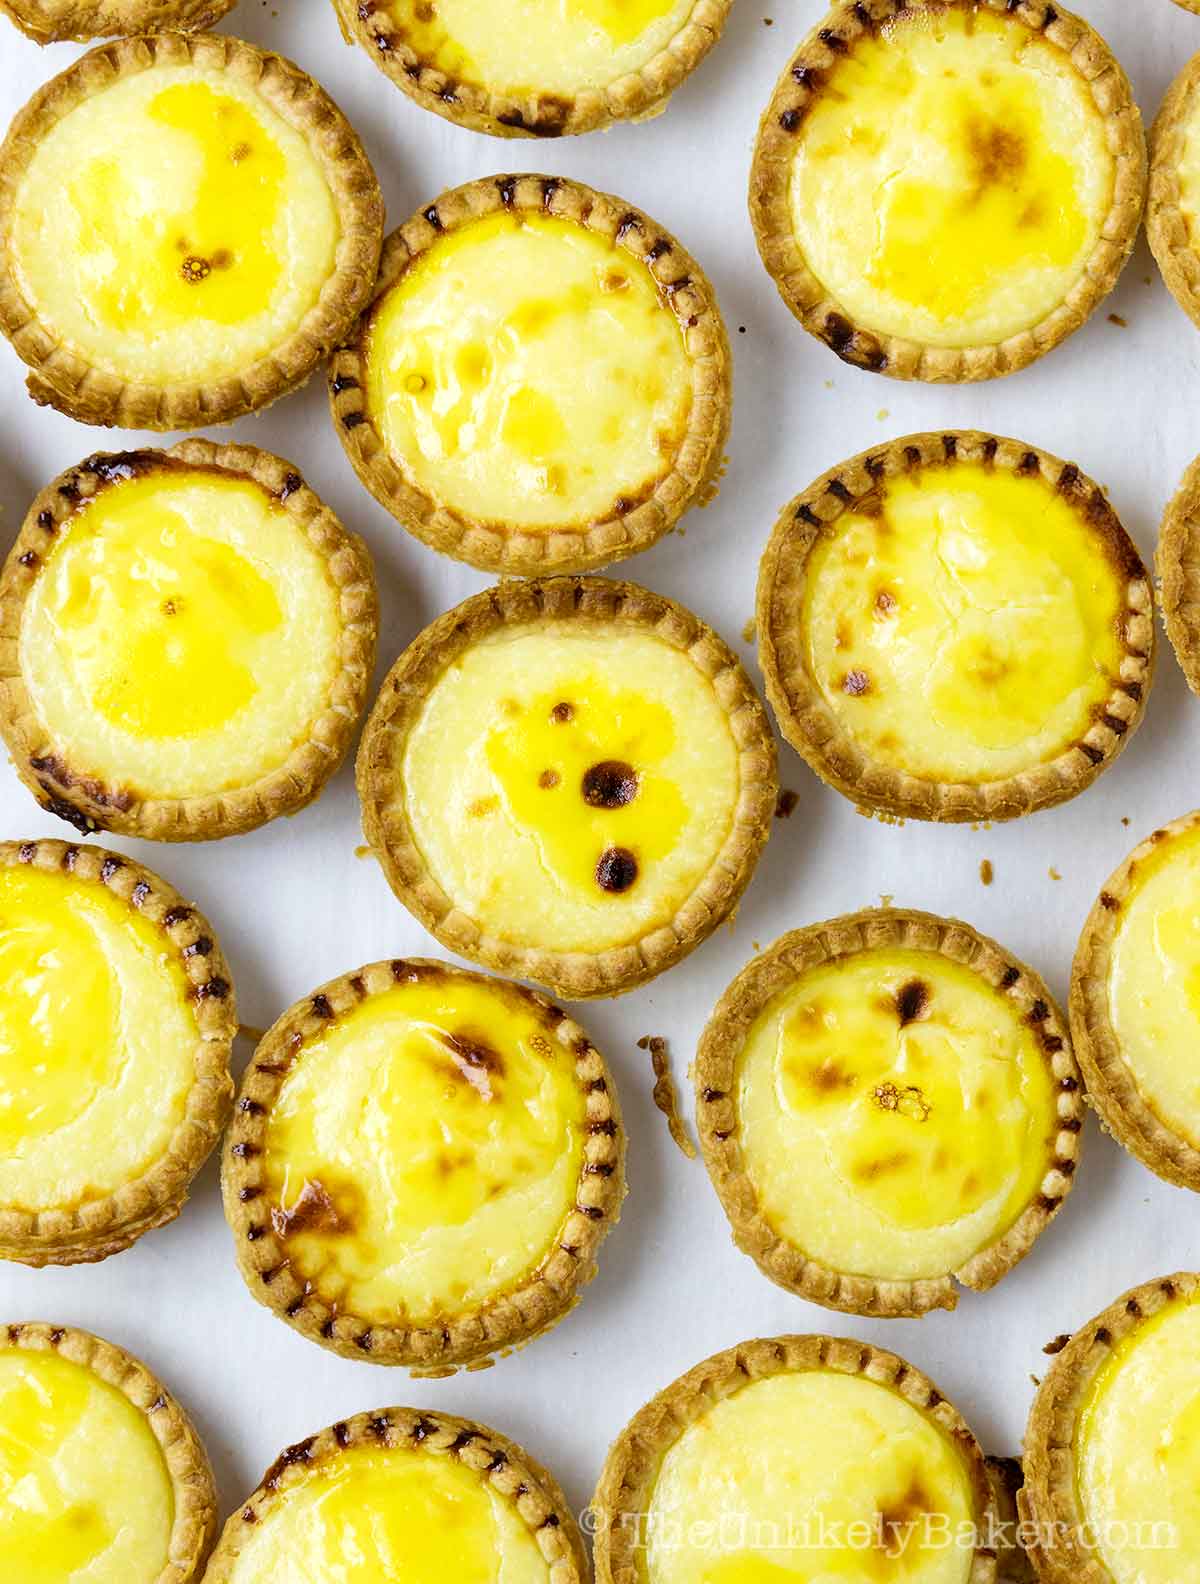
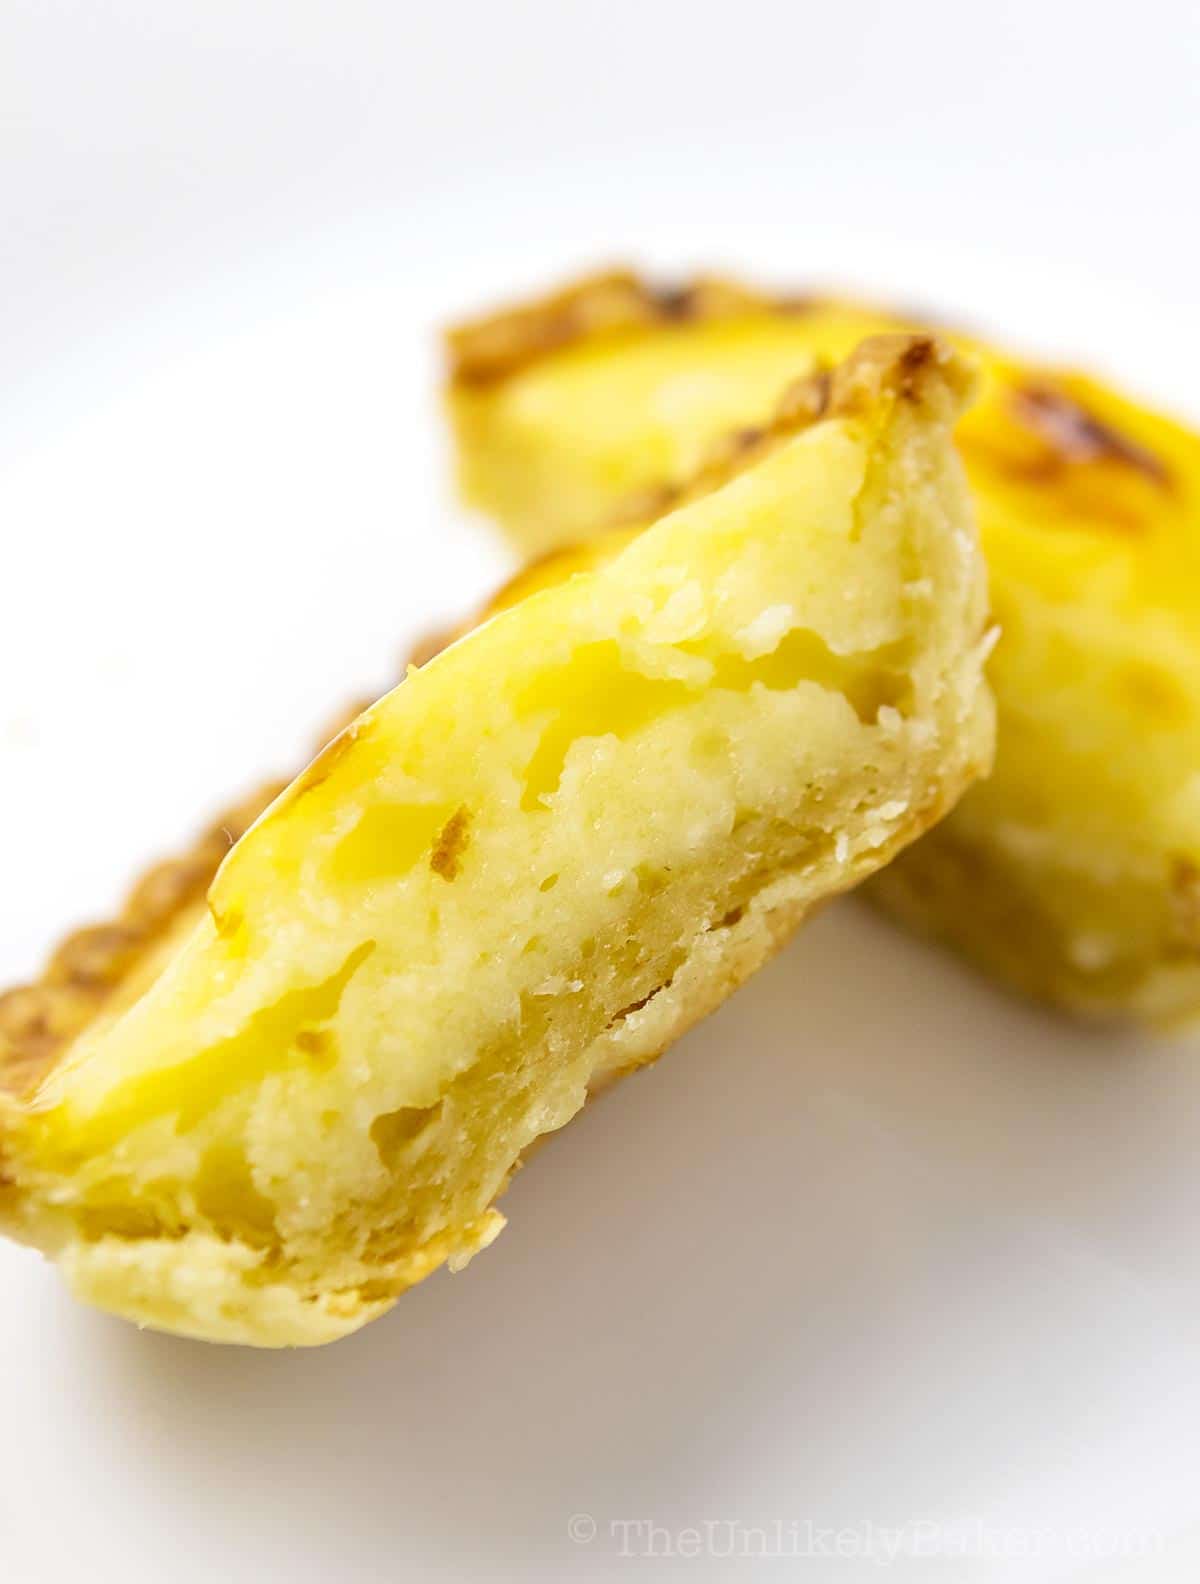
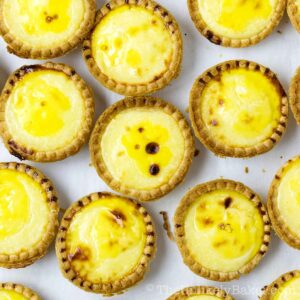
Hokkaido baked cheese tarts are creamy, sweet and savoury, delicious. Buttery tart shells filled with a rich 4-cheese filling and baked until golden. Unlike other cheese tart recipes, this recipe uses frozen tart shells, making it quick, easy and convenient to make. You’ll love it!
(Fan of all things Hokkaido? Try these Hokkaido chiffon cupcakes. They’re a reader favourite and for good reason — soft, fluffy, light as air and filled with the most delicate whipped cream. They’re incredible.)
I’ve been making baked cheese tarts for years.
People used to call them baked lava cheese tarts but now they’re more popularly known as Hokkaido baked cheese tarts.
I used to make my own crust too — kneading the pastry dough, chilling, rolling and all that jazz.
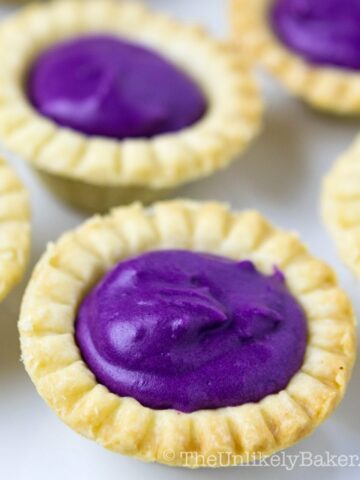
Until one time I decided to use frozen tart shells (the same kind I use for my ube tarts and mini chocolate tarts) and lemme tell you, best decision ever!
The tarts were still delicious and my friends and family still loved them.
The only difference? I was done in no time.
Let’s bake.
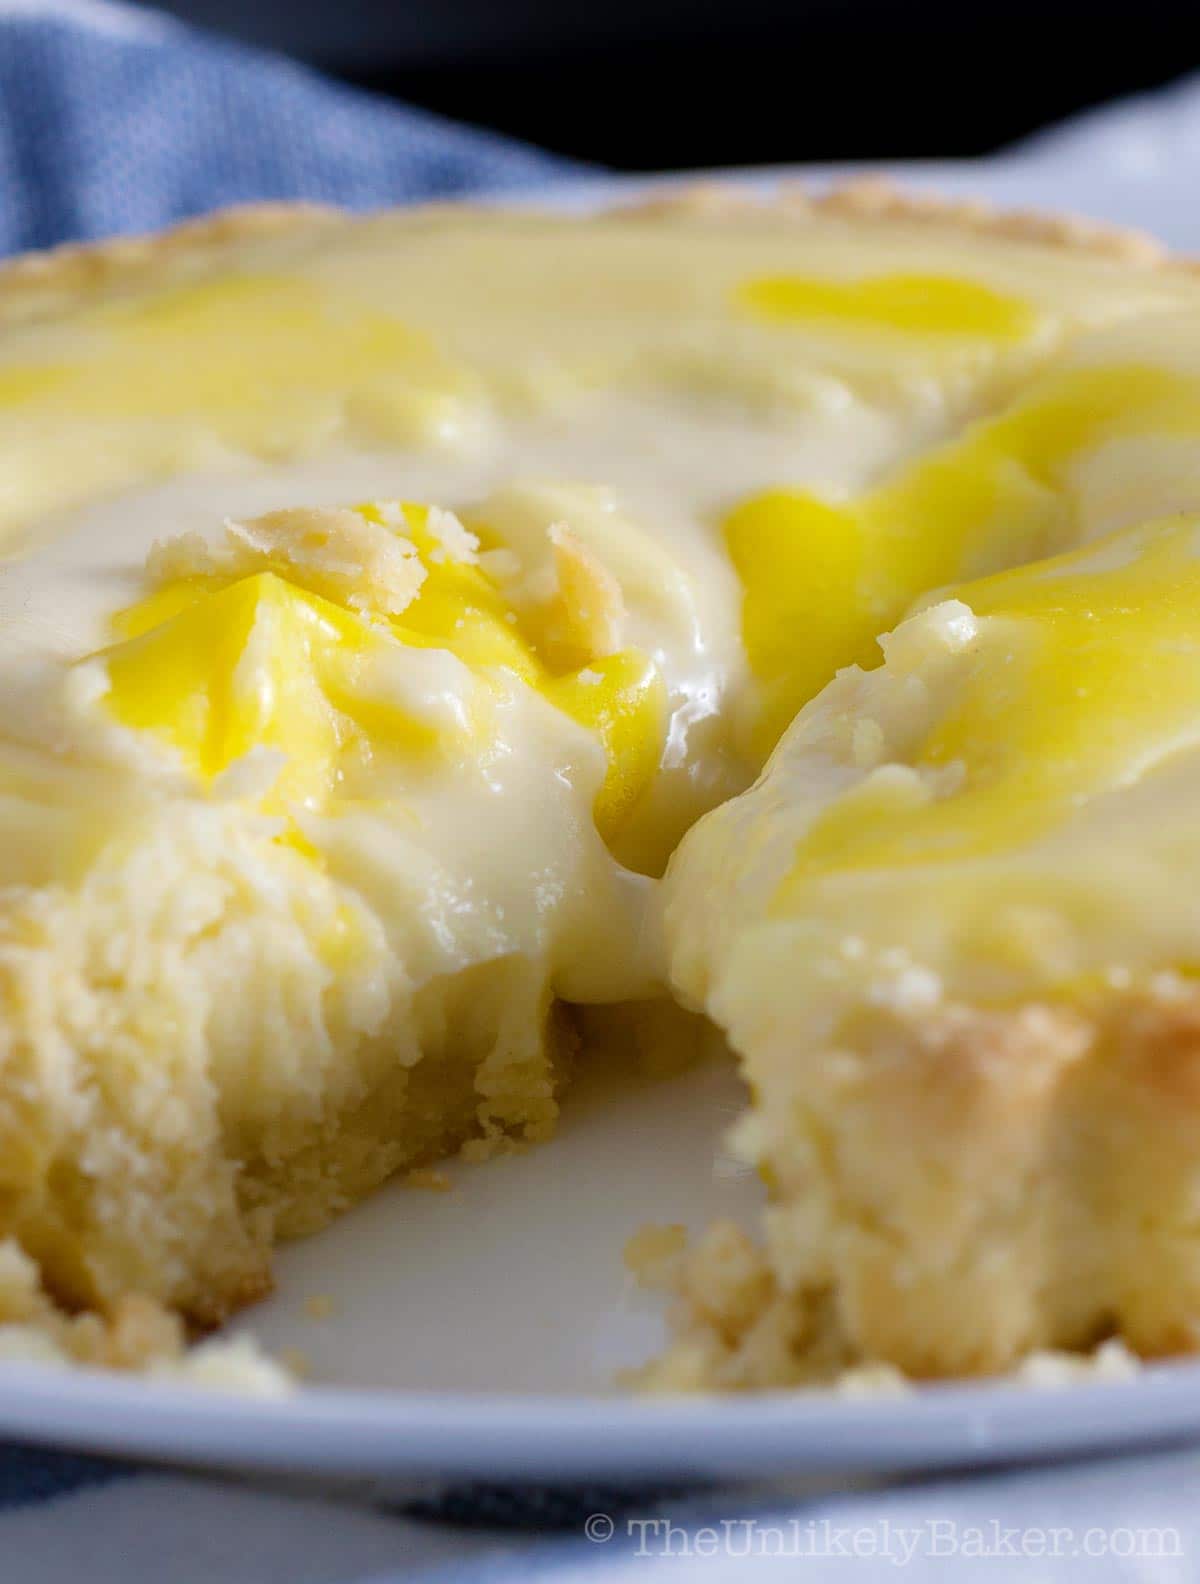
What is it and what does it taste like
But first, what are Hokkaido baked cheese tarts?
Also called Hokkaido cheese tarts, Hokkaido cheese cake, Japanese cheese tarts, cheese egg tarts, or simply baked cheese tarts, they are pastries made of a shortbread crust and filled with a cheesy custard.
And as the name suggest, they originated from the island of Hokkaido in Japan, known across the country for the excellent quality and delicious flavour of its milk and milk products.
The cheese tart is one of their most popular desserts and its popularity quickly spread across Asia in countries like Malaysia, Singapore and the Philippines. It’s quite popular in Australia, too.
Soon enough, these little bites of deliciousness made their way to North America and long line ups would form every time a new franchise would open its doors.
Happily, these sweet and savoury tarts are easy to make at home.
Why you’ll love this recipe
These baked cheese tarts are so good you won’t be able to stop at just one. Which is fine because you’ll love making them all the time.
- Uses frozen tart shells. I’m a fan of making things from scratch but love a good shortcut too. Like puff pastry. And now frozen tart shells. They’re so convenient to use and make this recipe so much easier and quicker to come together.
- No need for special tart moulds. Frozen shells already come in their own aluminum moulds so you don’t need to worry about having speciality tart pans to make the crust.
- You can control the texture. If you want lava tarts, underbake a little, if you want firmer tarts, bake a little longer. Either way, they will be delicious.
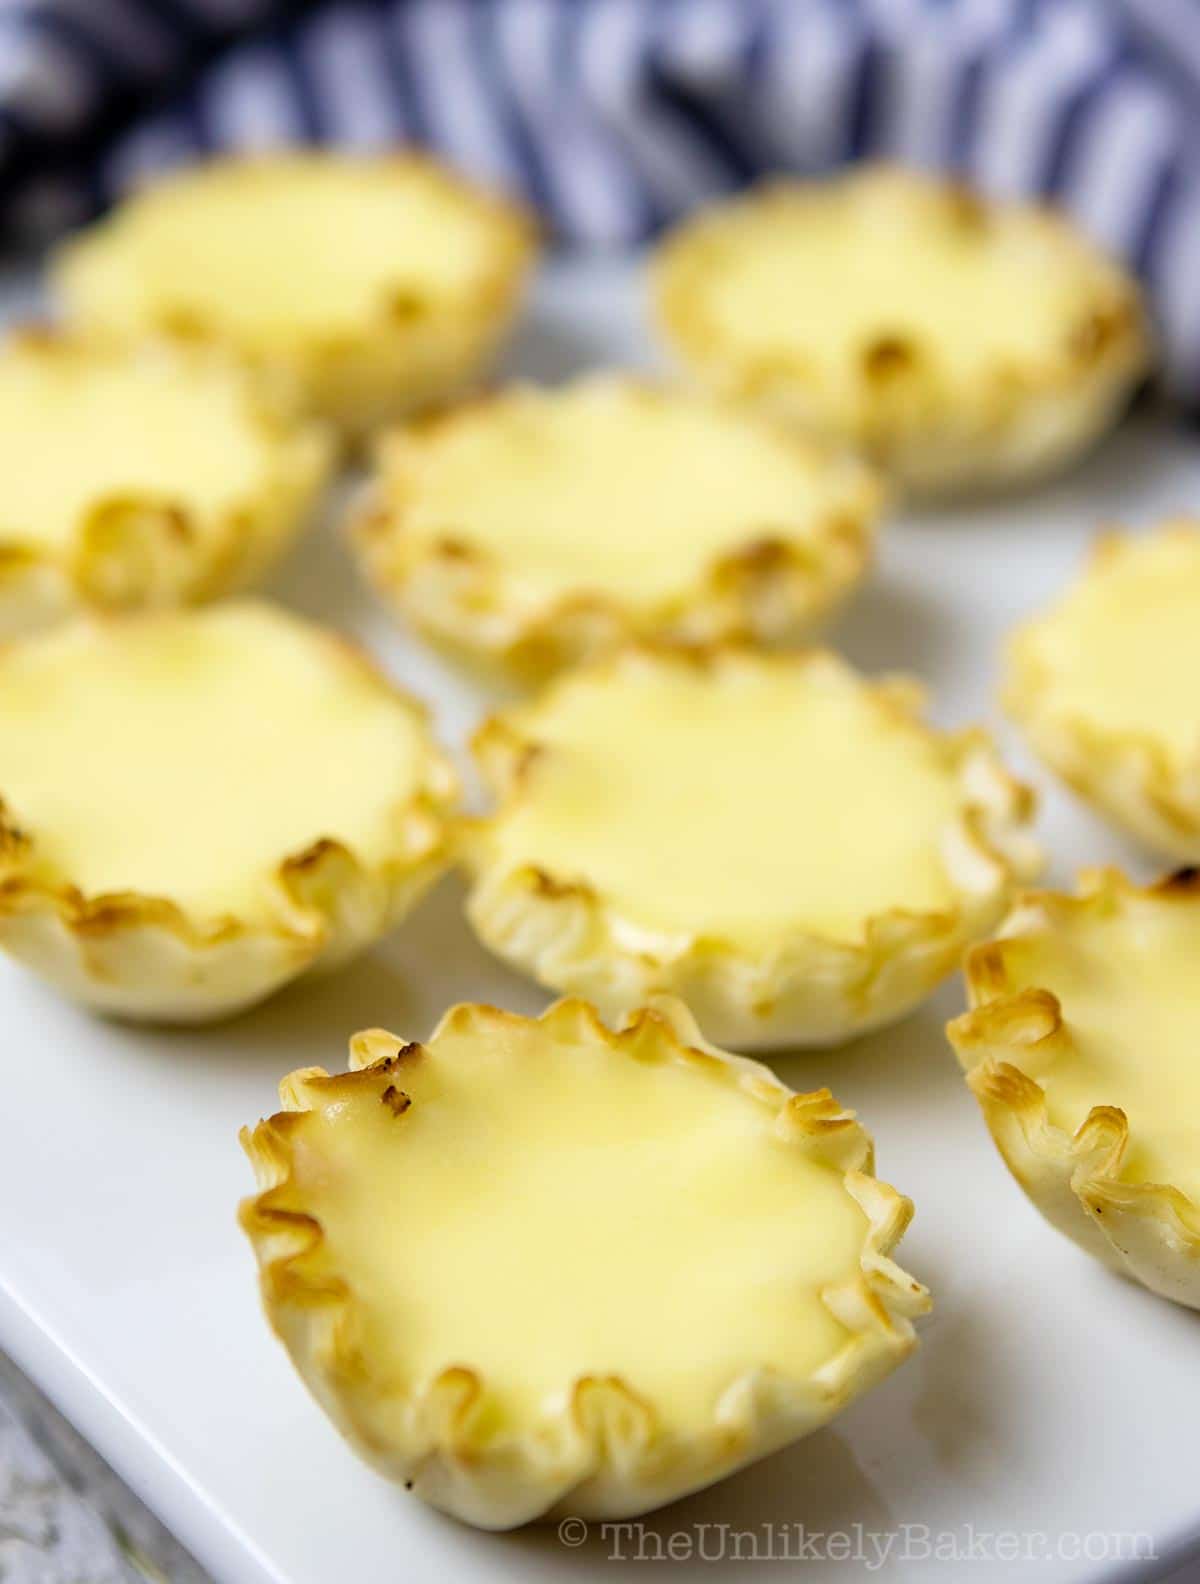
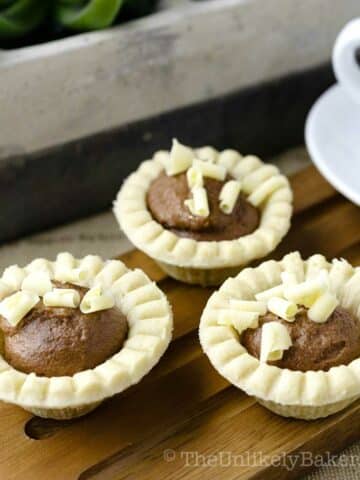
- The cheese filling makes for delicious bite-sized appetizers too. I use pre-baked phyllo shells (or similar, see the photo above), fill them with cheese custard and bake for about 10 minutes or until set. So simple and always a hit at every party. You can use wonton cups too.
(Love cheese? Make baked Boursin cheese for your next get-together! This Japanese cotton cheesecake is amazing too.)
How to make
This is such an easy recipe. It takes just about an hour from start to finish.
Ingredient notes and substitutions
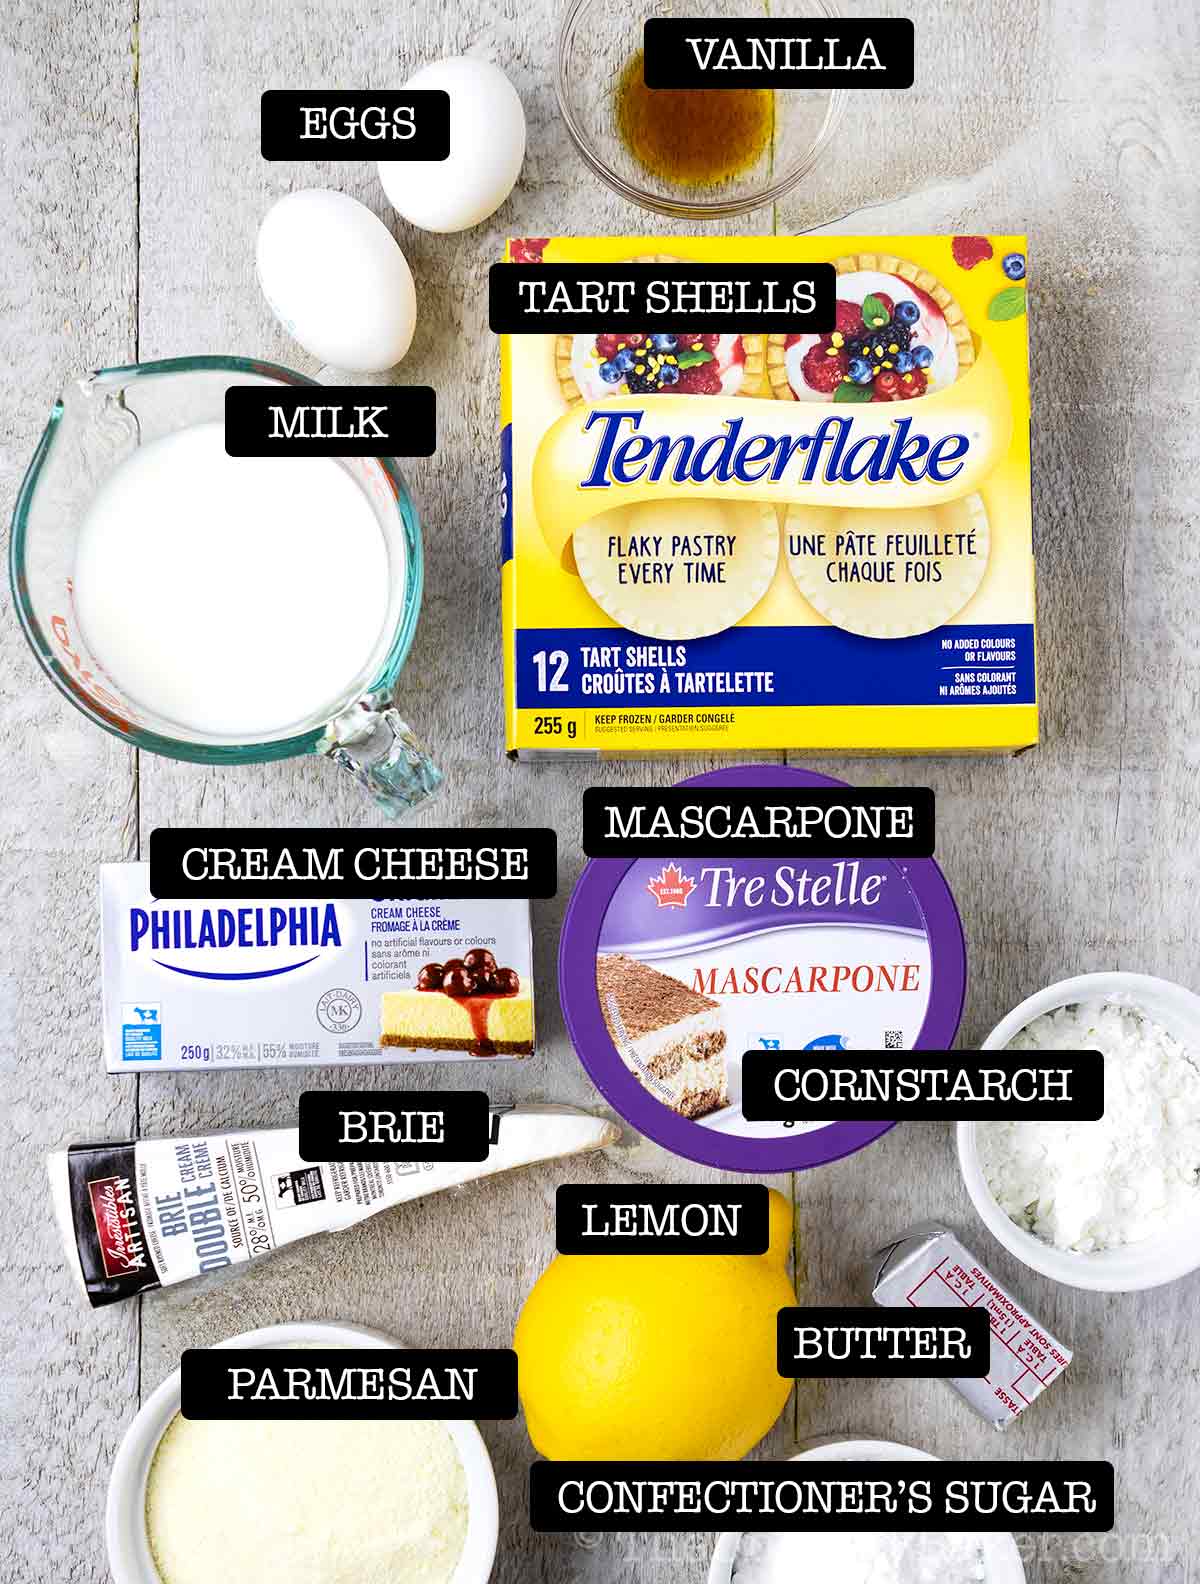
Some notes about key ingredients:
- Frozen tart shells — I use 3-inch tarts shells in this recipe. You can also use 2-inch tartlets. My only suggestion would be to buy the best kind that budget allows. I usually go with the Tenderflake brand.
- Cream cheese — you’ll need cream cheese available in blocks and not in tubs. And as much as possible, buy full-fat and not light for the richest texture and the best flavour.
- Brie — you can use either regular or double-cream brie. And although the rind can be eaten, we scrape them off in this recipe. Don’t throw them away though! You can still enjoy them with crackers. If you can’t find brie, camembert is a great alternative.
- Mascarpone — again, I’d suggest buying full-fat mascarpone for the richest, creamiest texture. If you can’t find mascarpone, you can substitute with the same amount of cream cheese.
- Parmesan cheese — parmesan cheese is what brings that wonderfully salty, savoury flavour to these tarts. I sometimes use pecorino romano too. Just note that it’s saltier and sharper than parmesan so your tarts will lean more on the savoury side.
- Milk — I usually use 1% or 2% skim milk.
- Confectioner’s sugar — also sometimes referred to as icing sugar or powdered sugar.
- Cornstarch — this is our main thickening agent.
- Lemon juice — we’ll only need the juice, not the zest. Check out these lemon recipes if you don’t want to waste that delicious lemon zest!
(Love cheese? Make some air fryer cheese crumpets!)
Baking tools
You won’t need special tools to make this recipe. Not even a mixer! Just the following:
- Measuring bowls
- Saucepan (or you can use a double-boiler if you have one)
- Wooden spoon or any spoon to stir the custard with
- Fine mesh sieve
- Baking pan
- Measuring cups and spoons
Step-by-step photos
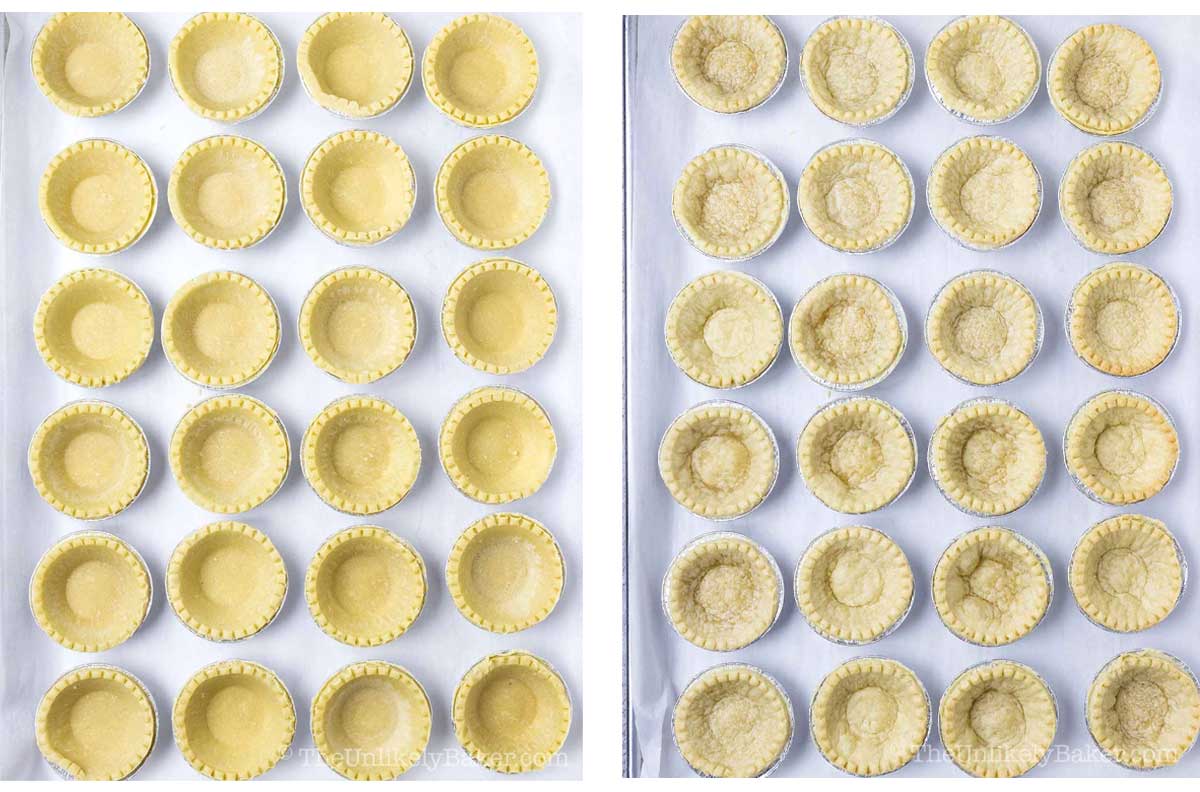
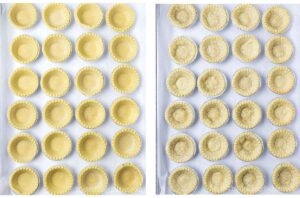
Preheat oven to 375F. Place tart shells on a baking sheet and bake for 10-12 minutes or until they turn a light golden brown. Carefully remove from their moulds and set aside to cool. Increase oven temperature to 425F.
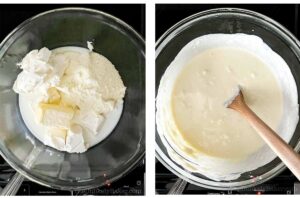
In a large bowl set atop a saucepan with simmering water (don’t allow the water to touch the bowl), add all your cheese, butter and milk. Stir until the cheese and butter are melted and no big chunks of cheese remain (little lumps are ok).
It helps to cut the cheese into portions. And I usually squish the cheese on the sides of my bowl with my wooden spoon to help things along.
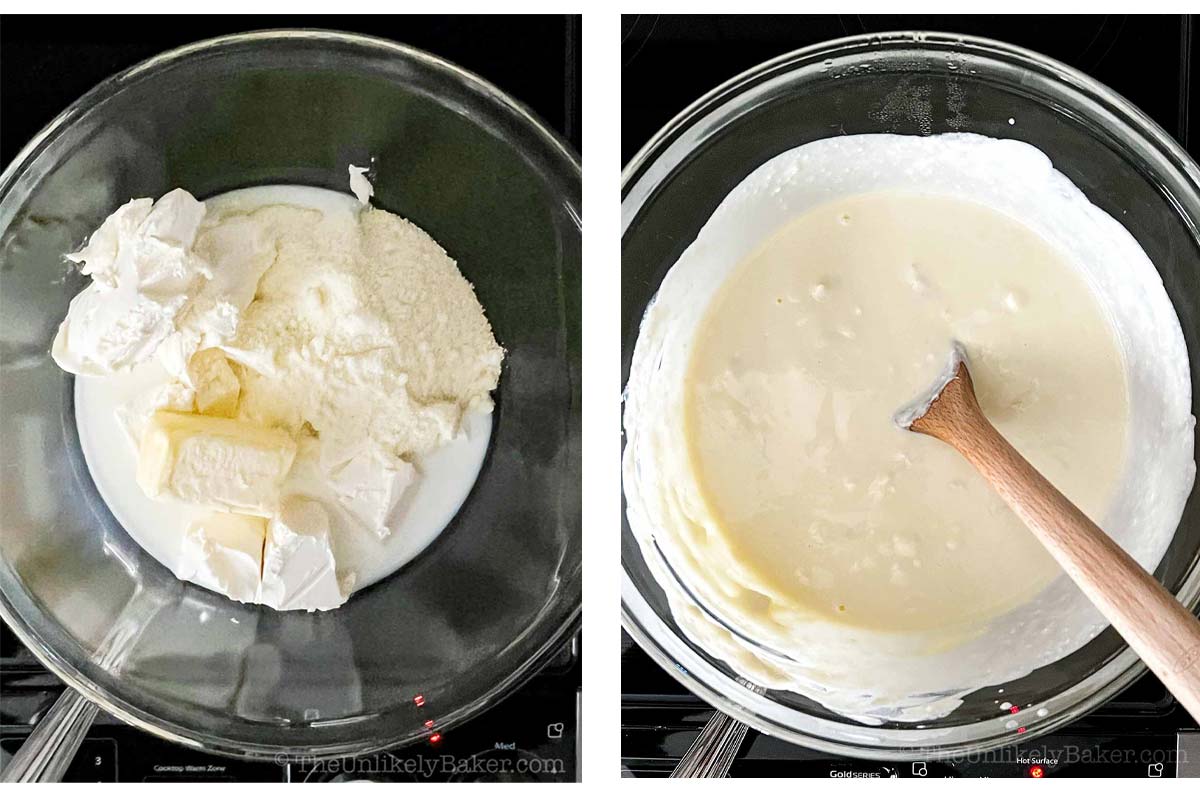
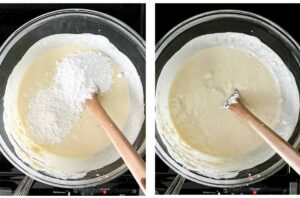
Add confectioner’s sugar and cornstarch and continue to stir until combined.

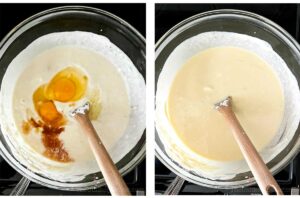
Then add eggs, lemon juice and vanilla extract. Stir until incorporated.

At this point, all you’ll need to do is continue stirring until the custard is thick and creamy.
You can add more cornstarch a little at a time to help you reach the consistency you want.
You should also taste the custard and decide if you want to add more sweetness to it. Add more confectioner’s sugar a little a time, to taste.
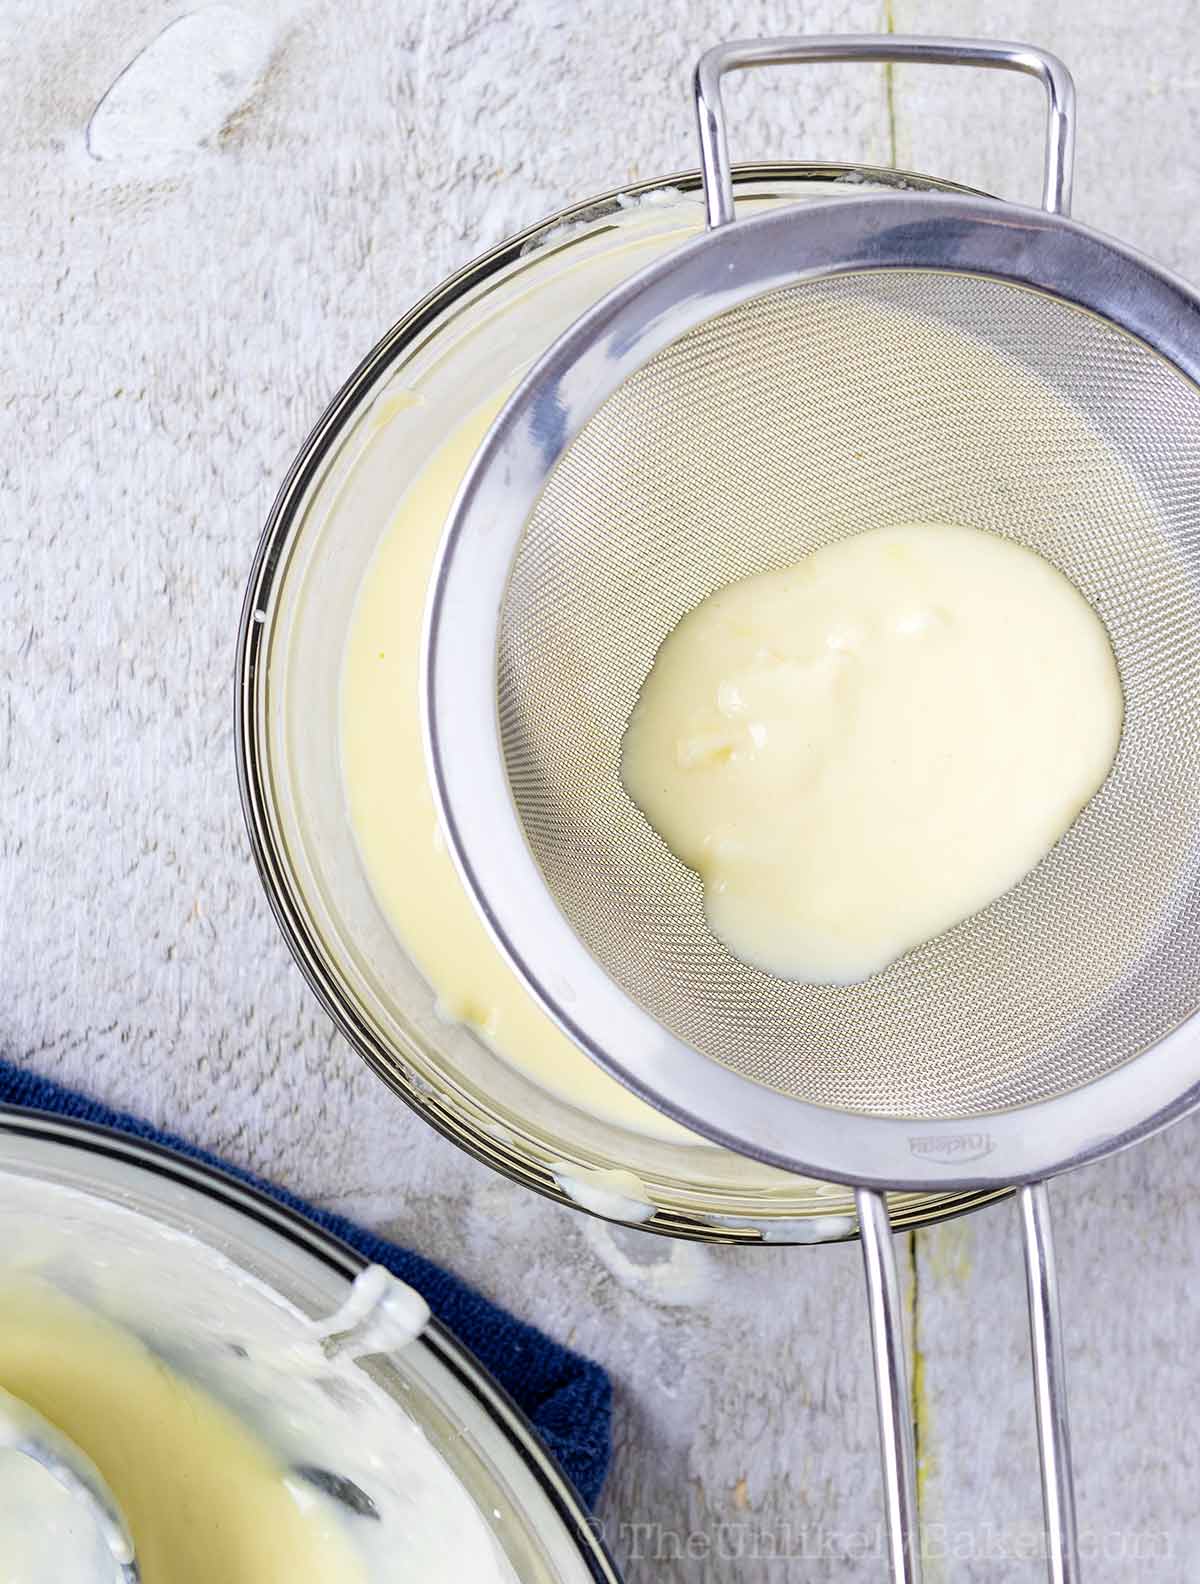
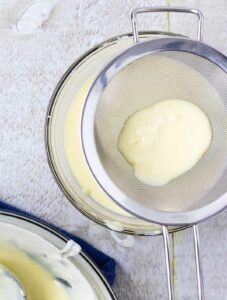
Strain the mixture into another bowl and allow to cool slightly.
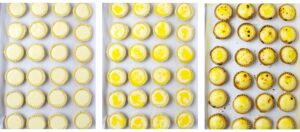
Scoop your tart filling into your pre-baked tart shells and fill to the brim. Spoon egg wash (egg yolk with milk) over each one (using a pastry brush will wreak havoc on the tops of your tarts) and bake for 10 minutes or until set.
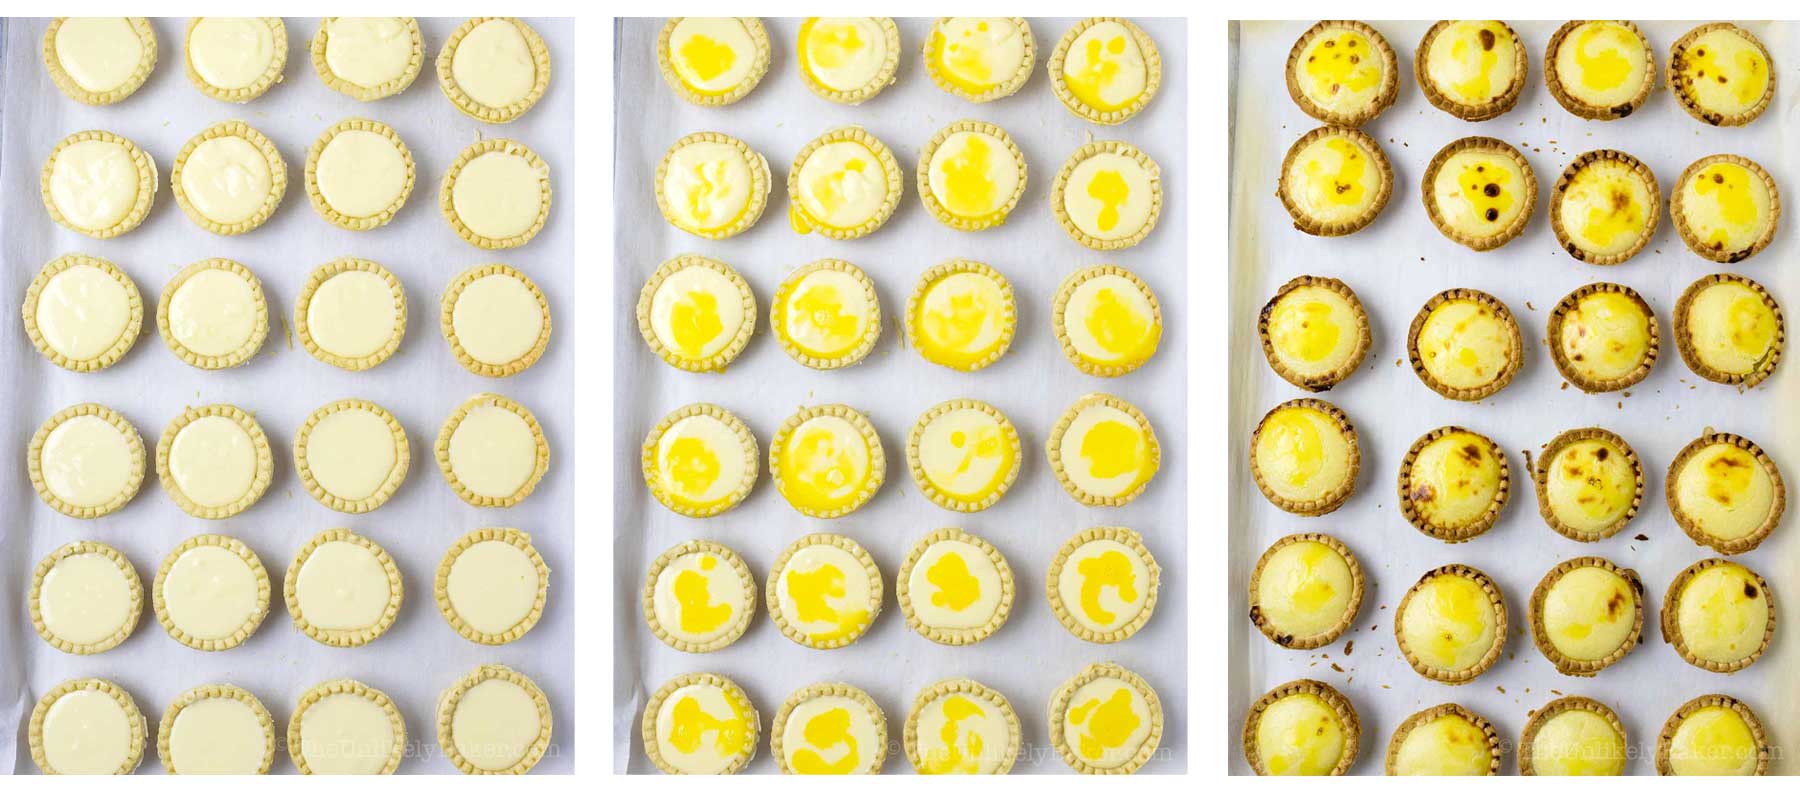
If you like a more lava-like consistency, remove from the oven once the tarts are firm on the edges but still a little wobbly in the middle (similar to cheesecake).
I prefer I firmer tart so I bake until the whole tart is set.
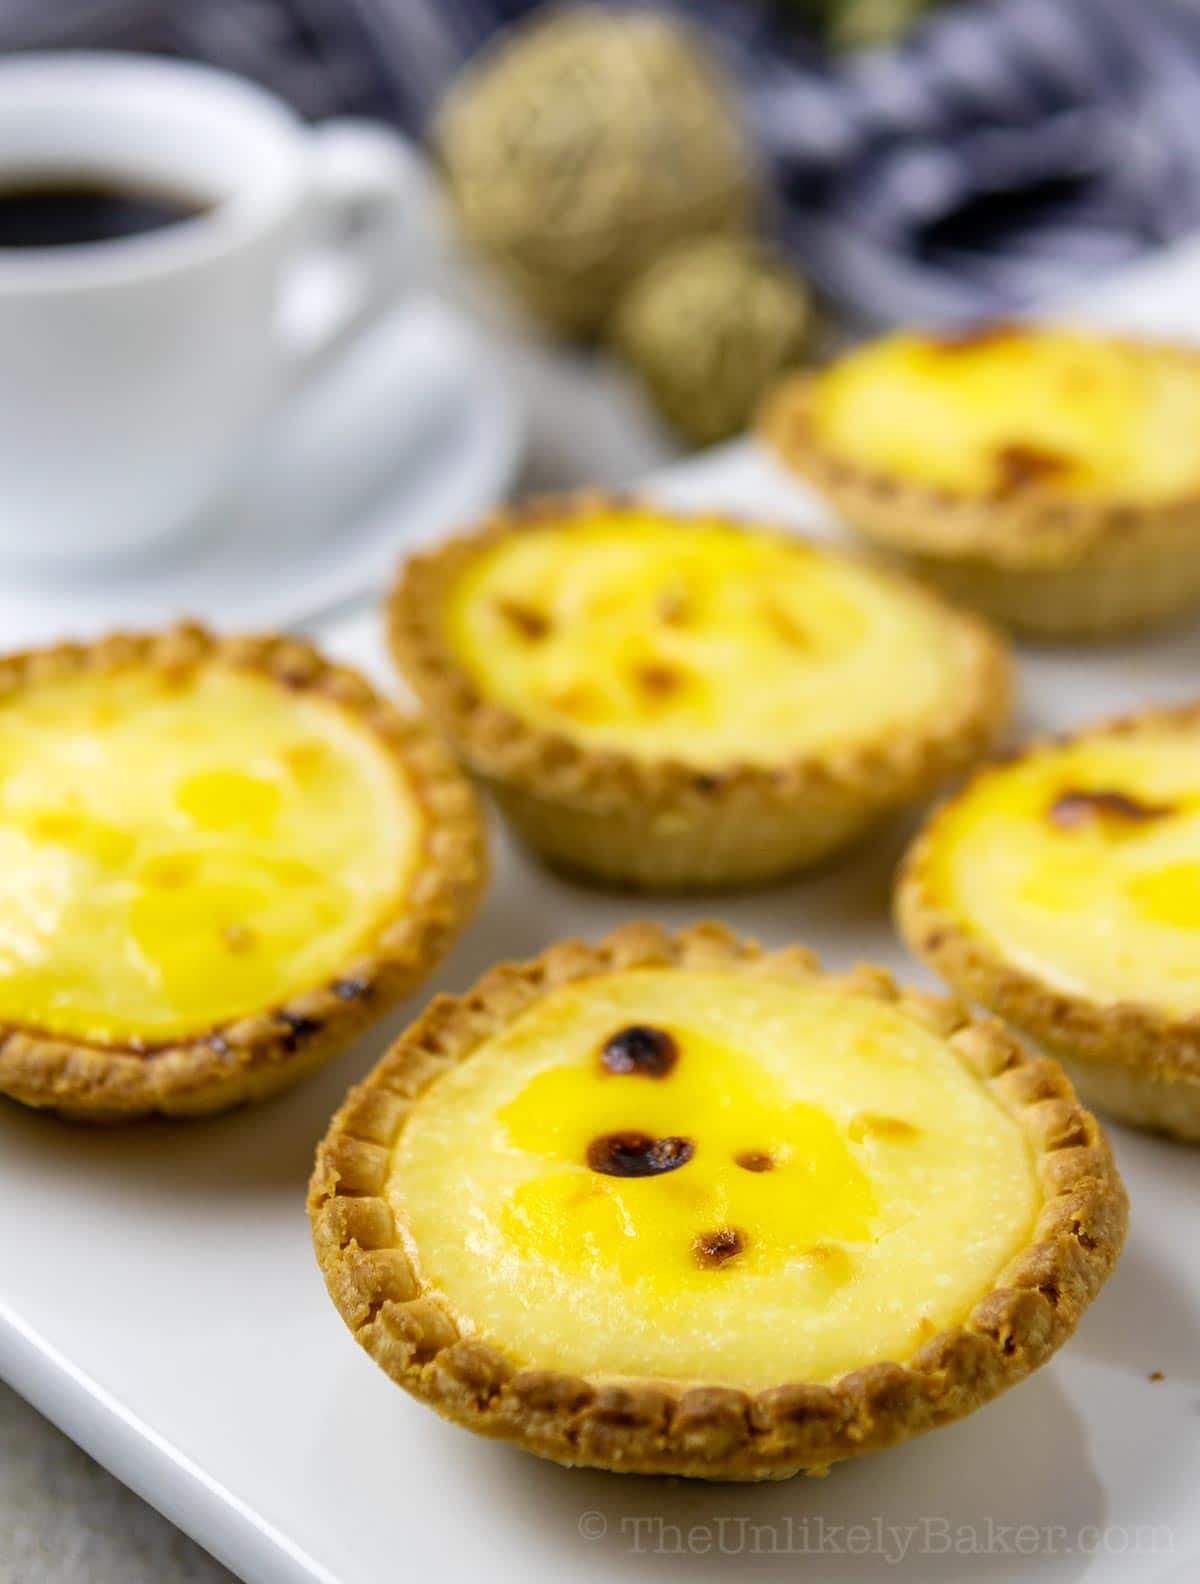
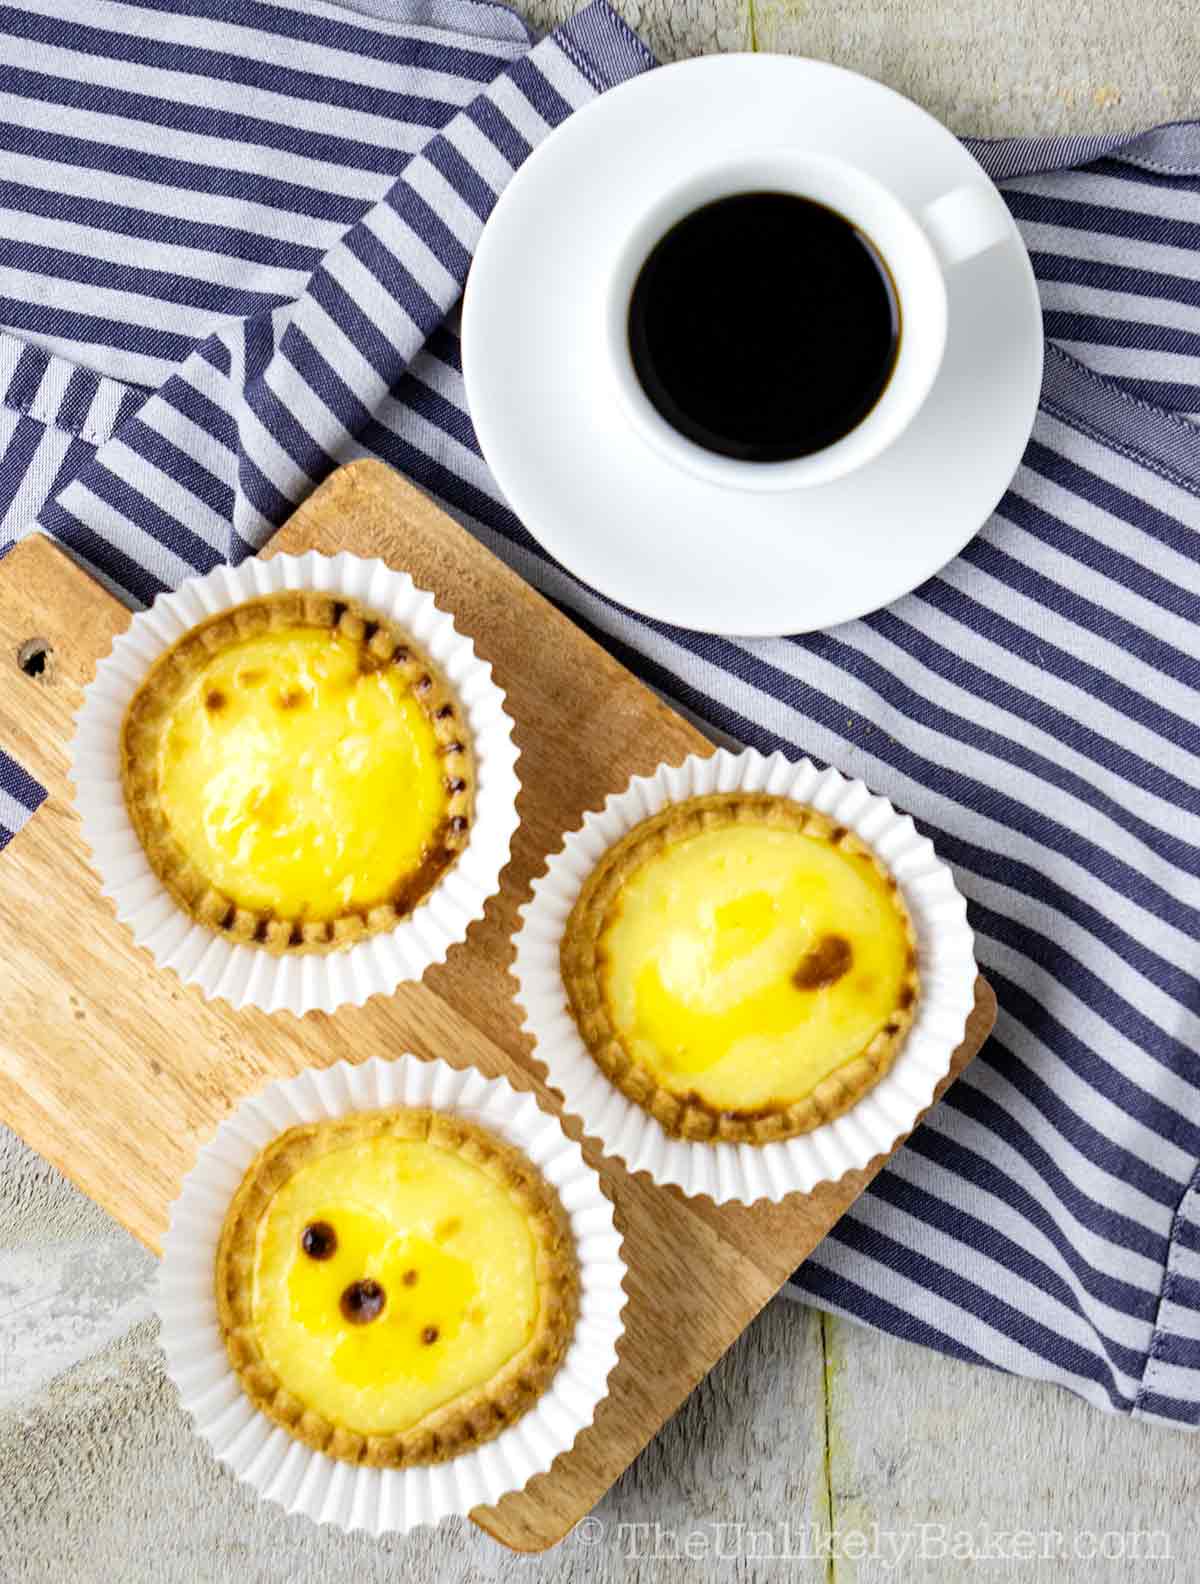
Optional: to get those nice burnt marks on top, you can either use a blow torch or broil the tarts on low for 2 minutes.
Expert baking tips
- For the creamiest cheese custard, portion your cheese so they’re easier to melt, melt them in a double boiler so there’s little chance of scrambling the eggs, and strain the mixture through a fine mesh sieve before filling your tarts.
- Pre-bake your tart shells to ensure your tart crust will be fully baked and browned, and not soggy once they’re filled. Also make sure to follow the thawing instructions printed on the package.
- Bake your tarts according to the consistency you want your cheese filling. It takes me 10 minutes to bake the filling plus 2 minutes in low broil for those nice burnt tops. This results to a slightly firmer filling. If you want a gooier tart, bake for slightly less time. Remember though that every oven is different so watch your tarts carefully. The key is not to over bake them as over-baked tarts will crack and harden unnecessarily.
Recipe FAQs
Ready-made tart shells are located in the frozen section of your supermarket.
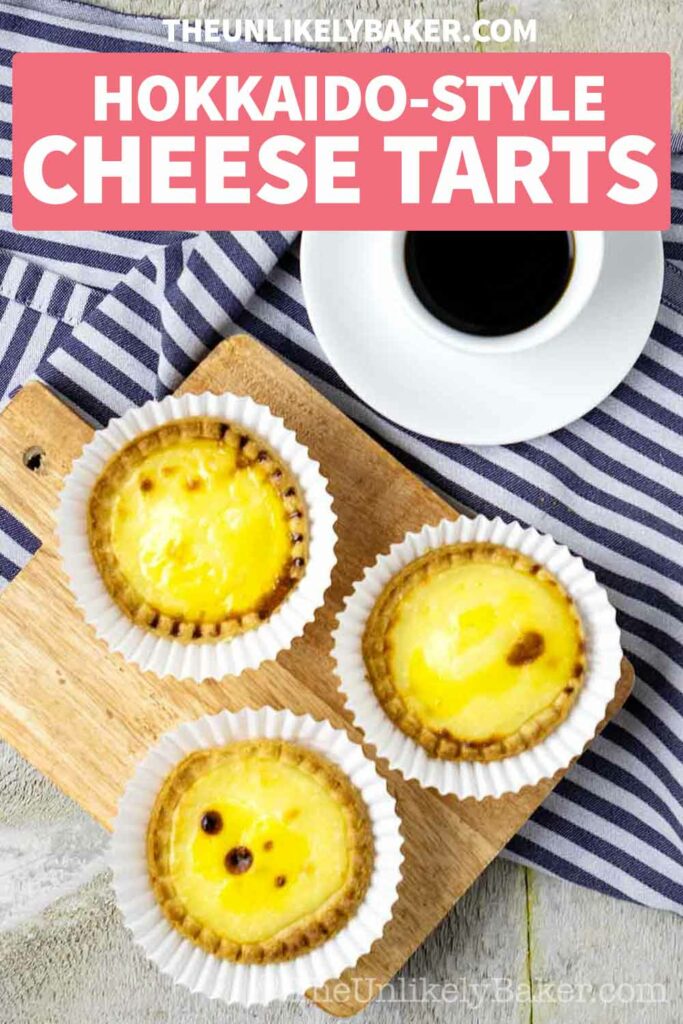
Hokkaido cheese tarts are best served warm, fresh from the oven. You can eat them as a snack, dessert, or with your coffee and tea.
You can also make them look more festive by sprinkling with a little confectioner’s sugar on top.
I keep leftover tarts in a covered container in the fridge then I just leave them out on the counter until they come down to room temperature before serving.
If you want to serve them warm, pop them in an oven toaster for a few minutes after they’ve come down to room temperature.
I don’t recommend microwaving these tarts as they will lose their structure and become soft and soggy. But if you must, don’t microwave for more than 15 seconds.
Hokkaido cheese tarts should keep up to 1 week in the fridge.
Other easy tart recipes
Love making tarts? Check these out:

Hope you love making and eating these as much as we do!
Happy baking!
Did you make Hokkaido cheese tarts? I’d love to hear all about it! Leave a comment or a star rating below. You can also tag me on Instagram or Facebook. I’d love to see your creations!
You can also find me on Pinterest, Twitter and YouTube.
Hokkaido Baked Cheese Tarts
Ingredients
For the Tart Crust:
- 30 pcs frozen 3-inch tart shells thawed according to package instructions
For the Cheese Filling:
- 1 8-oz block cream cheese cut into portions
- 4 oz brie with the rind scraped off
- 4 oz mascarpone cheese
- 4 oz grated parmesan
- ¼ cup unsalted butter
- 1 cup milk
- ½ cup confectioner's sugar may need more
- ⅓ cup cornstarch may need more
- 2 pieces large eggs
- 2 tablespoons lemon juice
- ½ teaspoon vanilla extract
For the Egg Wash:
- 1 piece egg yolk from a large egg
- 1 teaspoon milk
Instructions
For the Tart Crust:
- Preheat oven to 375F. Place tart shells on a baking sheet and bake for 10-12 minutes or until they turn a light golden brown.

- Carefully remove from their moulds and set aside to cool. Increase oven temperature to 425F.
For the Cheese Filling:
- Add all your cheese, butter and milk in a large bowl set atop a saucepan with simmering water (don’t allow the water to touch the bowl). Stir until the cheese and the butter are completely melted and no big chunks of cheese remain (little lumps are ok).
- Add confectioner's sugar and cornstarch and stir until well combined.
- Then add eggs, lemon juice and vanilla extract.
- Continue stirring until the mixture is thick and creamy (see note).
- Strain the mixture into another bowl and allow to cool slightly.

For the Egg Wash:
- In a small bowl, lightly beat egg yolk with milk and set aside until ready to assemble.
Tart Assembly:
- Transfer your custard into your cooled crusts and fill to the brim.

- Spoon egg wash over each one (see note) and bake for 10 minutes or until set.
- Optional: to get those nice burnt marks on top, you can either use a blow torch or broil the tarts on low for 2 minutes.
- Take out of the oven and serve warm.
Video
Notes
- You can add more cornstarch a little at a time to help you reach the consistency you want.
- You should also taste the custard and decide if you want to add more sweetness to it. Add more confectioner’s sugar a little a time, to taste.
- You’ll need to spoon the egg wash over the tarts because a pastry brush will stick to the surface of the tarts.
- See the post for more baking tips, FAQs and step-by-step photos.
Nutrition
Nutritional information are estimates only.
(This post was first published on The Unlikely Baker on 23 January 2017. It was updated on 11 April 2022 with a more comprehensive baking guide.)
Jamie De Luna
Would using oat milk make a big difference to the taste and consistency?
Jolina
Hi Jaime, unfortunately I don’t drink oat milk so not sure. A quick google search says it should be an ok substitute though.