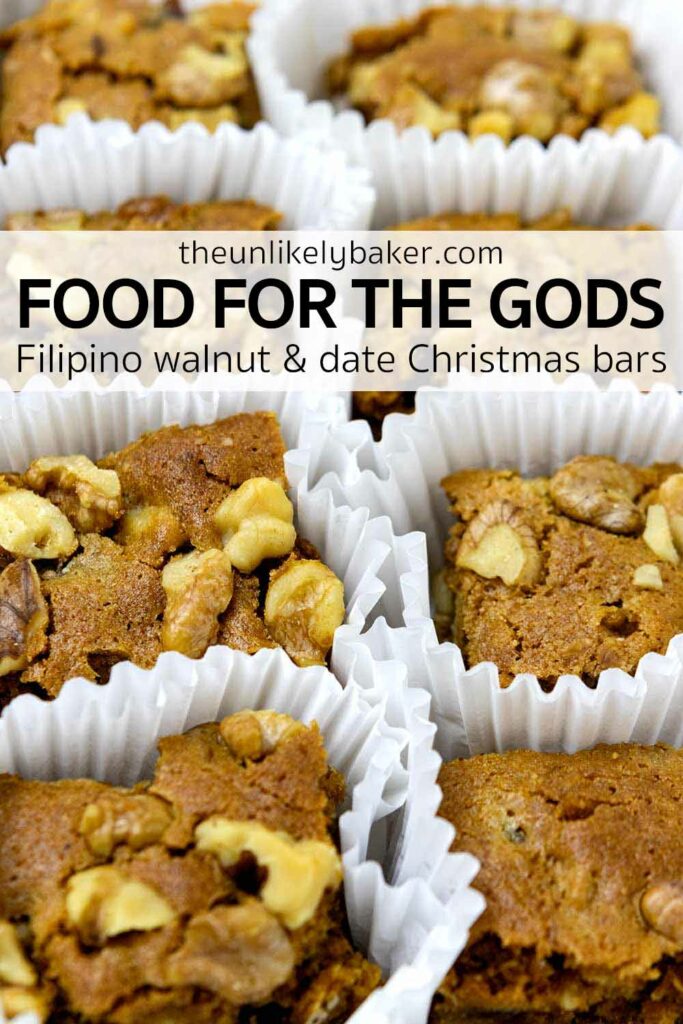
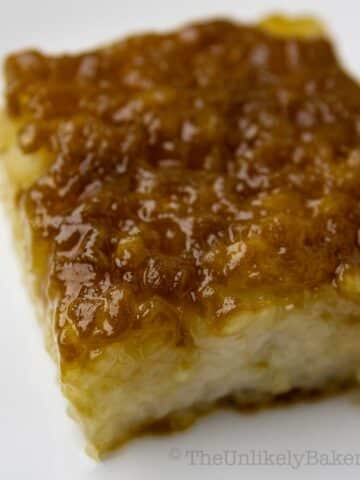
Food for the gods is a popular Filipino treat. Similar to butterscotch bars but packed with dates and walnuts, they’re easy to make, delicious to eat, and a joy to give out to family and friends during the holidays.
(Looking to do more holiday baking? Chocolate crinkles and ube crinkles are holiday favorites too!)
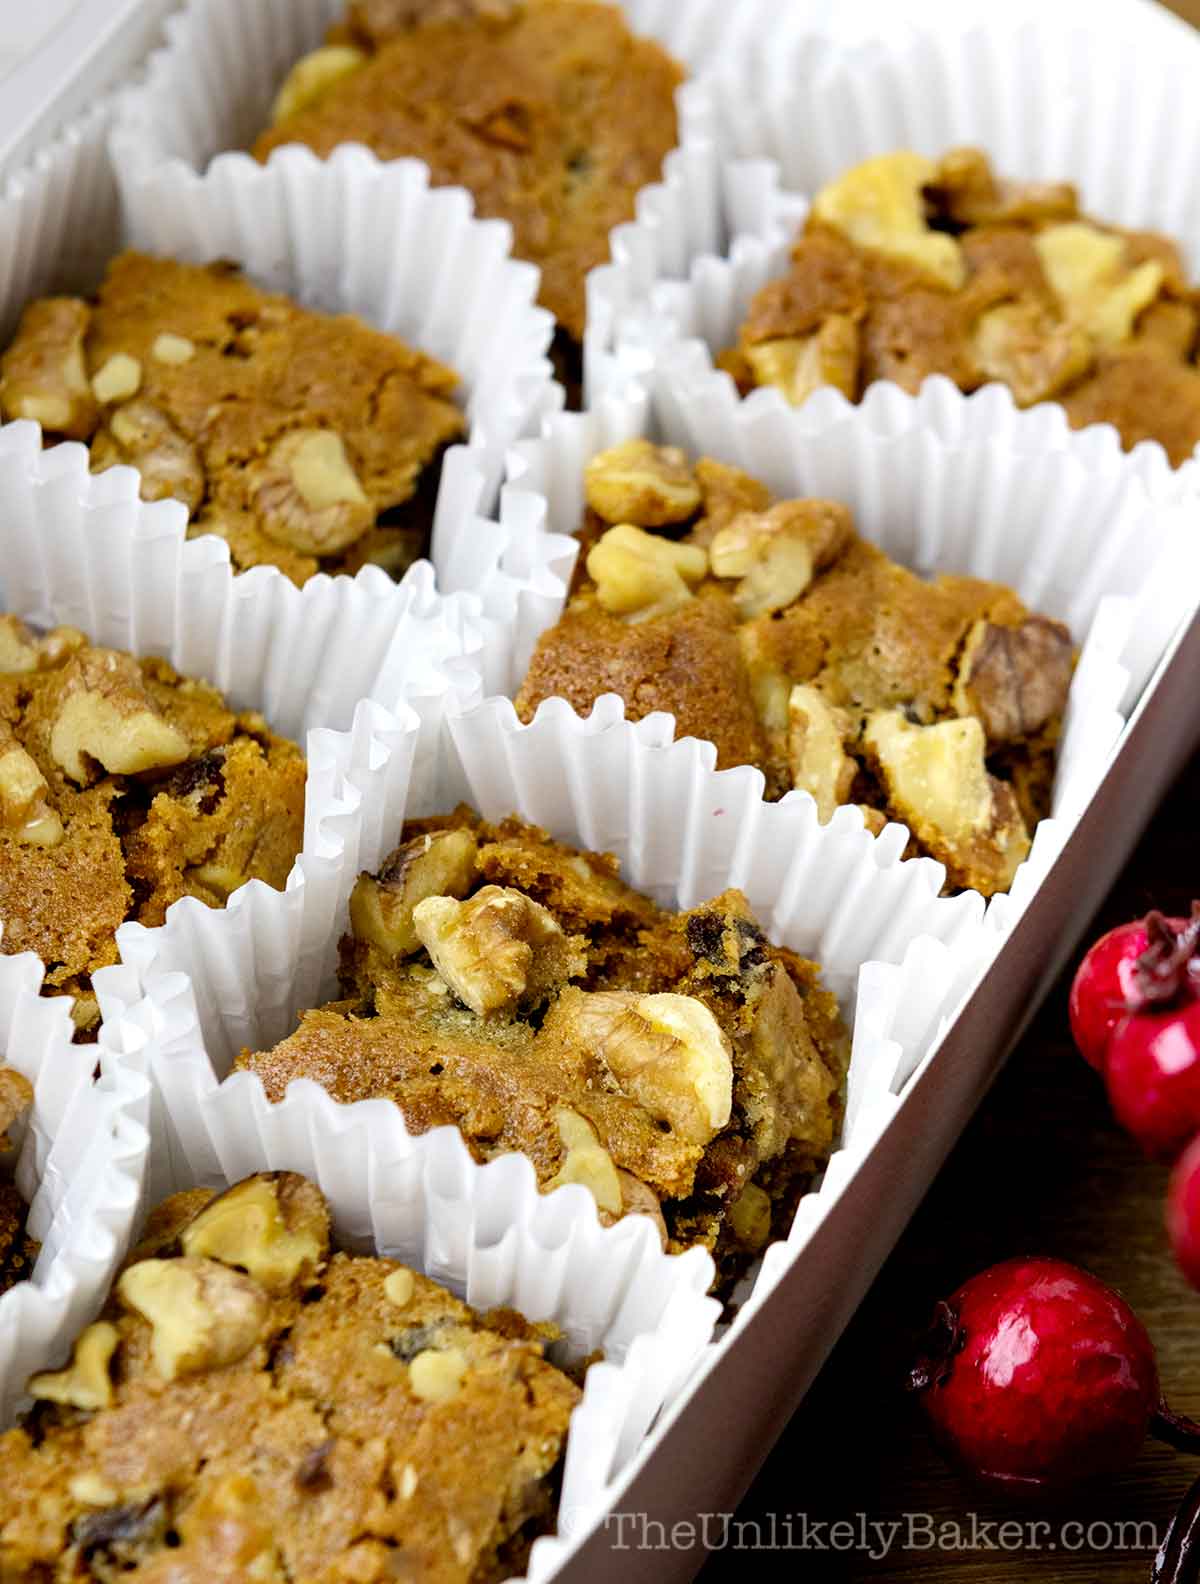
Food for the gods is a Filipino dessert that’s shrouded in mystery.
Why are they only popular around Christmastime? Why are they called food for the gods? Where did the original recipe come from?
There’s no definitive answer but one thing’s for sure — everybody who’s tasted them love them.
Chewy, sweet, with bits of walnuts in every bite, they’re unique, delicious, and a sure sign that Christmas is around the corner.
Let’s get to it.
Why you’ll love this recipe

If you grew up eating food for the gods like I did, you’ll remember that they’re usually wrapped in colorful cellophane.
I didn’t want to go through all that trouble (remember, lazy baker) so I put mine in cupcake liners instead and it made the process a whole lot simpler. Also:
- Easy and straightforward. I’ve always thought that food for the gods was a complex thing to make but I couldn’t be more wrong! This recipe is simple and easy to follow. No special techniques needed, only 10 ingredients, and it’s done baking in 30 minutes.
- No mixer needed. It’s so simple that you won’t even need a mixer. We stir everything by hand.
- One bowl. It also only uses 1 bowl. Makes for super easy cleanup!
- Very forgiving. It’s a fool-proof recipe too. Hard to go wrong wth this one.
- Delicious. Best of all, it’s so good! Not too sweet, perfect chewiness, a mouthwatering trip down memory lane. Perfect to serve or give out during the holidays.
How to make

Ingredient notes
Making this food for the gods recipe is easy.
You’ll only need 10 ingredients, a lot of which are pantry staples like unsalted butter, eggs, all purpose flour, brown sugar, baking powder, baking soda and salt.
Some things to note:
- Maple syrup — I use maple syrup when making this recipe but you can also use the same amount of honey.
- Walnuts — traditionally, food for the gods are made with chopped walnut but you can use any nut you like, such as cashews and even pistachios. Just note that these nuts will lend a slightly different flavor to your bars.
- Dates — dates add sweetness, flavor, moisture and texture to these bars. I use pitted Medjool dates.
(Got extra walnuts? Make some delicious pakhlava!)
Baking tools
Like I mentioned, we stir everything by hand so we won’t be using an electric mixer in this recipe.
You’ll need a spoon or a spatula though — not a whisk — because we don’t want to incorporate too much air into the batter. Food for the gods is supposed to be packed and dense.
You will also need a 9×9 inch baking pan.
Step-by-step photos
Preheat oven to 350F. Grease a 9×9 inch pan then line with parchment paper with a slight overhang on each side.

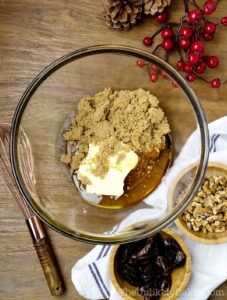
Place butter, brown sugar and maple syrup in a large mixing bowl.
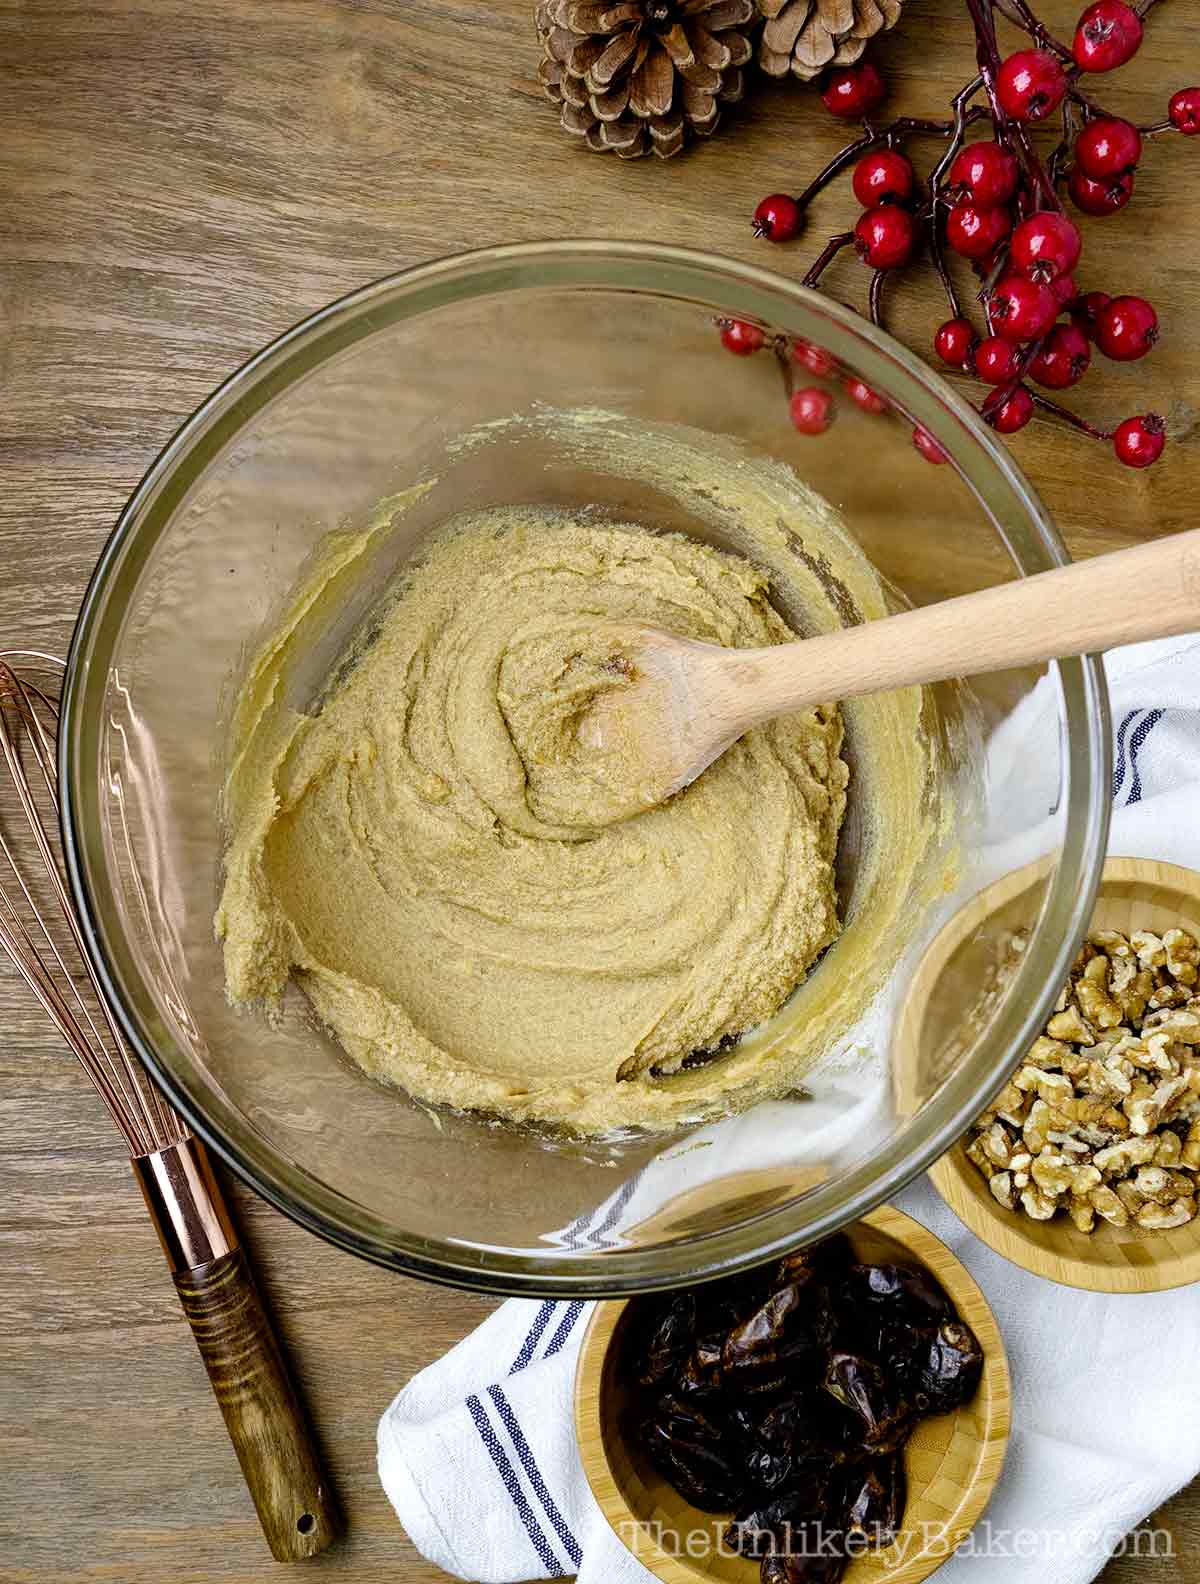
Stir until combined.

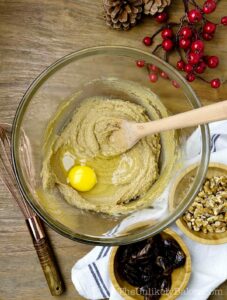
Add the eggs one at a time.
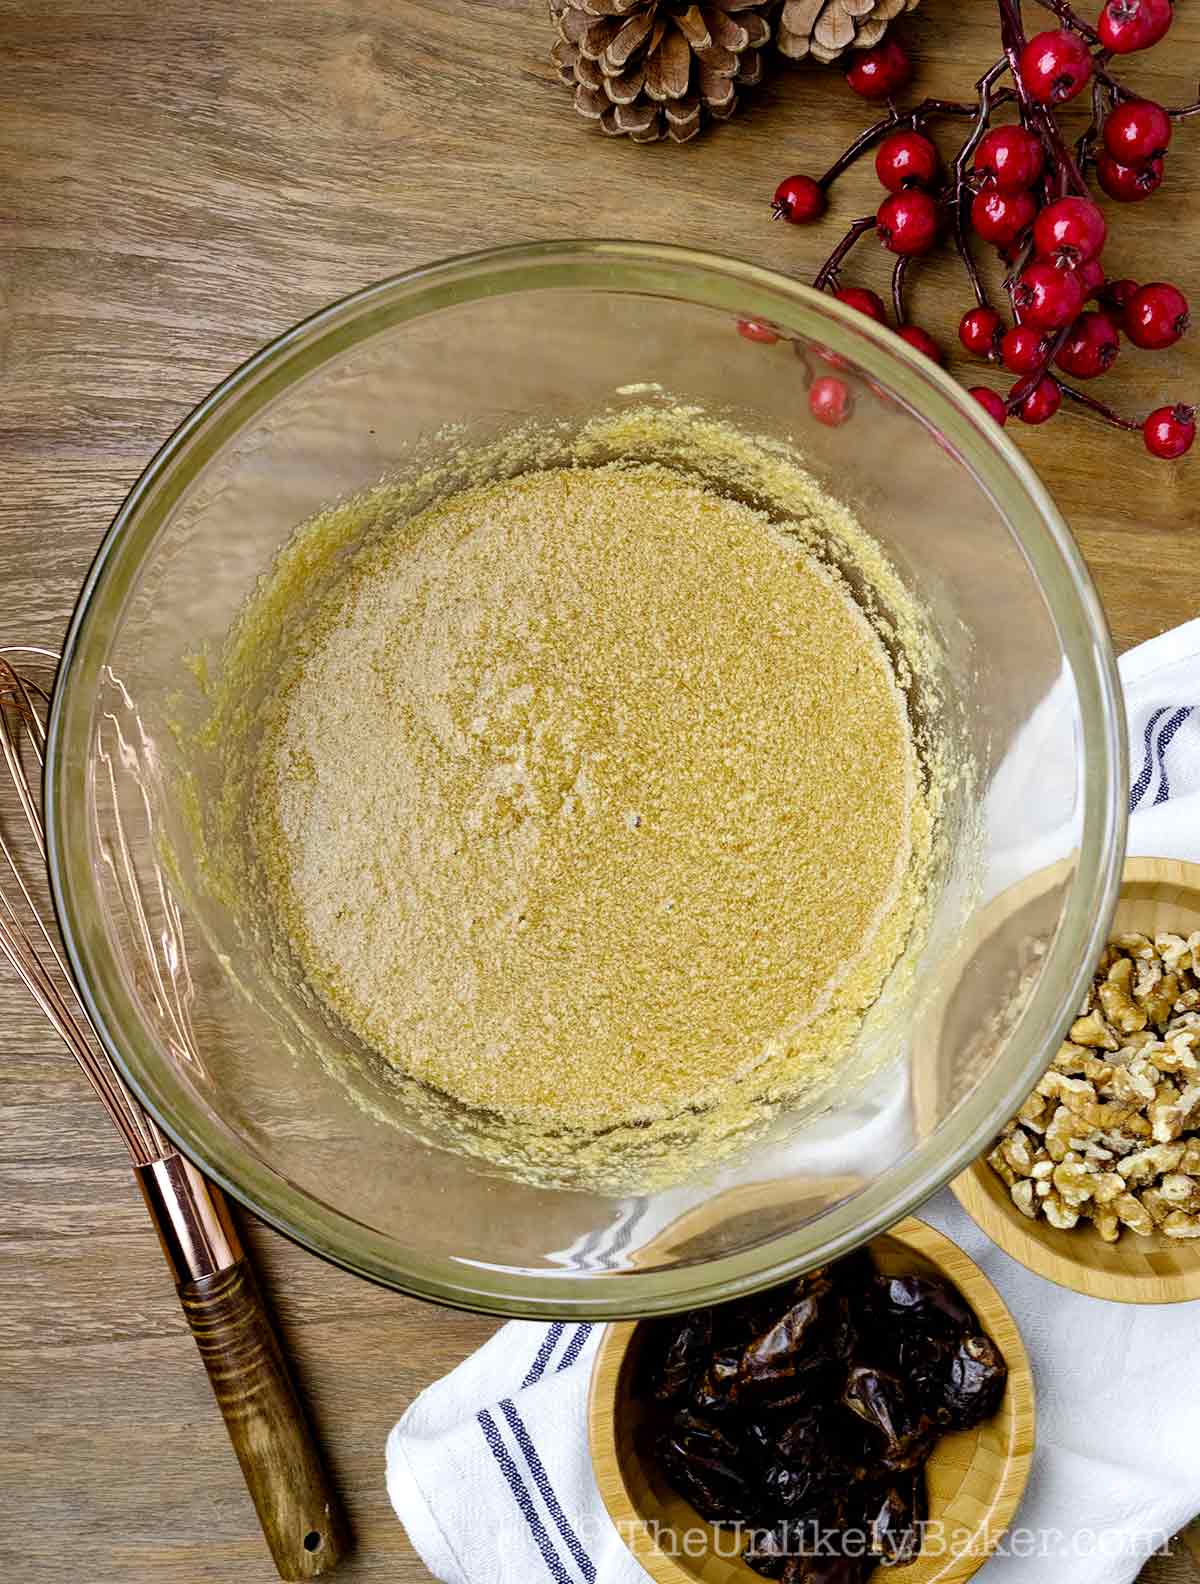
Make sure each addition is incorporated.
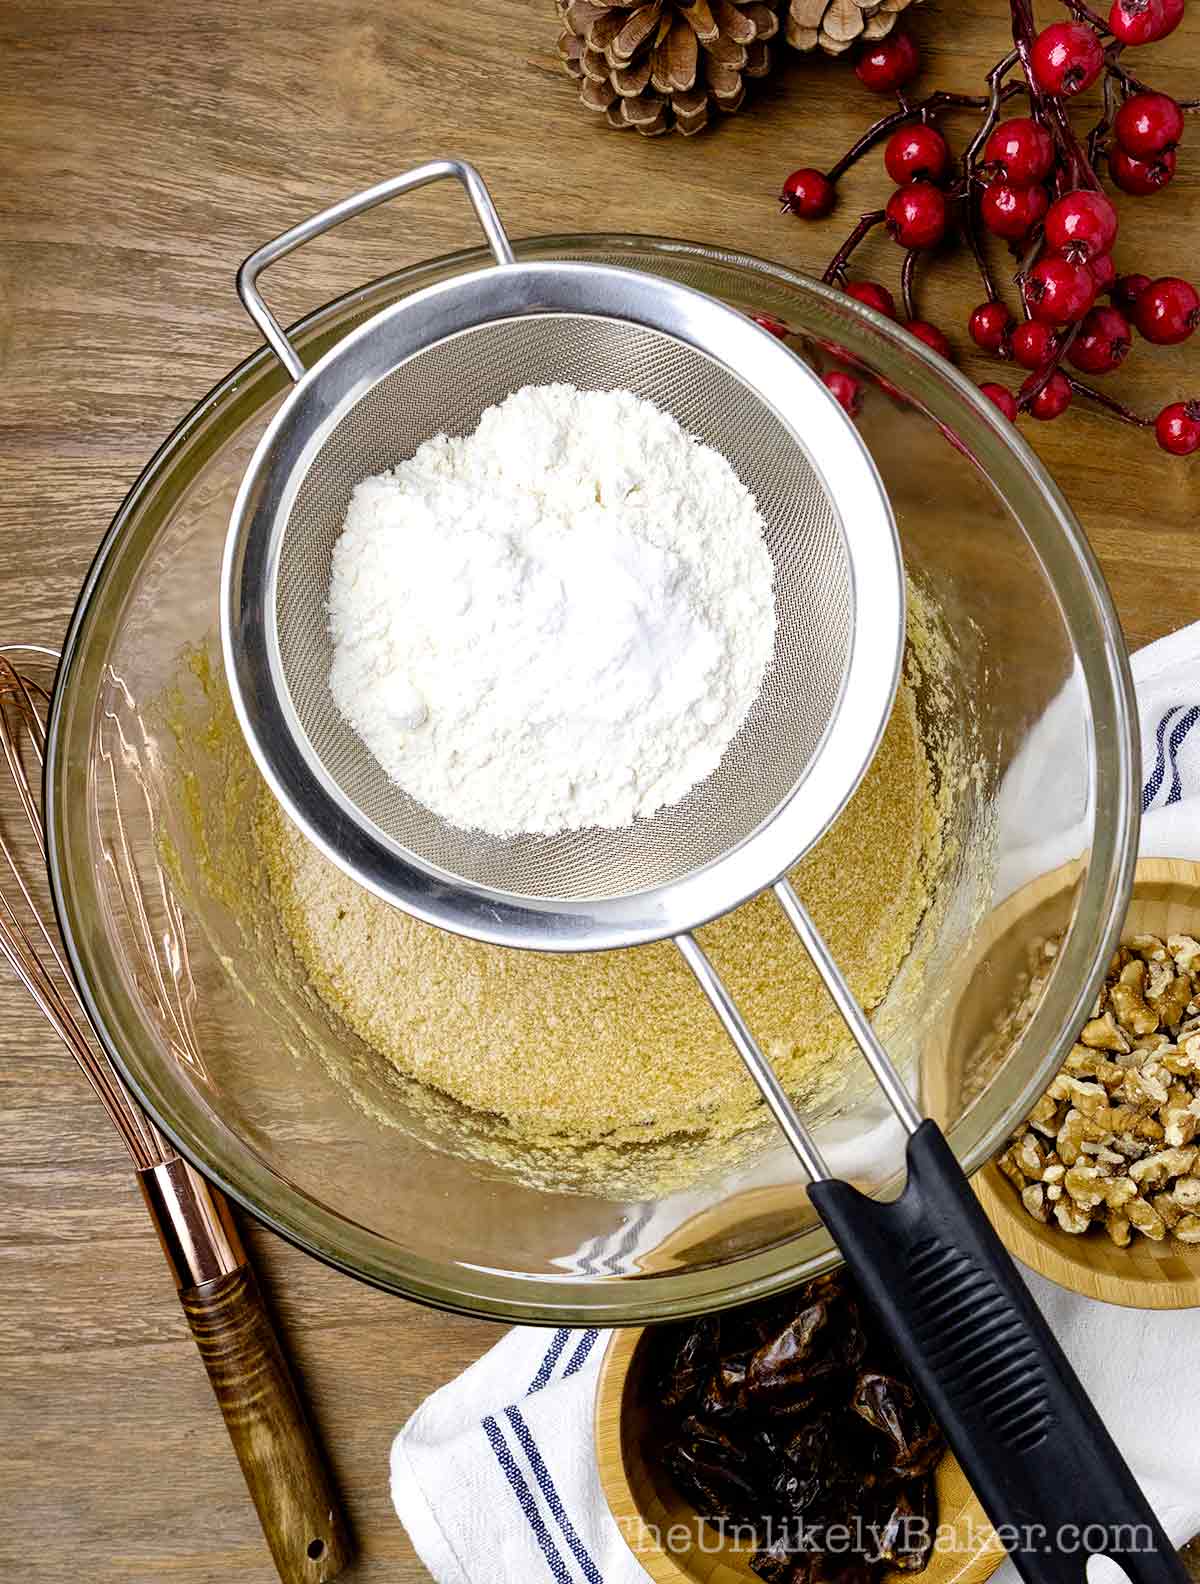
Sift flour, baking powder, baking soda and salt directly into the batter.

Fold just until combined.
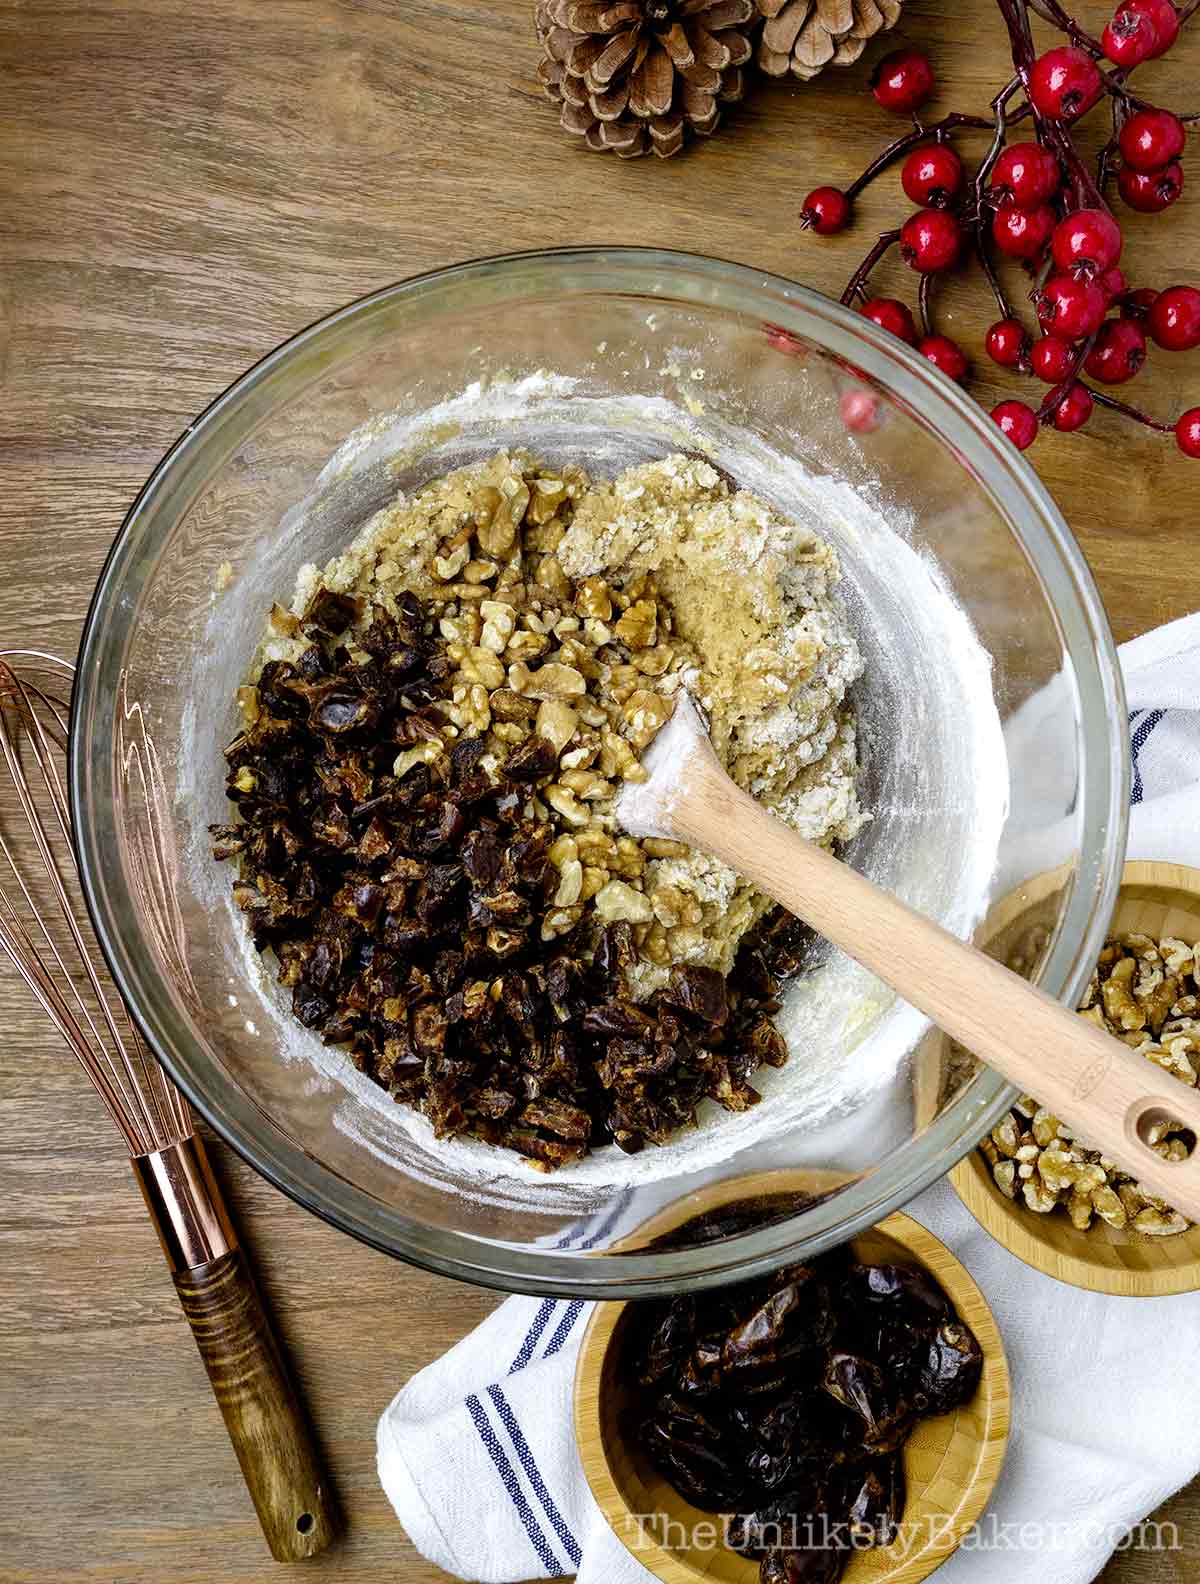
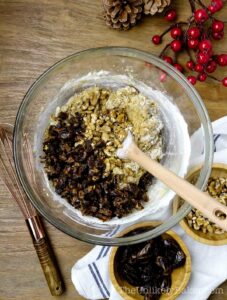
Add walnuts (reserve about half a cup for the topping) and dates.
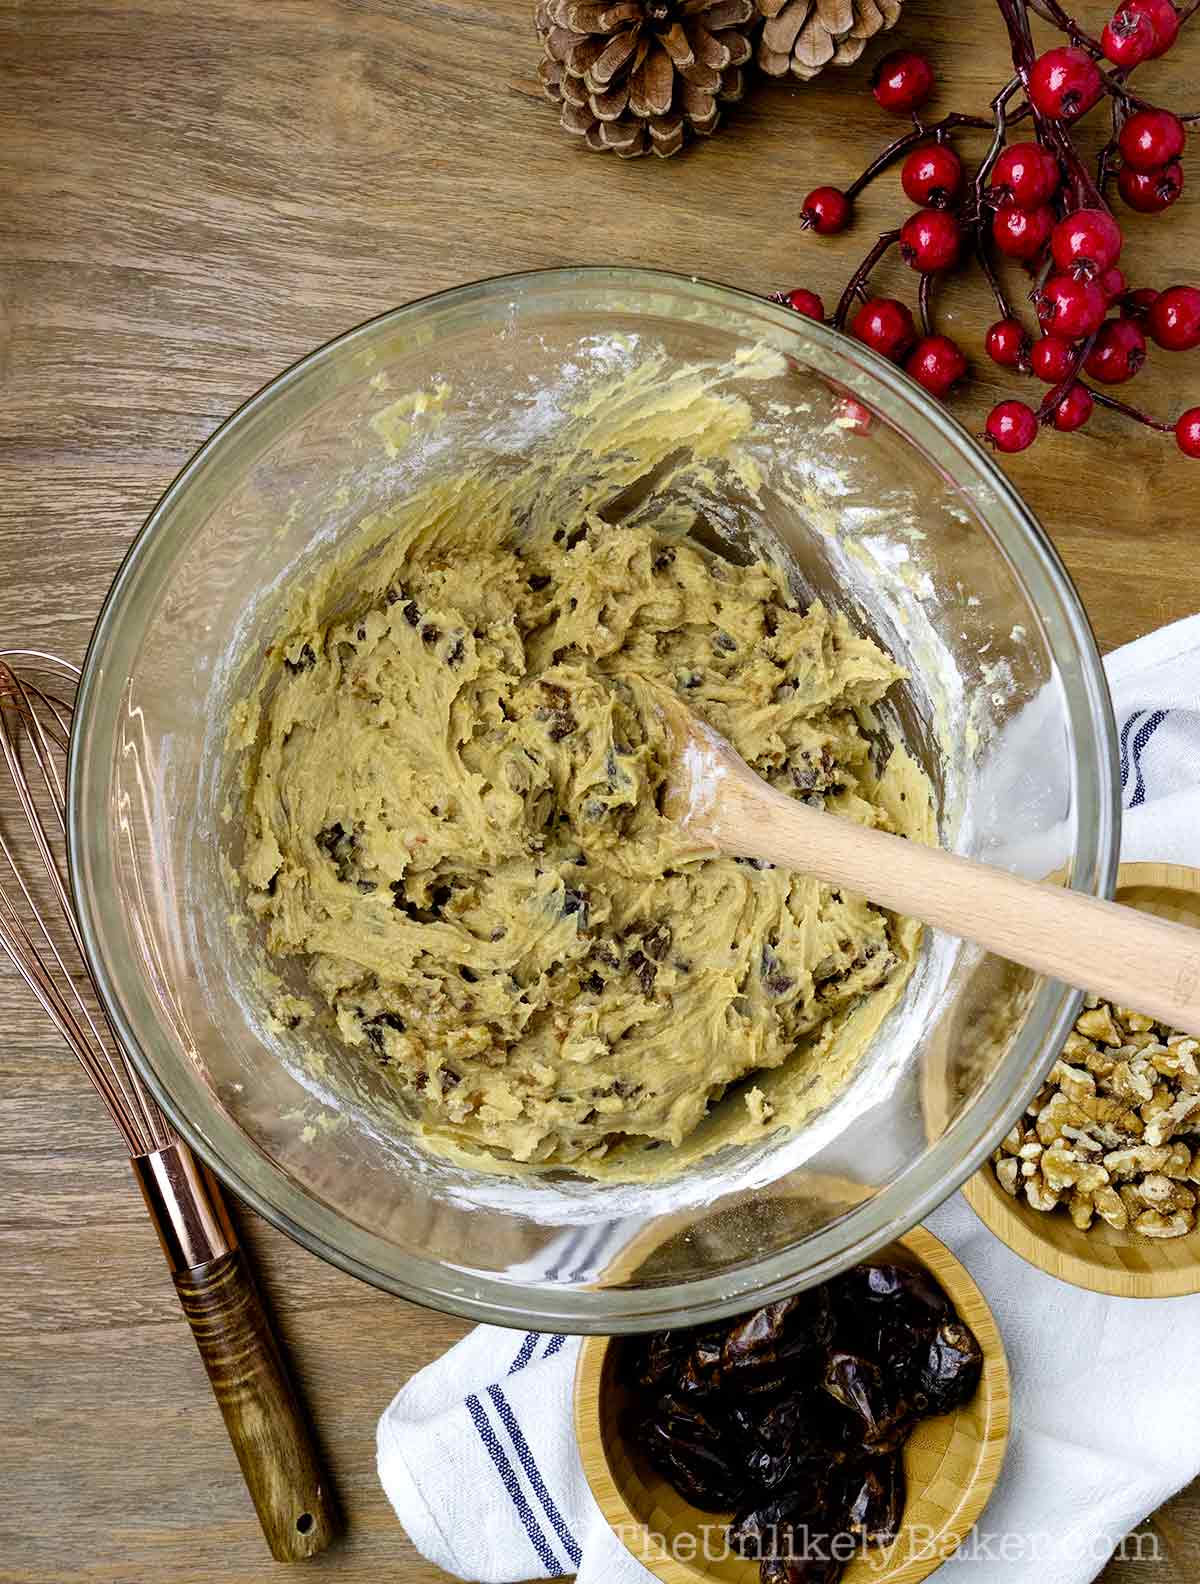
Stir until evenly blended.

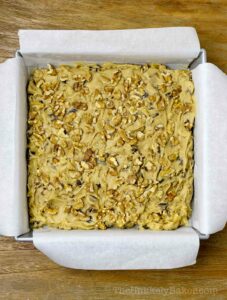
Transfer batter into prepared pan.
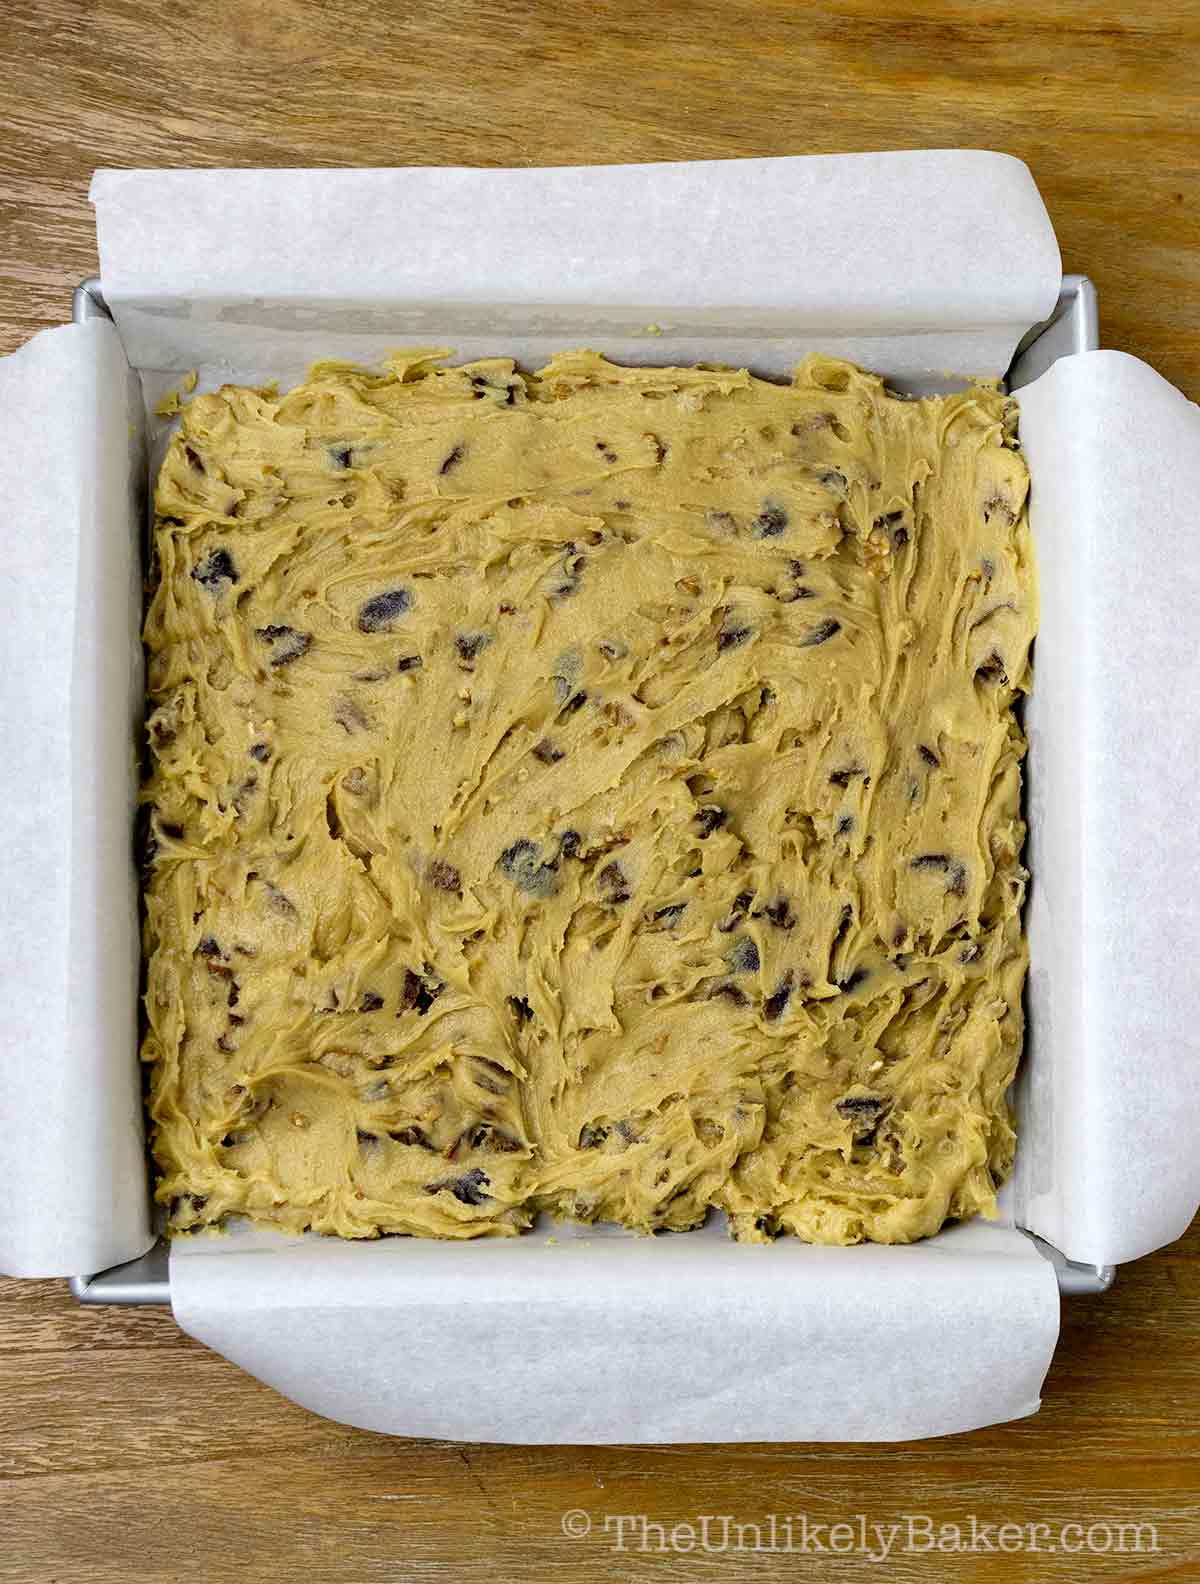
Spread out evenly. The batter will be sticky!

Top with walnuts and gently press down so the nuts sink into the batter.

Bake for 30-35 minutes or until a toothpick inserted in the center comes out clean.
Allow to cool in the pan for a few minutes before transferring to a wire rack to cool completely.
Slice into squares and enjoy!
Expert baking tips

Easy, right?
Making food for the gods is similar to making blondies. So for a perfect batch every time, remember to:
- Use room temperature ingredients. Room temperature ingredients are easier to incorporate and help you avoid over-mixing the batter.
- Measure flour correctly. Adding too much flour would lead to dry, cakey bars so it’s important to put in the correct amount. I always use a kitchen scale when baking and it has helped me improve as a baker tremendously!
- Don’t over-mix batter. Over-mixing can lead to cakey bars as well. So ensure you fold only just until the flour is combined into the wet ingredients. Also, use a wooden spoon or a spatula — not a whisk — because we don’t want to incorporate too much air into the batter. Food for the gods is supposed to be packed and dense.
- Bake at the correct temperature. It’s also very important to bake at the correct temperature. Some ovens run hot, some are too cool. I use an oven thermometer to make sure my oven is at the correct temperature at all times.
- Don’t over-bake. It’s better to underbake than over-bake food for the gods. It’s ok to take them out of the oven very slightly underbaked because they will continue to cook and set in the pan but if you over-bake them, you will end up with dry and tough bars.
Recipe FAQs

Dates play a big part in making food for the gods chewy. Also make sure not to over-bake them.
To keep these bars tender and moist, remember to add the correct amount of flour, to stir just until blended, and to not over-bake.
Food for the gods last up to a week in an airtight container on your counter and up to a month in the fridge.
If you’re giving them away as gifts, you can place them on a cupcake liner then put them in a box like I did, or wrap each one in food-grade cellophane.
Other Filipino holiday favorites
Looking to add to your noche buena menu? Check these out:
Happy baking!
Did you make this recipe of food for the gods? I’d love to hear all about it!Leave a comment or a star rating below. You can also tag me on Instagram or Facebook. I’d love to see your creations!
You can also find me on Pinterest, Twitter and YouTube.

Food for the Gods
Equipment
Ingredients
- ½ cup unsalted butter room temperature
- ¾ cup brown sugar tightly packed
- ½ cup maple syrup can also use honey
- 2 pieces large eggs room temperature
- 2 cups all purpose flour
- 1 tsp baking powder
- 1 tsp baking soda
- ¼ tsp salt
- 1½ cups walnuts chopped
- 1 cup pitted dates chopped
Instructions
- Preheat oven to 350F. Grease a 9×9 inch pan then line with parchment paper with a slight overhang on each side.
- Place butter, brown sugar and maple syrup in a large mixing bowl. Stir until combined.½ cup unsalted butter, ¾ cup brown sugar, ½ cup maple syrup

- Add the eggs one at a time, making sure each addition is incorporated.2 pieces large eggs

- Sift flour, baking powder, baking soda and salt directly into the batter. Fold just until combined.2 cups all purpose flour , 1 tsp baking powder, 1 tsp baking soda, ¼ tsp salt

- Add walnuts (reserve about half a cup for the topping) and dates. Stir until evenly blended.1½ cups walnuts, 1 cup pitted dates

- Transfer batter into prepared pan and spread out evenly. The batter will be sticky.

- Top with walnuts and gently press down so the nuts sink ever so slightly into the batter.

- Bake for 30-35 minutes or until a toothpick inserted in the center comes out clean.

- Allow to cool in the pan for a few minutes before transferring to a wire rack to cool completely. Slice into squares and enjoy!

Video
Notes
- The yield depends on how big or small you slice your bars. The estimated nutrition information is based on 36 bars.
- See post for baking tips, FAQs and step-by-step photos.
Nutrition
Nutritional information are estimates only.






Bea
I love this recipe! I grew up enjoying food for the goods too and this is my first time making them and they came out perfect.
Jolina
That’s awesome Bea! I’m making some myself for Christmas 🙂
Cathy
My mother used to make these and sell them for Christmas. Sadly never got to ask her for the recipe so I’m very happy to make these! So good and reminds me of Christmas in the Philippines.
Jolina
So happy to hear that Cathy! Enjoy!