Learn how to make traditional pandesal with this simple and easy-to-follow recipe. Plus, the secrets to making the best pandesal every time.
(If you prefer your morning bread a little jazzed up, try this soft cheesy ensaymada, ube pandesal or treat yourself to Spanish bread. They’re all delicious!)
Are you a Filipino living abroad like me? Then you’re probably thinking why bother making pandesal at home when you can get them pretty easily at the Asian supermarket or places like Valerio’s or Goldilocks.
One reason: nothing beats the smell of freshly baked pandesal filling your kitchen.
And it’s not just any smell. It’s THE smell.
One sniff of freshly baked pandesal and I’m back at my nanay’s dining table, eating pandesal filled with Lily’s Peanut Butter or coco jam that she prepared for me after school.
Or it’s a Sunday morning and I’m happily eating pandesal for breakfast (out of those little brown paper bags) that my mom bought from the local panaderia or bakery after church.
Not a Filipino? Then you are in for a treat.
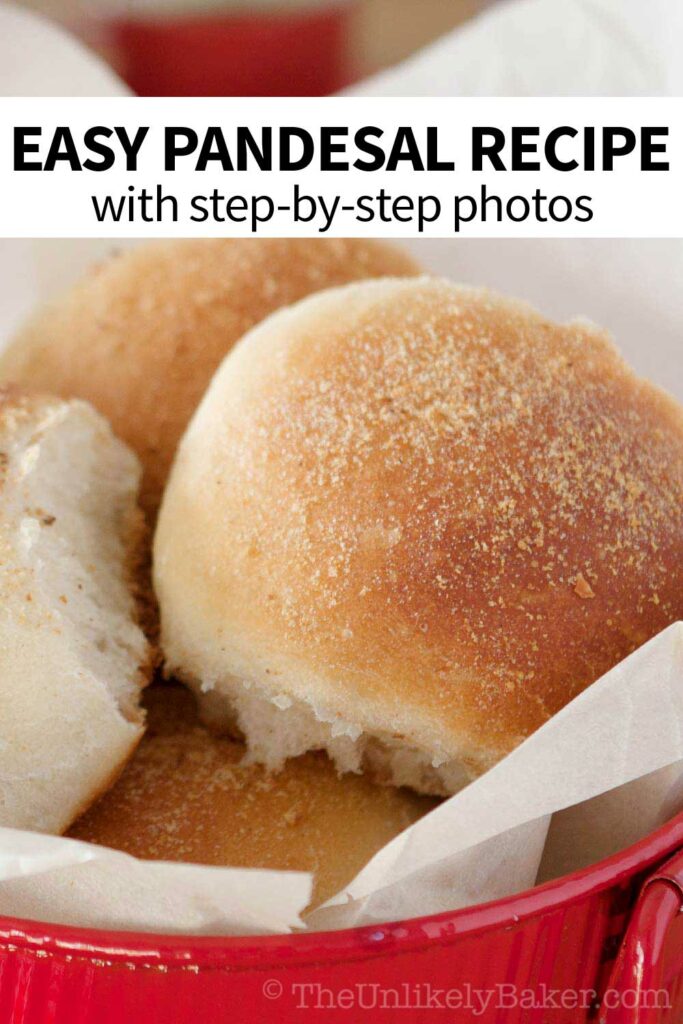
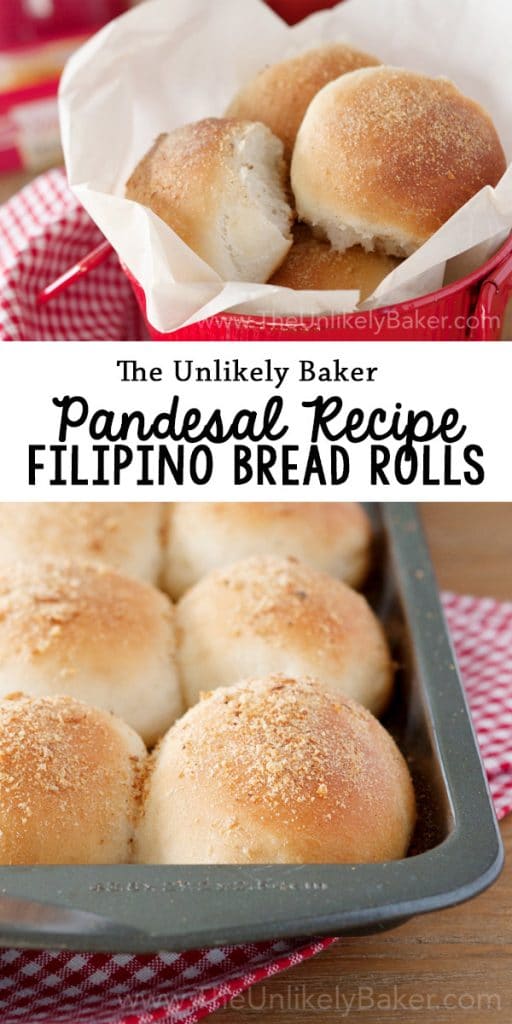
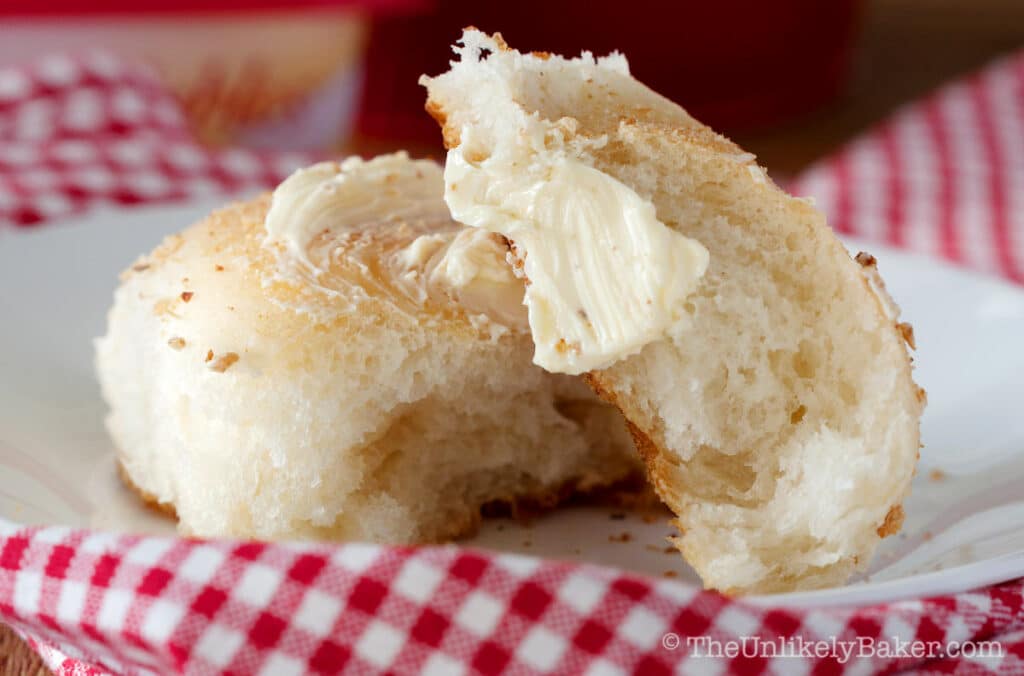
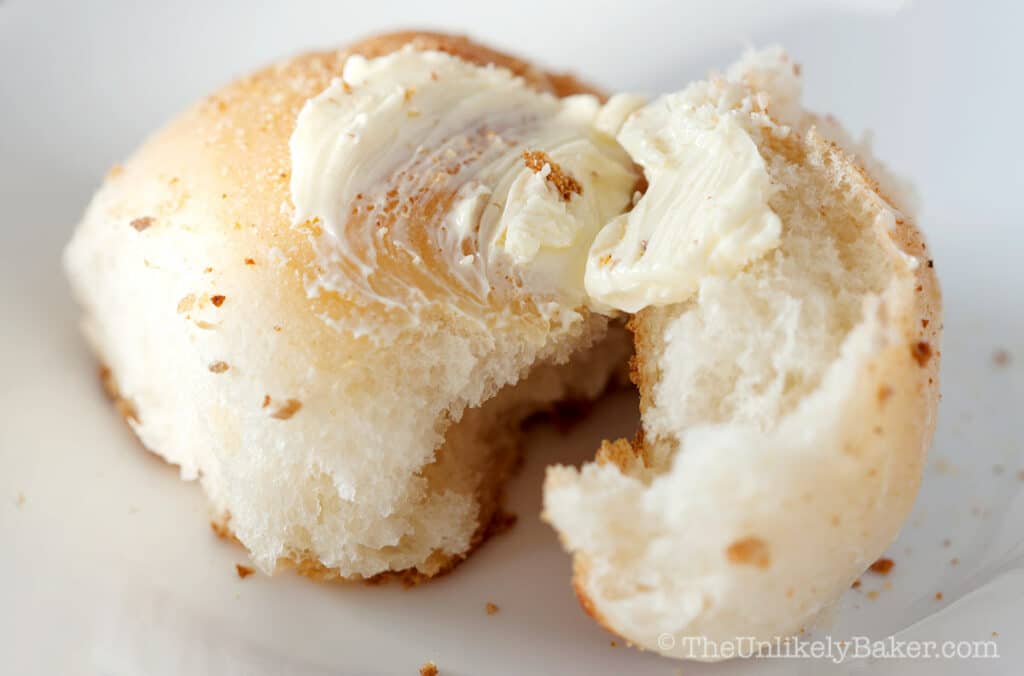
Unlike dinner rolls or the regular loaves of bread we get here, this classic, authentic pandesal recipe is made without eggs, without butter and without milk, has a very subtle hint of sugar and salt, crunchy outside and soft inside.
It’s certainly unique and absolutely delicious. Give it a go and find out why Filipinos all over the world love it.
What is pandesal bread?
So what is pandesal bread? Wikipedia puts it very simply as “salt bread”.
Ironically, it’s more sweet than salty. And it has a really rich history for such a humble bread. Check this out if you’re so inclined, it’s quite an interesting read.
And there are different variations of pandesal; I dare say it’s as varied as the number of islands in the Philippines (and that’s a lot)!
This recipe is closer to the traditional pandesal I grew up eating as a child in Manila – crusty and crunchy outside, soft and chewy inside, delightfully sweet and salty.
It’s not excessively soft and fluffy like dinner rolls; it’s not overly hard and dense either. It has just the perfect bite to it that’s uniquely pandesal bread.
Easy pandesal recipe for home bakers
I’ve looked around for pandesal recipes for a long time and this is the result of me tweaking and trying to make it easier. And it is.
I’m a self-taught home baker like you and I like shortcuts as much as the next person so if I can make this beloved Filipino bread at home, you can too.
If you look at the recipe, it’s just a lot of steps but they are easy, baby steps. Manageable steps to make the whole process that much more achievable.
And don’t worry – I’ve been baking pandesal using this recipe for years now and it comes out perfect every time. It’s the best pandesal recipe!
Let’s get to it.
Ingredients
The main ingredients are pantry staples:
- Sugar
- Oil
- Salt
- Flour
Pandesal is yeast-based so you’ll need to buy some. I like using active dry yeast vs. instant yeast (more on that below) and this is the brand I always use.
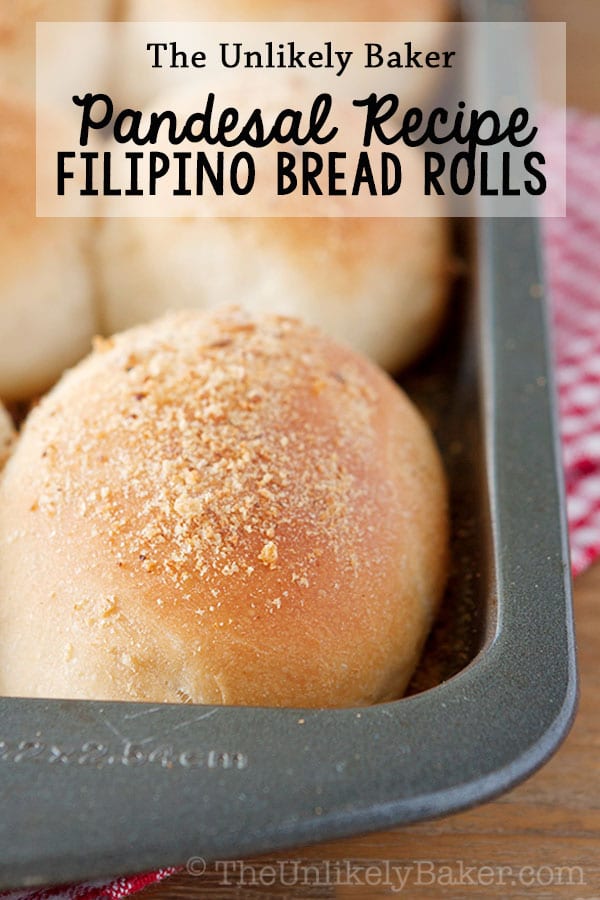
You might be surprised to see that bread crumbs are involved too. That’s what makes pandesal so unique. I use plain breadcrumbs.
Baking tools
The tools you need are simple as well — just bowls and baking pans. I don’t use a mixer and stir everything by hand.
If you do own a stand mixer with the hook attachment, or a food processor with a dough blade, you can use those.
I just choose to stir and knead the pandesal dough by hand because it gives me greater control and I have less chance of over-kneading it.
I’ve found that the most helpful kitchen gadgets when making pandesal are:
- A silicone pastry mat — makes clean up so easy
- A kitchen scale — the secret to consistently delicious and evenly sized pandesal
- And an instant read thermometer — this ensures your ingredients are at just the right temperature — warm enough but not too hot — every time
How to make (step-by-step photos)
Now that we have our ingredients and tools ready, we can get baking.
Phase 1: proof yeast
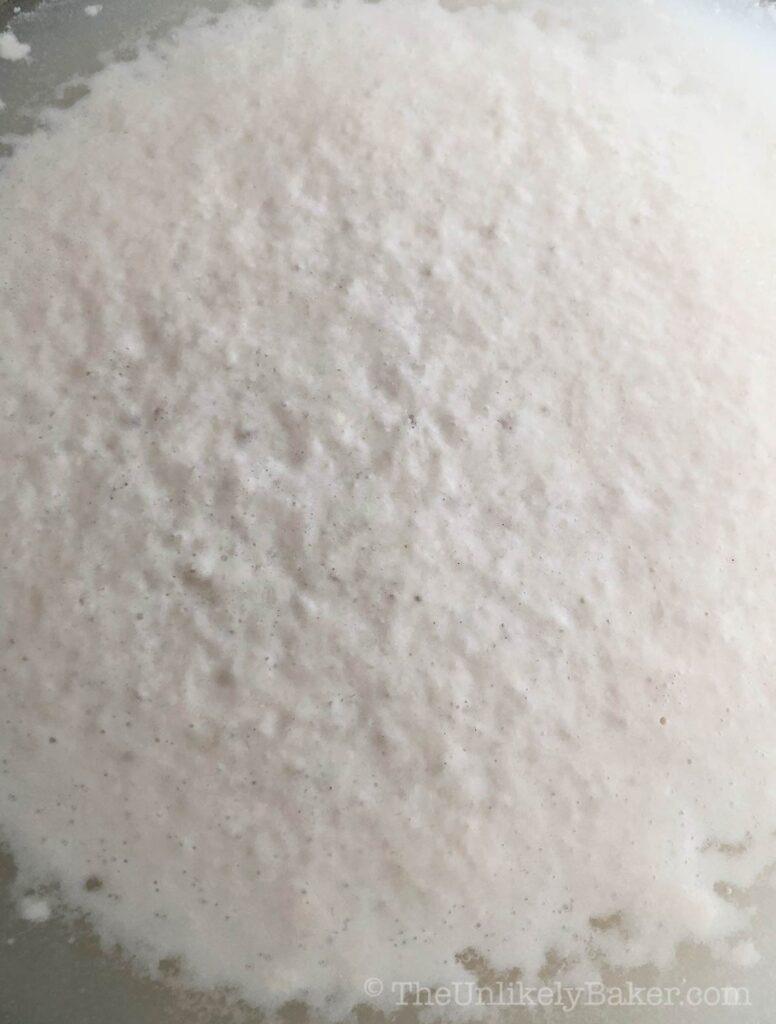
In a medium sized bowl, stir warm water, active dry yeast and granulated sugar until dissolved. Set aside and let stand until bubbly (about 10 minutes).

Phase 2: work on dough
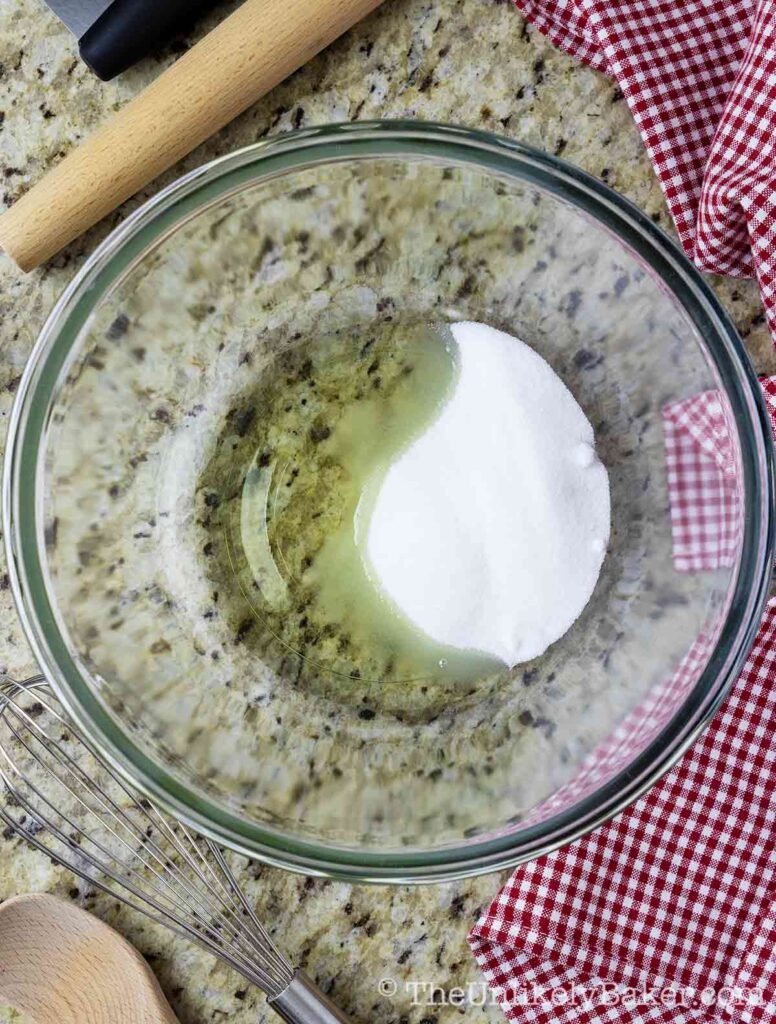
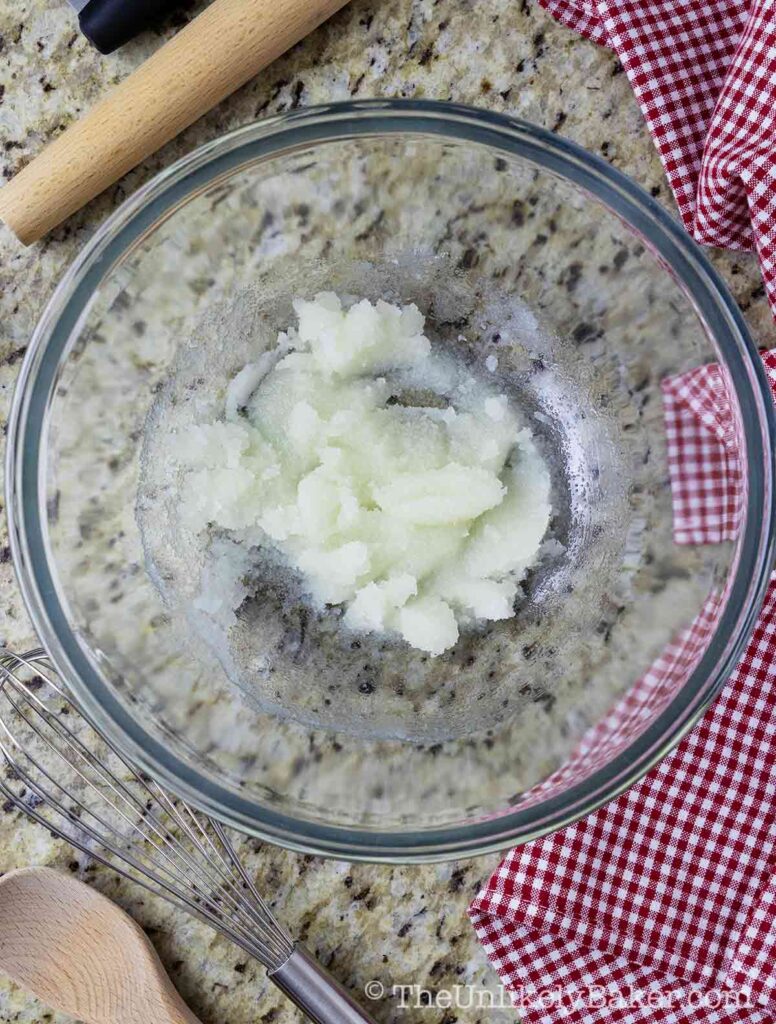
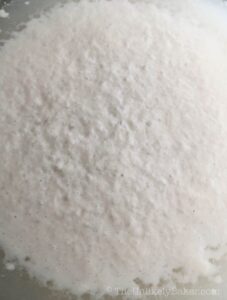
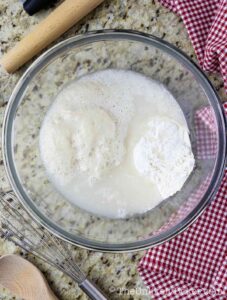
In a large bowl, stir sugar and oil until fully combined.
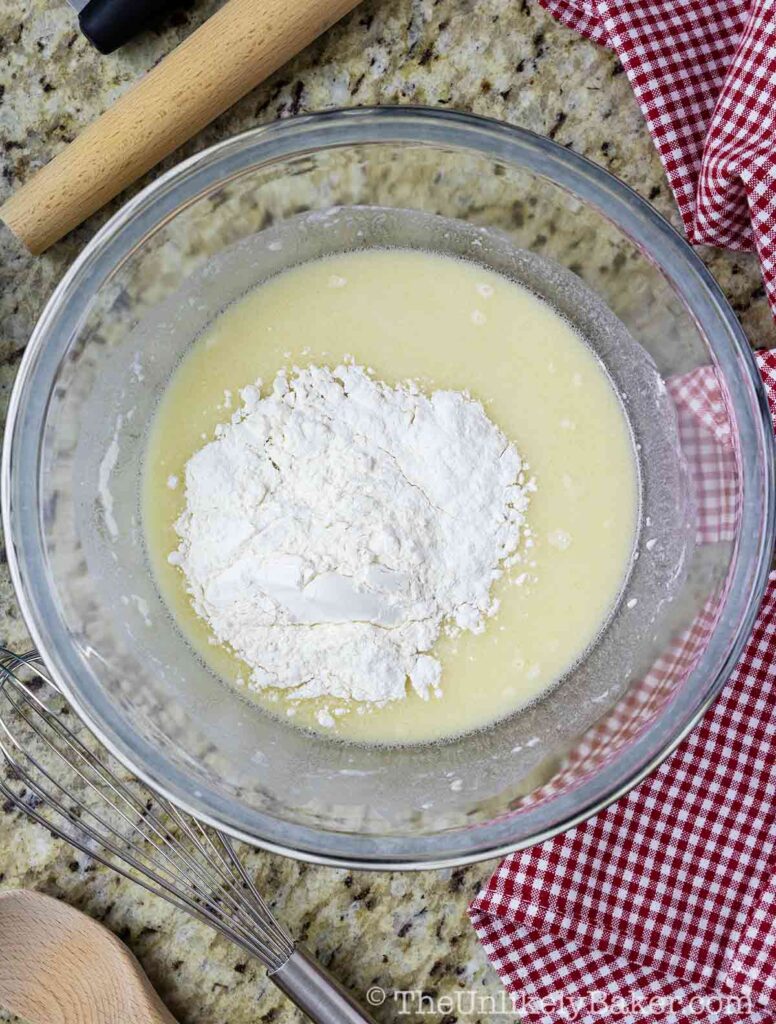
Add salt, your yeast mixture from phase 1, and 1 cup of flour. Stir until incorporated. Proceed to add the rest of your flour ½ cup at a time combining well after each addition.

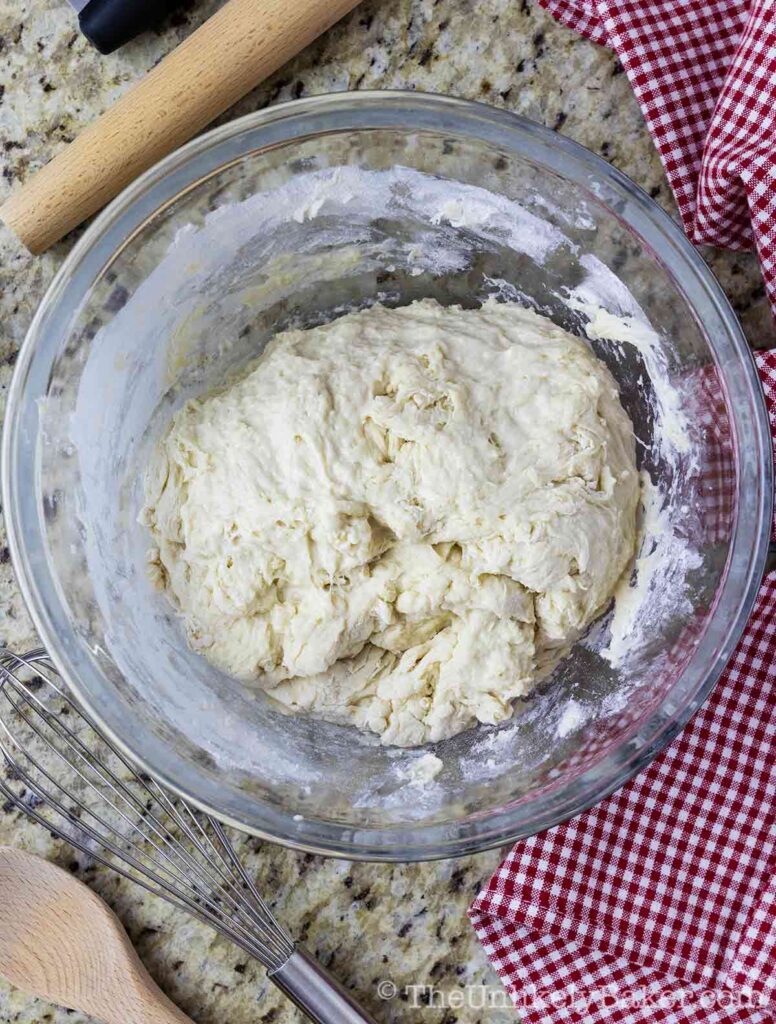
Once the dough starts pulling and sticking together in a ball, transfer it into a lightly floured surface and knead until smooth and elastic (8-10 minutes). When in doubt, knead some more.
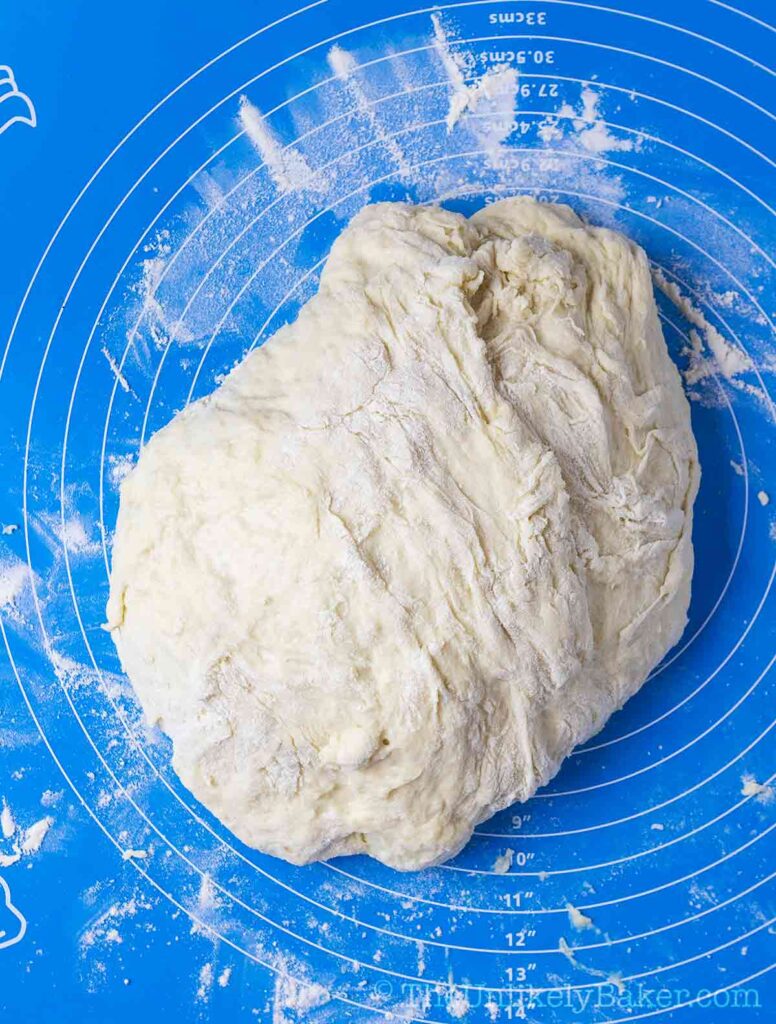
Phase 3: rise and divide
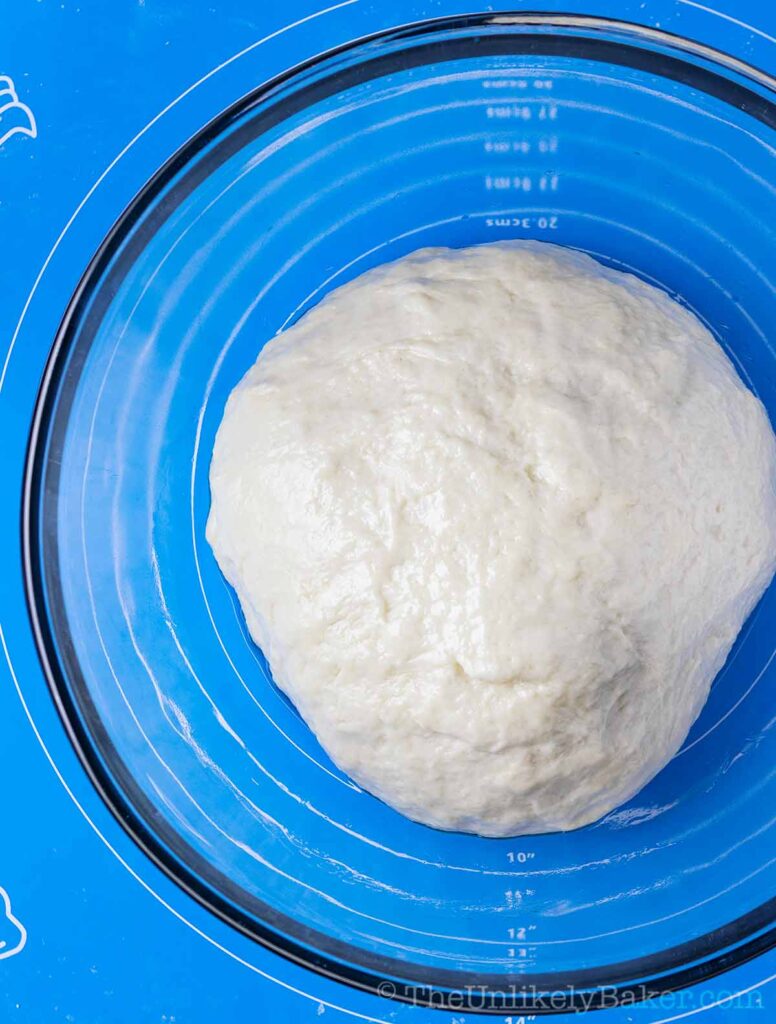
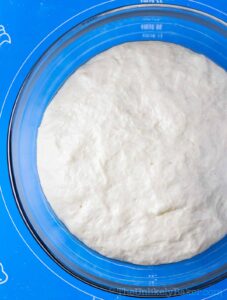
Oil a large bowl with canola or vegetable oil. Place your dough in the bowl and turn to ensure the whole dough is coated.
Cover with a damp cloth or plastic wrap and allow to rise in a dry warm place (about 90F) until it doubles in size (about 2 hours).

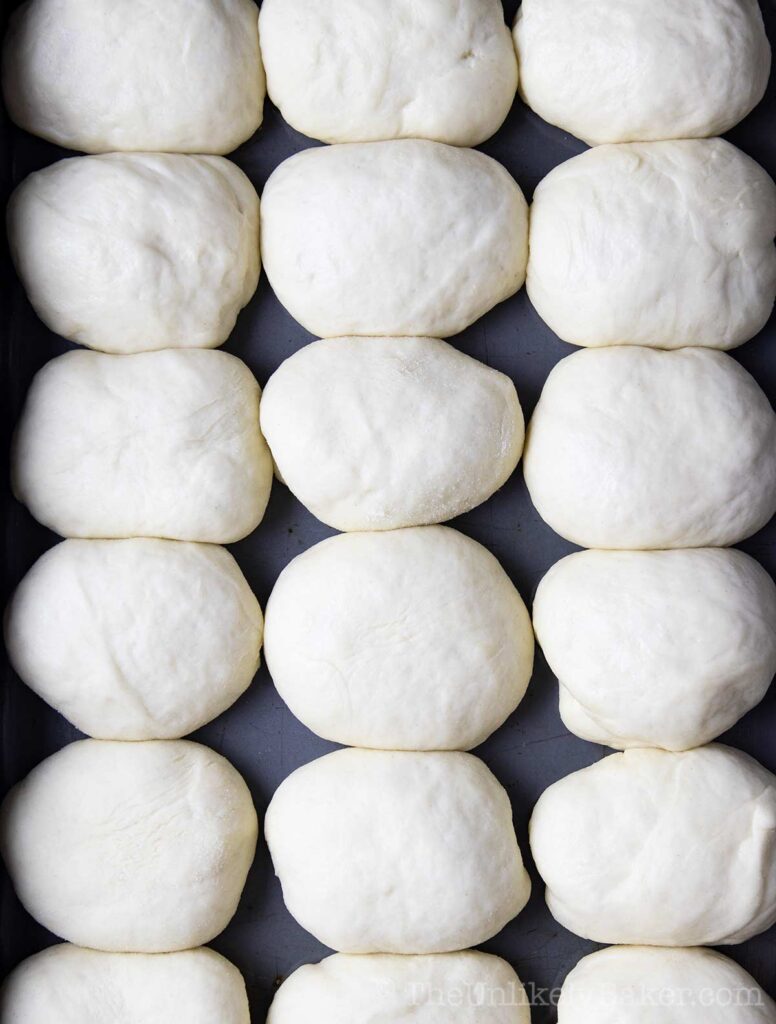
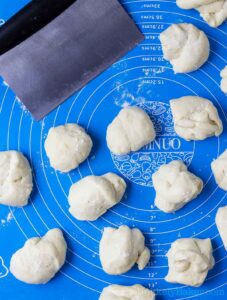
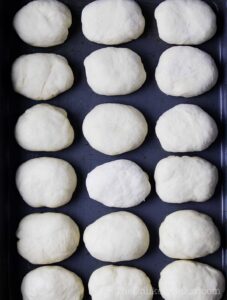
Once the dough is ready, turn the dough into a lightly floured surface and knead slightly. Weigh the dough and divide into 36 pieces.
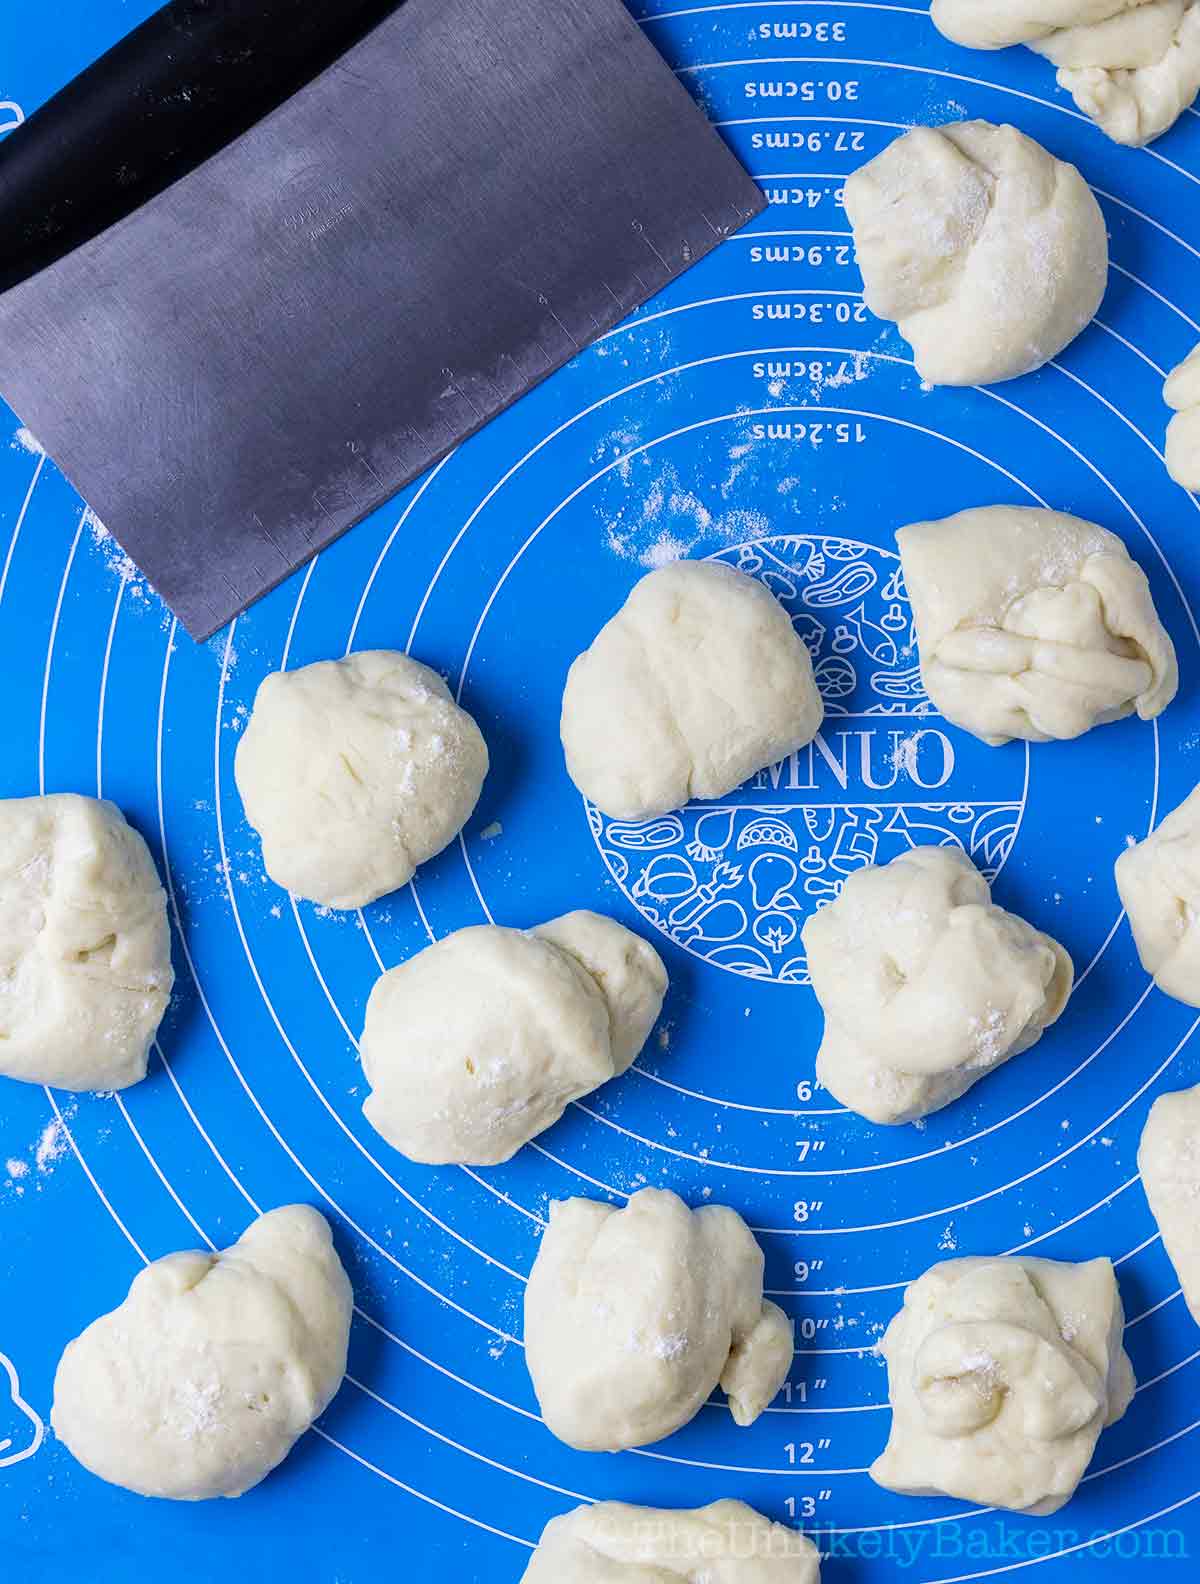
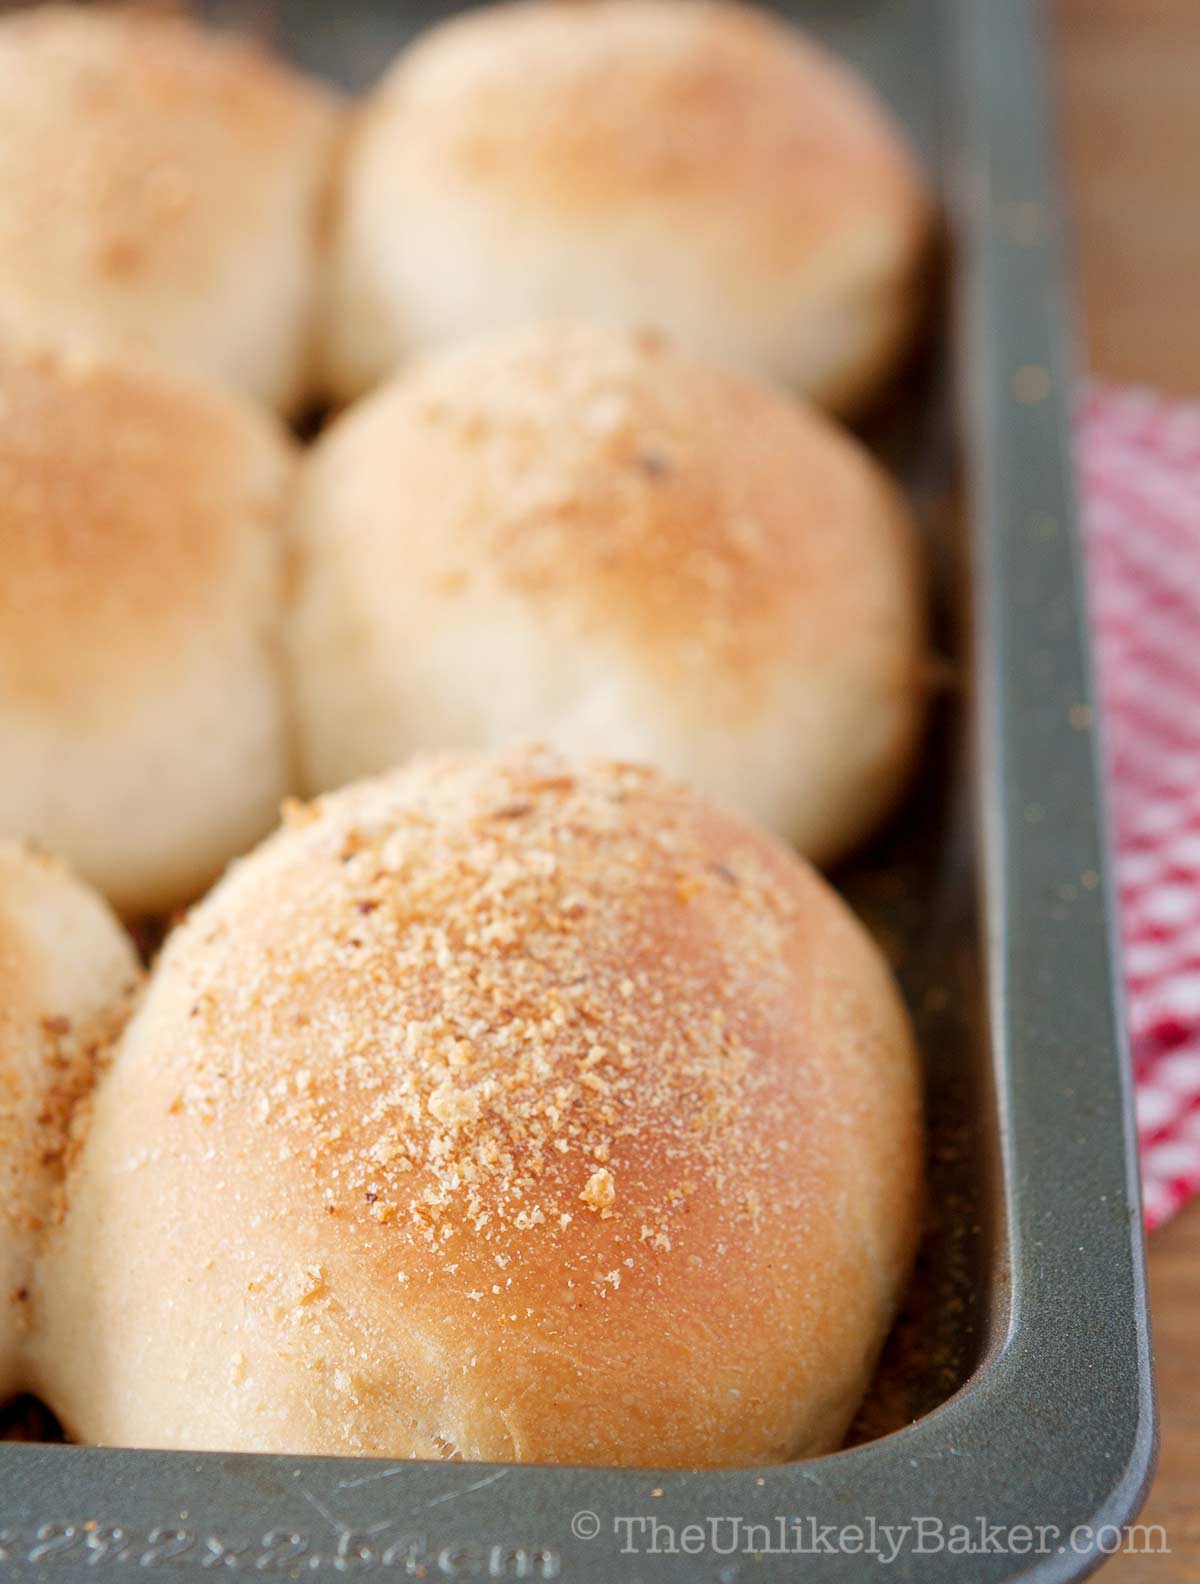
Shape each piece into an oval, like an egg, and place onto a lightly greased 9×13 inch baking pan (you would need two baking pans, 18 pieces of pandesal per pan).
Make sure to keep about a quarter inch space around each piece to allow them to rise further.
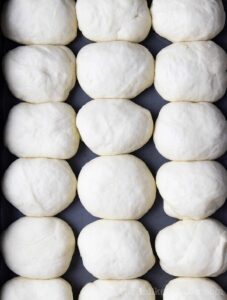
Cover each baking pan with a damp cloth and allow to rise a second time (about an hour).
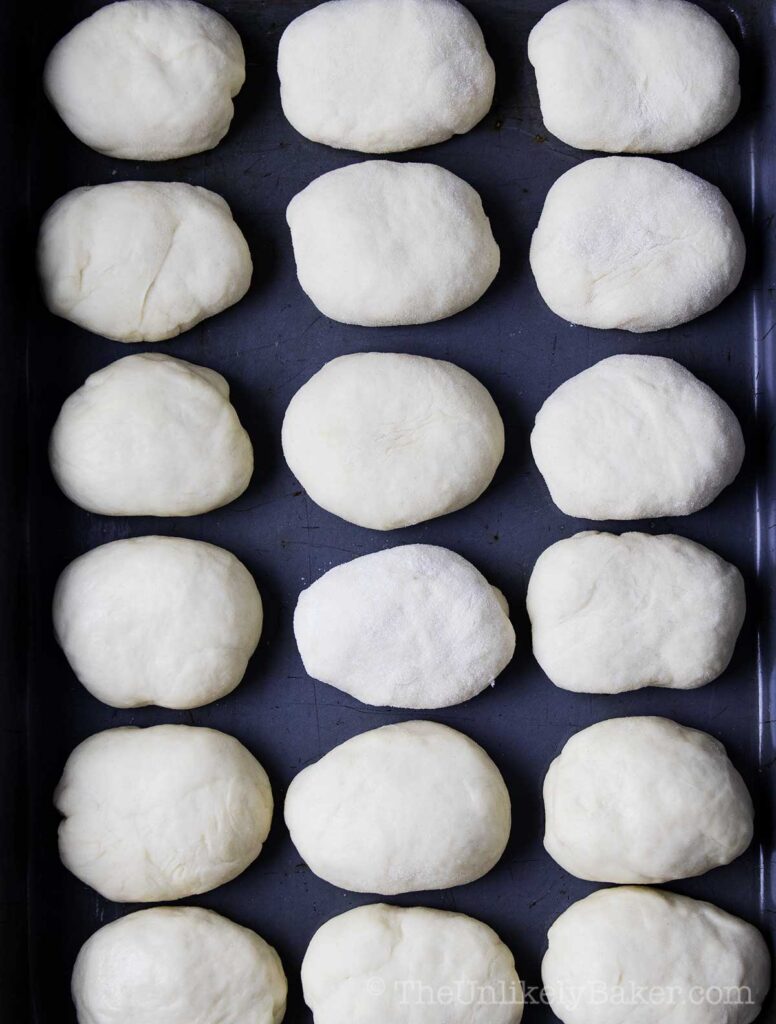
Phase 4: bake
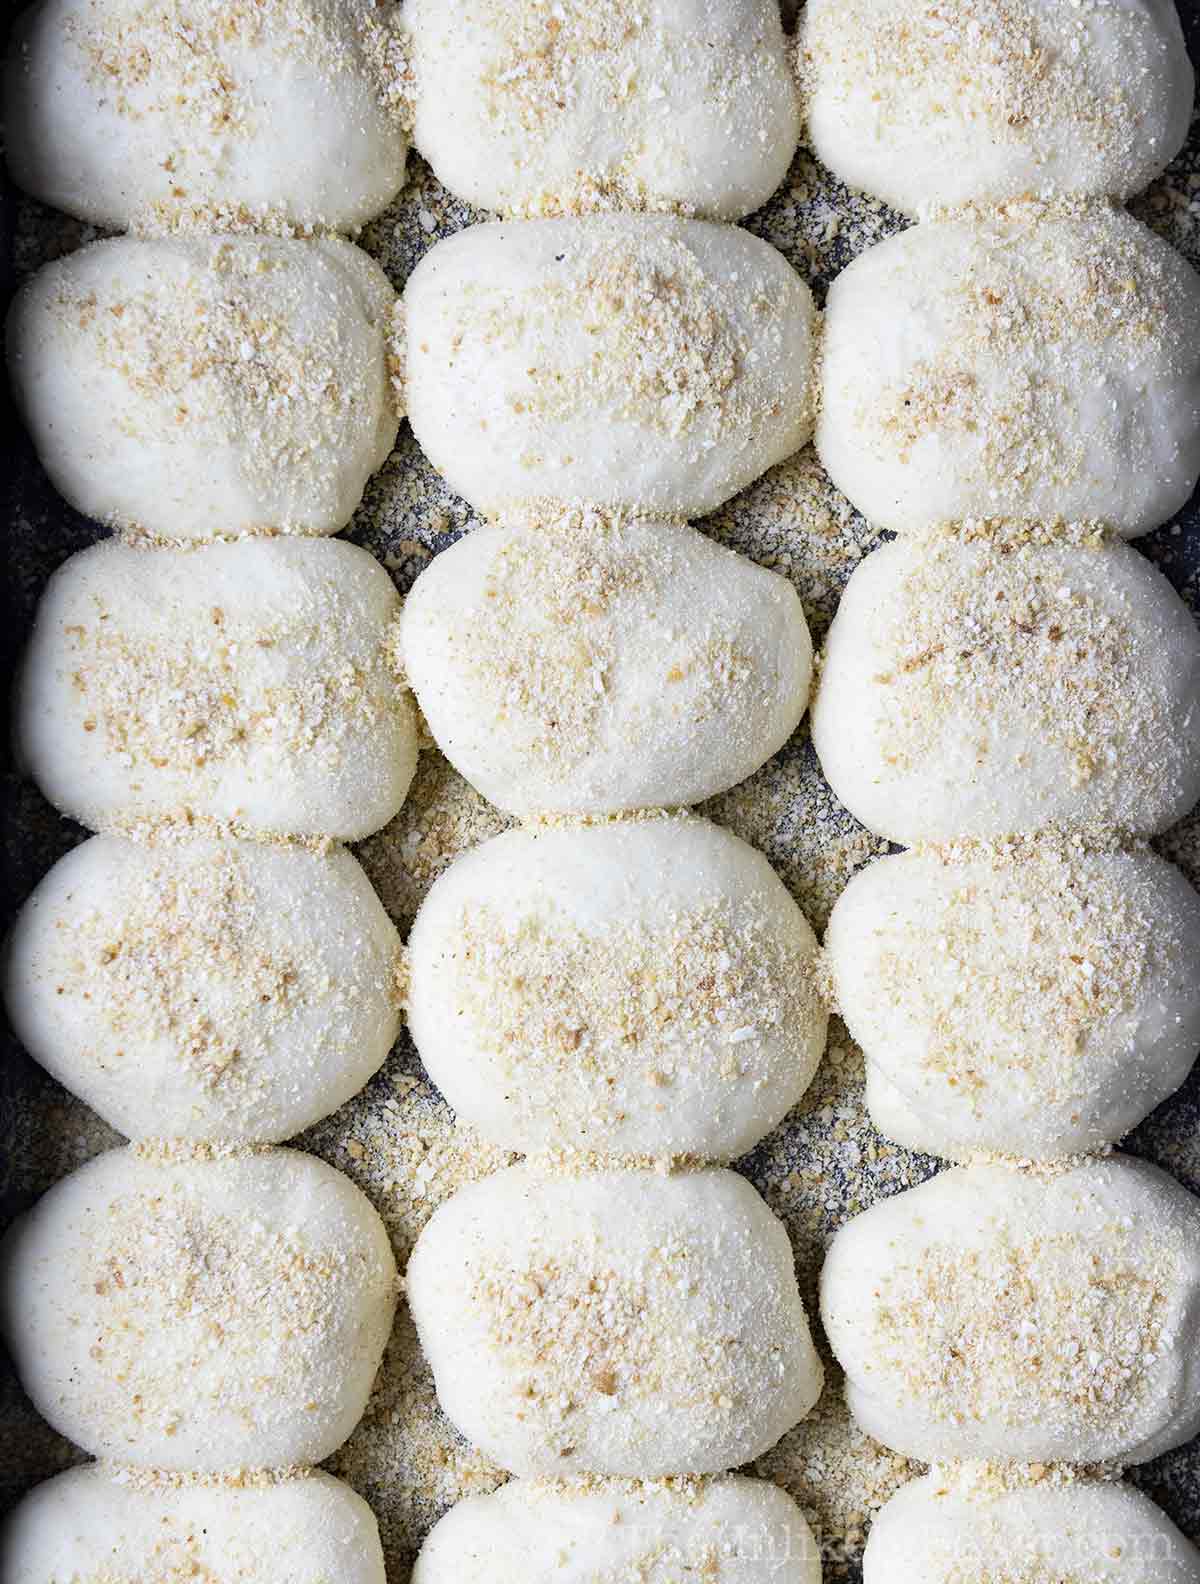
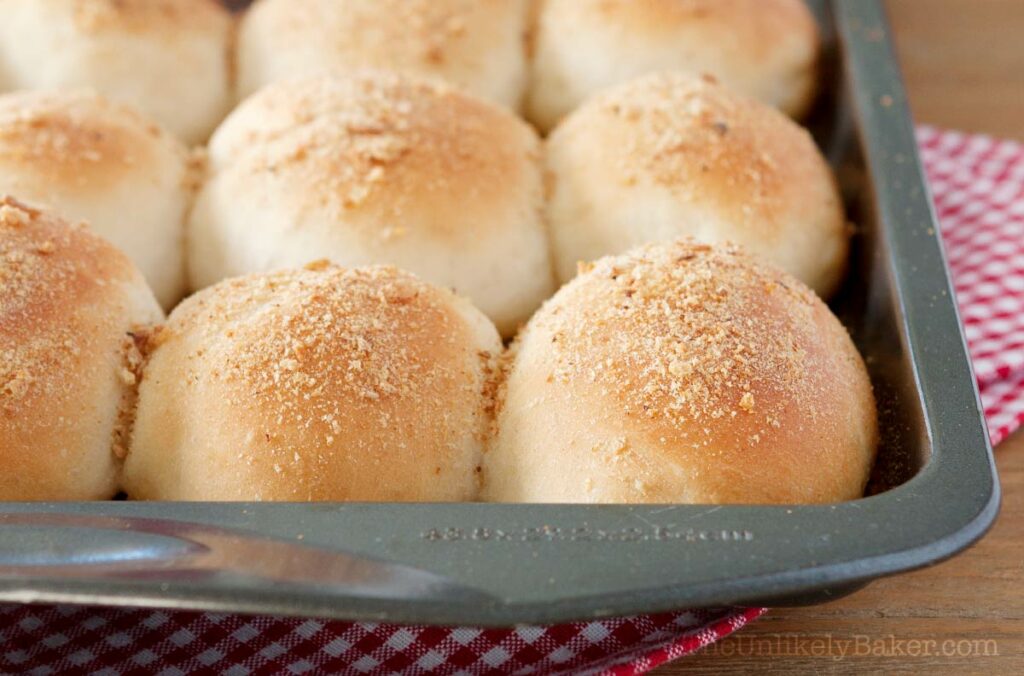
Preheat your oven to 375F.
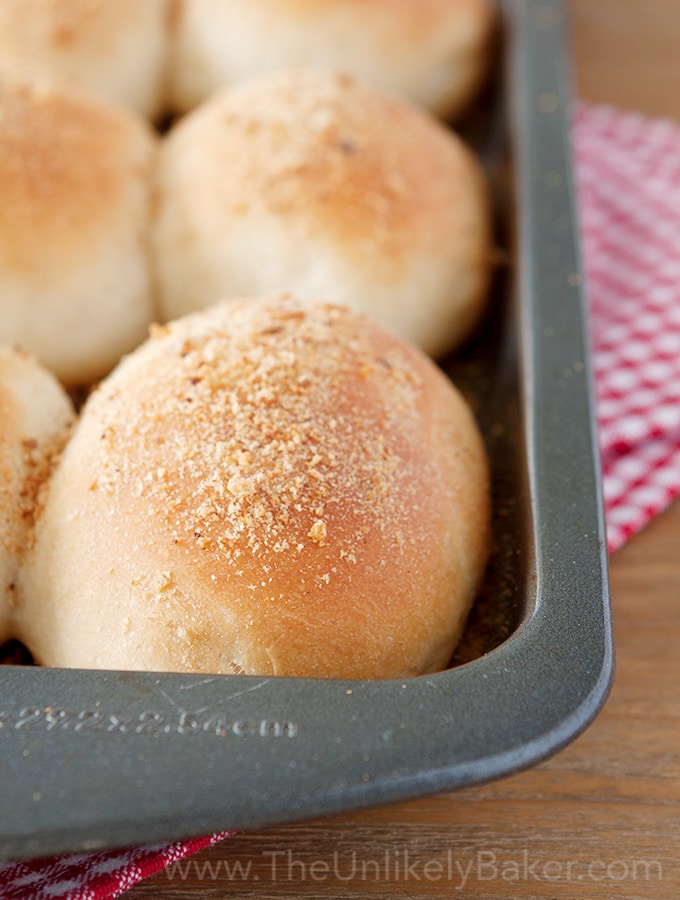
Sprinkle bread crumbs on top of the pandesal and bake until golden brown (15-20 minutes).
Secrets to making the best pandesal
Over the years, I’ve received plenty of questions from TUB readers about this pandesal recipe so I’ve decided to collate them all here.
Go through these tips and the FAQs that follow to learn how to make pandesal perfectly every time.
What makes pandesal soft and fluffy
There are several factors that affect the softness and chewiness of pandesal like yeast, moisture in the dough and proper kneading.
For soft pandesal:
- Make sure that your dough is not too dry. This pandesal dough is supposed to be on the stickier side; don’t be tempted to add too much flour or you will end up with dense bread.
- Proof your yeast. One of the reasons why I prefer using active dry yeast vs. instant yeast is I always need to proof it, i.e. ensure the yeast is still active, before adding it to my dough. If your yeast stays flat and doesn’t bubble after 10 minutes, it’s old and you need a fresh batch.
- Knead the dough enough. Kneading improves the structure of the dough, making it stretchy and pliable, and forming a structure that will trap air for a proper rise. Under-worked dough won’t have that and will result to dry, dense bread.
- Don’t knead the dough too much. Kneading the dough by hand rarely results to over kneading but is possible if you’re using your stand mixer. Once you get that perfectly elastic but still slightly sticky dough, stop.
How do I know if I’ve kneaded the dough enough
The most common way of testing if your dough has been kneaded enough is doing the “windowpane test”.
All this means is you pull off a small piece of dough and stretch it thin; if the gluten is well-developed, the dough will stretch into a paper-thin film without breaking. If it quickly breaks you need to keep kneading.
Here are more ways to tell when dough is kneaded enough.
I know some bakers like to make pandesal using their stand mixer (fitted with the dough hook attachment) and that’s perfectly fine.
I prefer to knead by hand because there’s less chance of over-kneading. And there’s really something very relaxing about it!
How to have evenly sized pandesal
I get evenly sized pandesal by weighing the dough and dividing the weight by 36. I then ensure each piece of my pandesal is that exact weight (usually in grams).
To do this, you’ll need to invest in a kitchen scale. This is true for all baking, actually.
While you can get away with volume measurements with a lot of recipes, bread making is more exact so it’s always better to weigh your ingredients.
We bought our kitchen scale years ago for less than $20 and it’s one of the most used gadgets in our kitchen.
Tips for dealing with sticky dough
If your dough is sticky in the bowl as you’re stirring it, add flour a little at a time until it sticks together in a ball. Not too much though, or you’ll end up with very dense bread.
If it’s sticky while you’re kneading it, avoid the temptation to add even more flour. Instead, try kneading with slightly damp hands.
Tips when proofing yeast
Remember that yeast is a living thing and proofing is simply ensuring that your yeast is alive and active.
In this pandesal recipe, we use active dry yeast, which needs to be proofed. Note that rapid-rise yeast, instant yeast, or bread machine yeast don’t need to be, else they will lose their fast-rising ability.
Step 1: Mix yeast and warm water. The temperature of the water is important. It should feel warm but not hot. If you measure the temperature with a thermometer, it should be about 110F. Hotter than that and you’ll end up killing the yeast.
Step 2: Add sugar and stir. The yeast loves sugar and will gobble it up. If you watch the bowl or cup, you will actually see movement and this is the point when you will start to see bubbles and foam from the carbon dioxide that is forming.
Proofing usually takes about 10 minutes. If your mixture has no bubbles after this time, your yeast is old or stale. You’ll need to start with fresh yeast.
And unfortunately, there’s no way to revive old yeast.
Tips for making the dough rise
A lot of recipes say to allow the dough to rise until “double in size”.
Depending on the recipe, this can range from 30 minutes to 2 hours. Just check in at the halfway mark so you can get an indication of how much longer you have to go.
For me, what’s important is finding the proper place to leave my dough.
It’s cold here most of the year so leaving my bowl on our not-so-warm counter is not exactly ideal.
So what I like to do is turn my oven on to its lowest setting for a few minutes, then turn it off so that it’ll be about 90F when I’m ready to put my dough in to rise.
Just remember to remove the dough from the oven when you’re ready to preheat for baking.
And do you really need a damp cloth to cover your dough while rising? I do but it’s not necessary. Sometimes I use plastic wrap. And other bakers I know use pot lids.
The key is covering the bowl with something because doing so helps the dough retain moisture and prevents it from drying out.
Recipe FAQs
Your pandesal is hard and dense most likely because:
– The dough became too dry because of too much flour
– Yeast used is stale
– Dough was kneaded too much, or not enough
– Bread was over-baked
See the notes above for more information on how to make pandesal soft.
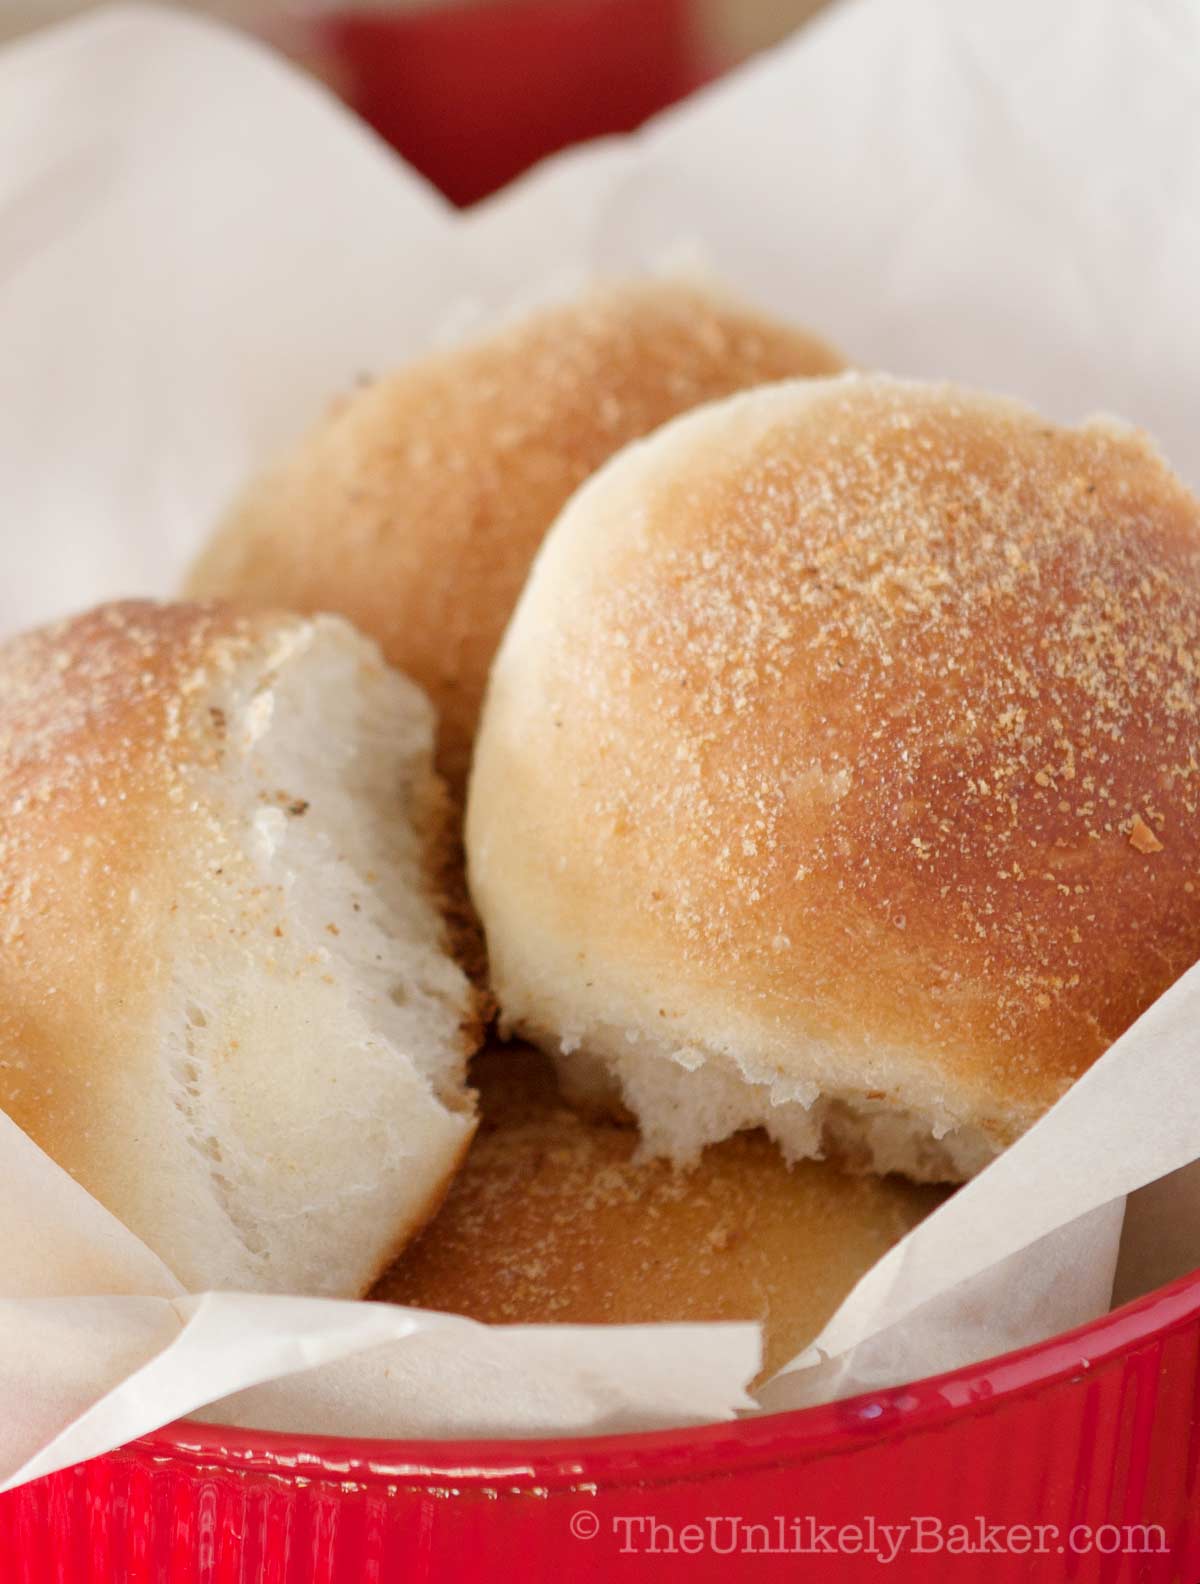
Pandesal bread is best eaten fresh out of the oven. Freshly baked, hot pandesal is so very good.
They will last for up to 2 days on your counter in an airtight container.
If you plan to keep them for longer, freezing is a better option. They can last at least a month.
Just place the pandesal in a freezer-safe container (we use a Ziploc bag) and put in the freezer. Then simply pop into your toaster to enjoy; no need to thaw.
Pandesal tends to get stale the longer it sits on the counter. I don’t recommend keeping them in the fridge either.
The best way to store them is to freeze them (see above). Once reheated, it’s like eating freshly-baked, soft pandesal every time!
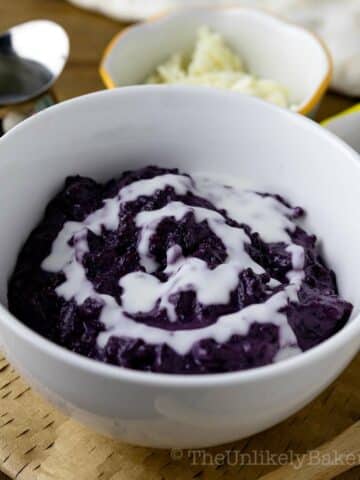
If your pandesal does get stale, no worries. You can make Filipino bread pudding!
I’ve personally never used bread flour to bake bread. I always use all-purpose flour because that’s what I always have on hand. And I’ve had great success with it.
So if you don’t have bread flour, no worries. You can use all-purpose flour and make very tasty bread out of it.
I did read that the higher percentage of gluten in bread flour (somewhere between 11-14%) makes it ideal for bread because it makes the dough more elastic and easier to work, resulting to lighter textured breads.
So if you’re curious, you can substitute all-purpose flour for bread flour easily. It’s a 1:1 substitution. You can read all about it and the different kinds of flour here.
A quick note that not all all-purpose flours are the same though.
For example, the all-purpose flour we get here in Canada is higher in protein than the equivalent product in the US. So, when milled and used to bake bread, Canadian flour can “feel stronger and more elastic than an equivalent American flour, which will feel softer.”
Our little factoid of the day and something to keep in mind.
You can absolutely make pandesal without breadcrumbs. It’s the unique thing about this Filipino bread roll but if you’ve run out or simply don’t care for them, you can leave it out and still enjoy pandesal.
I always buy ready-made breadcrumbs but you can also make your own. Here’s a simple recipe for DIY breadcrumbs that you can check out.
Have more questions? Leave me a comment below.
Do you really want to know the secret in making the best pandesal ever though? Just enjoy the process! The kneading. The smell. The anticipation.
Being the unlikely baker that I am, I never imagined myself baking my own pandesal. Ever.
So every time I make it, and eat it, and realize how good it is, I’m always amazed at how far I’ve come. My spouse is astounded. I think my sister is just always in utter shock lol.
Making pandesal is special. It’s very personal to me, almost magical. Hope you enjoy it too!
If you want to try making homemade sandwich bread, here’s an easy and frugal sandwich bread recipe from Sarita over at An Off Grid Life.
Looking for more breakfast inspiration? Check out this delicious recipe collection of breakfast ideas.
Happy baking!
Did you make pandesal (Filipino bread rolls)? I’d love to hear from you in the comments section below.

How to Make Soft Pandesal
Ingredients
Phase 1:
- 2 cups warm water around 110F
- 2 tsp active dry yeast
- 1 tsp granulated sugar
Phase 2:
- ⅔ cup granulated sugar
- ¼ cup canola oil
- 2 tsp salt
- 6 cups all purpose flour
Phase 3:
- 1 tbsp canola oil
Phase 4:
- ¼ cup bread crumbs
Instructions
Phase 1:
- In a medium sized bowl, stir 2 cups warm water, 2 teaspoons active dry yeast and 1 teaspoon sugar until dissolved. Set aside and let stand until bubbly (about 10 minutes).

Phase 2:
- In a large bowl, stir ⅔ cup sugar and ¼ cup oil until fully combined.
- Add 2 teaspoons salt, your yeast mixture and 1 cup flour. Stir until incorporated.
- Proceed to add the rest of your flour ½ cup at a time combining well after each addition.
- Once the dough starts pulling and sticking together in a ball, transfer it into a lightly floured surface and knead until smooth and elastic (8-10 minutes). When in doubt, knead some more.


Phase 3:
- Oil a large bowl with 1 tablespoon oil. Place your dough in the bowl and turn to ensure the whole dough is coated. Cover with a damp cloth or plastic wrap and allow to rise in a dry warm place (about 90F) until it doubles in size (about 2 hours).
- Once the dough is ready, turn the dough into a lightly floured surface and knead slightly. Weigh the dough and divide into 36 pieces.
- Shape each piece into an oval, like an egg, and place onto a lightly greased 9×13 inch baking pan (you would need two pans – 18 pieces per sheet). Make sure to keep about a quarter inch space around each piece to allow them to rise further.
- Cover each baking sheet with a damp cloth and allow to rise a second time (about an hour).
Phase 4:
- Preheat your oven to 375F. Sprinkle bread crumbs on top of the pandesal and bake until golden brown (15-20 minutes). Since you're using 2 baking sheets, you may want to rotate/switch the pans midway through.

Video
Notes
- This pandesal recipe requires 6 cups of flour. However, if you think you’ve added enough and your dough is getting too dry, you can stop. No need to add all 6 cups.
- This pandesal dough is meant to be on the stickier side though; so only go over the 6 cups of flour if your dough is very, very sticky and wet.
- For best results, weigh ingredients using a kitchen scale.
- When kneading the dough, you want a lightly floured surface. You can add a little more flour to make kneading more manageable but don’t add too much. Try kneading with damp hands instead.
- See the post for the complete step-by-step photos and a lot more tips for making perfect pandesal every time.
Nutrition
Nutritional information are estimates only.

Lisa Sell
I’ve started to be more brave with my baking and branching out with bread recipes. I’m definitely adding this one to the list!
Jolina
Me too, that’s my goal this year actually, get better at bread making 🙂 Hope you like pandesal Lisa!
Kylie
I miss this! Nothing beats having pandesal dipped in coffee for breakfast every morning! Thanks for sharing!
Jolina
Right? 🙂 I usually dip mine in hot Milo and it’s just as good!
Shannon
Do you think I could substitute the Conor’s oil without compromising the integrity of the recipe?
Jolina
Hi Shannon! I’m afraid I’m not sure what Conor’s oil is…but you could use vegetable oil or any oil that’s flavourless 🙂 Would love to hear how it goes!
Jaime
This looks so delicious I WISH I could smell it through my monitor. I haven’t tried the recipe (yet), but I love baking bread. Yes, it would be faster to drive to the store but like you said, I can’t get that smell in my house without baking!
Jolina
Haha you can’t, can you? Not even if you toast the bread I don’t think (well maybe you can you but not the same). Hope you like pandesal Jaime!
Erin
Nothing like warm rolls made right at home. I also love recipes that include everything I pretty much already have on hand at home. Can’t wait to try this!
Jolina
Those are the best ones IMO 🙂 Simple but delicious!
Susan Carraretto
That bread looks amazing. I can only imagine how lovely the smell of it baking would be. I’m going to pin it for later.
Jolina
Thanks Susan! And thanks for the pin 🙂
Andrea
These look amazing!!! I will try to make these for Sunday dinner! Can’t wait
Jolina
Nice! Hope you guys like pandesal as much as we do 🙂 Thanks Andrea!
Dominique
These look just delightful and fluffy in the best way possible! I bet the smell is amazing 🙂
Foody
Recipe looks great! I’ll try it sometime!
Chelley
These sound amazing- I have only ever had these in restaurants and never would have imagined how labor intensive they are. Makes you appreciate dining out a bit more! I need to try them for home- I know my husband and kids would be pleasantly surprised!
Jolina
I know! It wasn’t until I started to learn to bake that I started to appreciate all the work that goes into the tiny cupcake I’m eating at our local coffee shop lol. It’s so fulfilling though. Hope you guys like pandesal Chelley!
Neely Moldovan
I pretty much eat anything that has the word roll in it and this sounds amazing! I have never heard of these before 🙂
Saidah Washington
I love how easy this bread is too make and the fact that it’s crunchy, sweet and salty.
Maria
I have only recently been trying more yeast recipes. For some reason yeast does not always like me. These look divine.
Jolina
It didn’t like me either but I found practice makes perfect! Well…not PERFECT but I’m getting better at it (I think lol!) Thanks Maria!
Melanie
These look delicious! I would like them with a side of pasta for sure!
Robin
I’ll try this out use pandesal with my slider recipe.
Jolina
That’s my plan too! Watch out for pandesal sliders to show up on the blog soon-ish 🙂 Thanks Robin!