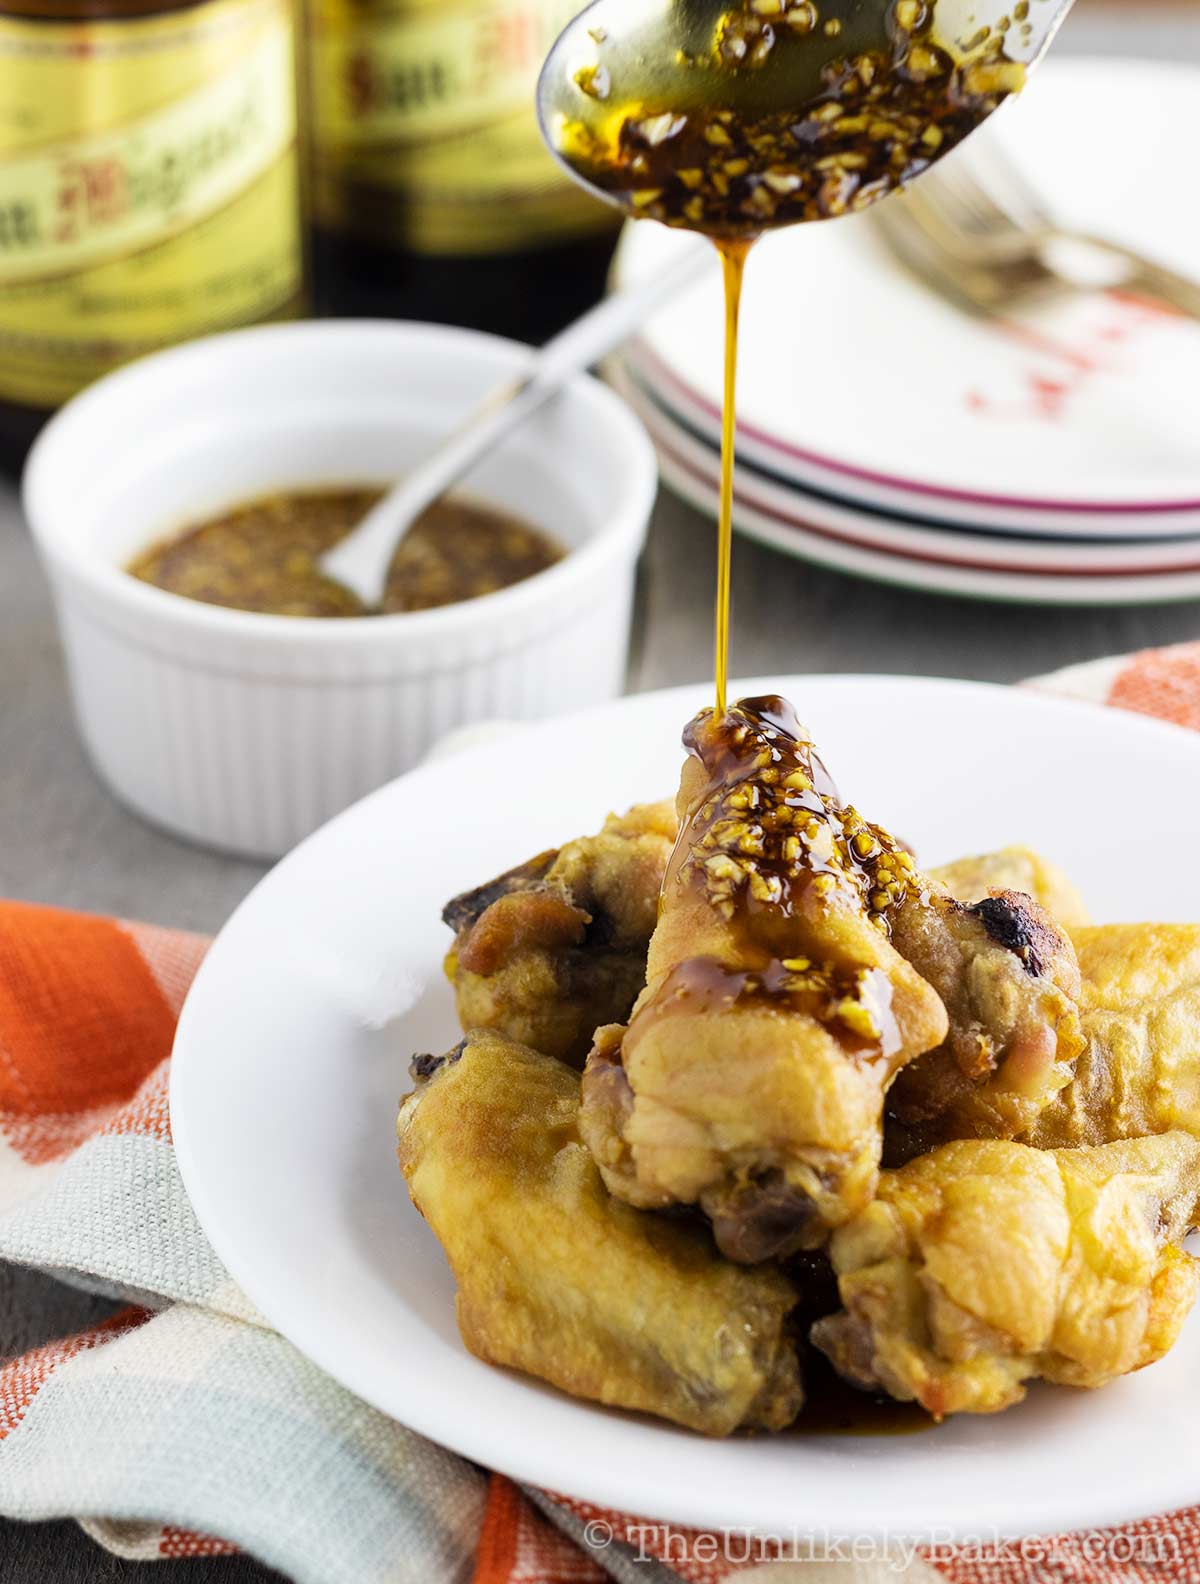
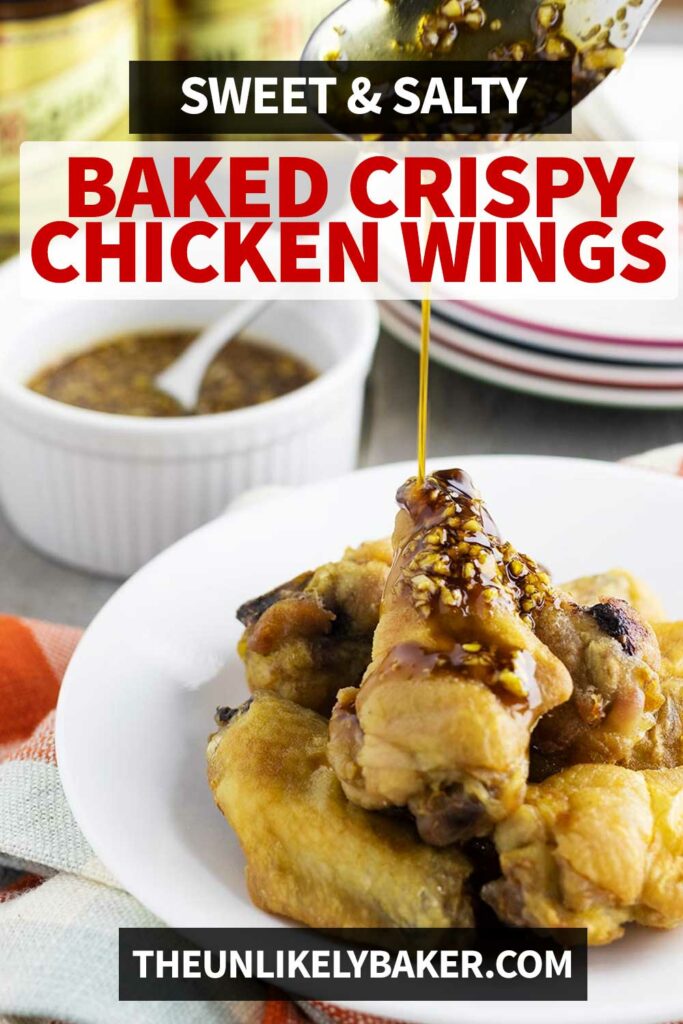
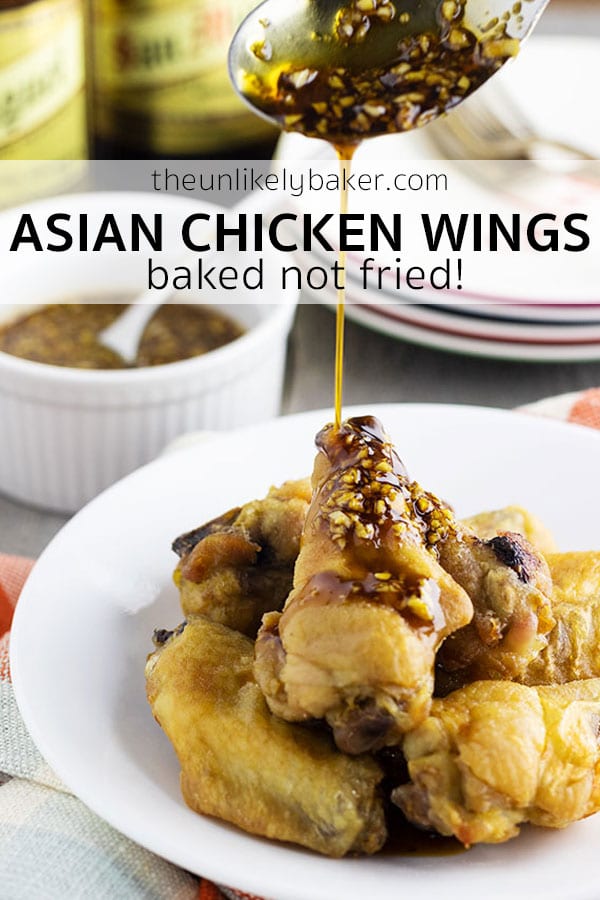
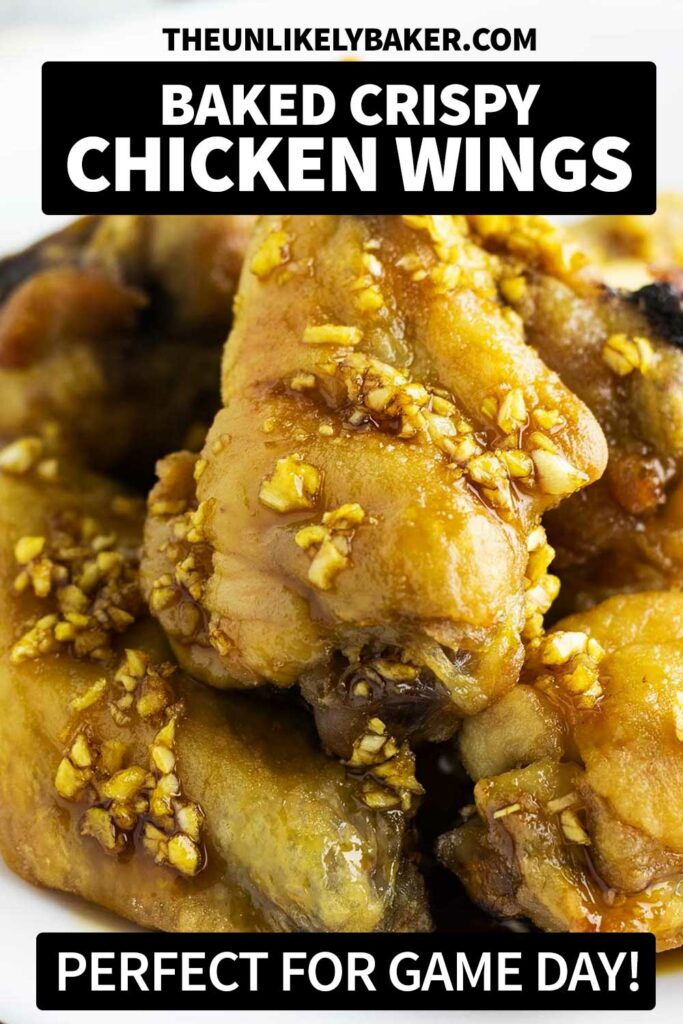
Learn how to make crispy baked chicken wings in the oven. You don’t even need to use baking powder to make them extra crispy. Then drizzle them with optional — but highly recommended — Asian garlic sauce for the ultimate game day and party food.
(Prefer baking to frying? Me too! Check out this recipe for turon or Filipino banana lumpia that’s baked not fried. Same delicious crunchy taste, less unnecessary calories from cooking oil.)
I love game day — from the Super Bowl to hockey night, from the World Series to March Madness — and game day food and drinks, of course (try these pisco cocktails!)
There’s just something about eating pizza, ultimate nachos, air fryer onion rings, homemade potato chips, mozzarella sticks and air fryer pork chop bites all day and all night, right?
Oven baked BBQ chicken and sheet pan chicken shawarma are pretty awesome too.
People show up for them as much as for the games themselves.
Chicken wings are a favourite too. And these ones are special.
You don’t have to fry them to make them nice and crispy.
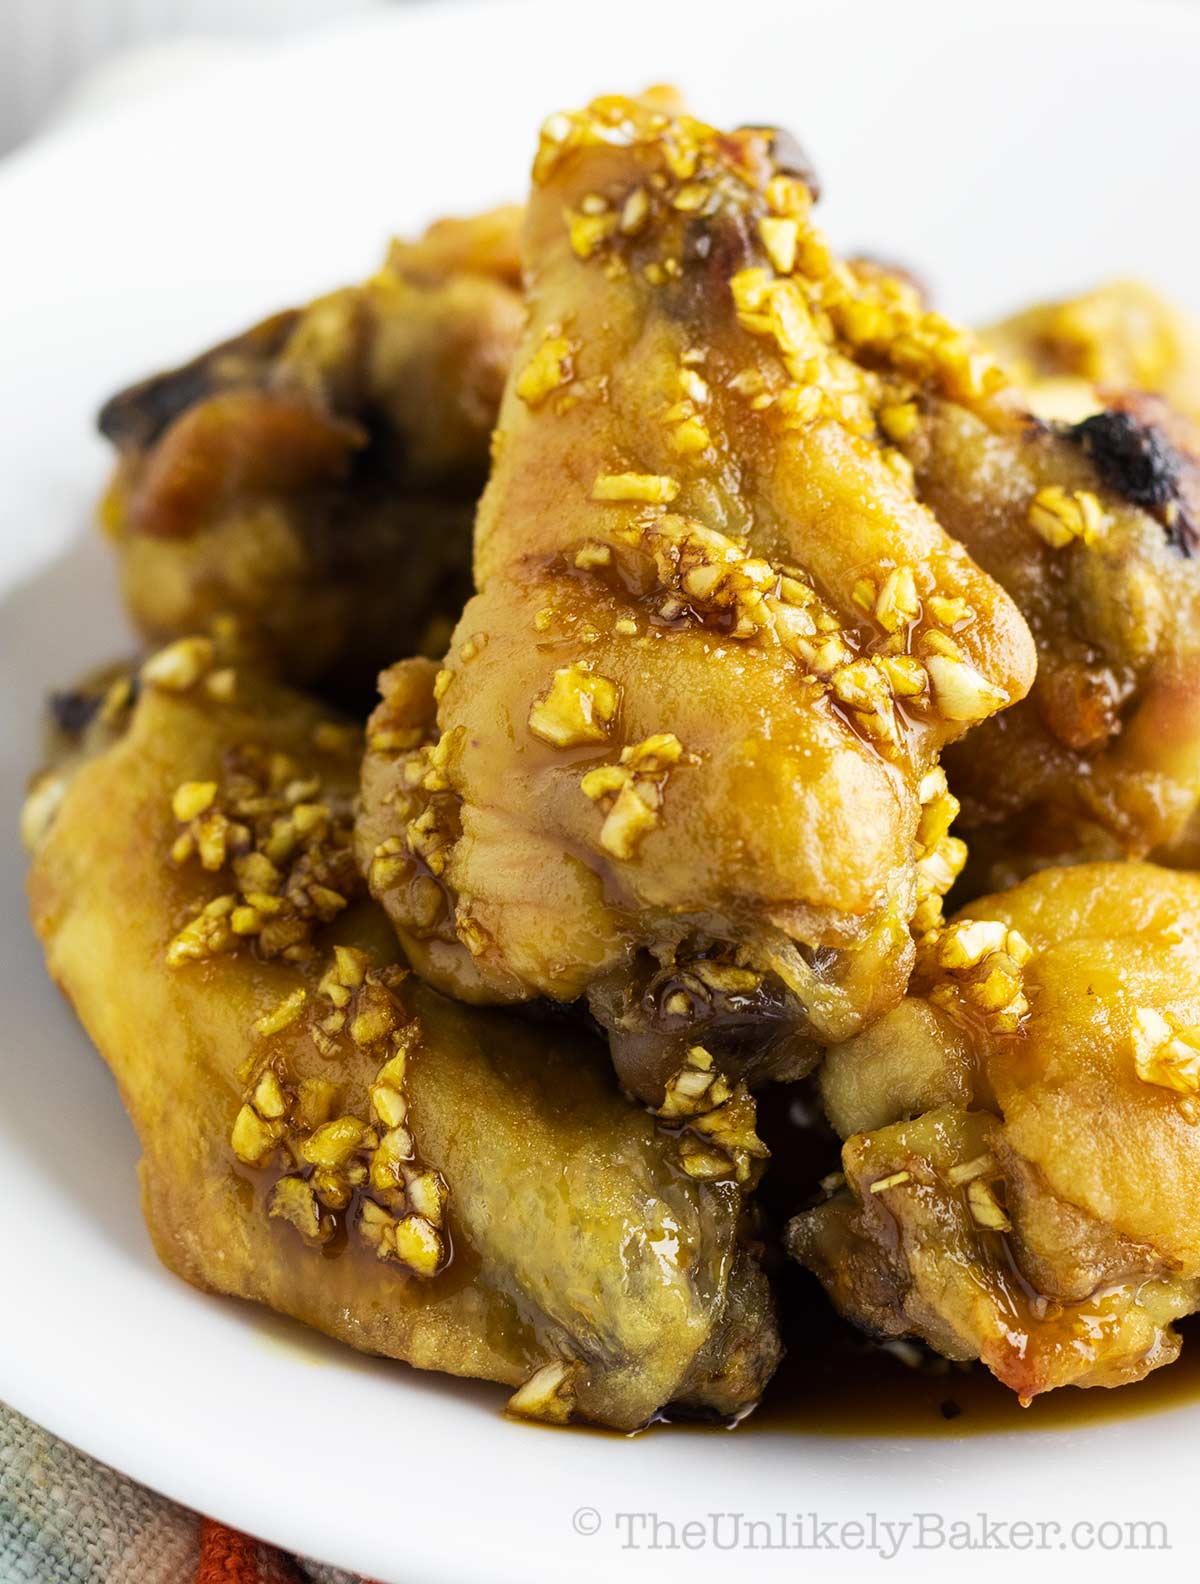
Drizzled with an Asian-style sauce made of soy sauce, minced garlic and brown sugar, they’re deliciously sticky too!
Why you’ll love baking chicken wings
These chicken wings are quick and easy to make and so good. And you’ll want to make them all the time because:
- Baked not fried. I’m not a fan of deep-frying and if you’re the same, you’ll love how crispy these get in the oven. You simply prep them, lay them out on your baking sheet, then bake. No hot oil required.
- Crispy without baking powder. And you don’t even need to use baking powder. In this recipe, the wings are lightly coated in just flour, then baked.
- Easier to customize. Not only are they unbelievably easy to make, they’re even easier to customize. You can drizzle them with any kind of sauce you like.
Looking for more variety? Try baked Spanish chicken wings. And if you want to use your air fryer instead, try air fryer chicken wings.
Check this out if you want to learn how to cook porterhouse steak in the oven as well.
How to make baked asian chicken wings
Ingredients
To make this baked chicken wings recipe, you would need just 5 ingredients:
- 3 lbs chicken wings — we get them with the tips already cut off and each individual wing already cut into two pieces. Here’s a great reference if you need to do the trimming and the cutting yourself at home.
- All purpose flour
- Minced garlic, lots of it — we like to use our mini food processor to make mincing easier. Or sometimes we use the pre-minced garlic you can buy in a jar at Costco.
- Soy sauce — we use regular soy sauce but you can use light soy sauce if you like.
- Brown sugar — I do recommend using dark brown sugar and not light brown sugar, though. Otherwise you may end up putting more sugar than necessary to get the sweetness just right.
You’ll notice that there’s no salt or pepper in this recipe. All the flavour comes from the soy sauce-based sauce.
See the FAQs below if you’re skipping that, or would like a different sauce.
Tools
You don’t really need specialized tools to make crispy chicken wings. Just the baking sheet and the cooling rack I mentioned earlier.
Metal tongs would help too, for flipping the wings. Plus a small whisk for preparing the sauce.
Procedure
- Line a rimmed baking sheet with aluminum foil or parchment paper.
- Place a greased cooling rack (I use baking spray) on top of the parchment paper or foil and set aside.
- Pat dry your chicken wings then lightly coat with flour (don’t drench in flour, we don’t want them breaded, just lightly coated).
- Place them on the cooling rack and bake for 45 minutes at 425F.
- Then flip each piece so the other side can brown too. Continue baking for another 10-15 minutes.
How to make crispy chicken wings in the oven without baking powder
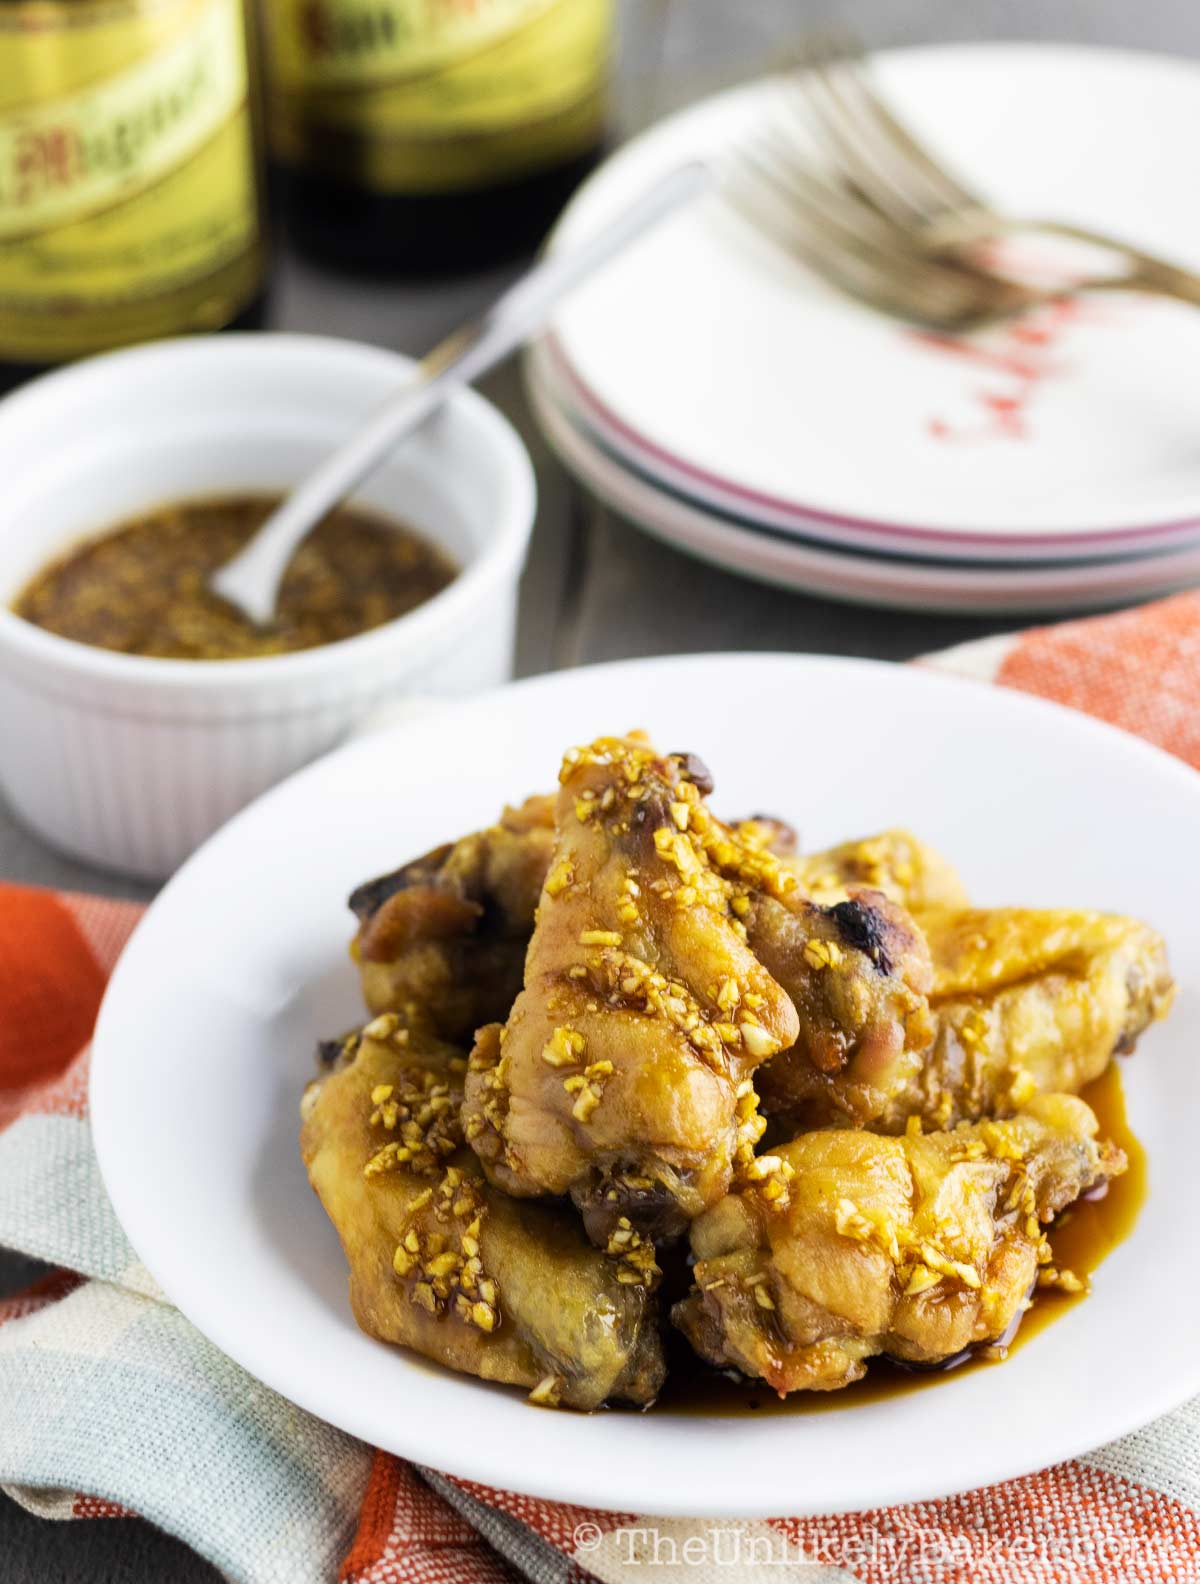
If you’ve been on the fence about making chicken wings in the oven because you’re concerned they won’t turn out as crispy as you’d like, just follow these tips and you won’t look back. You won’t even need baking powder.
- Pat dry. Make sure to dry each chicken wing with a paper towel. Have doubts? Do it again. The less moisture there is on your wings, the crispier they will be.
- Cook in high temperature. Bake them at 425F. This is a pretty high temperature and it is what’s needed to get that nice crunch. So make sure you preheat your oven and, for good measure, invest in an oven thermometer so you know you’re baking at the correct temperature.
- Bake on a wire rack or cooling rack. Placing the pieces of chicken on a baking rack allows air to circulate inside the oven and around your wings, and any liquid to simply just drip off of them.
- Grease the rack. It’s also important to grease the wire rack before placing your chicken wings on them so they don’t stick to the rack and you end up losing all that nice outer skin.
- Space them out. When placing your wings on the rack, ensure they’re spaced out properly as well. I usually give each piece about half an inch of space around. This helps them cook evenly and prevents them from sticking to each other.
- Line baking sheet. Lining your baking sheet with aluminum foil or parchment paper doesn’t necessarily affect crispiness but makes for one heck of an easier clean-up after.
Recipe FAQs
If using frozen chicken wings, make sure to allow enough time for them to thaw, then pat them dry thoroughly. Don’t use chicken straight out of the freezer.
To make sure the wings don’t stick to your wire rack, grease the rack before placing the wings on it. Also allow enough space between each piece of chicken so they don’t stick to each other.
Yes, when baking chicken wings you need to flip them so that the bottom gets the chance to brown and get crispy too. This usually happens in the last 15 minutes of baking.
In this recipe, the wings bake at 425F. Make sure to preheat your oven because baking the wings at the right temperature is key to making them crispy.
An oven thermometer is also great to ensure that the temperature of your oven is accurate.
Baked at 425F, these chicken wings take about an hour to cook.
We always use minced garlic in this recipe because it has a stronger, fresher flavour.
You can use garlic powder in a pinch, just know that the flavour profile would change slightly and the substitution ratio is not 1:1.
The best way is to taste your sauce as you add garlic powder about ⅛ teaspoon at a time. Then adjust to your liking.
These chicken wings are so flavourful and tasty they don’t need a dip.
They’re spicy from all that minced garlic, salty from the soy sauce, and sweet from the brown sugar. So if you’re a sweet and salty fan like me, these asian chicken wings are right up your alley.
Not into that? You can skip the garlic soy sauce altogether and go for simple, unbreaded wings. Just make sure to properly season the wings with salt and pepper before baking.
Or you can drizzle and dip them in your favourite chicken wing sauce, from buffalo to blue cheese to ranch, and make them perfect just for you.
You can store leftovers in the fridge.
To reheat, you can either microwave them for a minute or, if you want to get that crispiness back, you can pop them in an oven toaster for several minutes or in an oven preheated to 350F.
What to serve with oven-baked chicken wings on game day
Crispy chicken wings are a universal favourite; they’re usually the first thing people reach for at parties! Wondering what goes well with them?
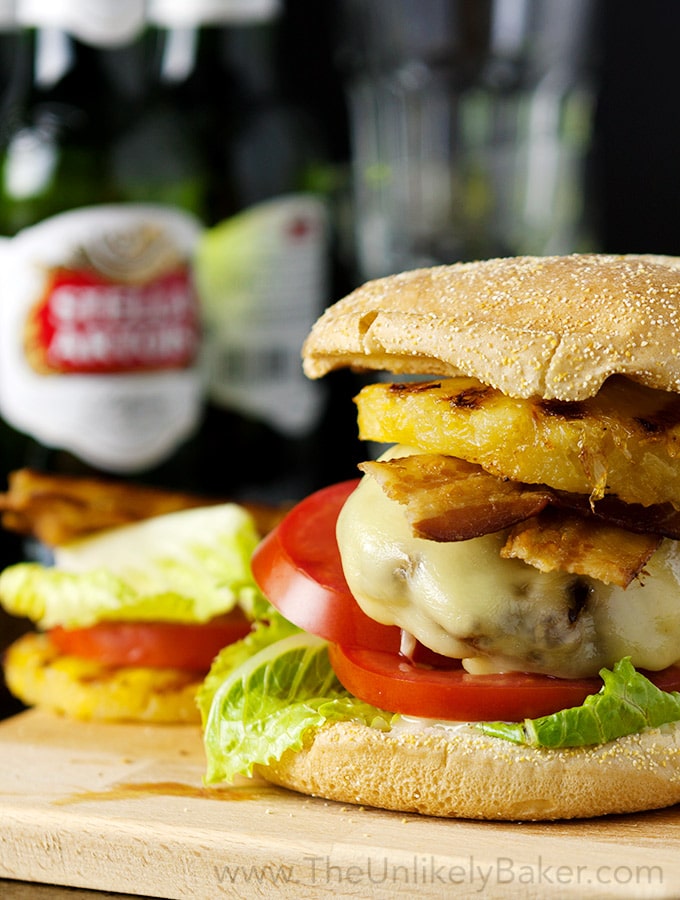
- You cannot go wrong with aloha burger— juicy cheeseburger with grilled pineapple and crispy bacon. Make it more exciting by setting up a build-your-own burger station!
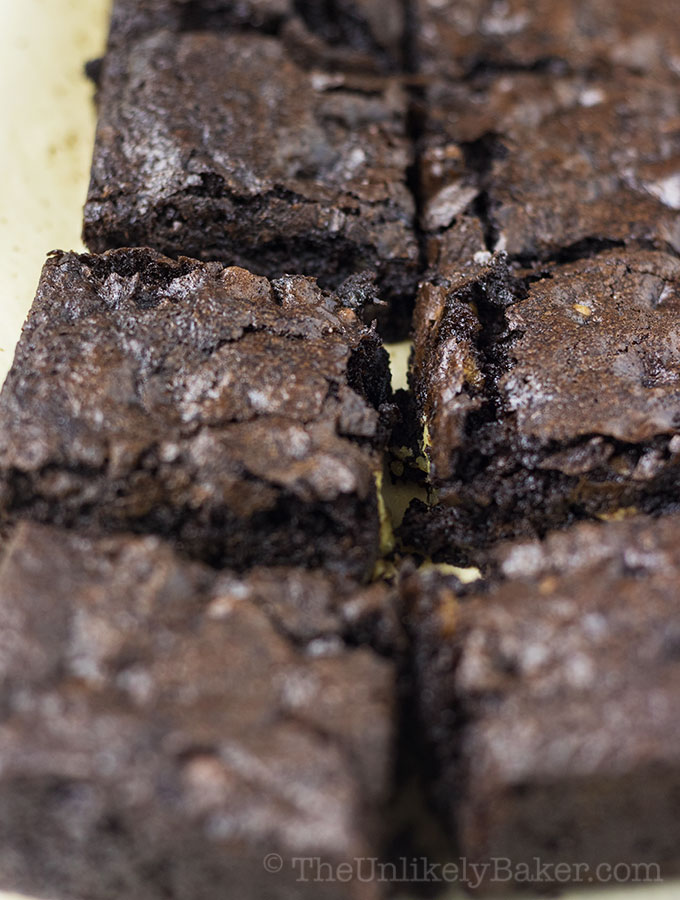
- For dessert, bake a batch of fudgy walnut brownies with chocolate chips. They are super easy to make and you can make them ahead of time.
And here are other recipes I found from some of my favourite food bloggers that’s sure to be a hit with everyone:
- Jalapeño corn dip with bacon –- sweet creamy, cheesy corn + spicy jalapeños + salty bacon
- Italian avocado salsa — definitely not your ordinary guacamole!
- Tequila cocktail strawberry basil — a drink everybody will want to have
Enjoy!
Crispy Baked Asian Chicken Wings (No Baking Powder)
Equipment
Ingredients
- 3 lbs chicken wings split and tips removed, see post for reference
- 3 tbsp all purpose flour
- 10-12 cloves garlic minced
- 5 tbsp soy sauce see notes
- 6 tbsp brown sugar see notes
Instructions
- Preheat oven to 425F.
- Prep a rimmed baking sheet by lining it with parchment paper or aluminum foil.
- Grease a wire rack or cooling rack and place it on top of the parchment paper or foil. Set aside.
- Pat dry each piece of chicken with a paper towel then lightly coat with flour on each side.
- Place the chicken wings on the cooling rack and bake for 45 minutes or until cooked through and golden brown.
- Take out of the oven (keep oven on) and flip each piece. Return the pan to the oven and bake for another 10-15 minutes until that side turns golden brown as well.
- While your chicken wings are baking, make your sauce by whisking minced garlic, soy sauce and brown sugar in a small bowl until thick, sticky and fully incorporated. Taste and adjust as you go (see notes).
- Drizzle sauce over the chicken wings before serving.
Video
Notes
- Space your chicken pieces evenly so they don’t stick to each other.
- You can adjust the amount of soy sauce and brown sugar to add to the sauce, to taste.
- Remember though that you want the sauce saltier than you would normally have it. If you hold back on the salt too much, the sauce may lose its flavour when you drizzle it over the chicken wings.
- See post for more tips and FAQs.
Nutrition
Nutritional information are estimates only.
Happy baking!
Did you make this recipe? How’d you find baking the wings instead of frying them? I’d love to hear from you in the comments section below.
And let’s get social! Find me on Facebook, Pinterest, Instagram and Twitter.

Andrea Larson
I love Asian cuisine. Great recipe and amazing photos. Now I am going to order some Asian food for tonight after seeing this (and cook this myself the next time when I have enough time).
Nati
thank you for this recipe! I hate frying or dip frying and this recipe of yours is sent from heaven!
Melanie williams
Asian chicken wings, now my partner would 100% love these for sure. I will send this his way lol xx
aisasami
OMG, I have to try this! I love to bake things because it is healthier. Thanks for the recipe!
Christa
What a tasty alternative to fried chicken! I’ll have to try tho. It looks delicious!
Veena Azmanov
Love the look to this healthy Baked Chicken. Have to try it for family.
MELANIE EDJOURIAN
This sounds like a yummy healthier option for chicken wings. I love that they’re baked rather than fried. Homemade is so much nicer.
Gloria
We love chicken wings. These look finger licking good. LOVE the fact they are baked, not fried. I do not like fried food. These would be a great dish for a party.
Jolina
I agree! When we serve this it’s always one of the first ones to disappear lol.
Stephanie
These sound delicious! My husband loves chicken wings, but I don’t think he’s ever had any like this. The ingredients are so simple, I’ll have to try these for my family soon.
Jolina
Hope you and the family like it Stephanie!
Adam Johnson
Those sound delicious! I will definitely have to put them on the menu soon!
Angela Tolsma
I am terrified of frying so this is perfect. Baking is so much easier and I love your tip about the cooling rack to get them crispy.
Jolina
I’m terrified of frying too! Hot oil and all that 🙂
Neely Moldovan
These sound so so good! I would love to try them! They look great too!
Janell
These look tasty! I usually marinate my wings prior to baking or smoking them but I’ll have to give this variation a try.
Amanda
I love baked dishes – and this one looks great! I love that it uses ingredients I always have at home. It looks like a nice twist on wings.
Amina
I made this for St. Patricks day as we had some friends over and everyone loved it. I like that its baked I dont like oily wings. It took longer to bake so I left it in the oven until they browned. I also used less soy sauce and more sugar. I was afriad it won’t be enough sauce for the chicken but it’s just enough. Thanks hope you had a good st. Patricks day too.
Jolina
Hi Amina! Glad you liked it! Our St. Patrick’s Day was a quiet one, though we did enjoy all the food 🙂