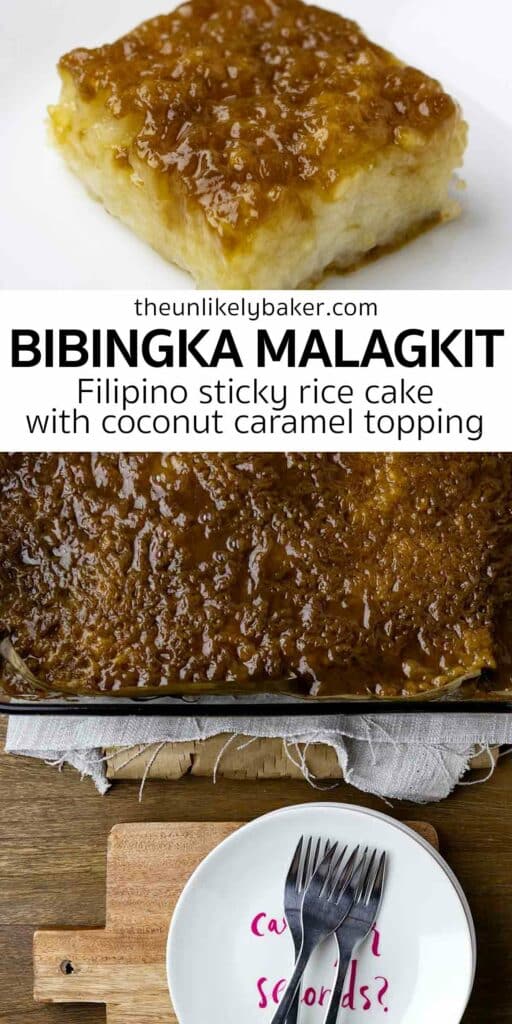
Bibingkang malagkit is a beloved Filipino treat — coconut sticky rice with a delicious coconut caramel topping. With just 6 ingredients and so easy to make, it’s perfect for picnics, potlucks, merienda and more.
(Try royal bibingka, espasol or ube biko for other varieties of Filipino rice cakes. Hooked on Filipino cuisine? Be sure to bookmark this ultimate collection of Filipino desserts.)
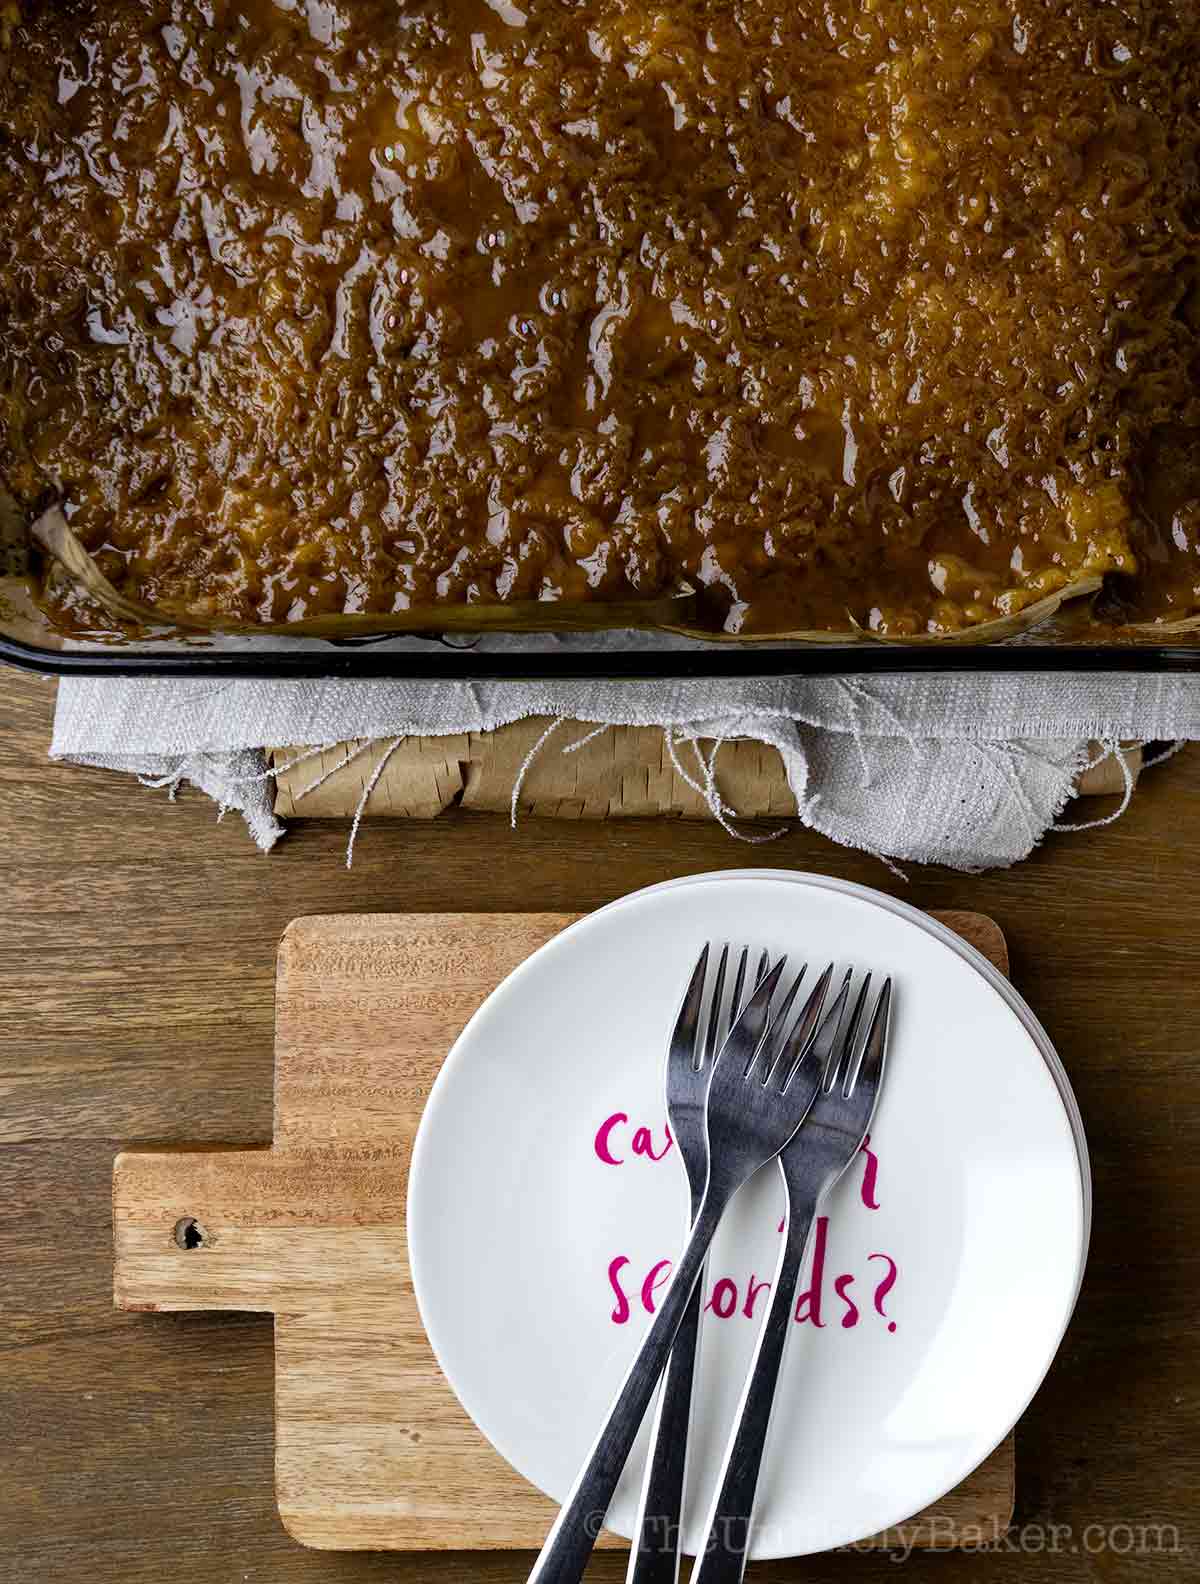
The Philippines is a land of coconuts. So it’s no surprise that a lot of our cuisine is coconut-based.
We love using glutinous rice too (also known as sticky rice, or malagkit in Tagalog) so you’ll see sweet treats like suman malagkit, champorado and more.
Bibingka malagkit is a delightful combination of the two. Let’s get to it.
What is bibingkang malagkit
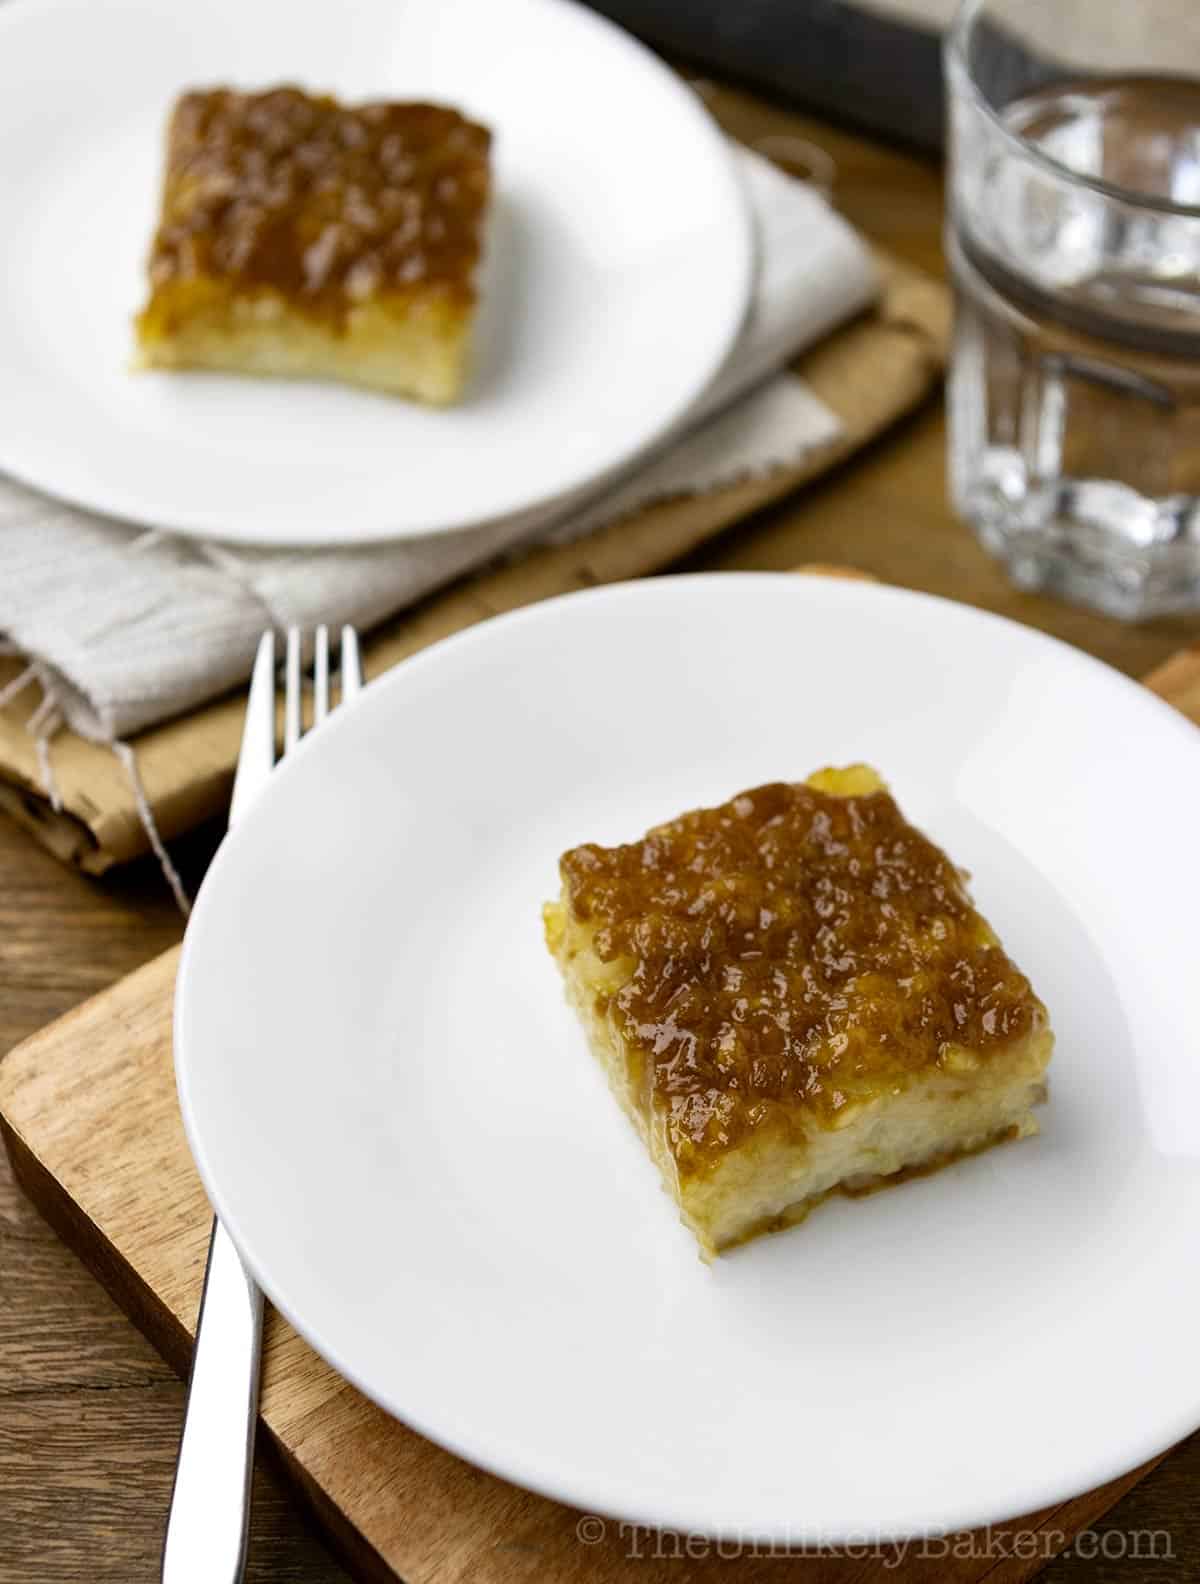
Bibingka malagkit is a kind of sticky rice cake. There are two components:
- Rice — cooked in a pot or a rice cooker until it has absorbed almost all the coconut milk. It’s then transferred to a baking pan lined with banana leaves.
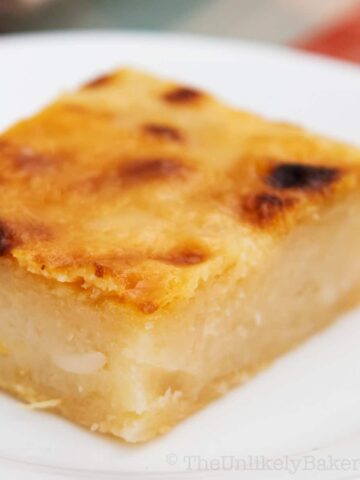
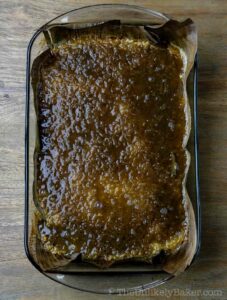
- Topping — a mixture of coconut cream and brown sugar cooked until syrupy, spread on top of the coconut rice, then baked.
Some variations include making it with langka, with macapuno or with condensed milk.
Why you’ll love making it
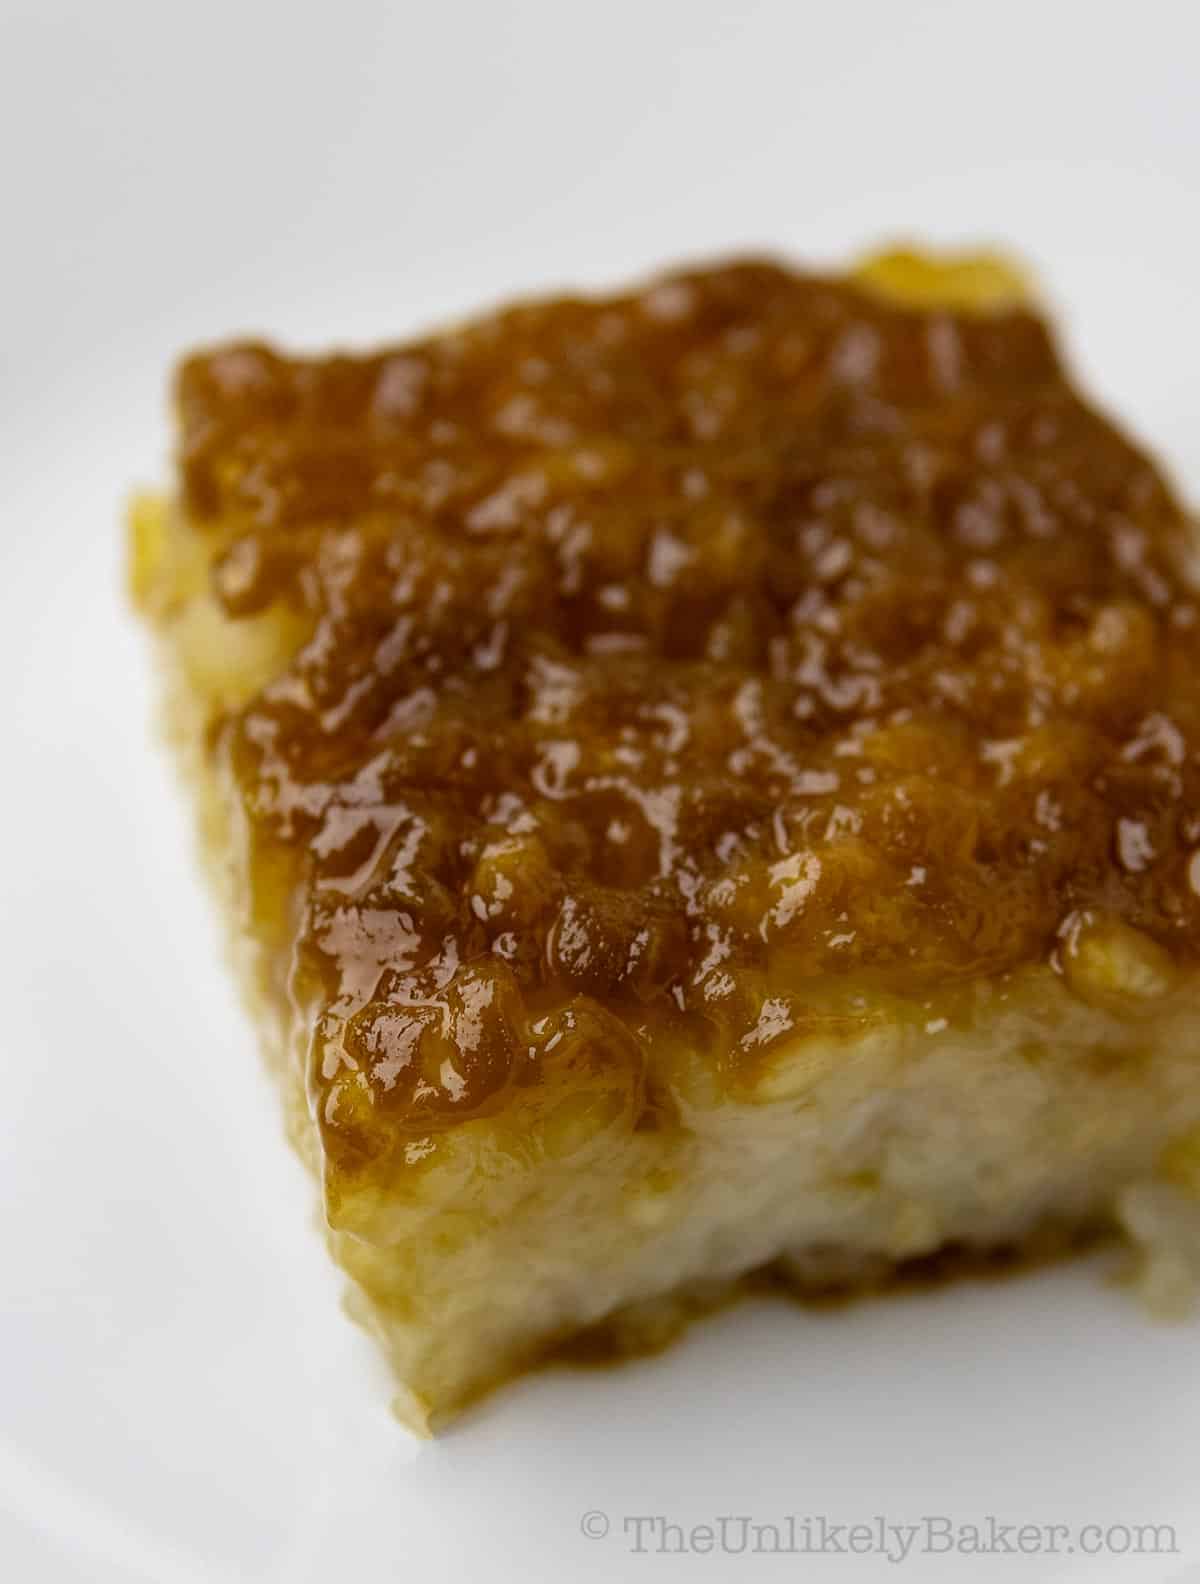
We make this recipe so often and I hope you’ll love it too!
- Easy forgiving recipe — there are two components but this is a really easy recipe to follow. And it’s also very forgiving; there’s very little chance of messing it up!
- Makes a big batch — this recipe makes a big batch that can be sliced into 24 squares or more. Perfect to bring to potlucks and picnics, serve to company, and other special occasions.
- Delicious and authentic — most importantly, it’s so good! And it looks and tastes like you remember it. I did make some adjustments so it doesn’t turn out too sweet like some bibingka we find in Manila, which makes it that much more delicious.
How to cook
This recipe for bibingkang malagkit involves cooking then baking the rice cake. No oven? No problem. Check out the FAQs.
Ingredients and tools
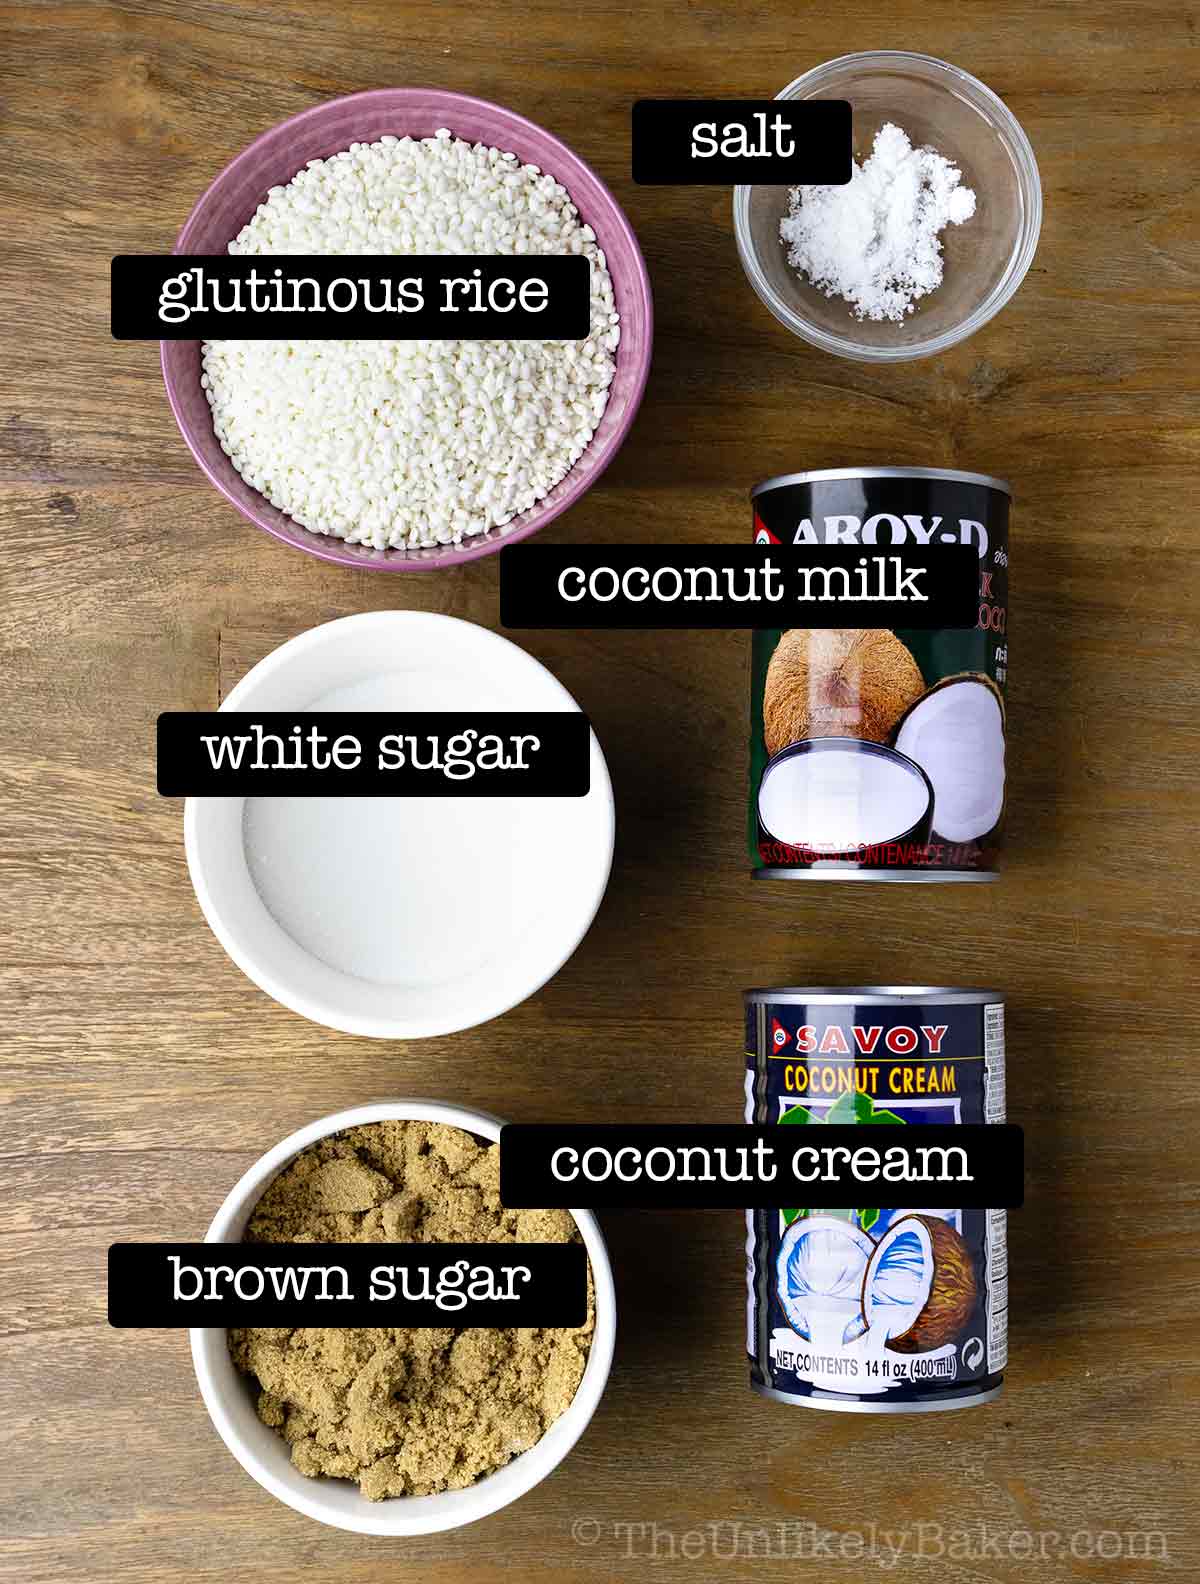
In addition to sugar, brown sugar and salt, you will need:
- Coconut milk — I recommend full fat coconut milk for best results.
- Coconut cream — coconut cream (referred to as kakang gata) is different from coconut milk in that cream contains less water and is much thicker. You know how sometimes when you open a can of coconut milk, some part of it has solidified? That can be considered coconut cream.
- Glutinous rice — also called sticky rice or sweet rice. And if you’re wondering if glutinous rice is the same as malagkit in the Philippines, yes it is!
- Banana leaves — I use banana leaves to line my pan and while this is optional, I highly recommend it to give your bibingka that authentic look and smokey flavor. The banana leaves I buy here are frozen.
- Baking dish — I use a 9×13 inch baking dish. If you want thicker slices, use a slightly smaller pan.
Step-by-step photos
Line a 9×13 inch baking dish with banana leaves (see Expert Tips on how to prep the banana leaves for use). If you can’t find banana leaves, you can use parchment paper.
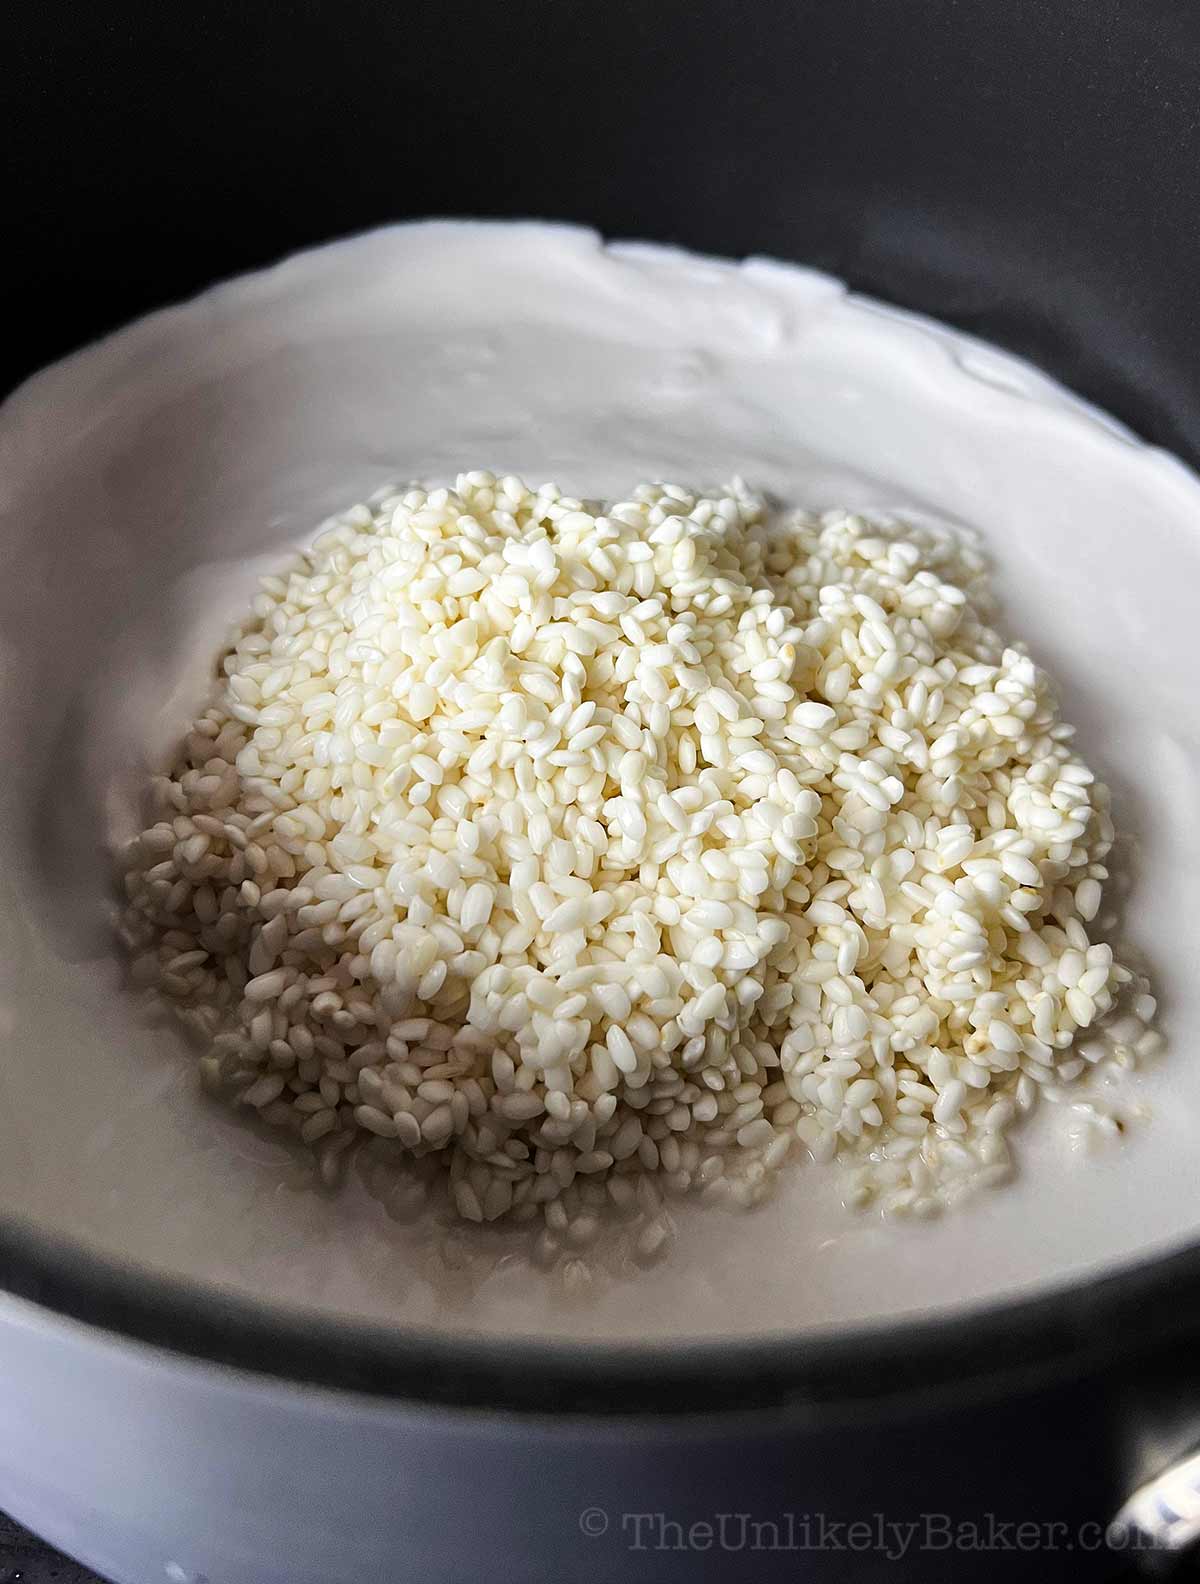
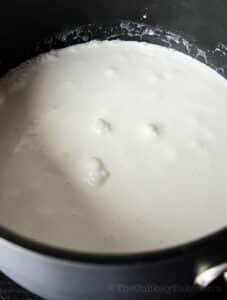
In a large pot, combine glutinous rice and coconut milk.
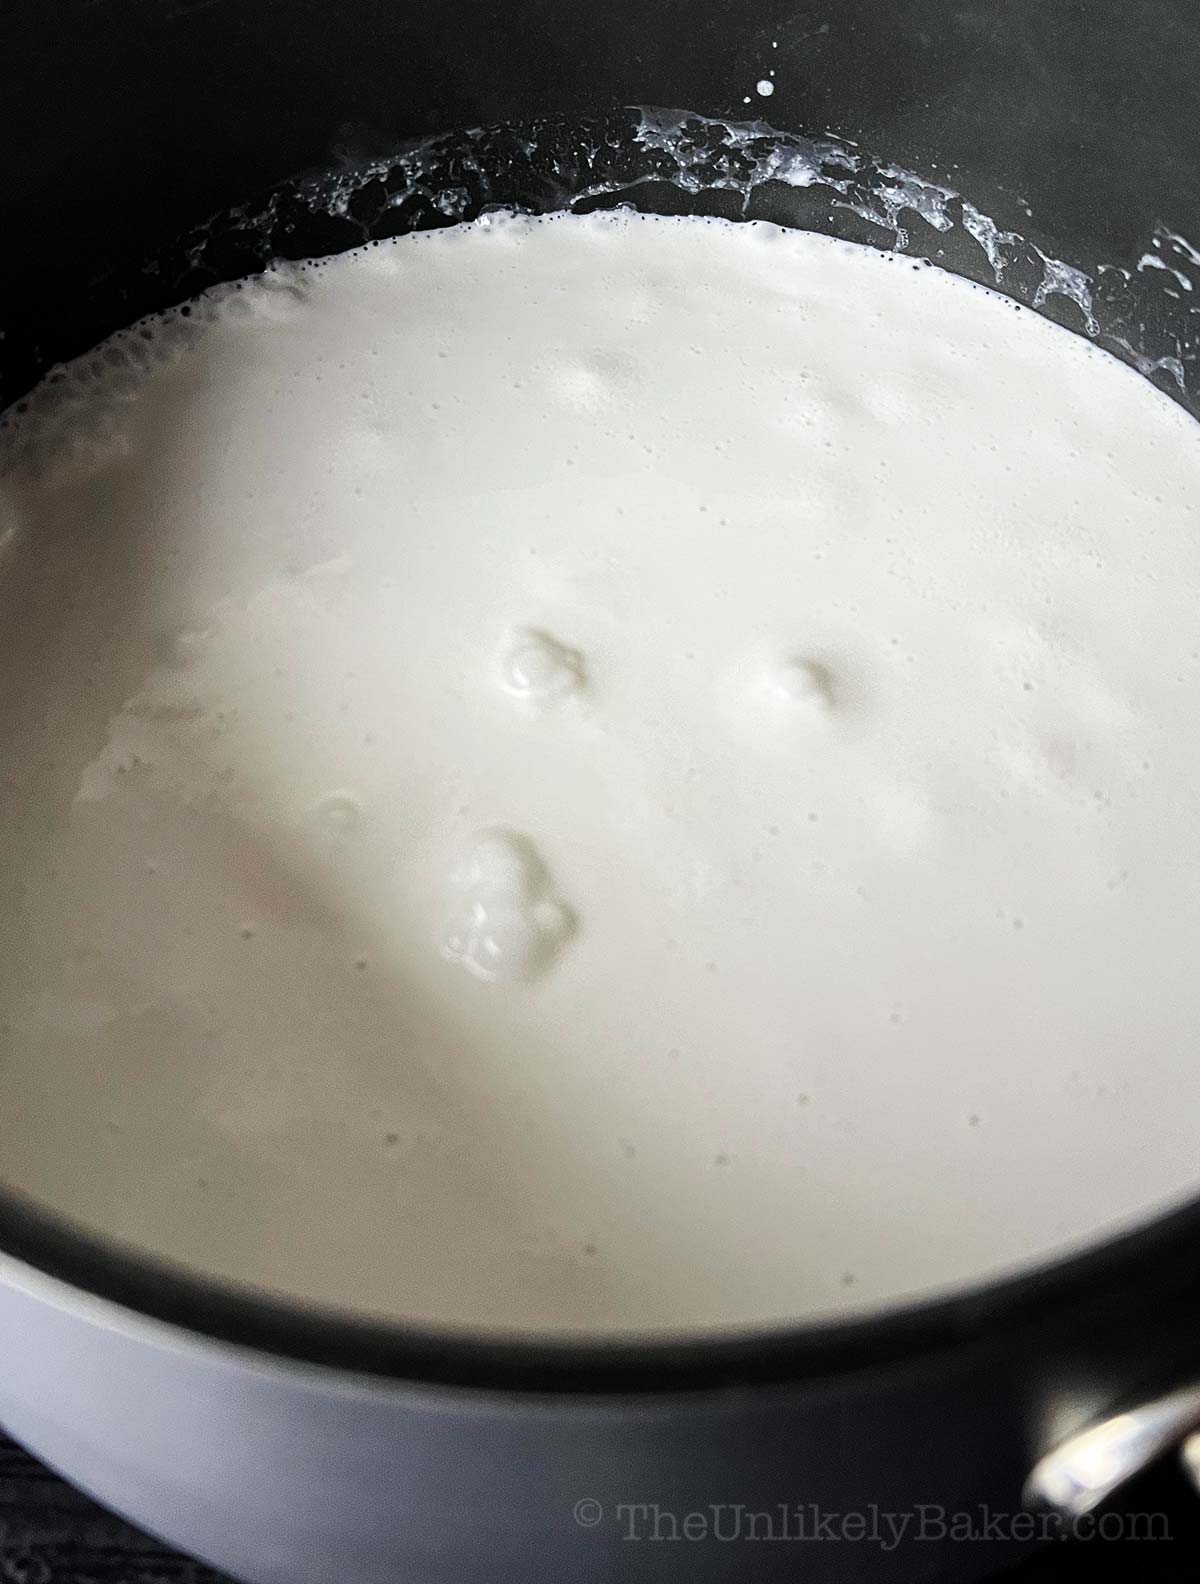
Bring to a boil.
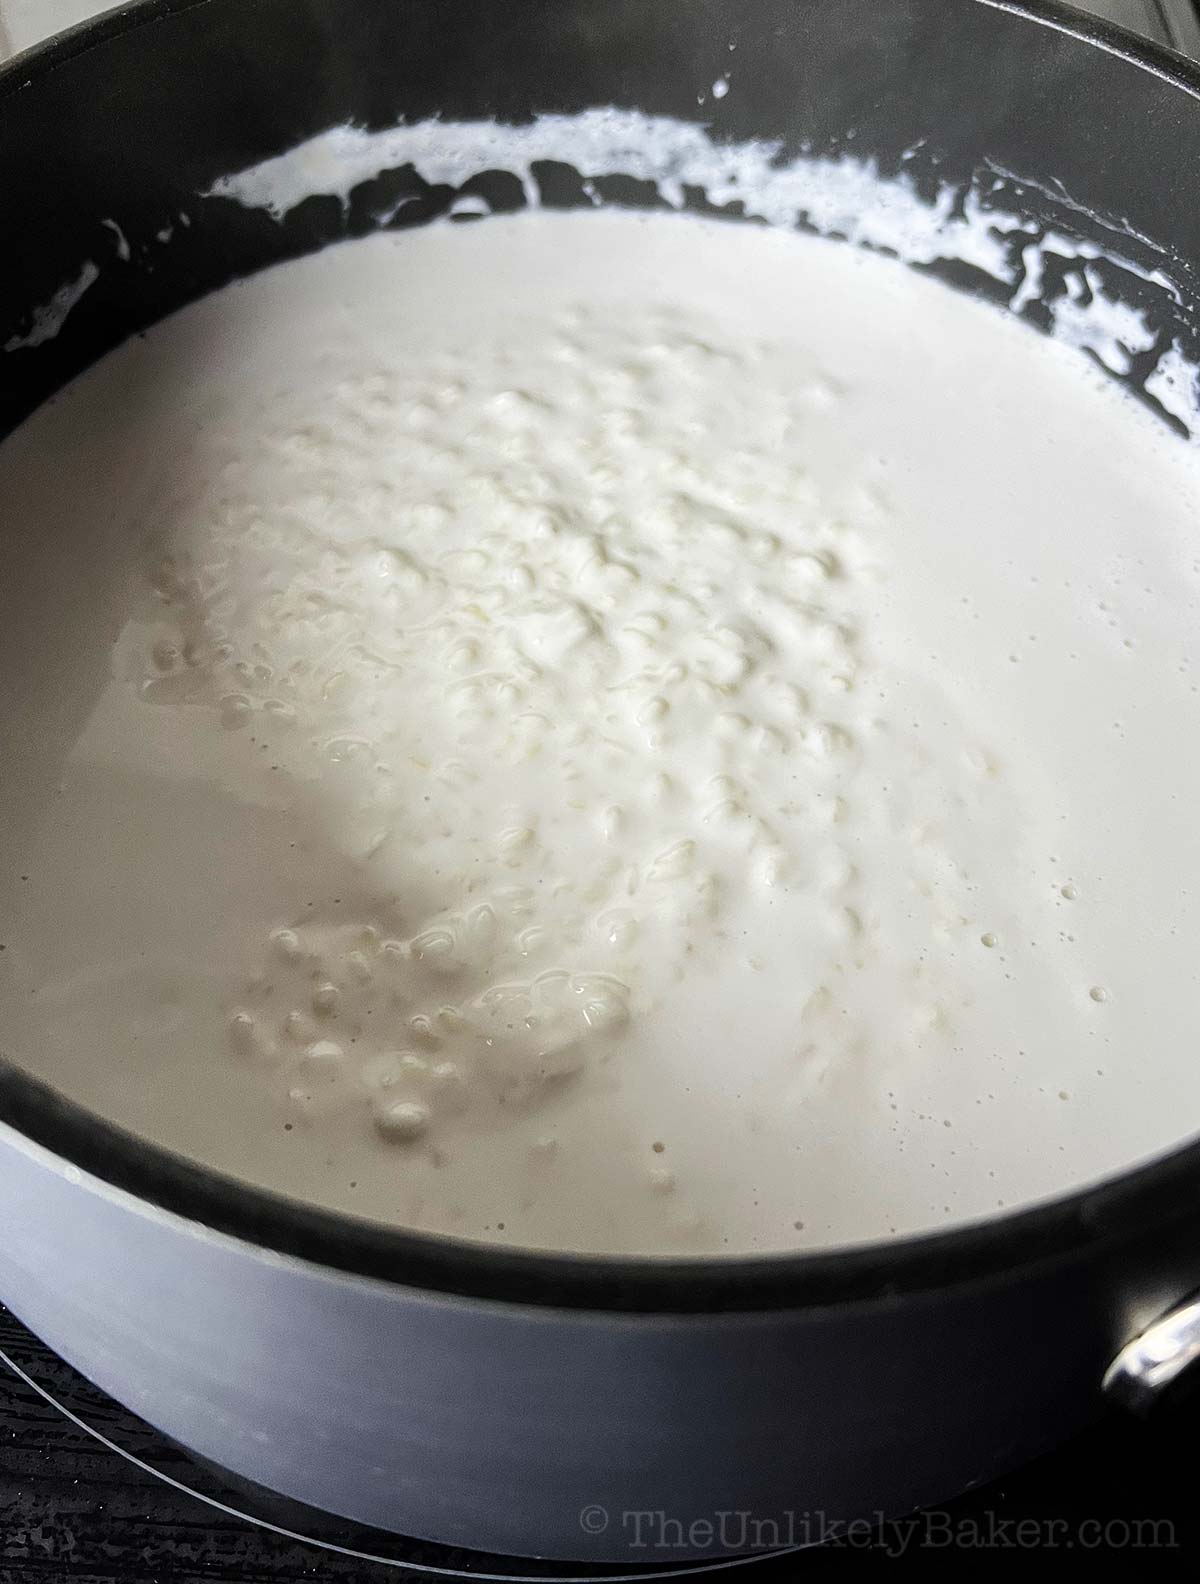
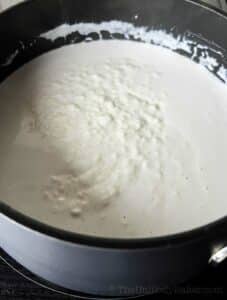
Lower the heat and gently simmer the mixture, stirring occasionally so the rice doesn’t burn.
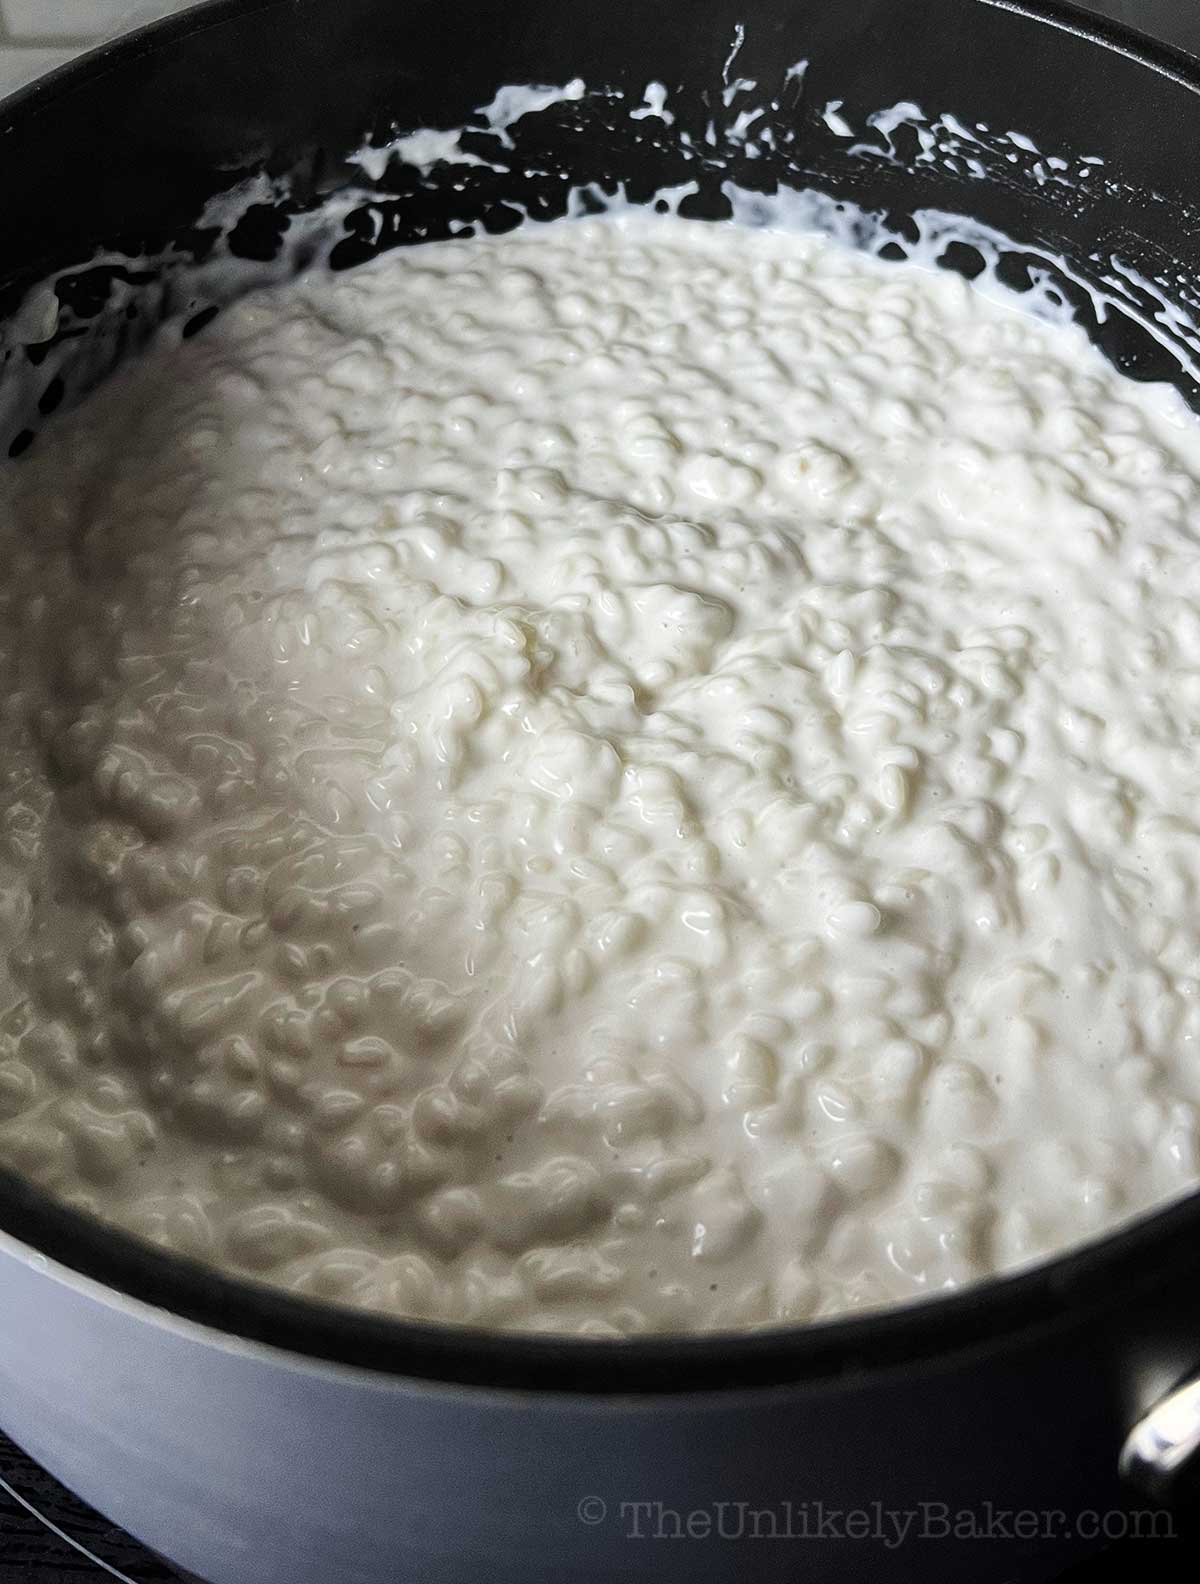
Allow the mixture to thicken considerably, or until the rice absorbs almost all the coconut milk.
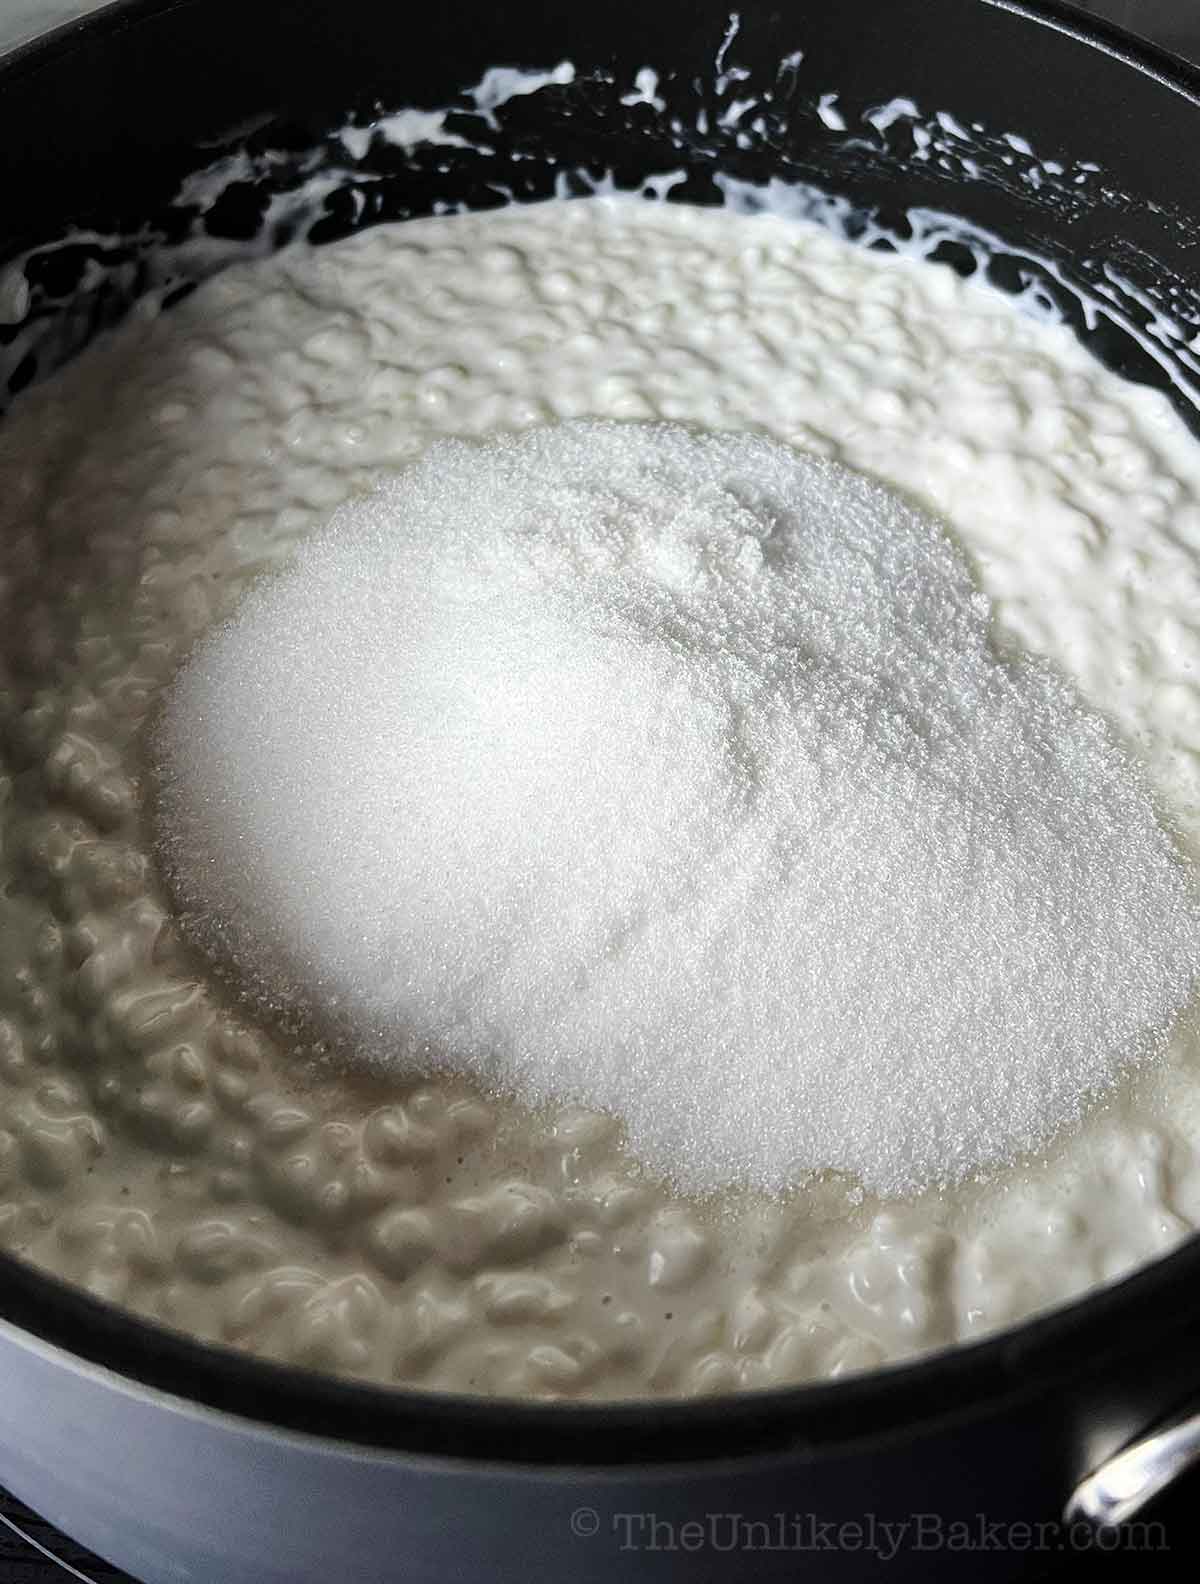
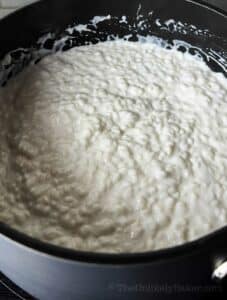
Add granulated sugar and salt.
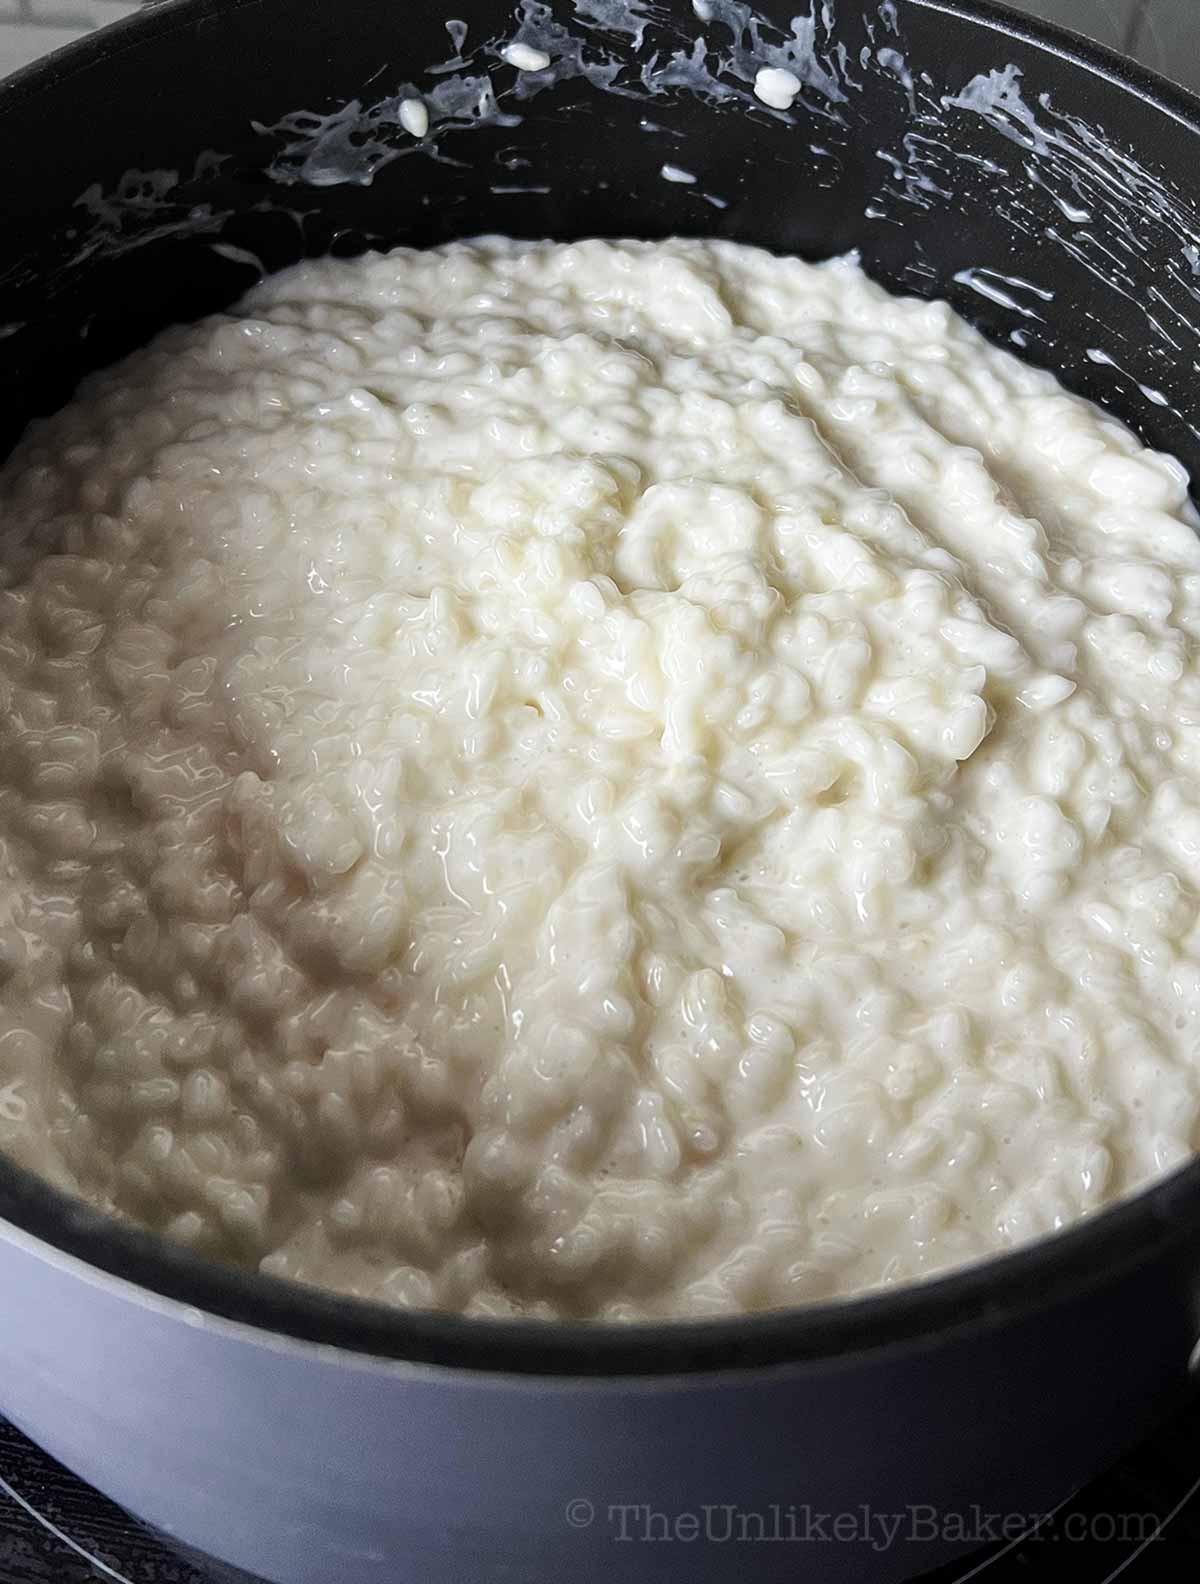
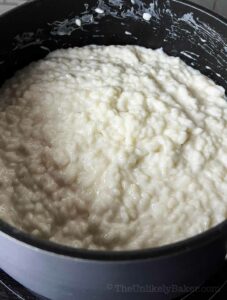
Continue cooking and stirring until the rice gets thick and sticky. You’ll want to cook until the mixture sticks together as you stir it.
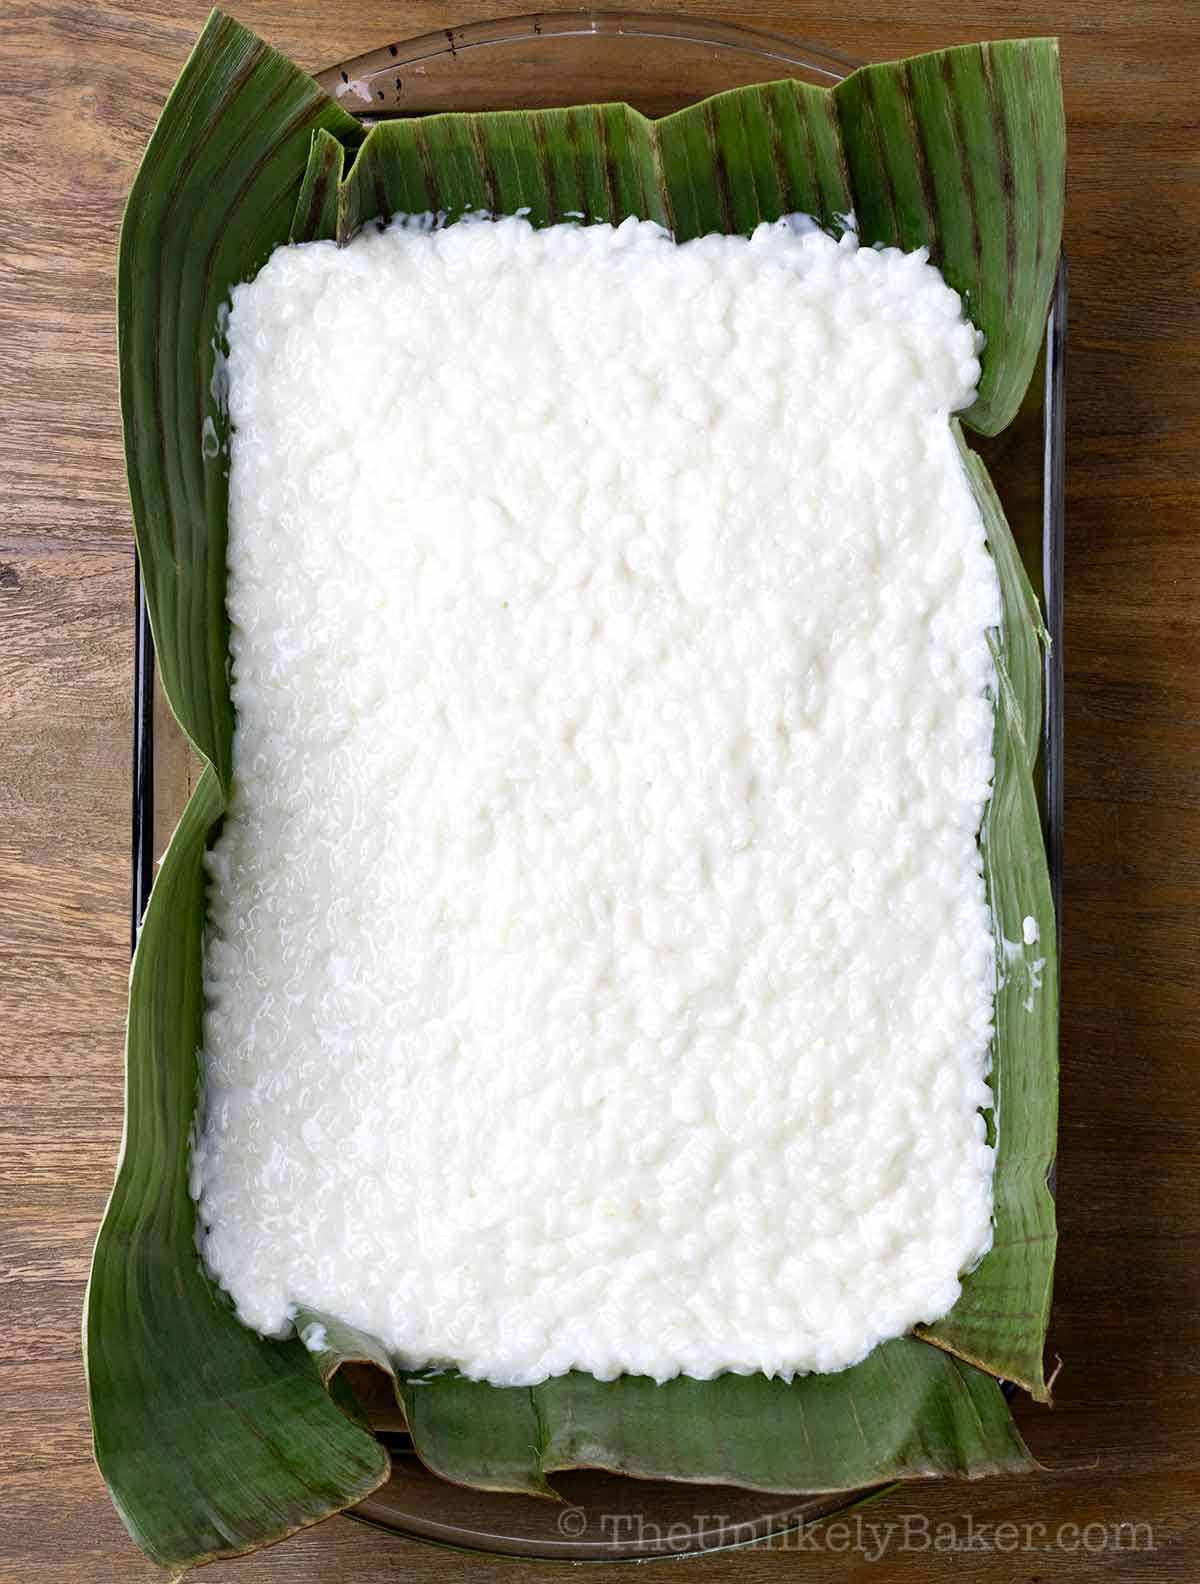
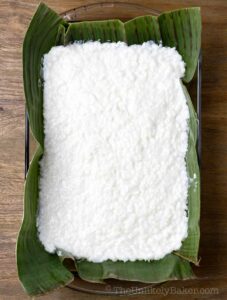
Remove from heat and transfer to prepared baking dish. Spread evenly and set aside while you preheat your oven to 350F.
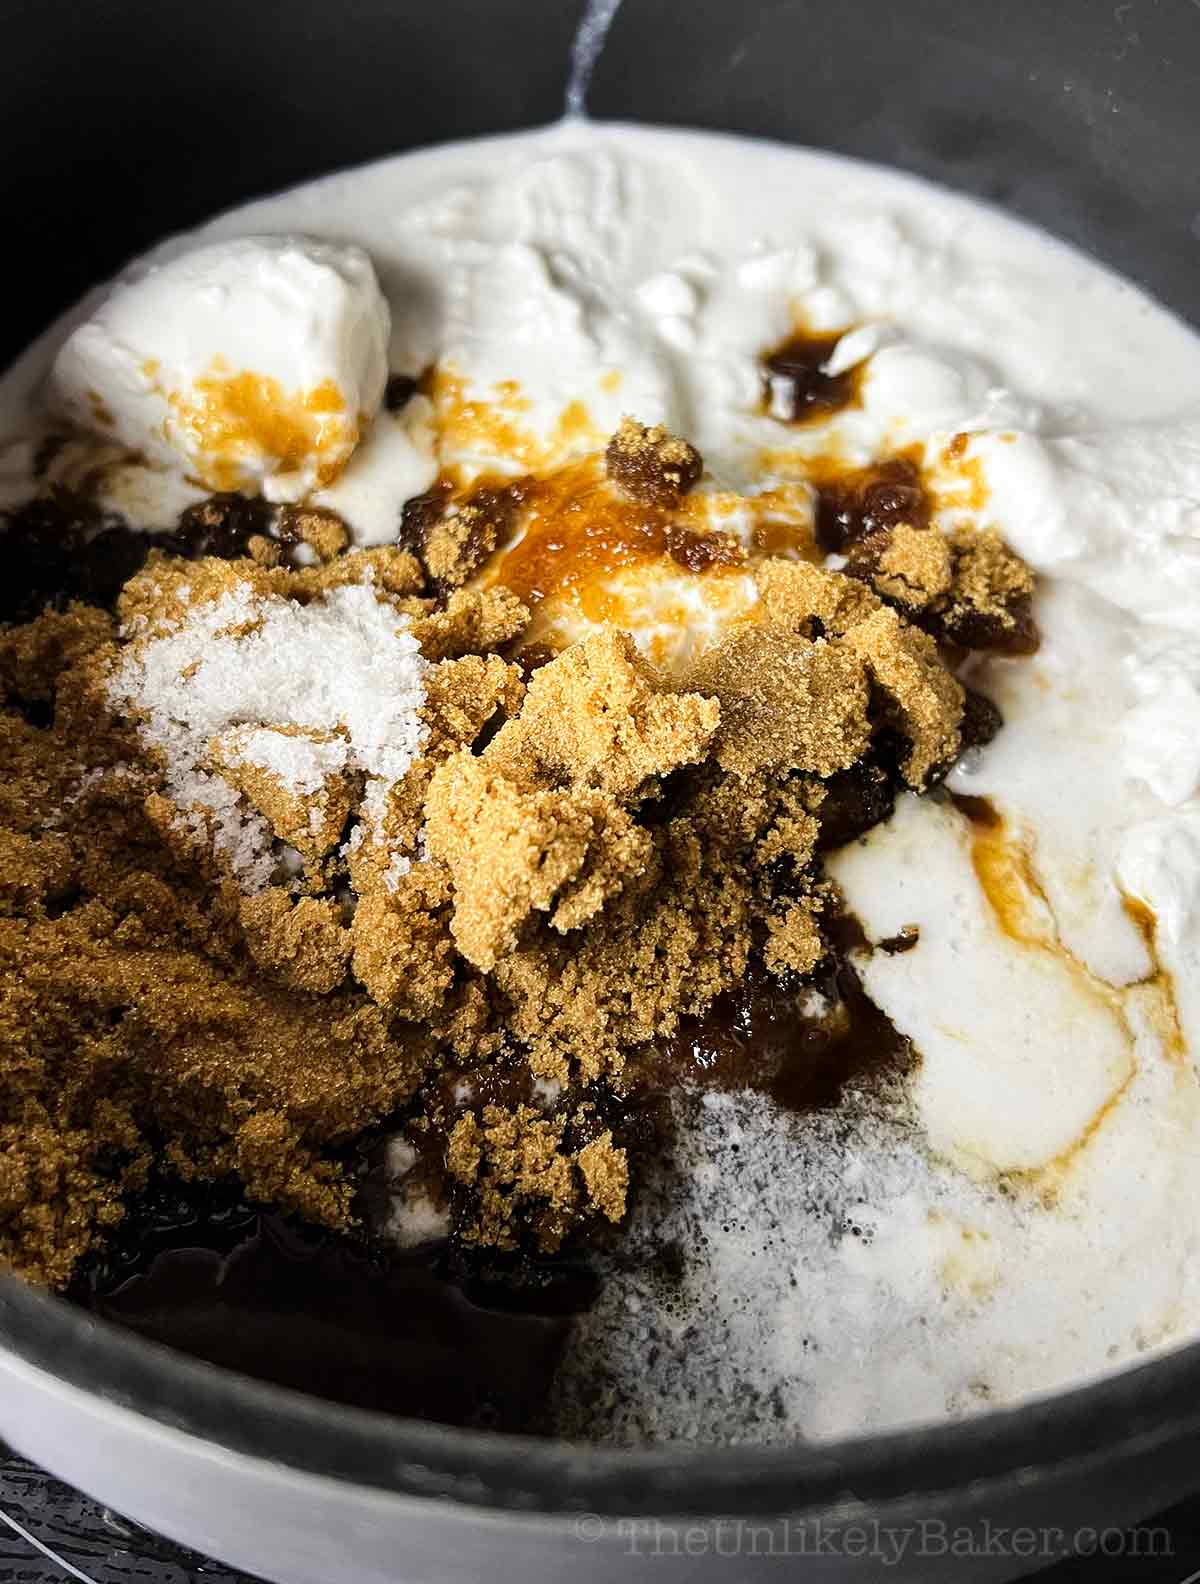
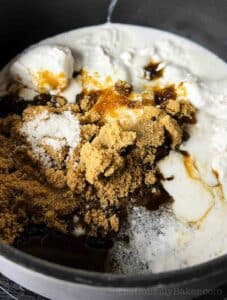
To make the topping, in a medium saucepan, combine all topping ingredients.
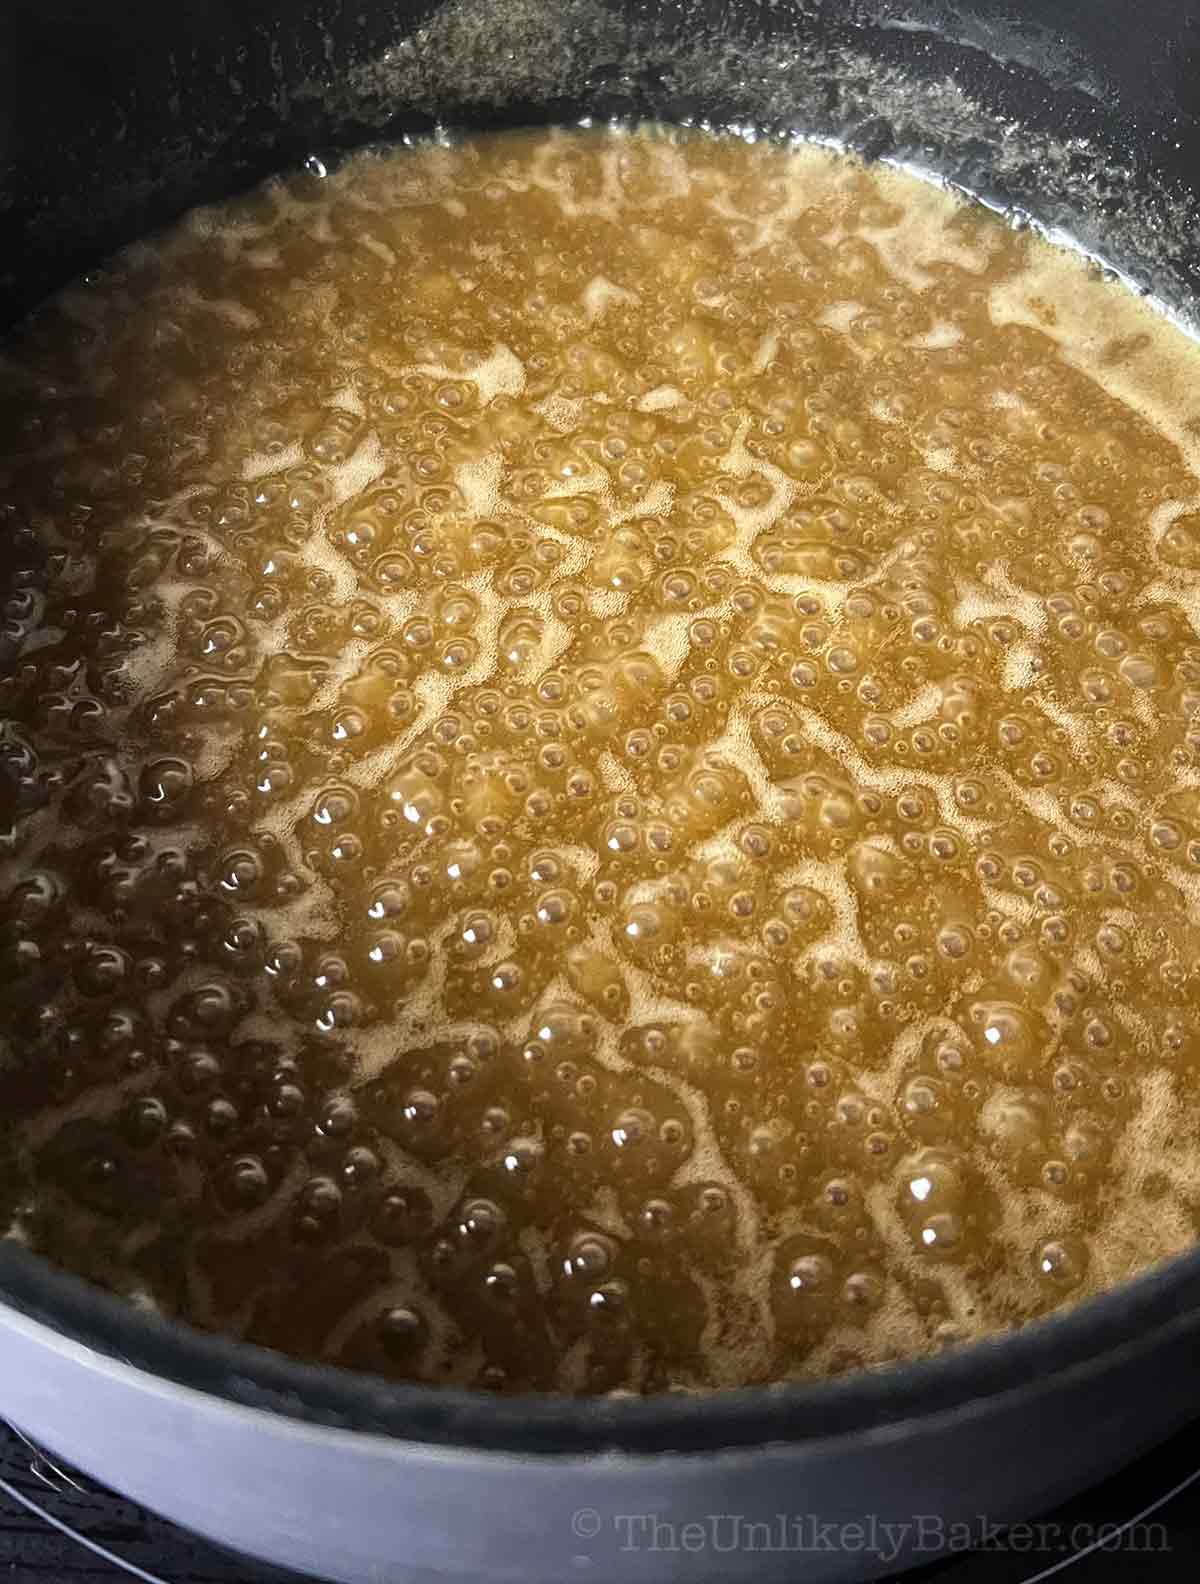
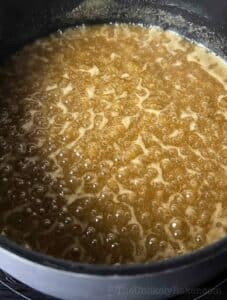
Bring to a boil then lower heat to a gentle simmer. Cook until the mixture is thick but still runny, like syrup.
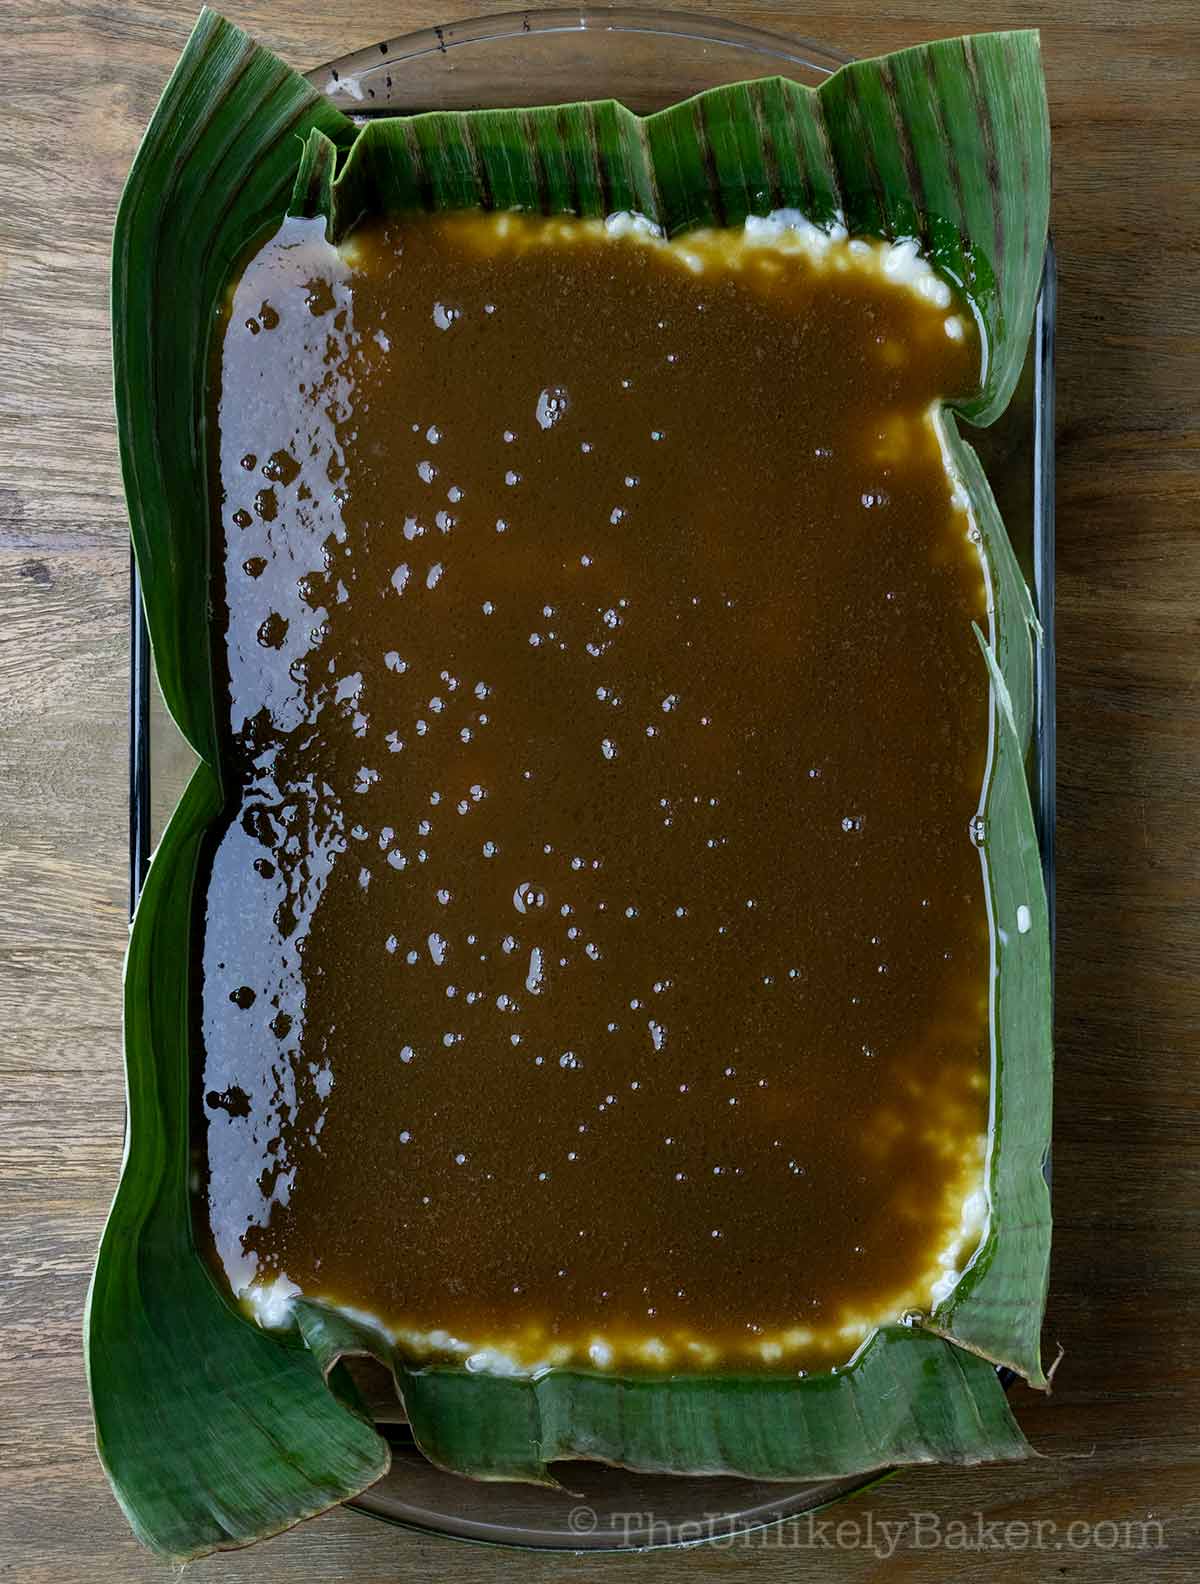
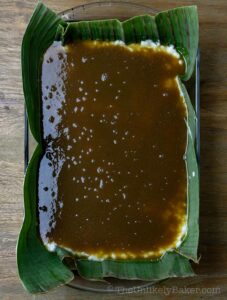
Pour the coconut caramel topping on top of your coconut rice and spread evenly.
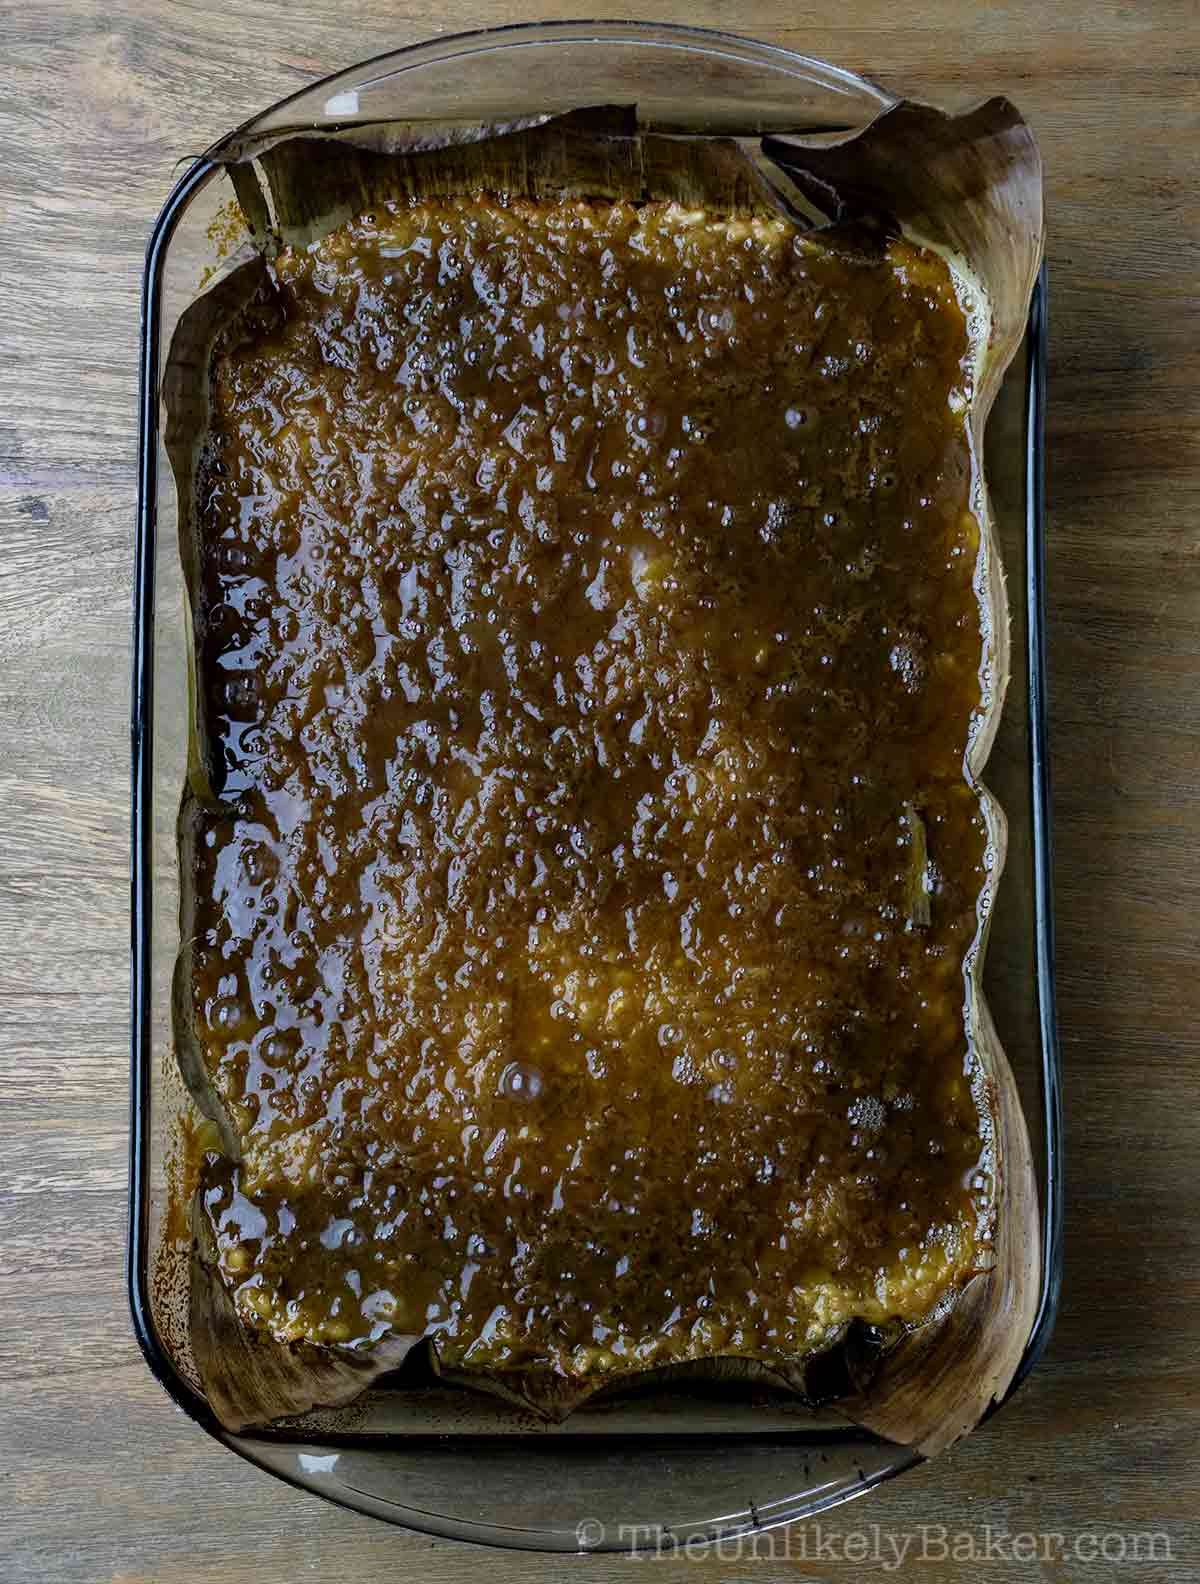
Bake for 60 minutes or until the topping becomes thick, sticky and dark brown. It’s okay to remove the pan from the oven while the topping is bubbling. Allow to cool before slicing and serving.
Expert tips
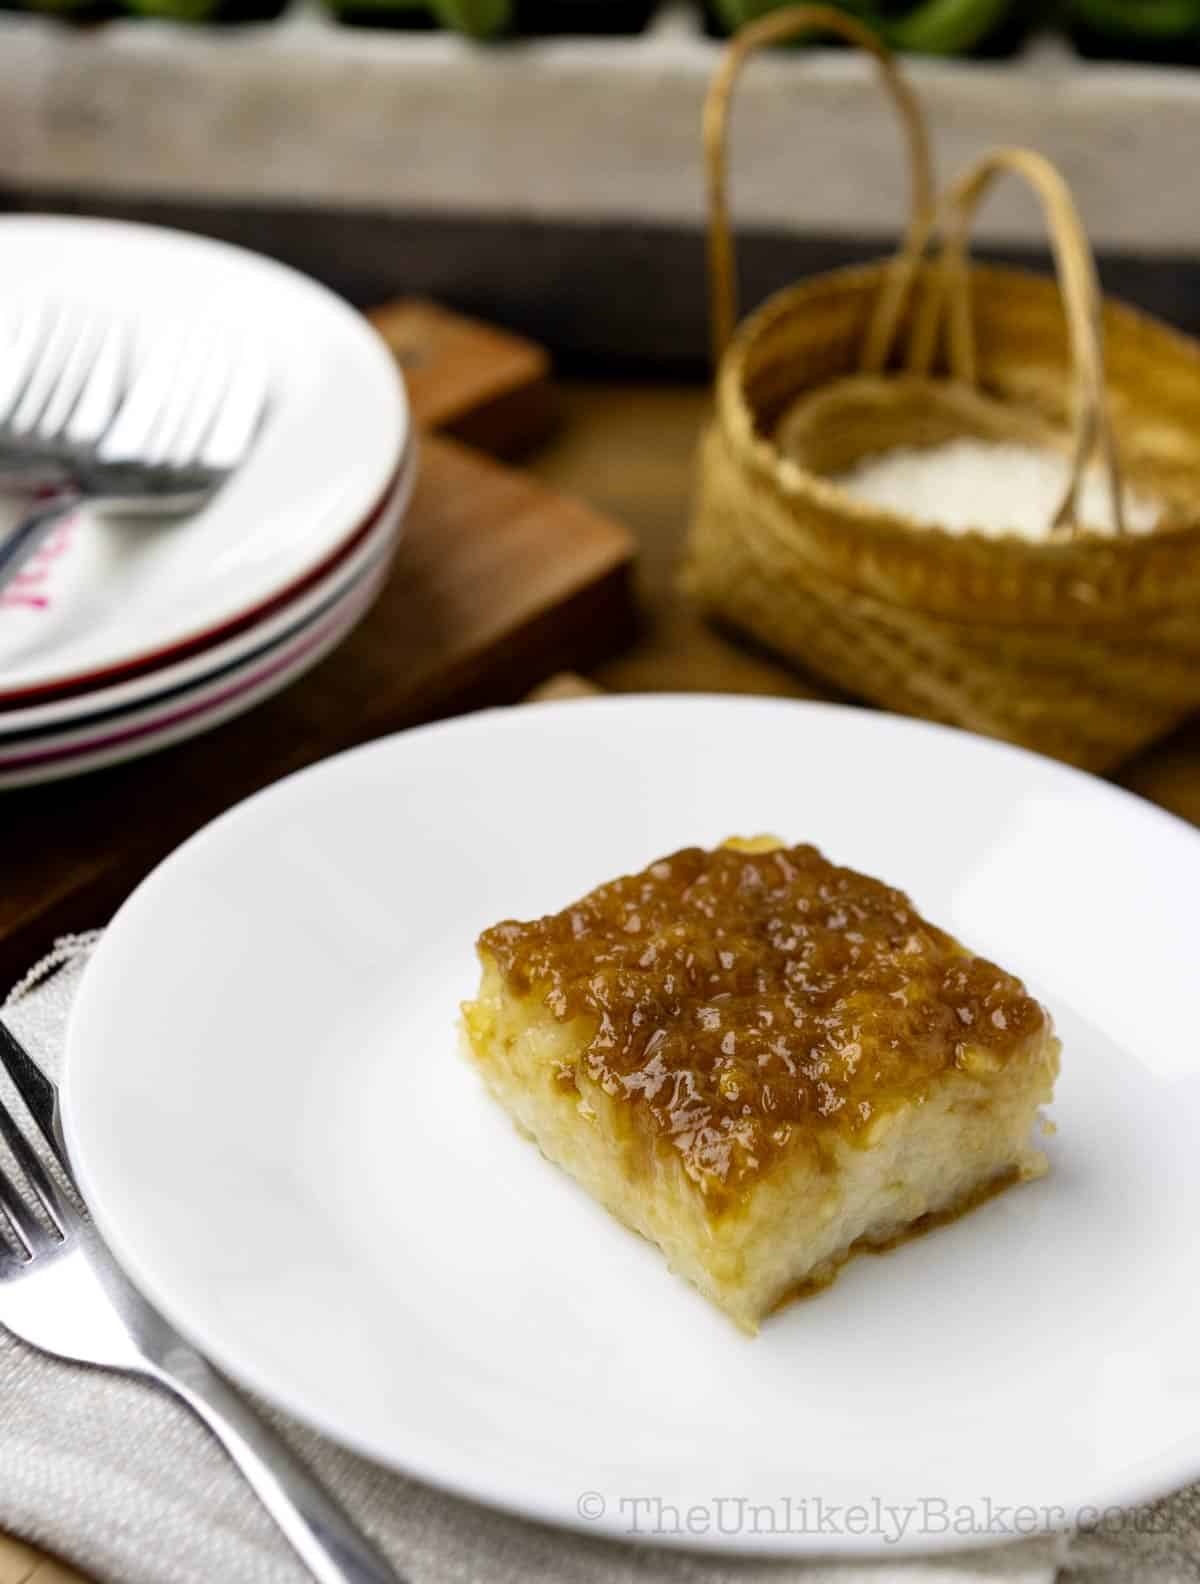
Easier than you thought, right? Here are more tips for the best bibingkang malagkit every time.
- Use the right kind of rice. We use glutinous rice in this recipe. Regular rice won’t work. It would say glutinous, sweet, or sticky rice on the packaging.
- Don’t over cook the rice. When you’re reducing the rice and the coconut milk, you want the mixture to thicken but not to cook all the way. I usually take it off the heat when it’s about 75-80% cooked. Overcooking at this point will result to unnecessarily tough bibingka. We’re going for slightly makunat, not matigas.
- Don’t over cook the topping. You also don’t want the topping to get too thick otherwise, it will turn to candy. It should still be spreadable.
- Broiling is an option. Is your topping not getting as brown as you’d like? You can broil for a couple of minutes to get that perfectly burnt look. You can also use a blow torch if you have one.
- Using frozen banana leaves. Make sure to thoroughly rinse and dry the banana leaves before using. To make them more pliable, pour boiling water over them (repeat a few times) or pass them over a small open flame (be careful because they will catch on fire or burn) until soft. And use more than one so they overlap and line your pan completely.
Recipe FAQs
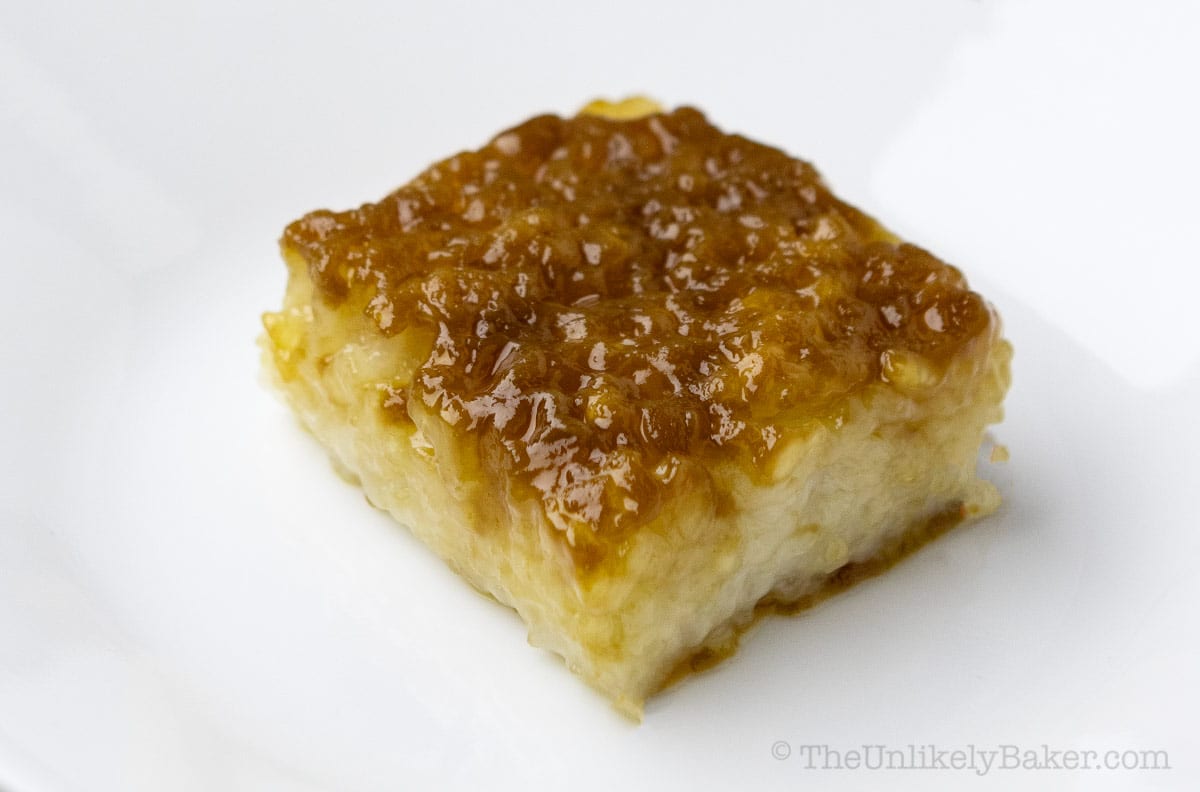
Bibingkang malagkit is made with glutinous rice and topped with a thick coconut syrup or spread.
Bibingka is made with glutinous rice flour and topped with cheese, salted eggs and shredded coconut. This bibingka cheesecake is based on it.
The terms “bibingkang malagkit” and “biko” are often used interchangeably and sometimes mean the same thing in some parts of the Philippines.
However, technically, biko, while also made with glutinous rice, is not topped with coconut syrup but simply with latik or coconut curd.
Yes, however, you won’t get the same sticky topping and makunat rice texture. It will still be delicious though.
Main differences in preparation:
– Cook the rice completely then transfer to pan.
– Thicken the topping more then spread on top of rice.
– Allow your bibingka to set and firm up a little bit before serving.
You can make this the day before you plan on serving it. Allow to cool completely then keep it covered in the fridge.
Place on your counter to thaw before serving or warm the slices in the microwave until heated through.
Bibingka malagkit is best served the day it’s made.
Leftovers can be stored in a covered container in the fridge and should keep for 2-3 days. After that, it will get too tough to enjoy.
To serve, warm in the microwave until heated through.
Other Filipino recipes
Interested in making other Filipino recipes? Try these:
Happy baking!
Did you make this delicious Filipino kakanin? I’d love to hear all about it! Leave a comment or a star rating below. You can also tag me on Instagram or Facebook. I’d love to see your creations!
You can also find me on Pinterest, Twitter and YouTube.
Bibingkang Malagkit
Equipment
Ingredients
Sticky Coconut Rice
- 2 14-oz cans coconut milk
- 2 cups glutinous rice washed and drained
- ½ cup granulated sugar
- ¼ tsp salt
Coconut Caramel Topping
- 1 14-oz can coconut cream
- 1 cup brown sugar packed
- ½ tsp salt
Instructions
- Line a 9×13 inch baking dish with banana leaves. If you can’t find banana leaves, you can use parchment paper.
- In a large pot, combine glutinous rice and coconut milk. Bring to a boil.2 cups glutinous rice, 2 14-oz cans coconut milk

- Lower the heat and gently simmer the mixture, stirring occasionally so the rice doesn’t burn.

- Allow the mixture to thicken considerably, or until the rice absorbs almost all the coconut milk.

- Add granulated sugar and salt and continue cooking and stirring until the rice gets thick and sticky. You want the mixture to stick together as you stir it.½ cup granulated sugar, ¼ tsp salt

- Remove from heat and transfer to prepared baking dish. Spread evenly and set aside.

- Preheat your oven to 350F.
- In a medium saucepan, combine all topping ingredients.1 14-oz can coconut cream, 1 cup brown sugar, ½ tsp salt

- Bring to a boil then lower heat to a gentle simmer. Cook until the mixture is thick but still runny, like syrup.

- Pour the coconut caramel topping on top of your coconut rice and spread evenly.

- Bake for 60 minutes or until the topping becomes thick, sticky and dark brown. It’s okay to remove the pan from the oven while the topping is bubbling.

- Allow to cool before slicing and serving.
Video
Notes
- Total yield depends on how big or small your serving size is. The estimated nutrition information is based on 24 servings.
- If using banana leaves, make sure to thoroughly rinse and dry before using. To make them more pliable, pour boiling water over them (repeat a few times) or pass them over a small open flame (be careful because they will catch on fire or burn) until soft. And use more than one so they overlap and line your pan completely.
- If your topping is not getting as brown as you’d like, you can broil for a couple of minutes to get that perfectly burnt look. You can also use a blow torch if you have one.
- Be careful when bringing out your bibingka malagkit from the oven. The topping is most likely still bubbly and very hot.
- See post for more tips, FAQs and step-by-step photos.
Nutrition
Nutritional information are estimates only.

Nome
Used your recipe and added unsweetened cocoa powder as well as hickory smoked crushed almonds and some applewood smoked salt.
Delicious
Jolina
Hi Nome, those are certainly very interesting additions. Glad they worked out!
Anna M
Best bibingka ever!!!
I’ve tried many recipes, this is yet the best.
I also decreased the sugar for both sticky rice (less 2 T) and topping (3/4 c instead of 1c).
Also simmered more coconut cream while the bibingka was in the oven until it became latik. Then I poured it over for added ooomph.
Jolina
Thanks Anna! I’d love to try the simmered coconut cream next time, sounds delicious!!
Mylene
Your bibingka malagkit recipe tastes so much like my Lola’s recipe. Thank you so much!!
Jolina
I’m flattered! Lola recipes are the best 🙂 Glad you enjoyed the bibingka Mylene!
Tina
I wish that I used less sugar. This was like 50% sweeter than my family’s recipe. Too sweet :/ Easy to follow recipe though.
Jolina
Hi Tina, thanks for trying it out! Happily, the recipe is very easy to adjust sweetness according to your taste.
Viki
I buy this quite often @ the Filipino store.
Since I found your recipe I thought I’d give it a try. Stirring the rice with the coconut milk didn’t seem to get as sticky as I had thought it would. The cans of coconut milk were 13 ounces versus 14 ounces as you have suggested. I followed all the instructions and putting the caramel topping on was not as syrupy as I thought it would’ve been. So right now it’s baking in the oven and I will send you a picture once it’s complete.
Jolina
Hi Viki, just make sure you used glutinous rice and you should be good!
Lauren
We always have this during the Christmastime! I can’t wait to make it 🙂
Lynndee
I love bibingka and I totally indulged in it during our vacation early this year. But I haven’t tried preparing it here in the U.S. I must try your recipe soon! Yum!
Bingbing
I love the topping of coconut and brown sugar. It’s my favorite part of bibingka! Thanks for the recipe.
Jolina
Mine too! 🙂
Clarie
This is one of my favorite kakanin! Your version is not too sweet which my mom likes.
Jolina
That’s what my parents like about it too 🙂
Ami
Hi Jolina this is my father’s favorite kakanin and I’m happy to be able to make it for him. He loves it! Already have requests to make again.
Jolina
Glad he likes it Ami!
Linda
Hi Jolina, your bibingka recipe tastes like how I remember bibingka in our hometown. Thanks for the recipe!
Jolina
That’s a wonderful thing to hear Linda!
Amber Myers
This looks delicious. I have always been a fan of Filipino foods. I’m excited to try it.
Anna
This is one of my most favorite Filipino kakanin! And first time making it too! My husband who’s not a big fan if rice desserts loved it as well. Thanks for the recipe! Authentic and delicious.
Jolina
You’re most welcome Anna! Glad you and your husband liked it 🙂
Katrina
Hi Jolina, making bibingka made me nostalgic for the days in RP! It’s been a while since I had some bibingka and it was a pleasure to make some. Tastes just as I remember. Thanks for all your Filipino recipes! Btw, one whole tray is too much for one person haha next time I will cut the recipe in half.
Jolina
That’s great to hear Katrina! And you’re very welcome 🙂