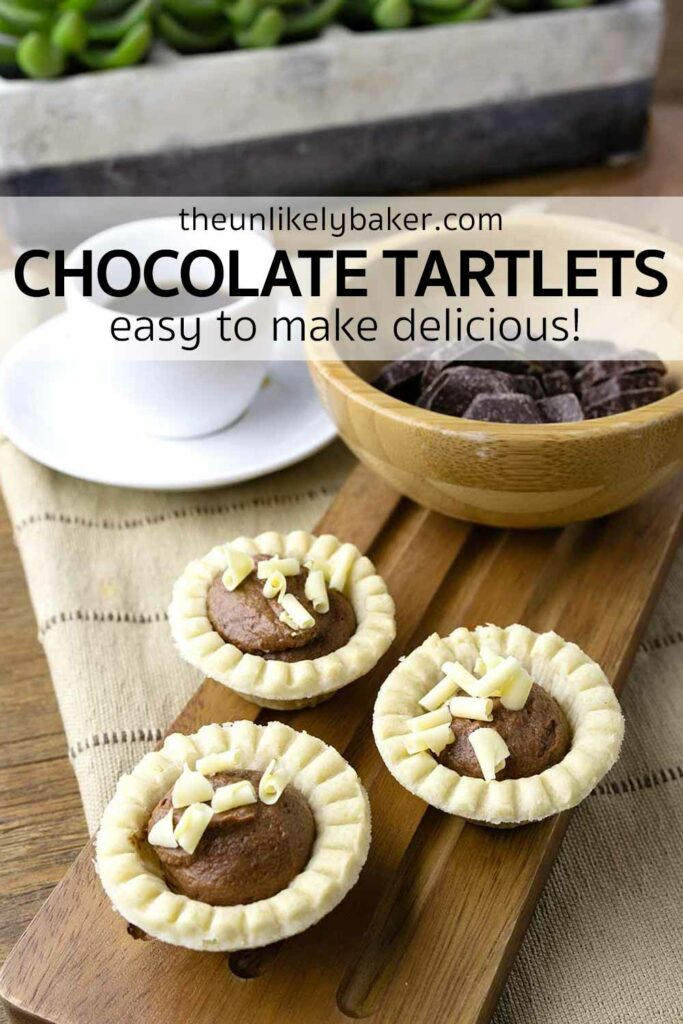
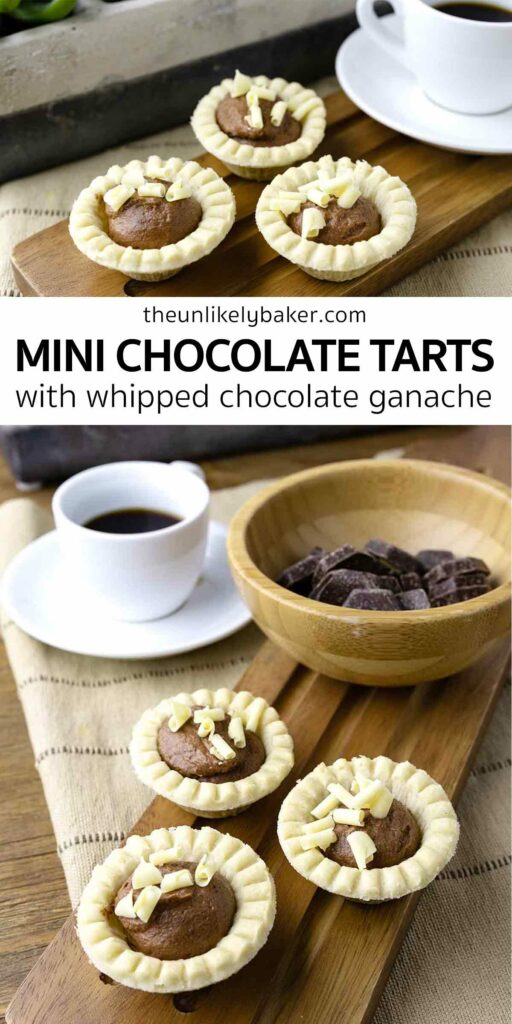
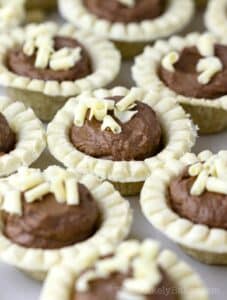
Mini chocolate tarts are the perfect 2-bite party desserts. They look chic and elegant, taste sophisticated, but are very easy to make! You only need 5 ingredients and we use ready-made tart shells for added convenience.
(Looking to make chocolate cake, too? This chocolate chiffon cake with whipped cream frosting is always a hit.)
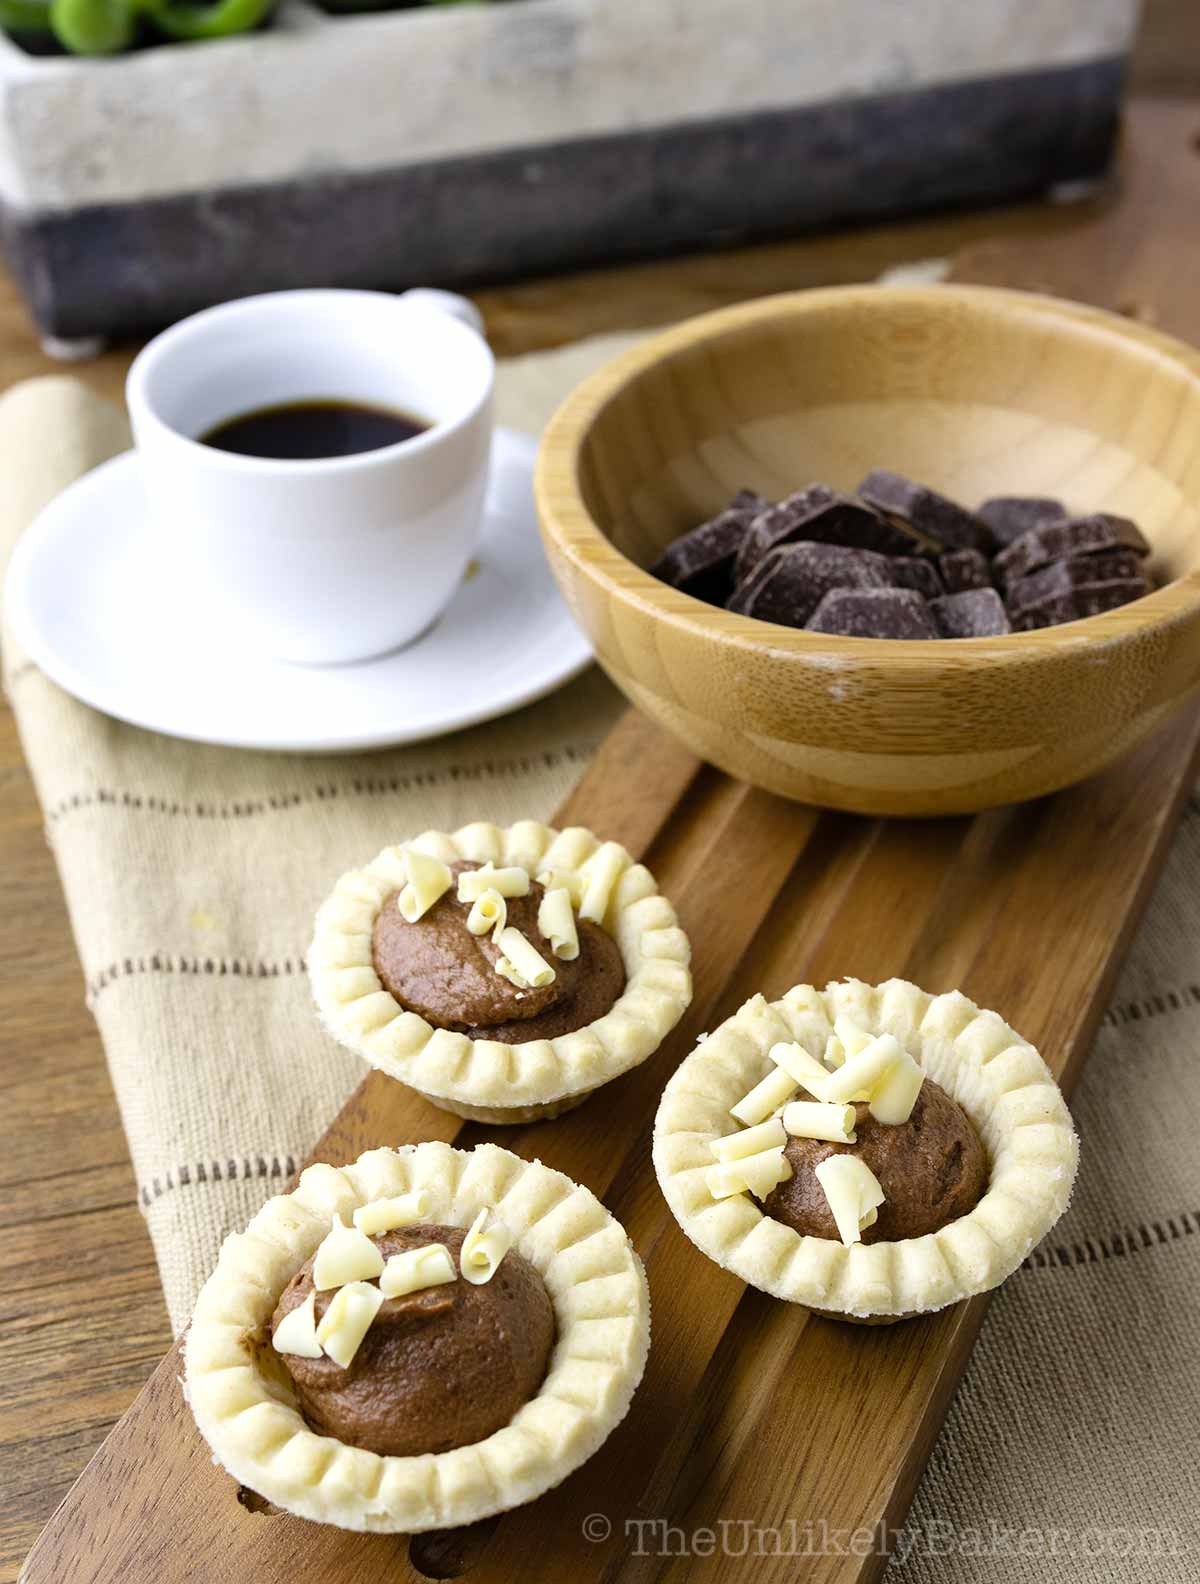
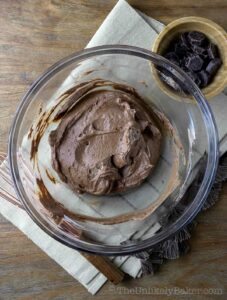
Unlike other chocolate tarts, we use a whipped chocolate ganache filling in this recipe, one that I learned to make from What’s for Dessert, a highly recommended cookbook if you have a sweet tooth like me!
Using semi-sweet chocolate, the ganache is light, mousse-like and doesn’t need added sugar to taste amazing.
Fair warning — you can’t east just one of these chocolate tartlets. They’re that good.
Let’s get to it.
Why you’ll love making this recipe
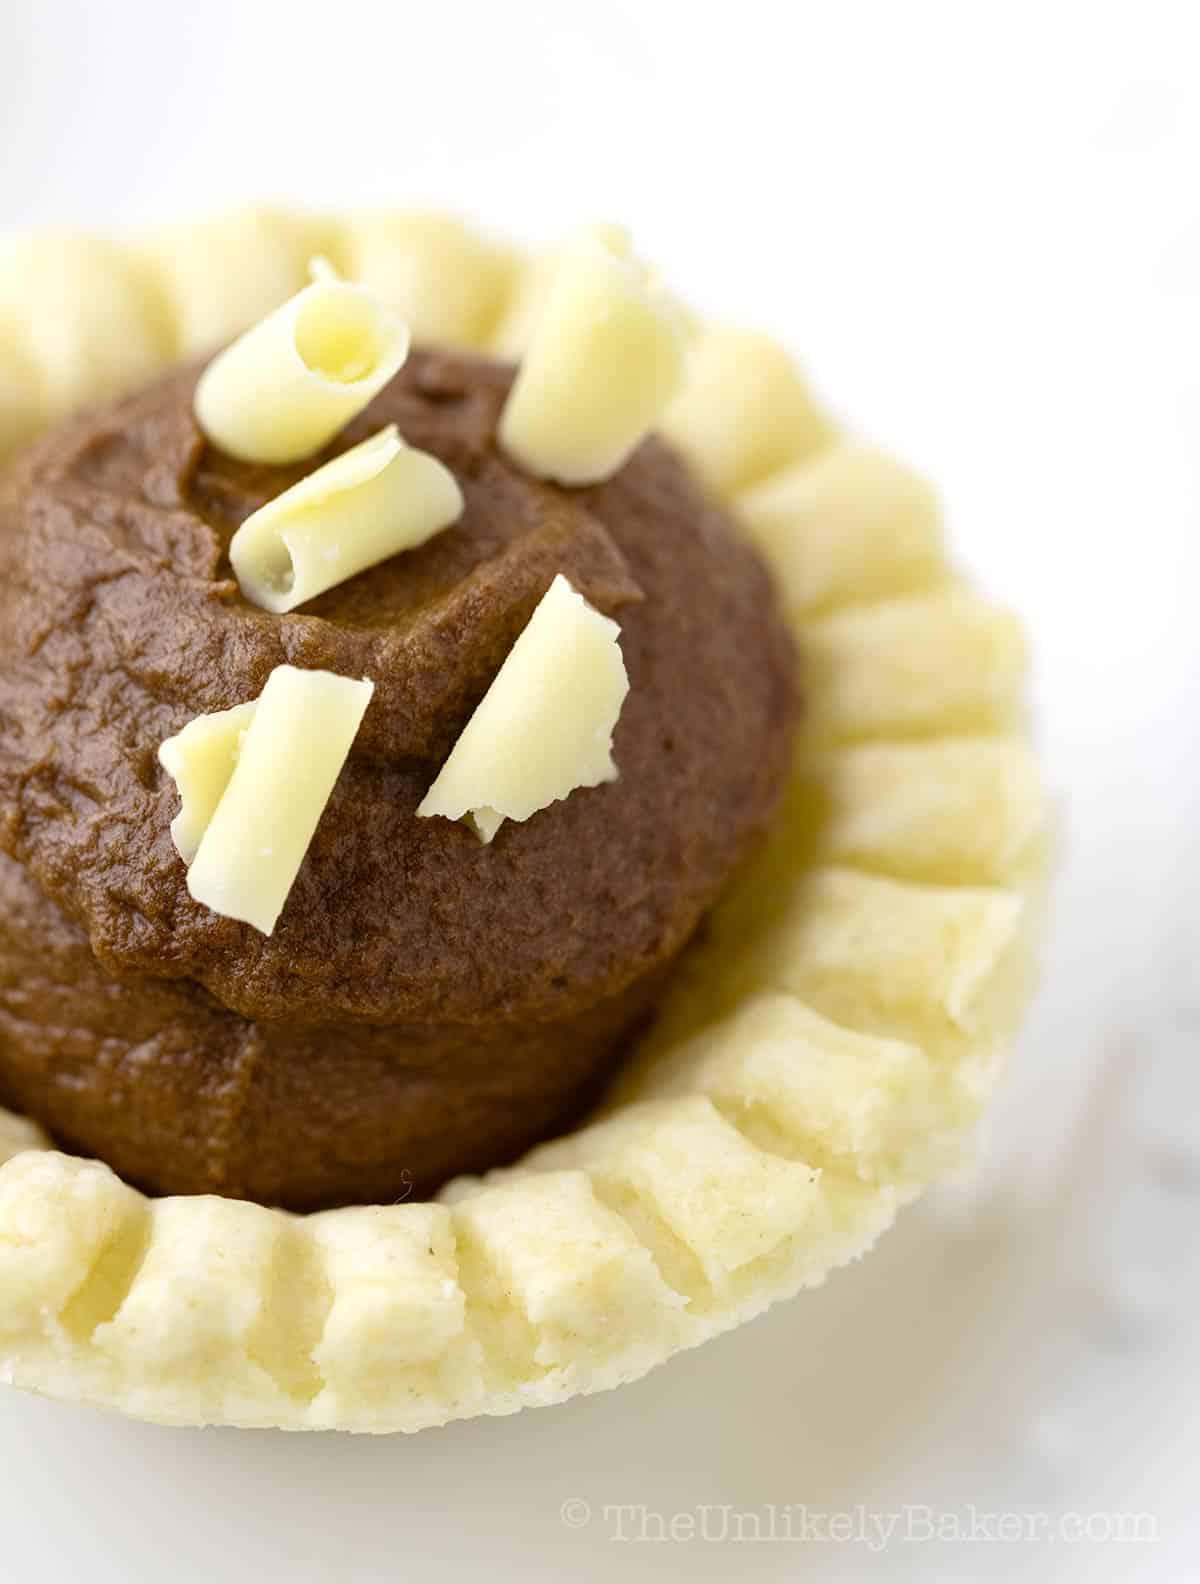
Mini desserts are always fun to make and even funner to eat, especially these perfectly bite-sized chocolate treats.
- Simple. These tarts look like you spent hours in the kitchen making them but it’s secretly easy and quick to make. Love recipes like that! You only need 5 ingredients, including frozen mini tart shells form the store.
- Make-ahead. Plus, you can make these up to 2 days ahead of when you’re planning to serve them. So there’s no rushing the day of your get-together.
- Big batch. This recipe makes a big batch, too. Perfect for entertaining as there’s enough for everyone!
- Delicious. Most important of all, it’s delicious. Not overly sweet, pure chocolate bliss.
How to make
Because we use frozen tart shells, we skip a whole lot of time and energy by not making dough or pastry from scratch.
Ingredients and tools
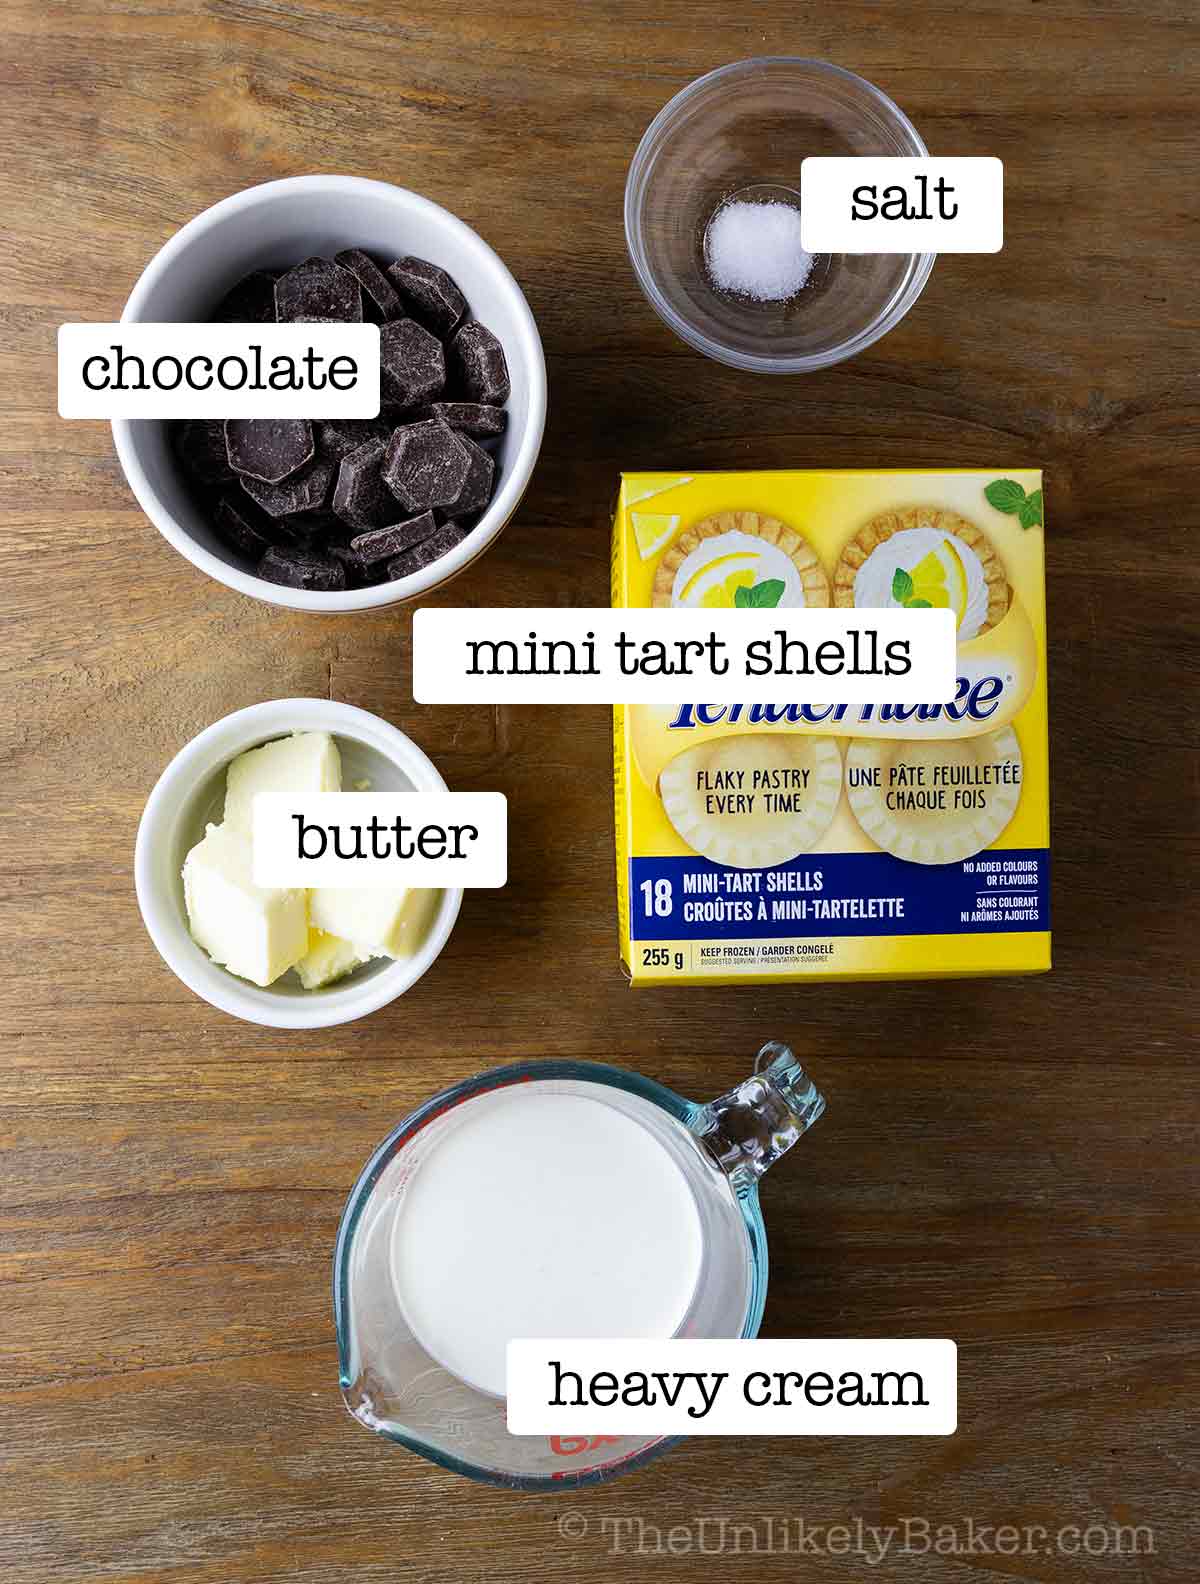
To make this recipe for mini chocolate tarts, you’ll need butter and salt, plus:
- Frozen 2-inch mini tart shells — you can find these in the frozen section of your supermarket. I usually get 2 boxes of 18.
- Semi-sweet chocolate — since there are so few ingredients in this recipe, I suggest using the best semi-sweet chocolate that budget allows. It will make or break your tarts. I’m partial to Lindt Piccoli Swiss Premium Couverture Milk Chocolate but you can use any similar brand like Valrhona. You can also use chocolate baking bars.
- Heavy cream — heavy cream has at least 36% milk fat. You can also use full-fat whipping cream, or cream that has 35% milk fat. Anything lighter will not whip as nicely to the consistency we need.
(Also check out how to make chocolate shavings – they’re perfect tart toppings!)
Step-by-step photos
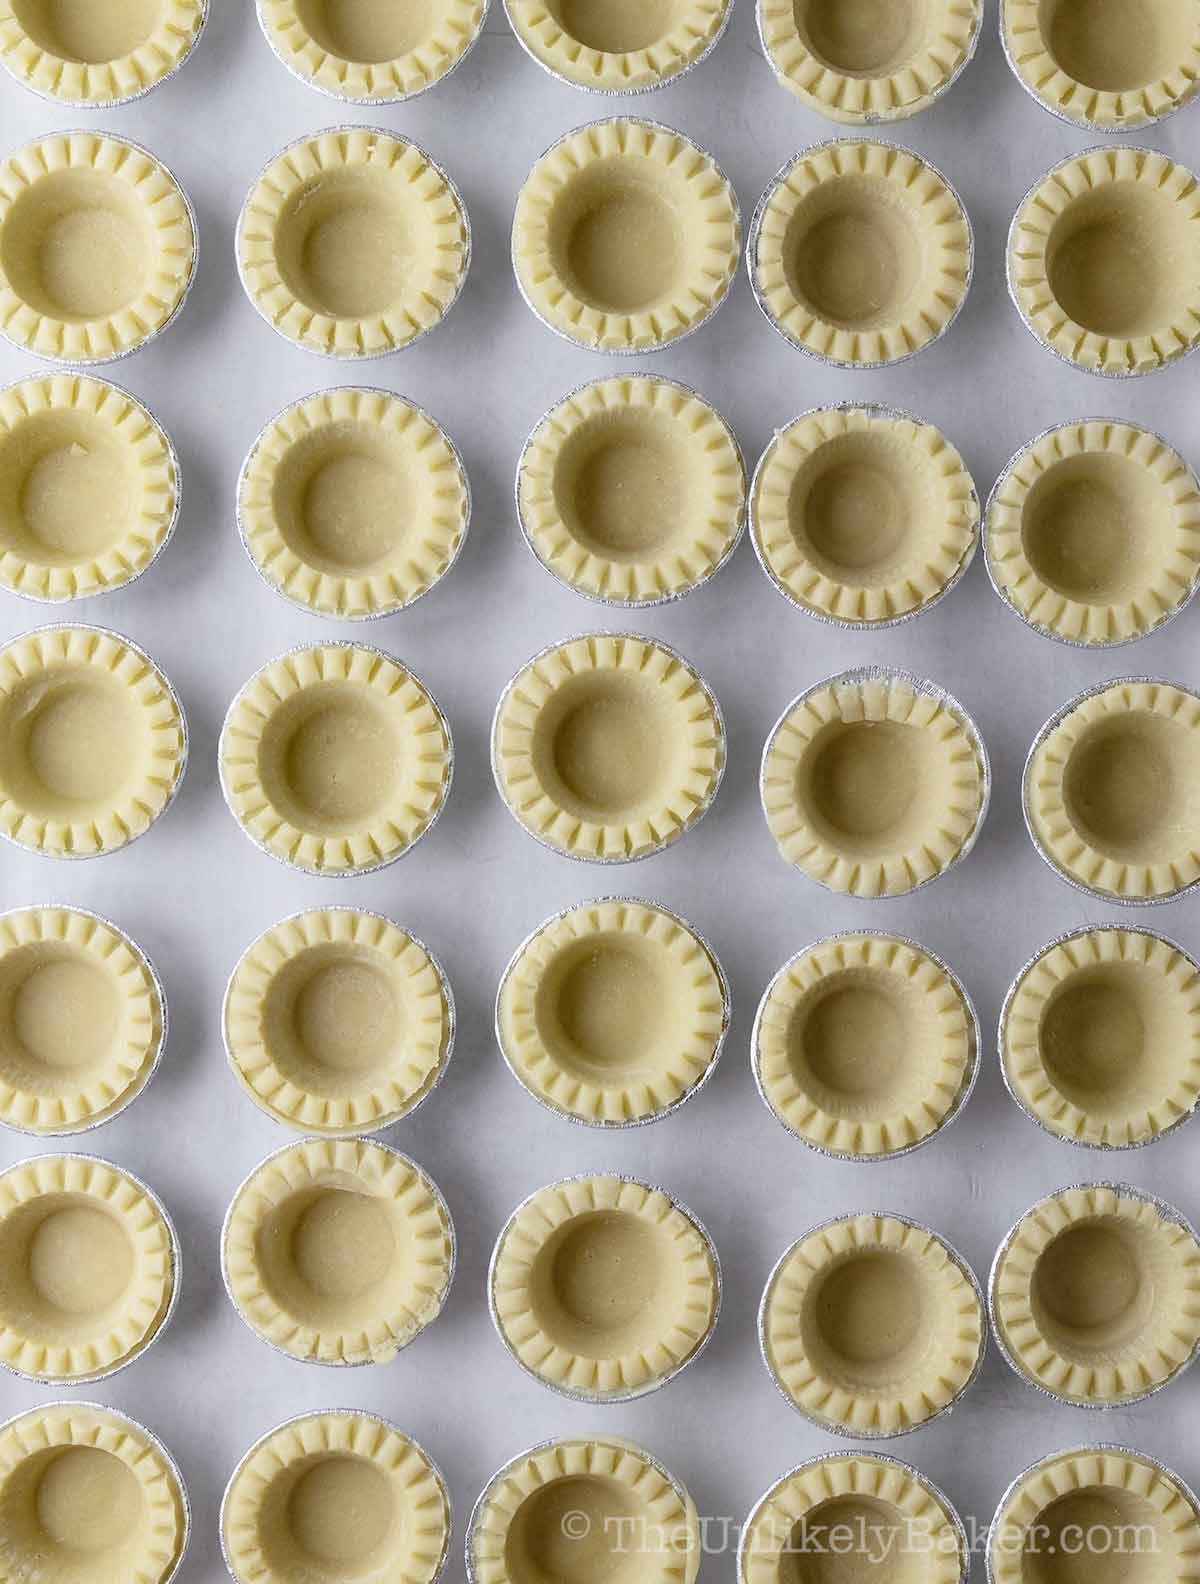
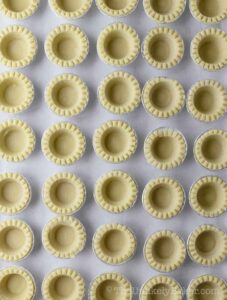
Preheat oven to 375F. Place tart shells on a baking sheet and bake for 10-15 minutes…
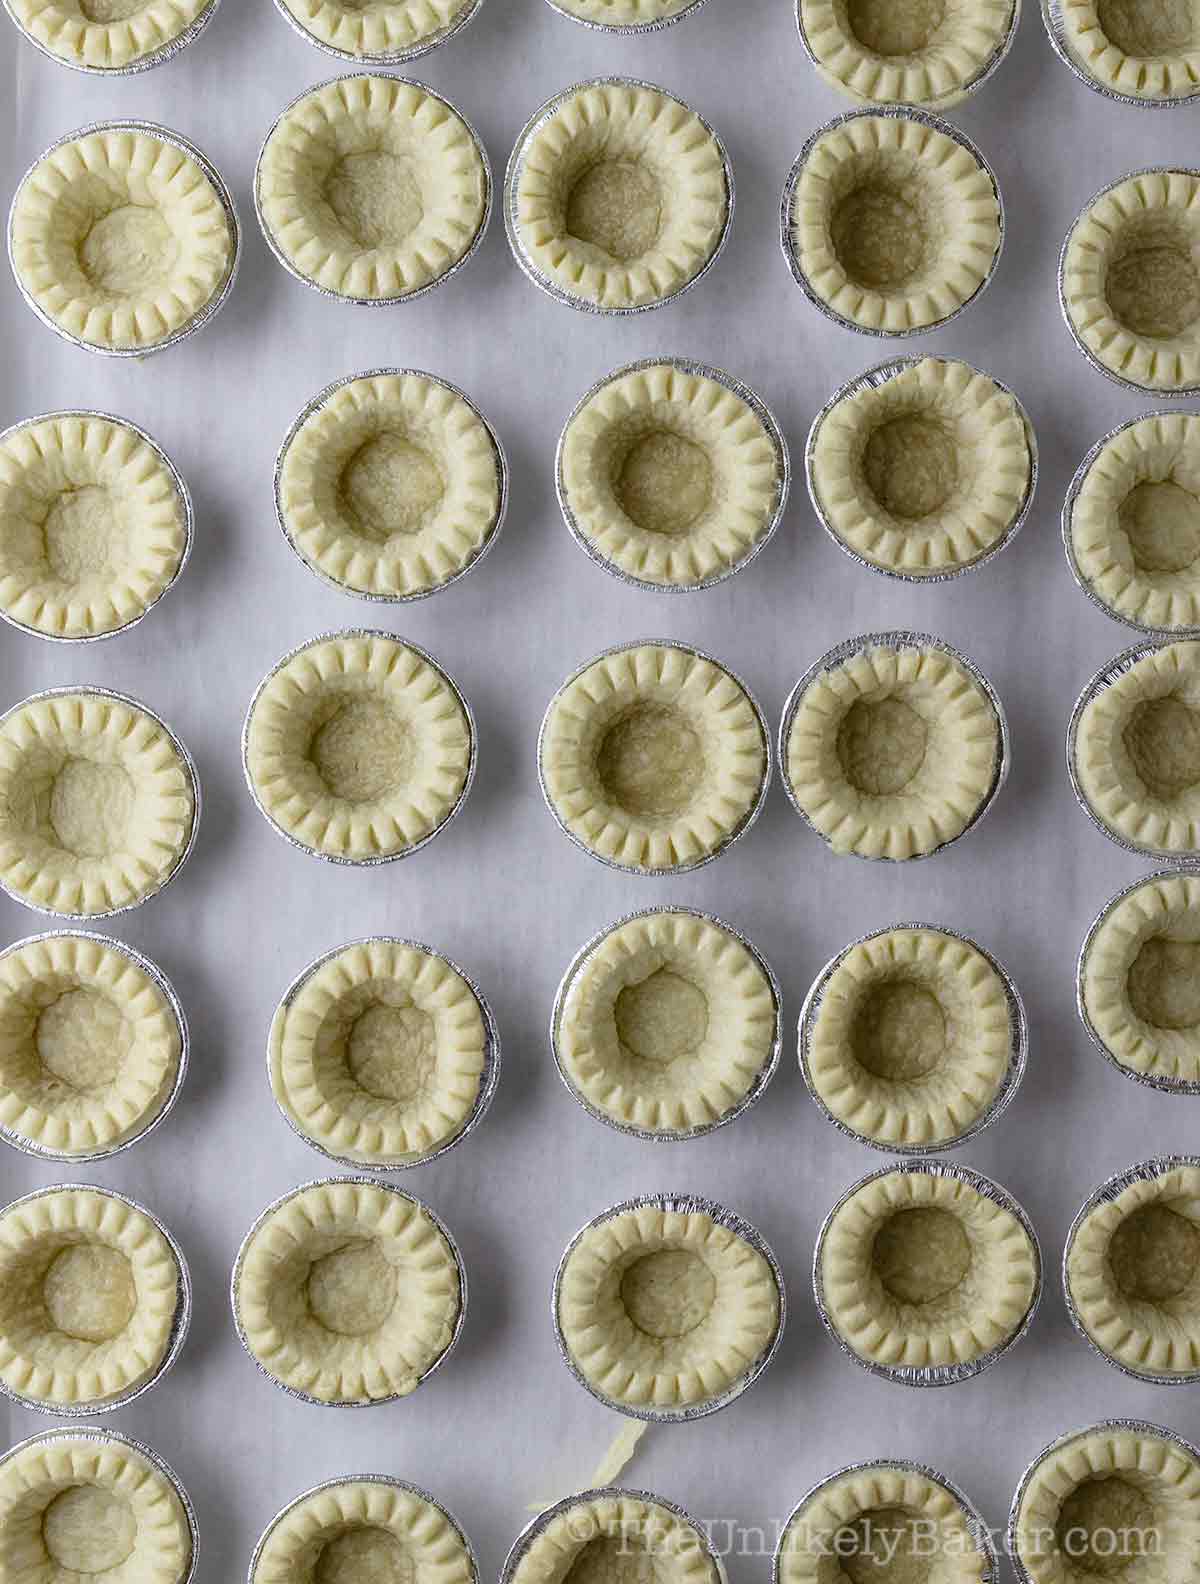
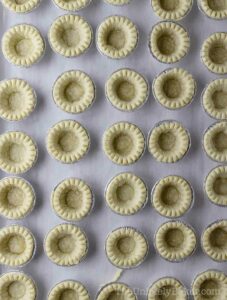
… or until they turn a light golden brown. Carefully remove from their moulds and set aside to cool completely. You can turn the oven off.
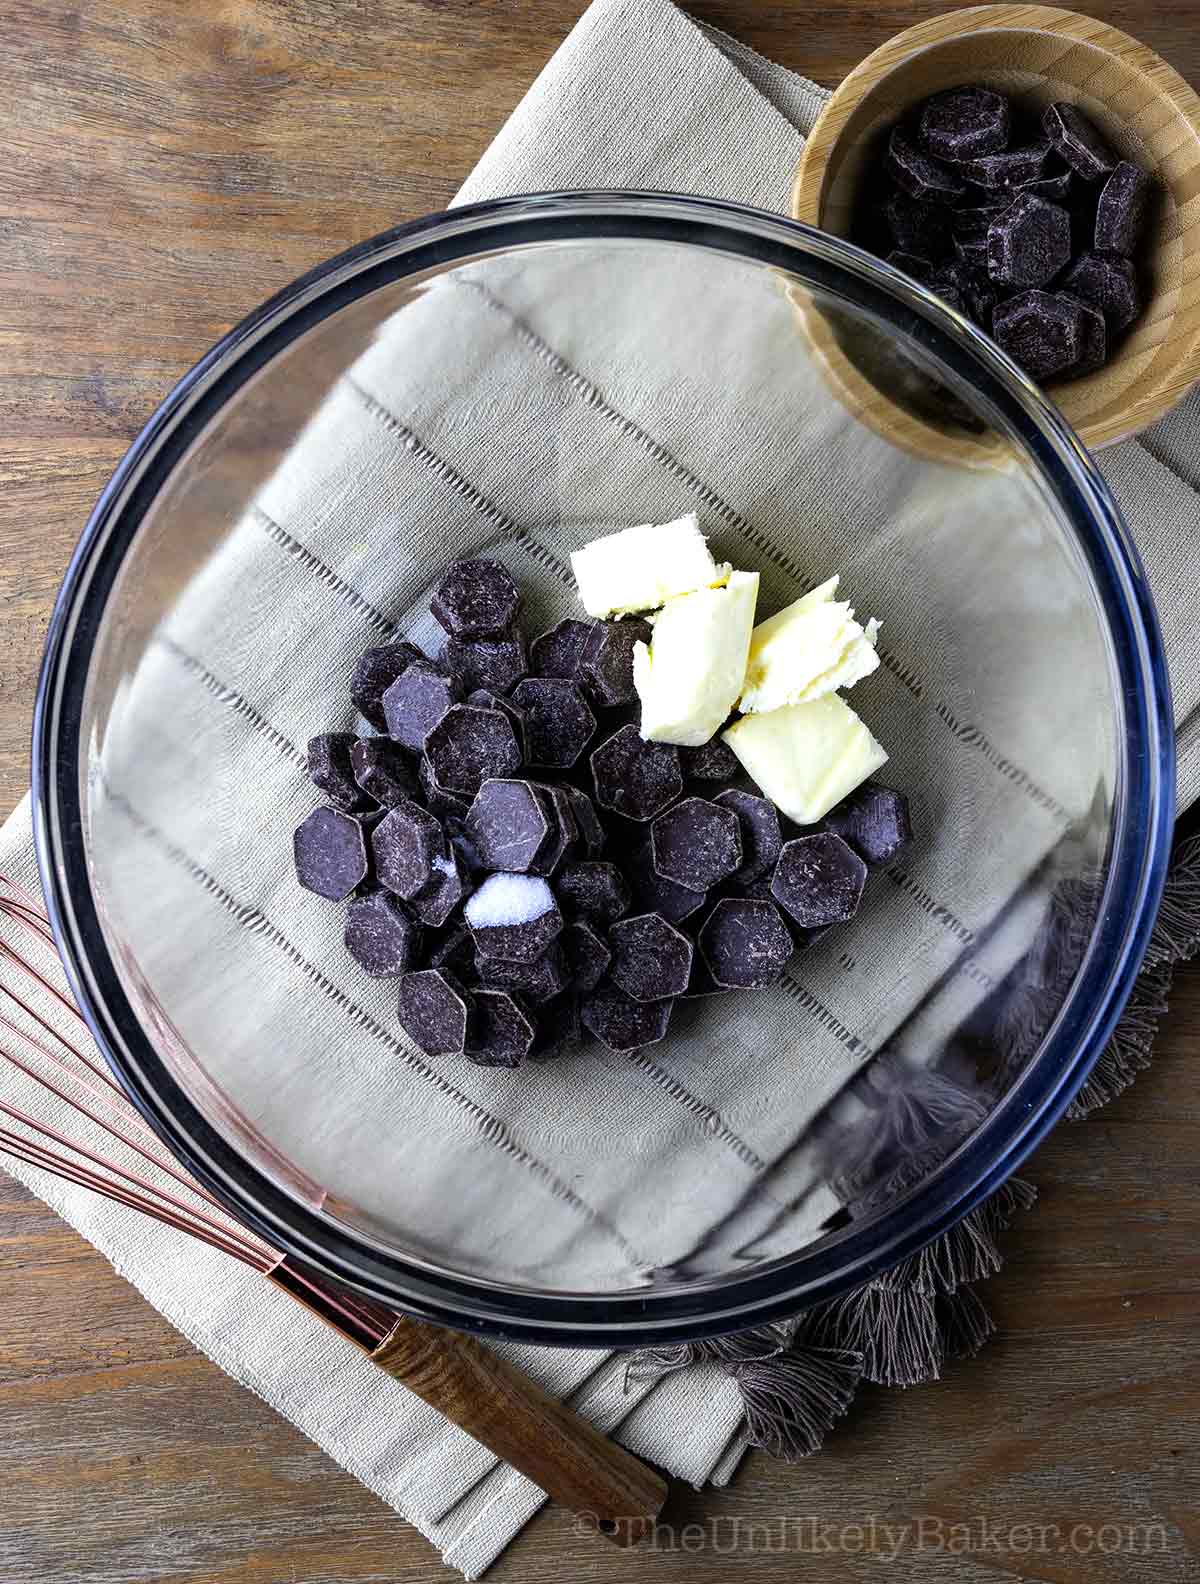
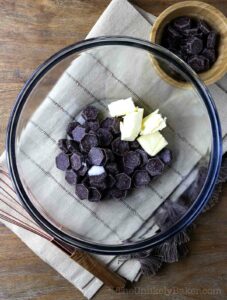
In a large bowl, place chopped chocolate, butter and salt.
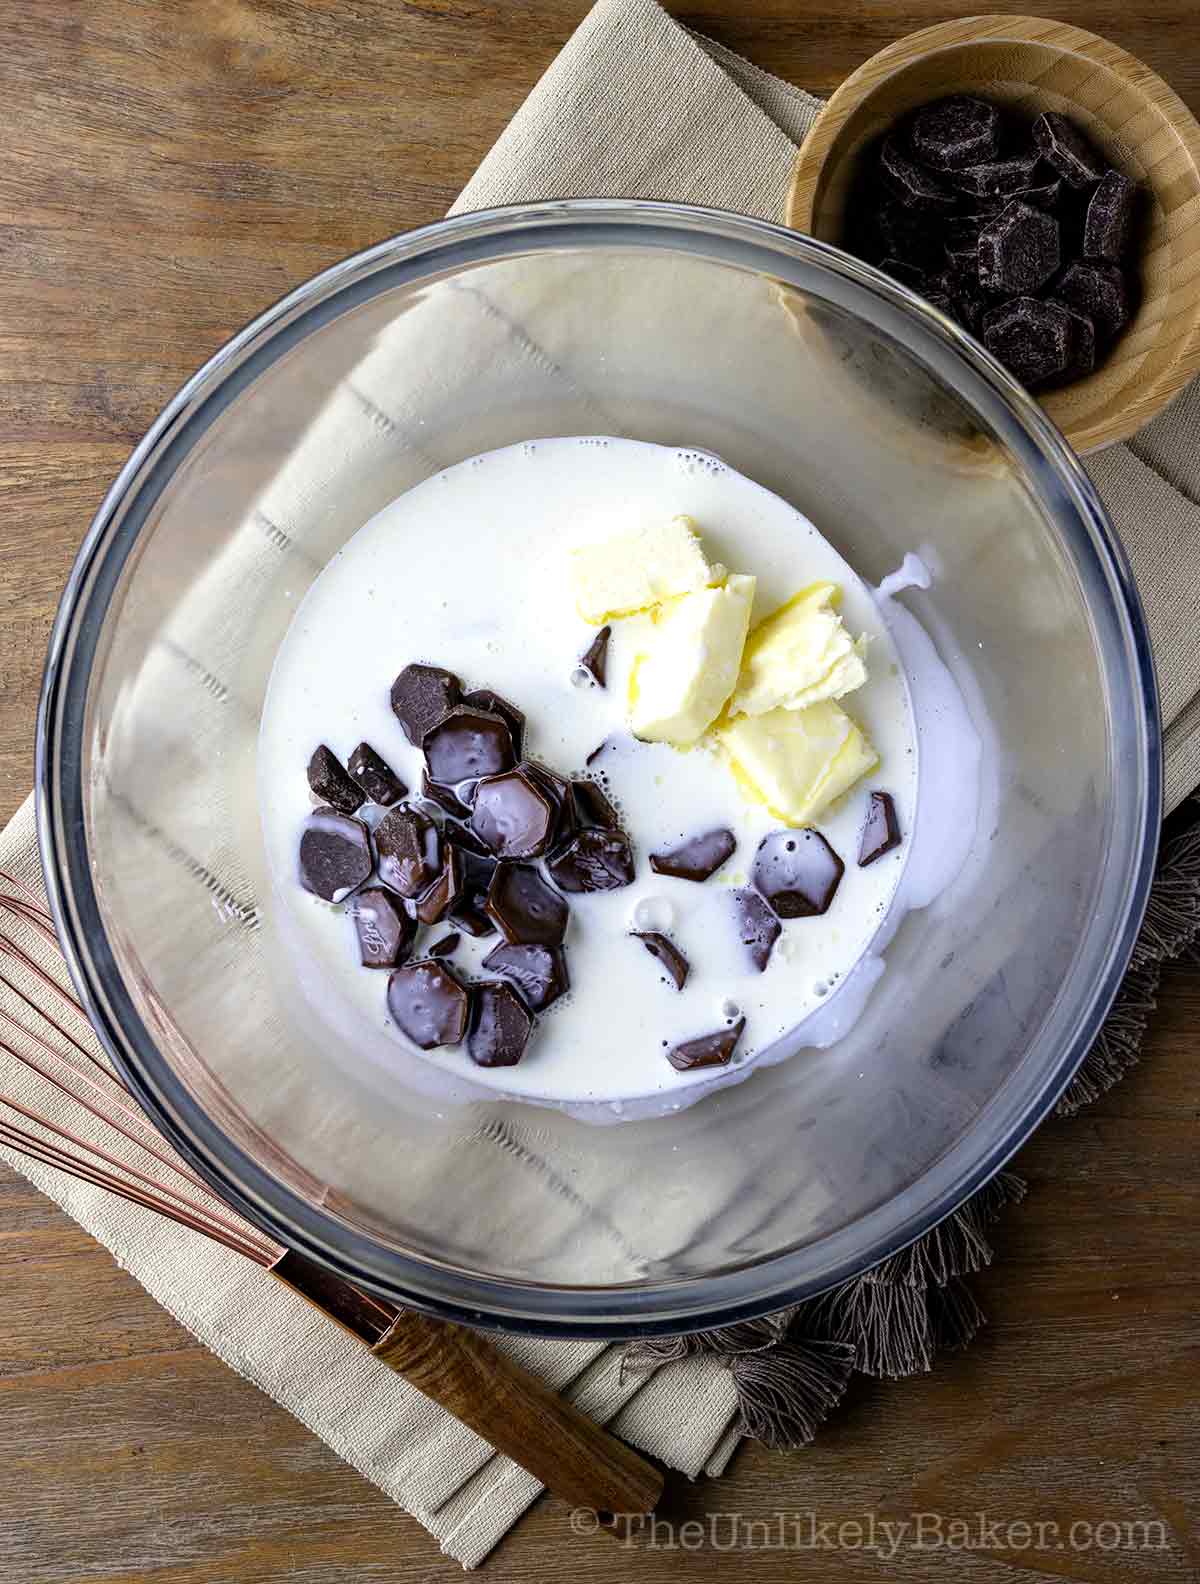
In a small saucepan, heat ¾ cup of heavy cream over medium heat to a gentle simmer, or until you start to see bubbles appear on the edges of the pan. Remove from heat and set aside for 30 seconds to allow some of the heat to dissipate. After 30 seconds, pour cream over bowl with chocolate and let the mixture sit undisturbed for 5 minutes.
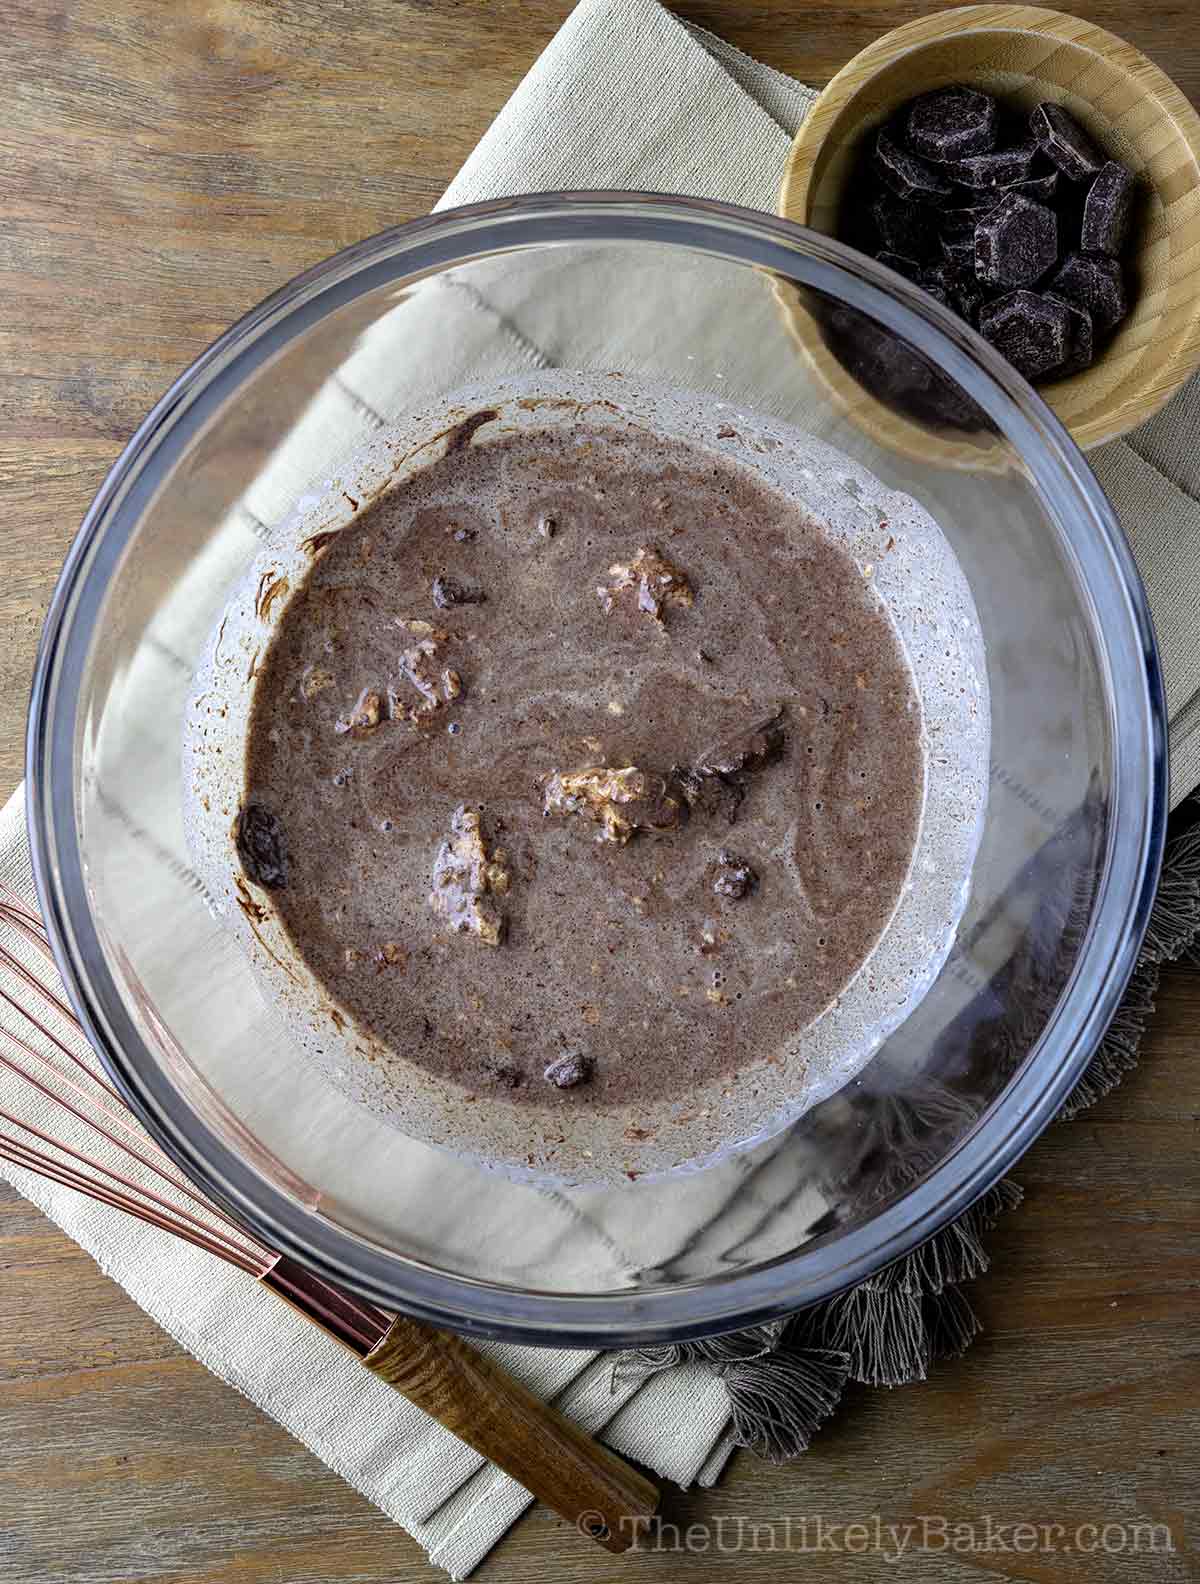
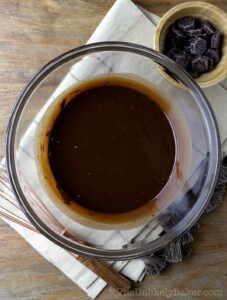
After 5 minutes gently whisk the mixture until the chocolate melts and the mixture is smooth and incorporated.
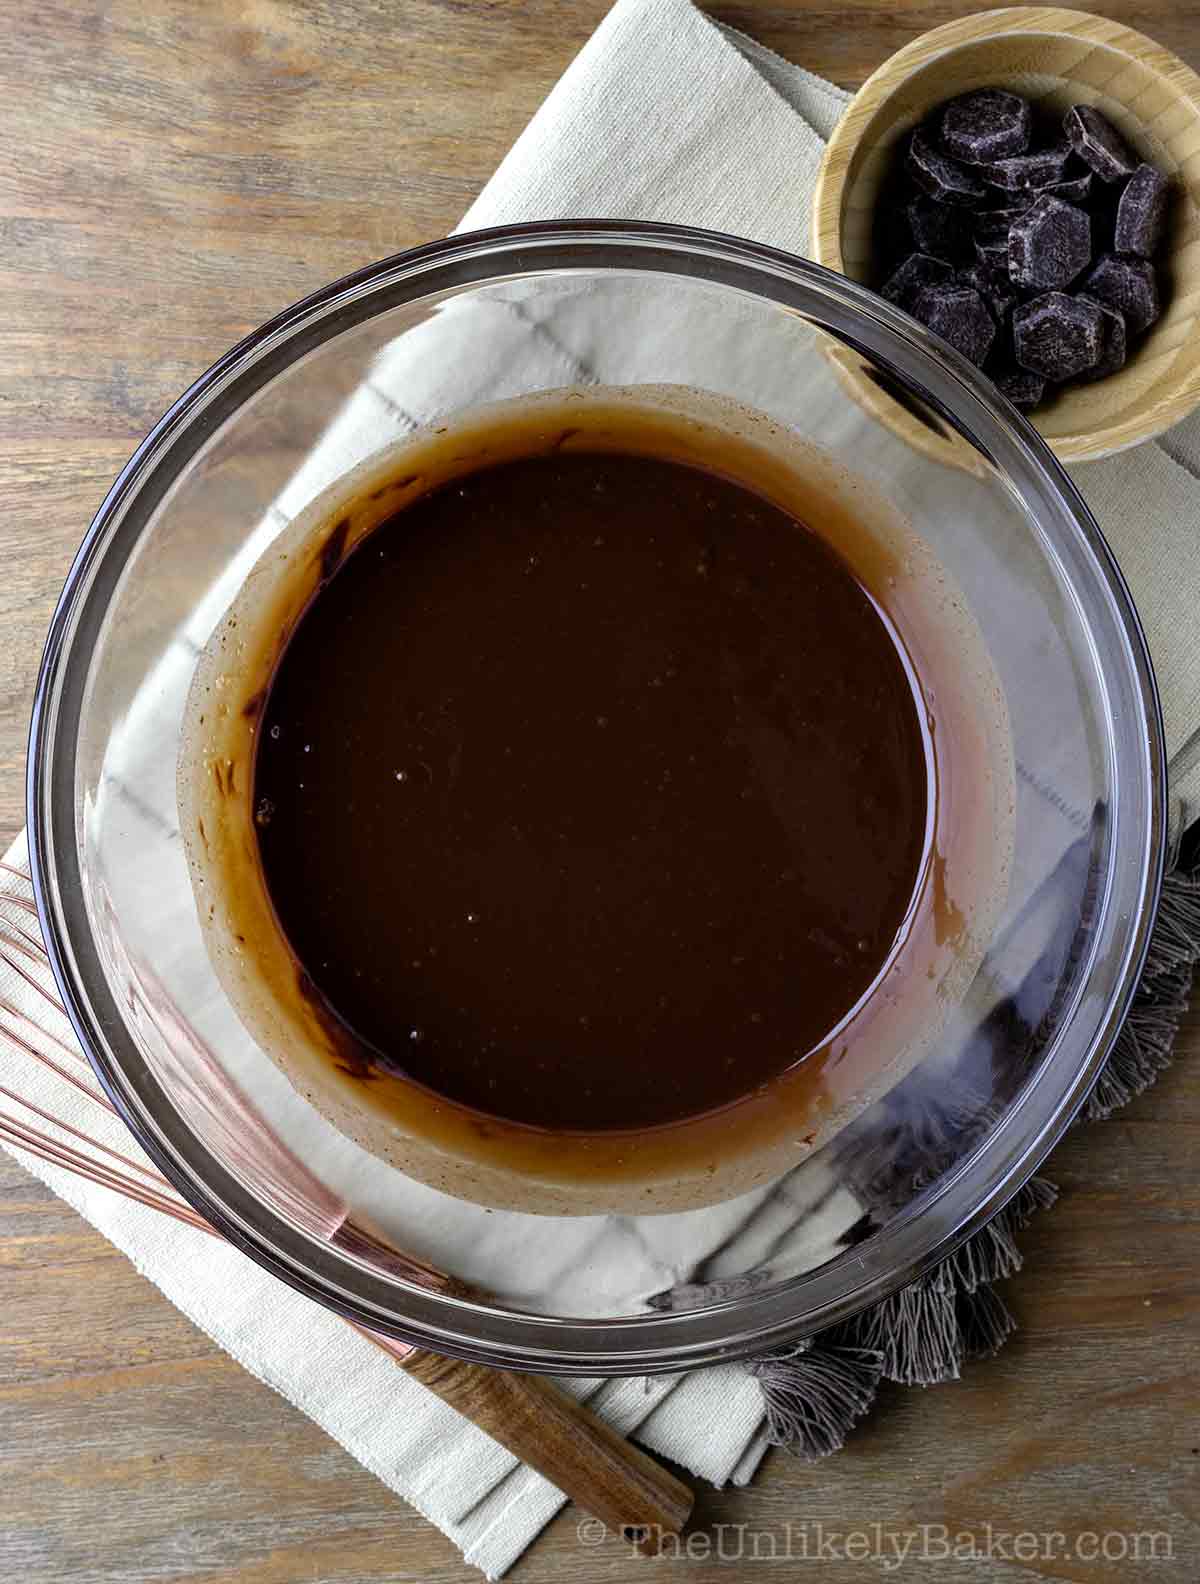
Set aside.
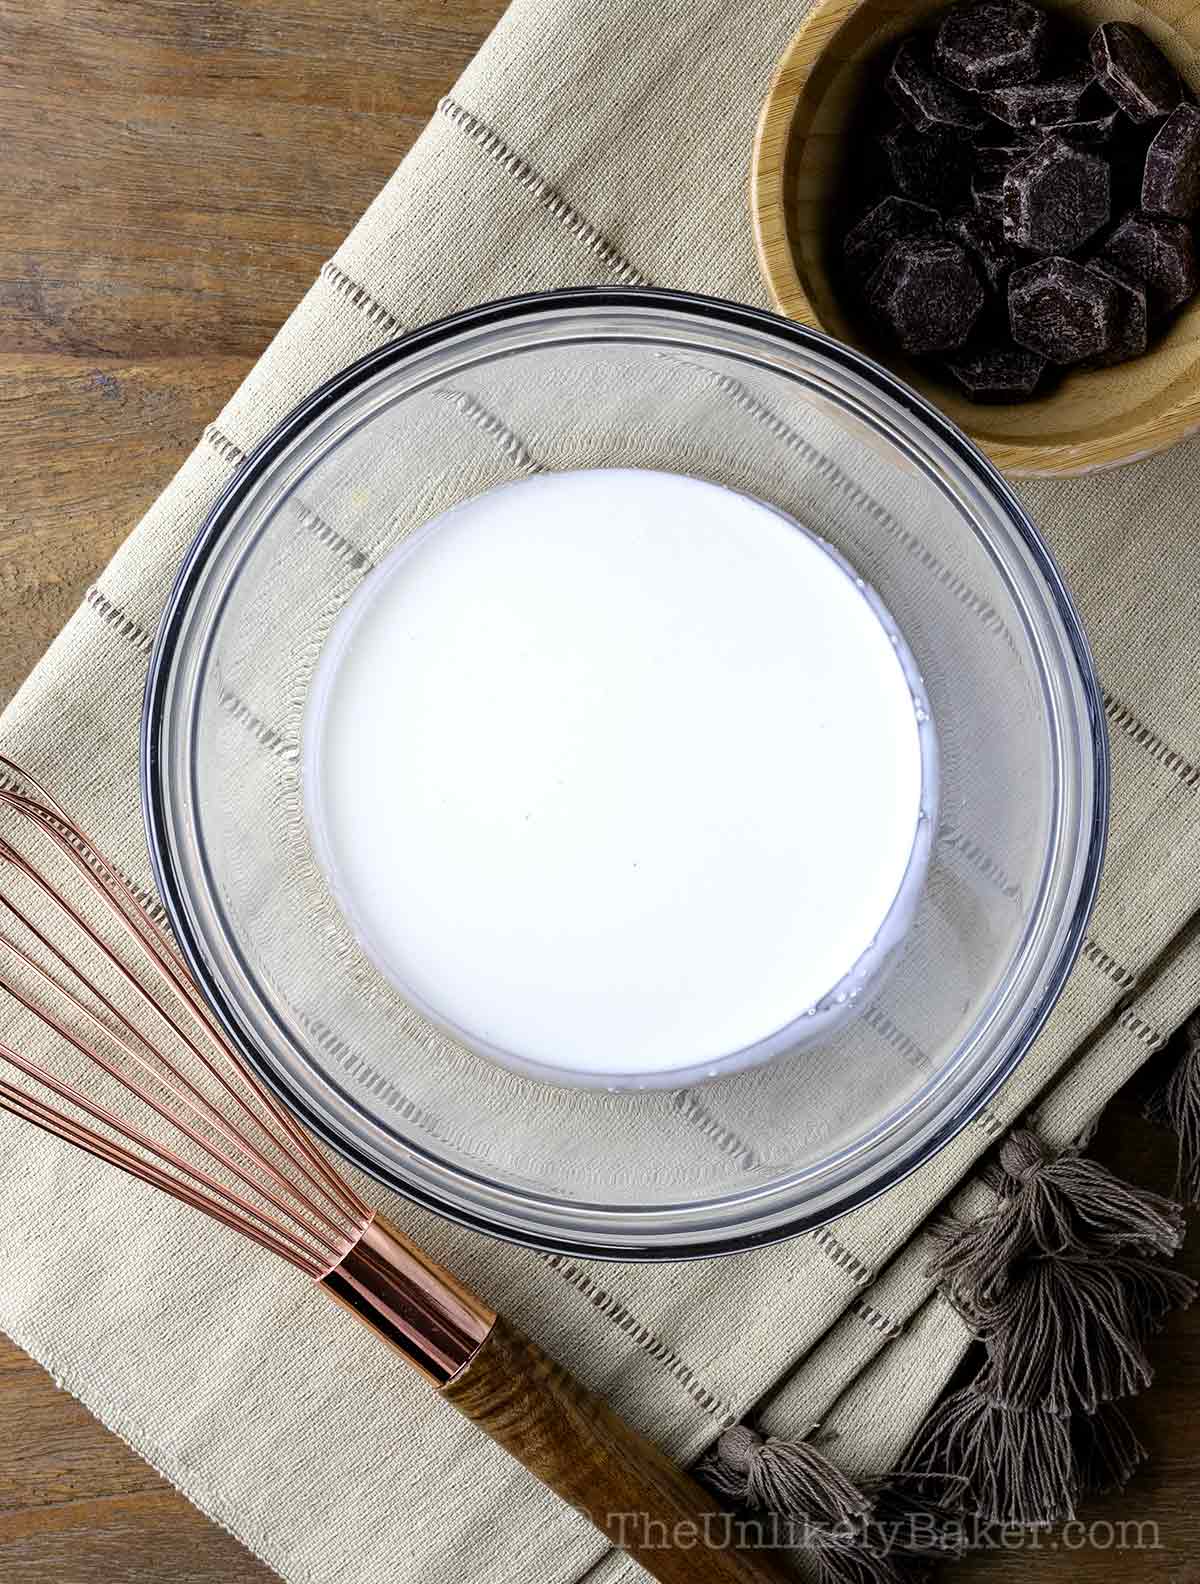
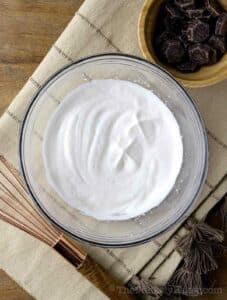
In another bowl, whip ½ cup of heavy cream…
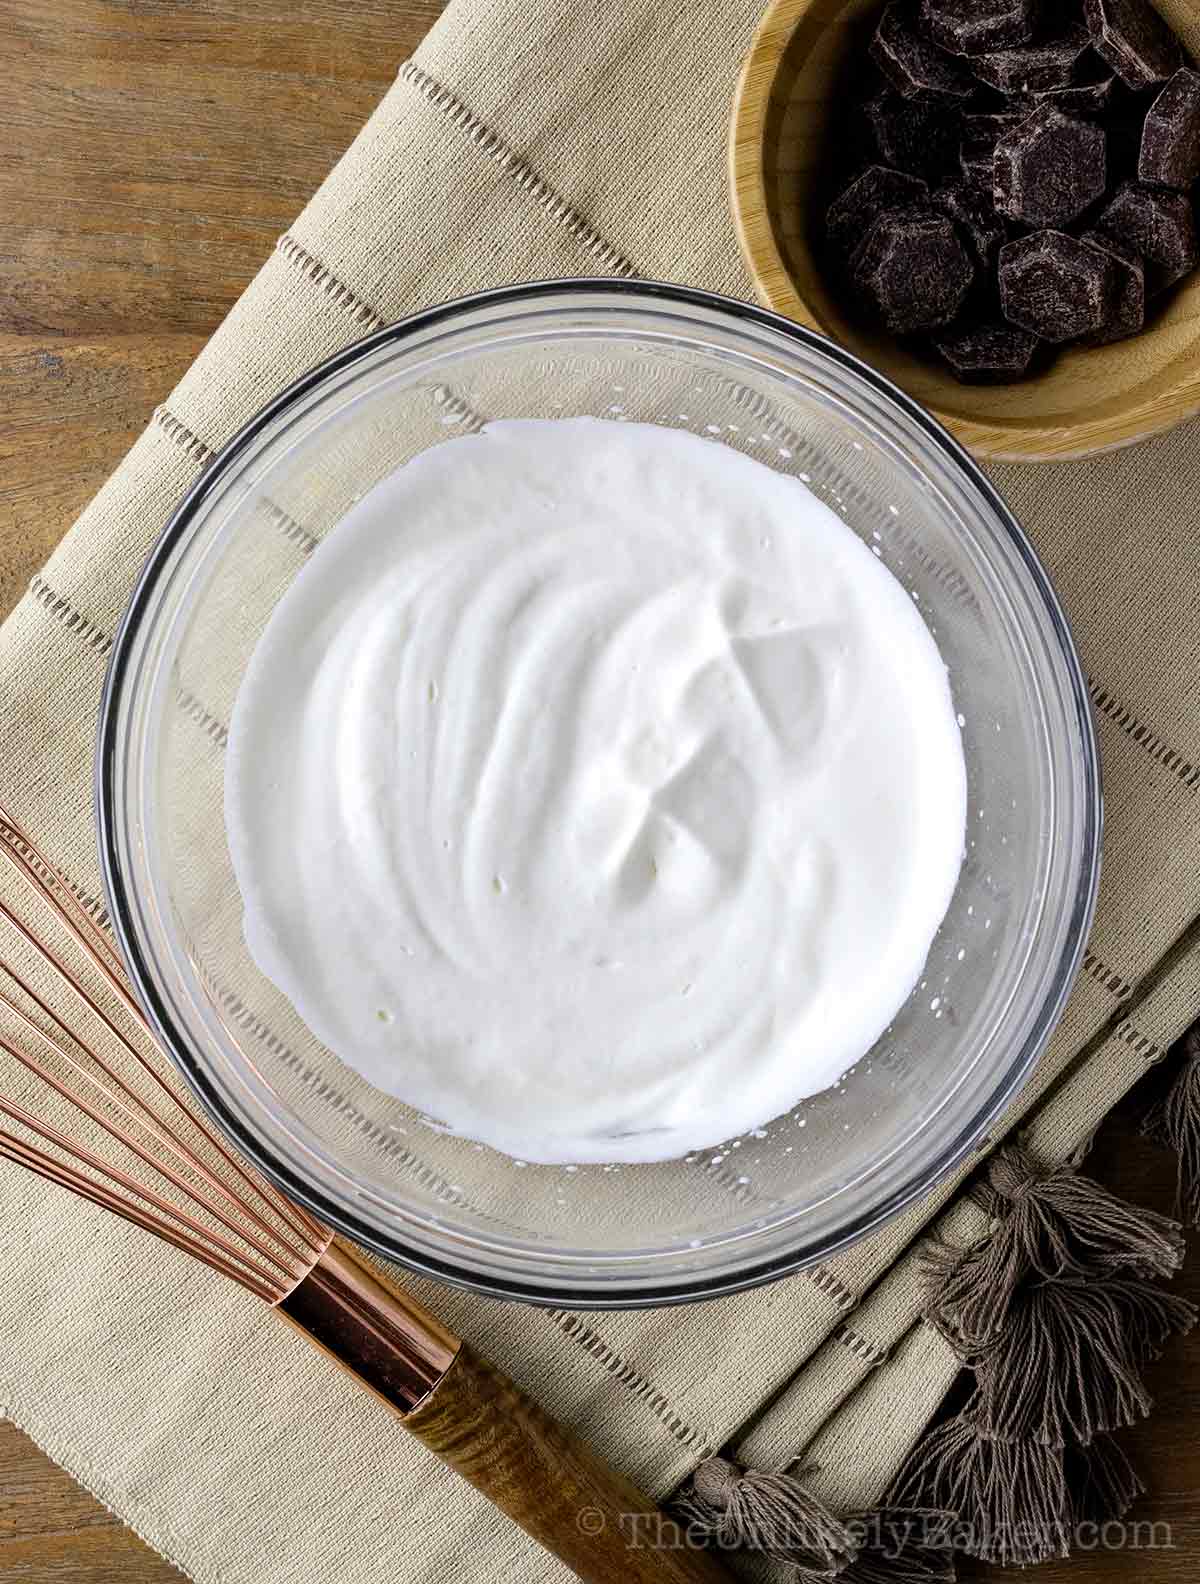
… until you reach medium peaks.
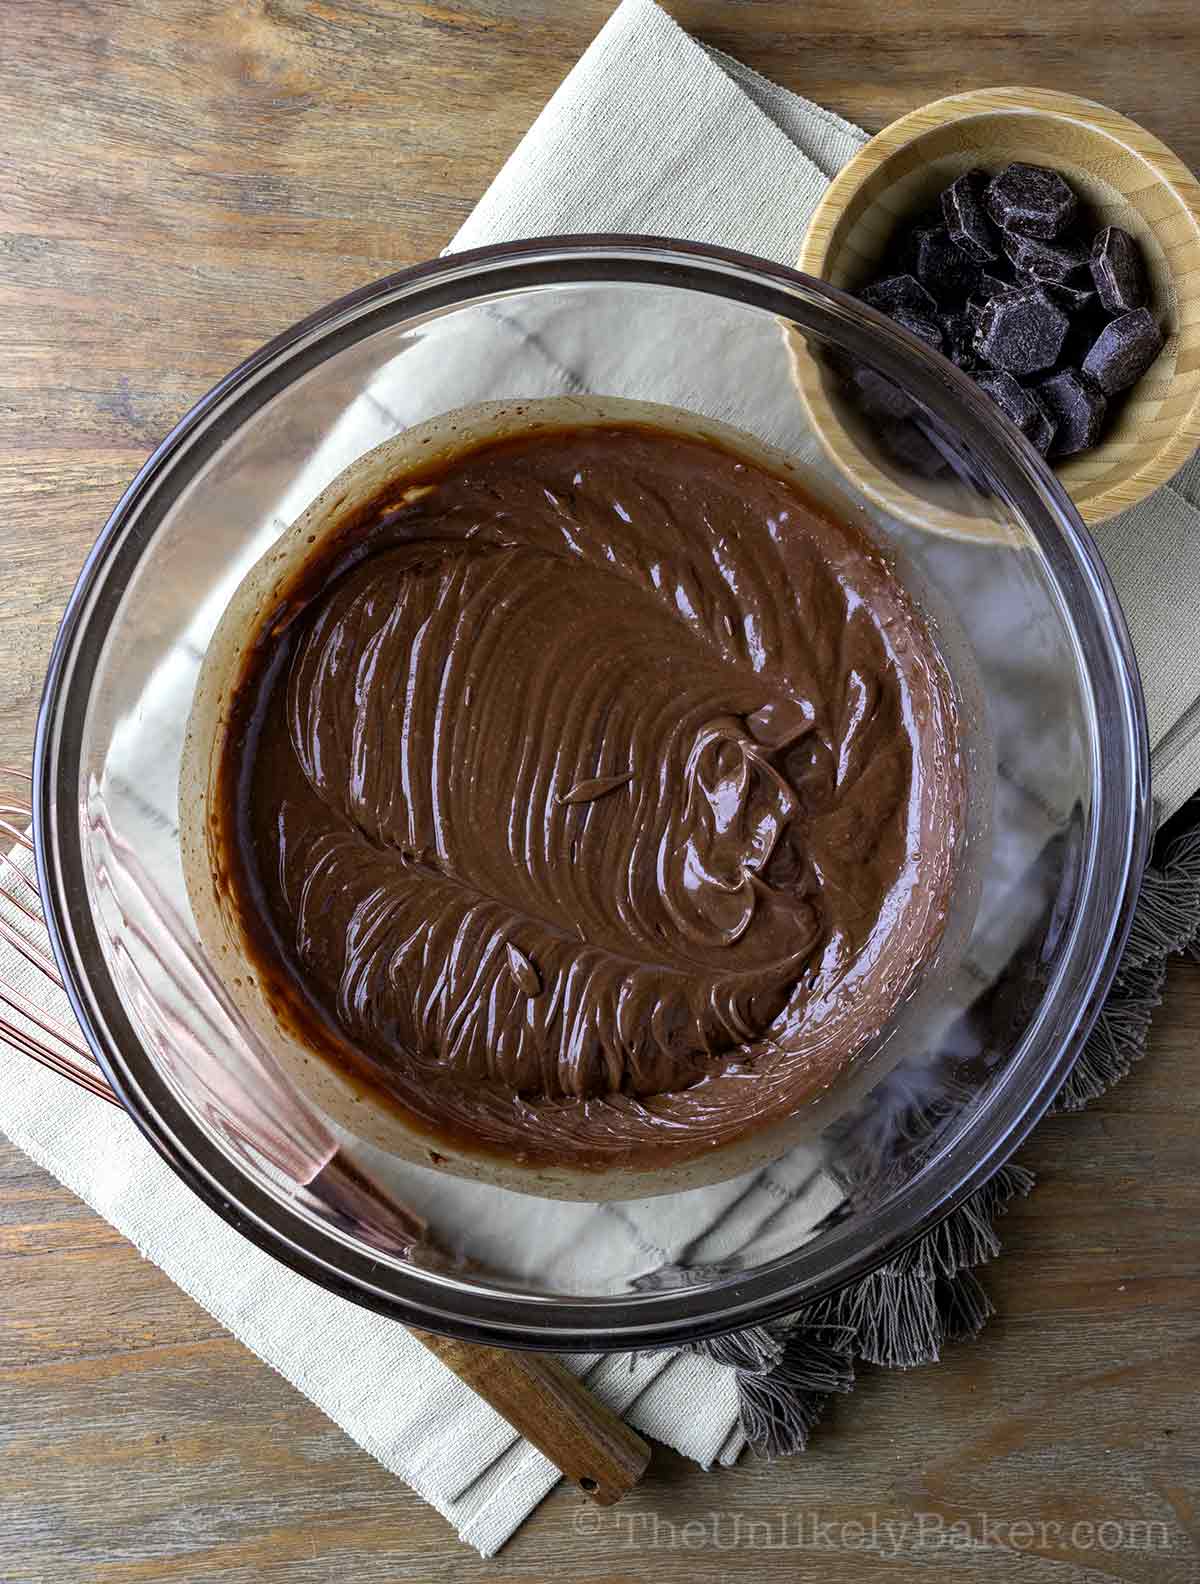
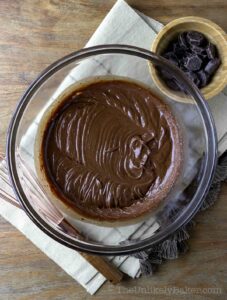
Go back to your chocolate mixture and whip to thicken to the consistency of chocolate pudding. You can use the same mixer as the cream, no need to wash.
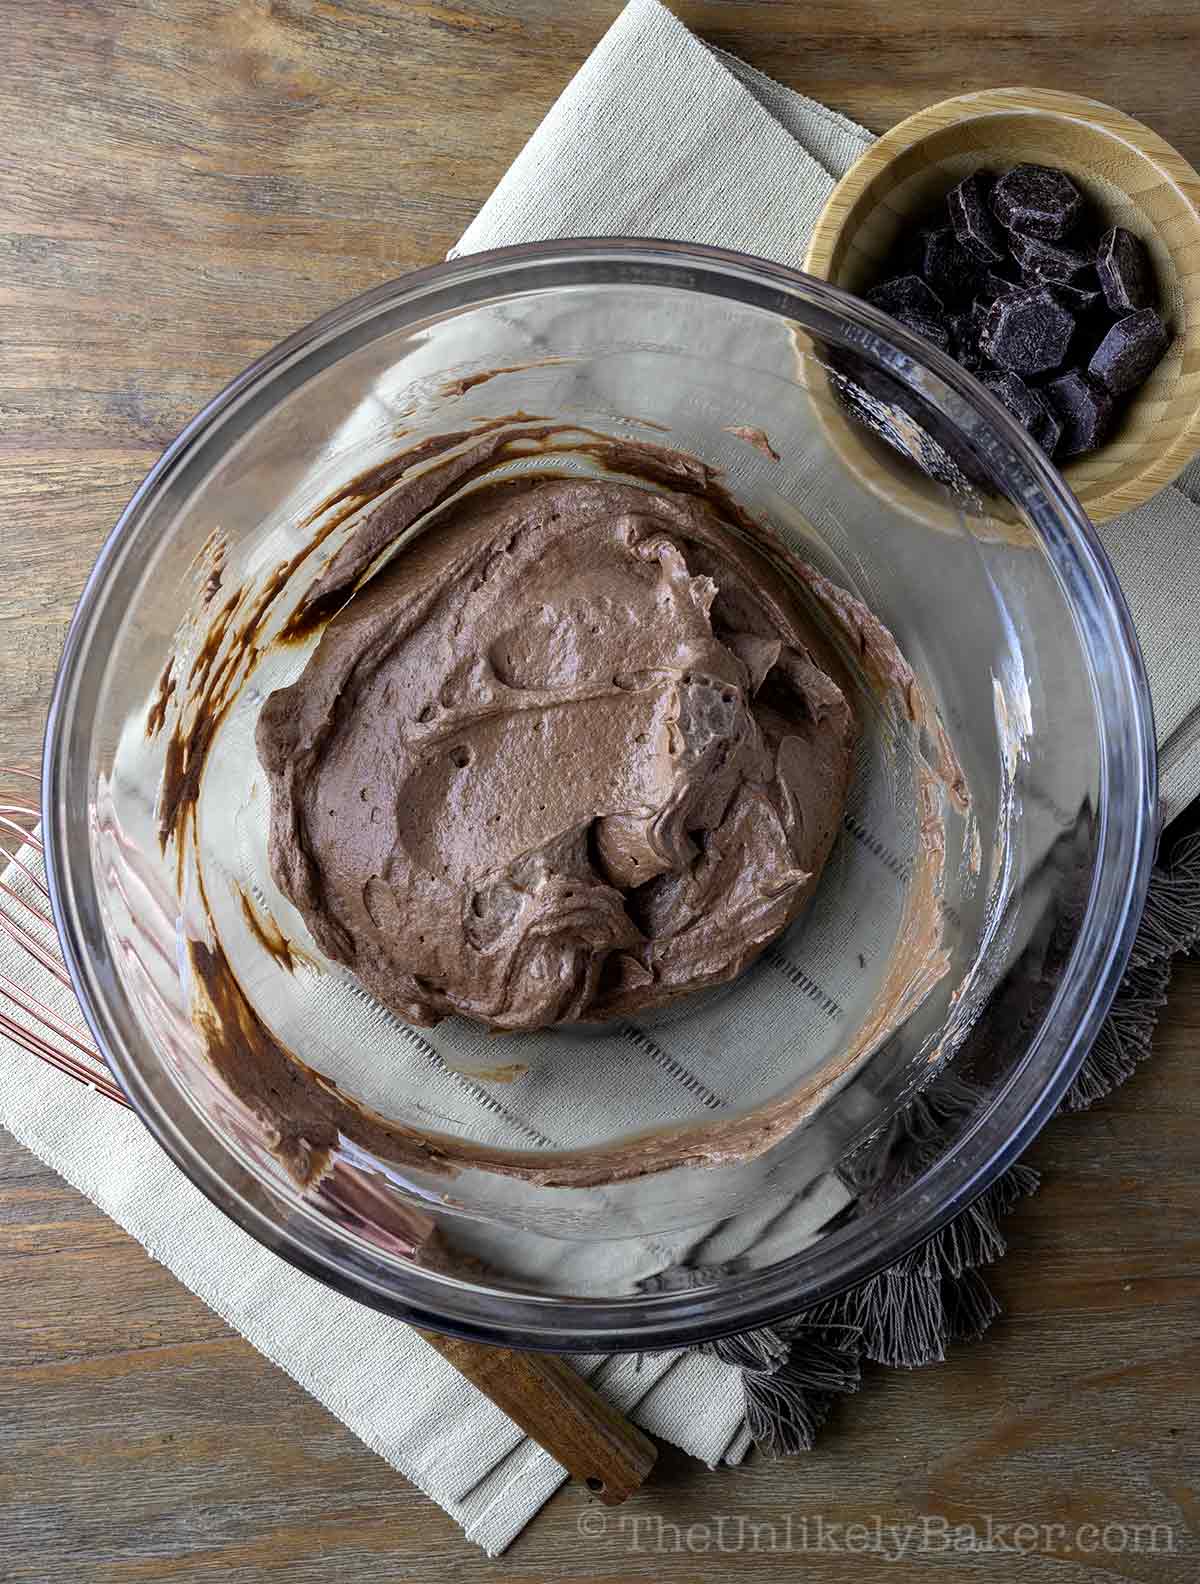
Transfer the whipped cream into the whipped ganache and fold until evenly blended and streak-free. Pipe the mixture into your baked tart shells. Enjoy!
Expert baker tips
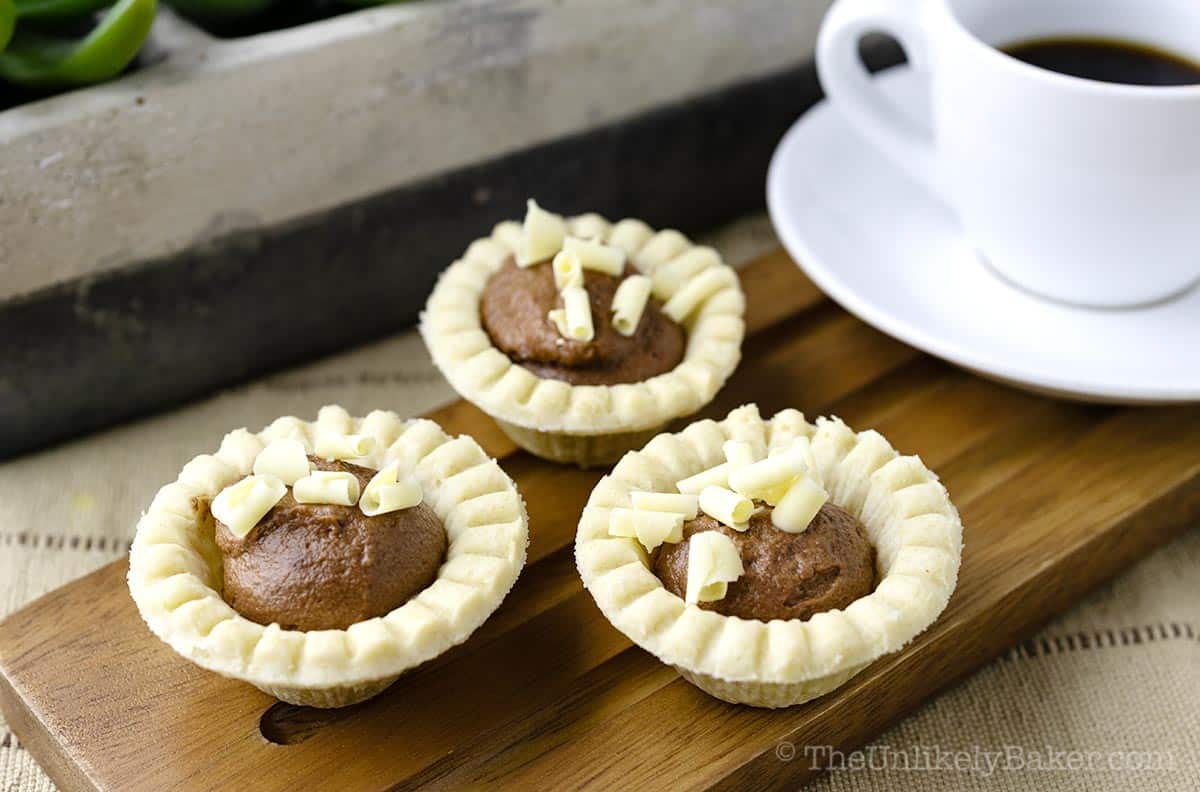
Easy, right? Here are more tips for perfect mini chocolate tarts every time.
- Ganache is temperature-sensitive so it’s important to set aside your warm cream for 30 seconds after removing from the stove before pouring over the chocolate, and letting the mixture sit undisturbed for 5 minutes after pouring the cream. These steps help avoid the ganache from breaking, i.e., the cocoa butter separating from the solids which in turn will make the mixture oily.
- If your chocolate mixture starts to cool before all the chocolate is melted, you can microwave the mixture for 10 seconds then mix thoroughly. Repeat until the ganache is completely smooth.
- Best to keep the ½ cup of heavy cream in the fridge until you’re ready to whip it. This makes it easier to reach medium peaks.
- When whipping the cream or the ganache, start at low-medium speed then work your way up to medium-high speed.
- You can serve the tarts immediately — the chocolate ganache filling will have a light, mousse-like consistency. If you prefer a slightly fudgier filling, chill for at least an hour before serving.
(Love making ganache? Try this scrumptious strawberry brownies with chocolate ganache. And if mini tarts are your thing, you’d love these mini cannoli tarts.)
Recipe FAQs
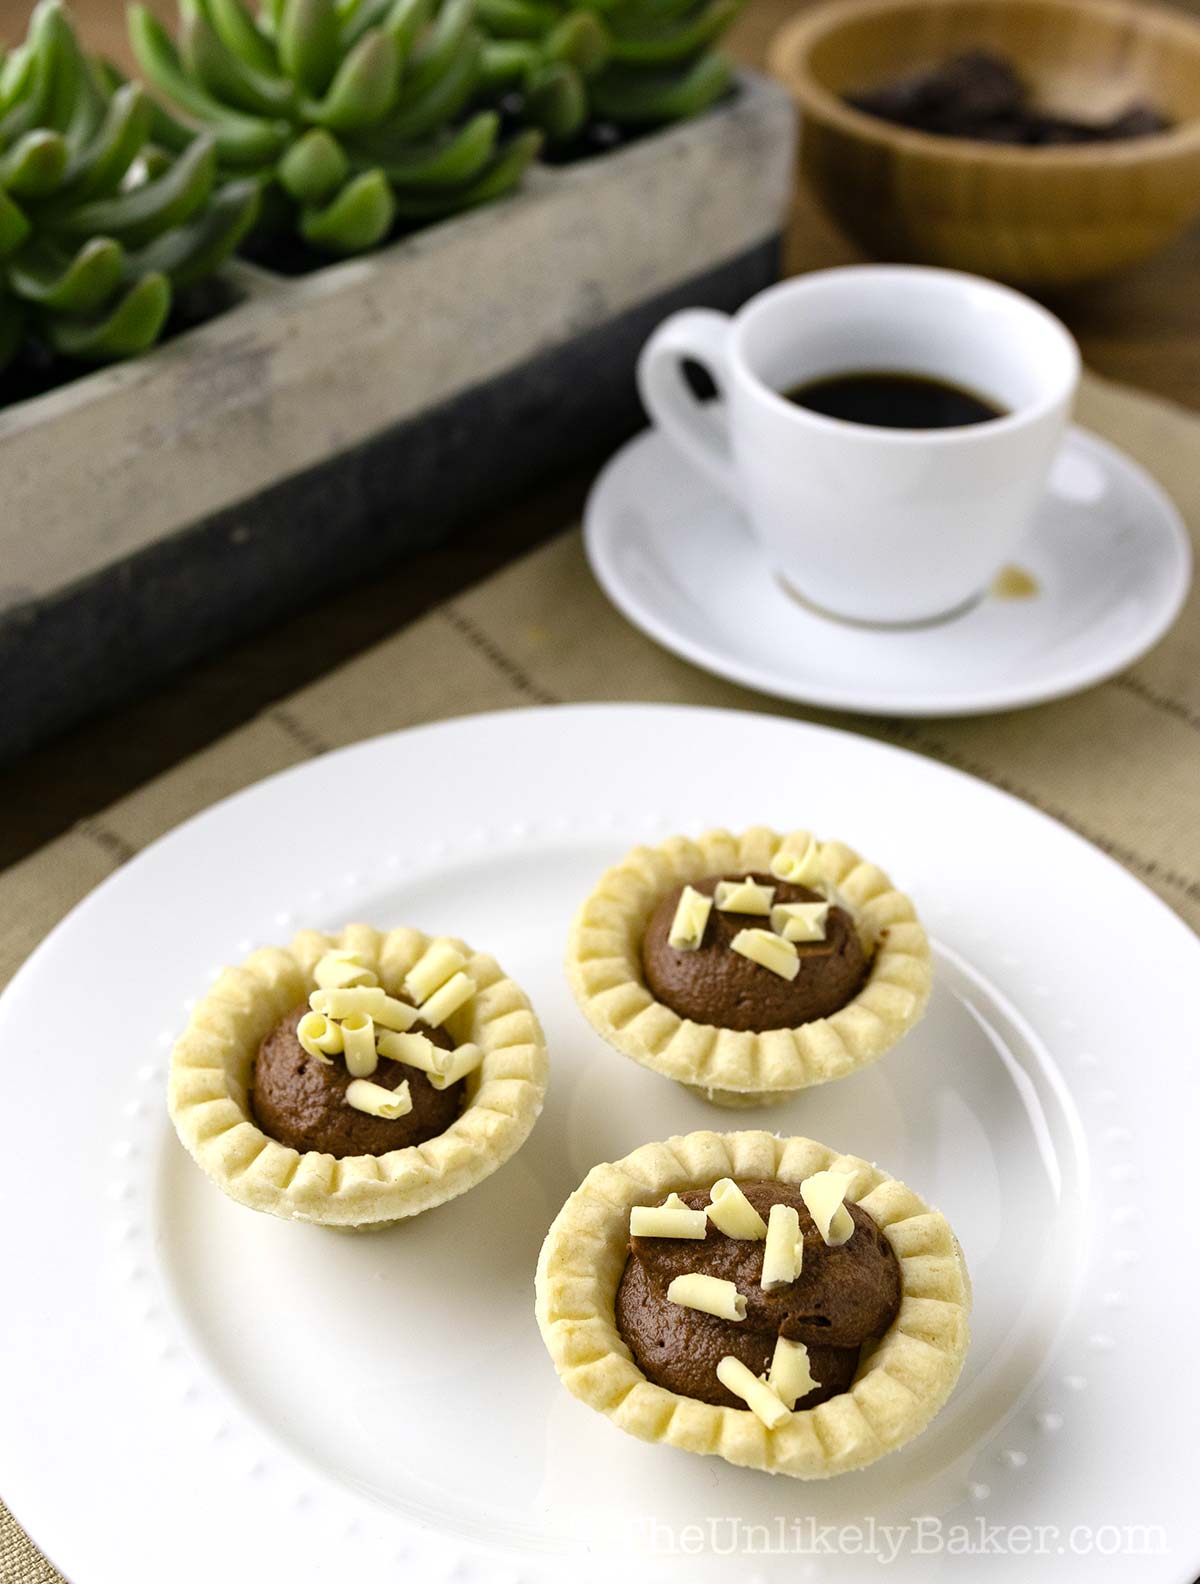
The best kind of chocolate to use for ganache is couverture chocolate or chocolate baking bars. They have higher cocoa butter content than regular chocolate which makes melting easier and also results to a shinier ganache.
I don’t recommend using chocolate chips because they’re meant to keep their shape at high temperatures so you may end up with a lumpy texture.
Save your chocolate chips for chocolate chip cookies!
You can make these up to 2 days ahead for best results. Just keep covered in the fridge. Note that the crust will get softer the longer the tarts are chilled.
There are so many ways to customize and serve these chocolate tartlets!
You can:
– Top with chocolate chips, shaved chocolate, chopped nuts, fresh fruit or whipped cream
– Sprinkle with cocoa powder or powdered sugar
– Drizzle with salted caramel sauce and more!
If you’re serving them the same day you made them, you can keep them on the counter at room temperature. If not, store covered in the fridge.
Leftovers should keep for up to a week kept in the fridge. Note that the crust will get softer the longer the tarts are chilled.
More tart recipes
Love making tarts? Check these out:
Happy baking!
Did you make this mini chocolate tart recipe? I’d love to hear all about it! Leave a comment or a star rating below. You can also tag me on Instagram or Facebook. I’d love to see your creations!
You can also find me on Pinterest, Twitter and YouTube.
Mini Chocolate Tarts
Equipment
Ingredients
- 36 pieces frozen 2-inch mini tart shells thawed according to package instructions
- 6 oz semi sweet chocolate chopped
- ¼ cup unsalted butter room temperature, cut into pieces
- ¼ tsp salt
- 1¼ cups heavy cream divided into ¾ cup and ½ cup
Instructions
- Preheat oven to 375F. Place tart shells on a baking sheet and bake for 10-15 minutes or until they turn a light golden brown.36 pieces frozen 2-inch mini tart shells

- Carefully remove from their moulds and set aside to cool completely. Turn the oven off.

- In a large bowl, place chopped chocolate, butter and salt. Set aside.6 oz semi sweet chocolate, ¼ cup unsalted butter, ¼ tsp salt

- In a small saucepan, heat ¾ cup of heavy cream over medium heat to a gentle simmer, or until you start to see bubbles appear on the edges of the pan.1¼ cups heavy cream
- Remove from heat and set aside for 30 seconds to allow some of the heat to dissipate.
- After 30 seconds, pour cream over bowl with chocolate and let the mixture sit undisturbed for 5 minutes.
- After 5 minutes gently whisk the mixture until the chocolate melts and the mixture is smooth and incorporated (see note). Set aside.

- In another bowl, whip the remaining ½ cup of heavy cream until you reach medium peaks (see note).1¼ cups heavy cream

- Go back to your chocolate mixture and whip to thicken to the consistency of chocolate pudding. You can use the same beaters or whisk as the cream, no need to wash.

- Transfer the whipped cream into the whipped ganache and fold until evenly blended and streak-free.

- Pipe or scoop the mixture into your baked tart shells. Enjoy!

Video
Notes
- If your chocolate mixture starts to cool before all the chocolate is melted, you can microwave the bowl for 10 seconds then mix thoroughly. Repeat until the ganache is completely smooth.
- Best to keep the remaining ½ cup of heavy cream in the fridge until you’re ready to whip it. This makes it easier to reach medium peaks.
- When whipping the cream or the ganache, it’s best to start at low-medium speed then work your way up to medium-high speed.
- See post for more tips, FAQs and step-by-step photos.
Nutrition
Nutritional information are estimates only.

Arlene
Do you have a video of this recipe? From: Arlene
Jolina
Hi Arlene! I don’t have a video of this recipe yet. Will add it to my to-do list 🙂
Joanna Bayford
This looks delicous love the idea of a chocolate brownie as the filling. Definitely want to make this over the weekend.
Eileen Cotter
Nothing sounds better to me than a tart mixed with a brownie! Looks absolutely divine.
Deborah Regen
Wow, reading this post is like watching an episode of that UK baking competition TV show – a guilty pleasure. I am sure this tart tastes out of this world, and I am not that big of a “chocoholic.” Lovely photos.
David Elliott
Those chocolate dishes look delicious. I know that my daughter would love all of them. But the tart with the chocolate looks awesome. I would love it and I will have to try making it with my daughter.
Marielle Altenor
You seriously can’t go wrong with a chocolate brownie tart! Just makes sure you’re the one making it! lol I remember gagging and laughing at the same time when she revealed her secret ingredient.
Jolina
Right?? Haha me too. Such a good movie. And a great book too!
Michelle
That crust looks incredible! What an indulgent dessert 🙂
Rose
I have never made a tart or chocolate type pie. Sadly I’m currently close to the end of my cocoa powder so this recipe is on hold for a minute!
Ali Rost
These look a lot like the brownies I grew up making, from my mom’s old, yellowed church cookbook, that doesn’t even have an image on Amazon. It’s my favorite cookbook of all time. Thanks for reminding me of them and I love the twist of baking them into a tart and the brown butter crust sounds divine. x