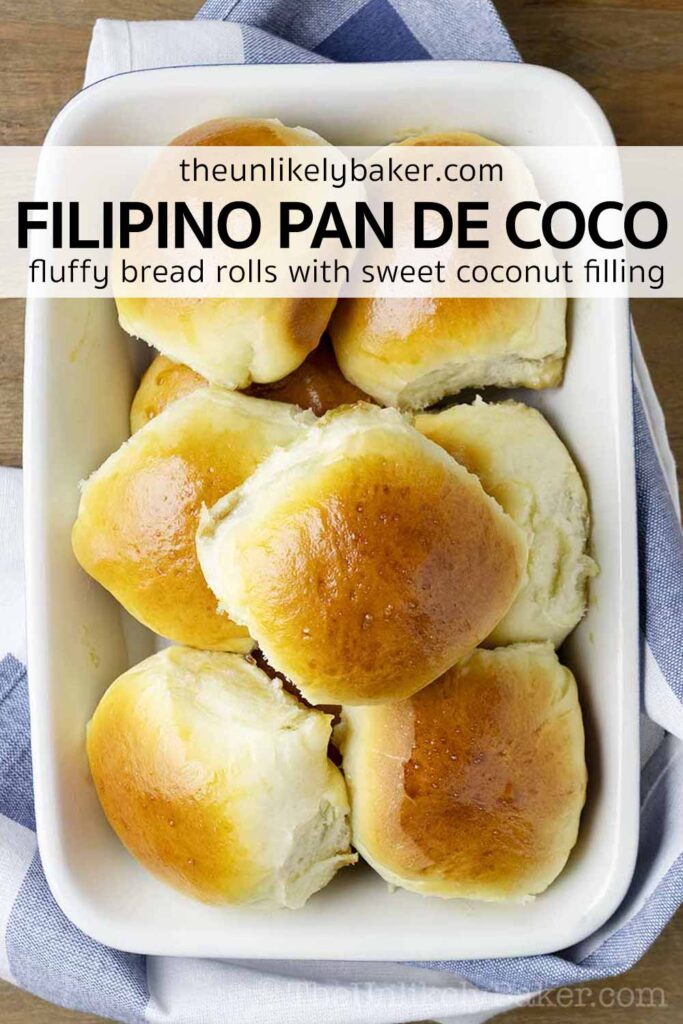
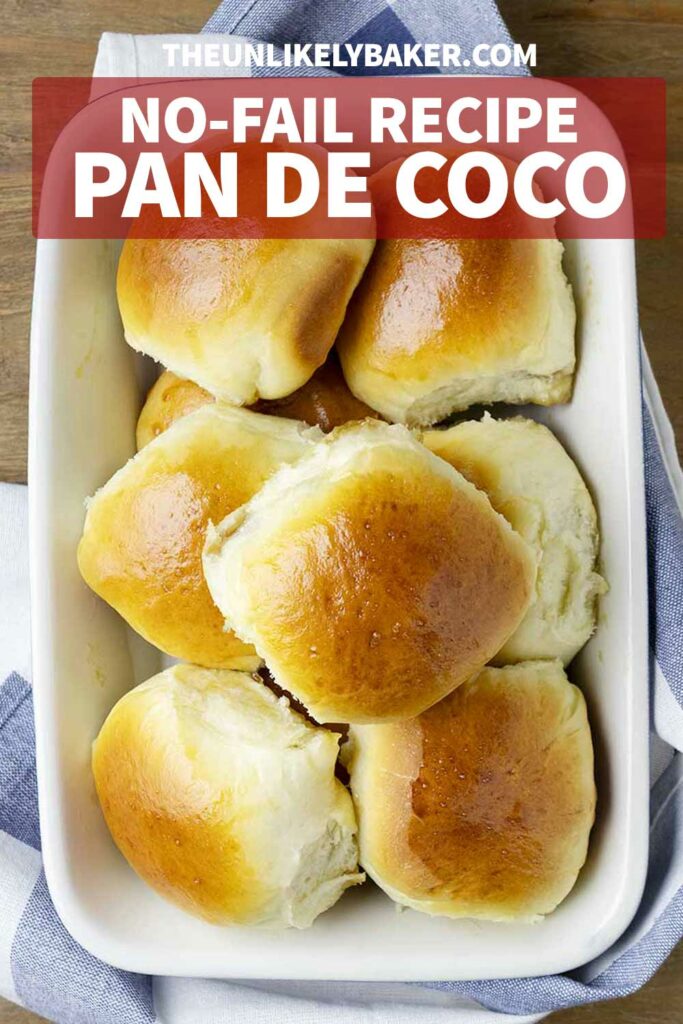
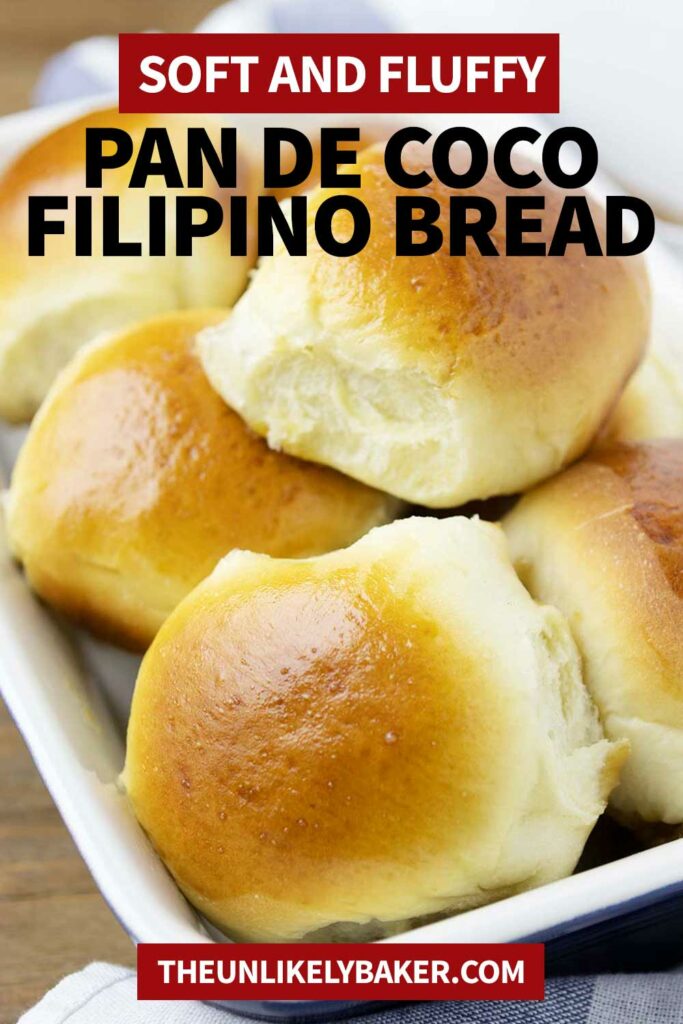
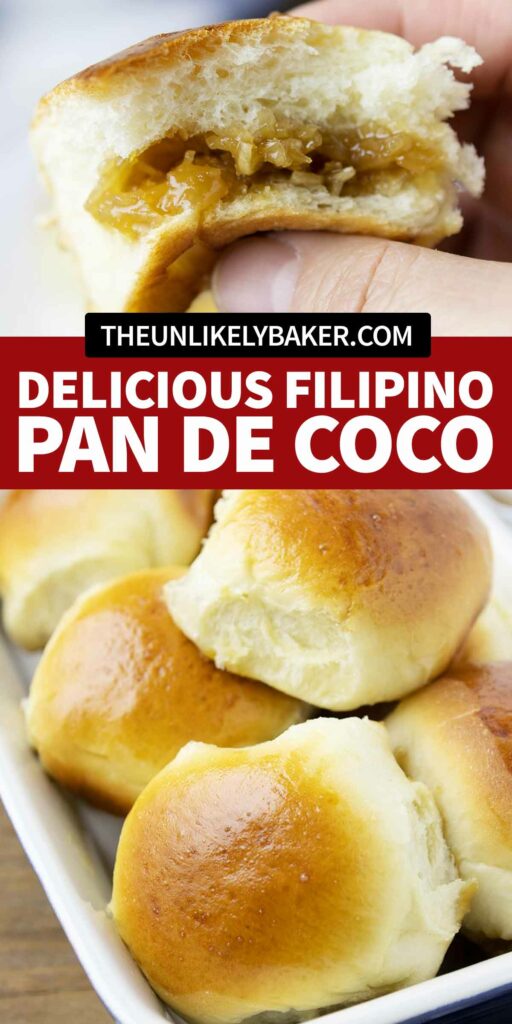
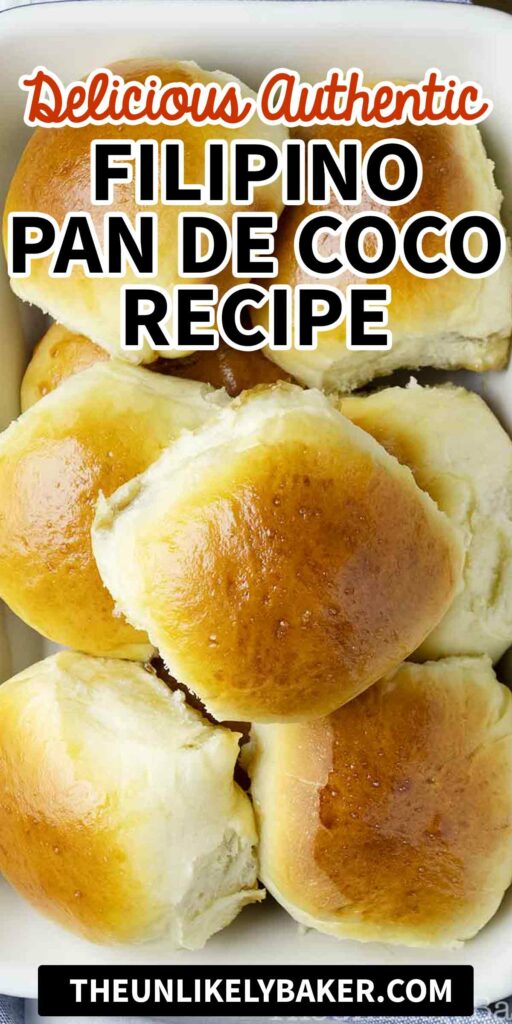
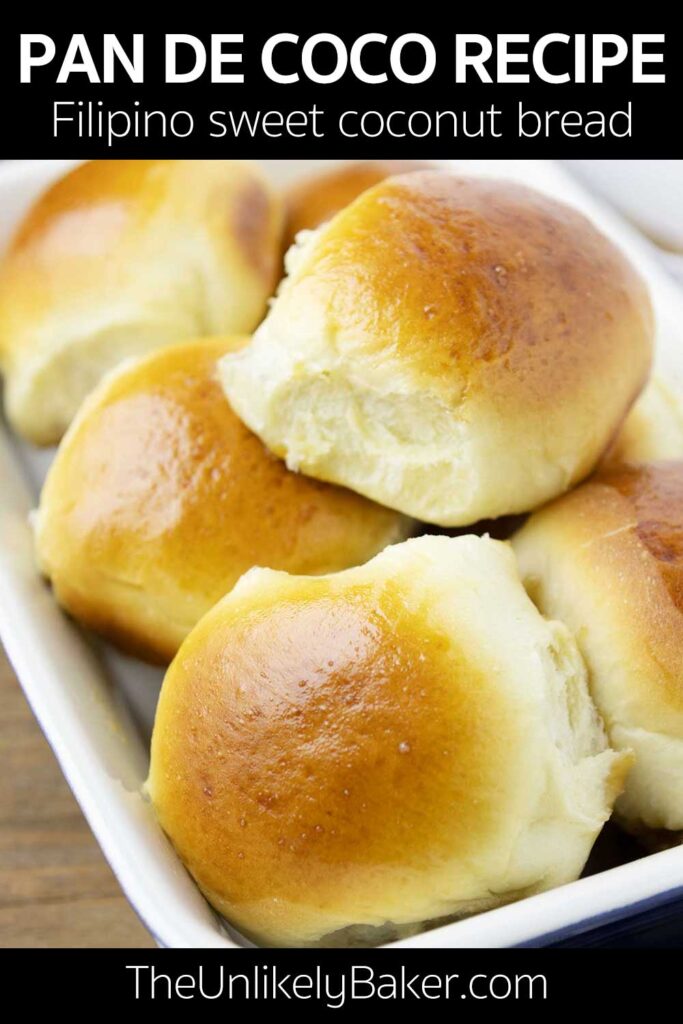
Pan de coco is a soft and sweet Filipino bread roll that’s filled with sweetened coconut then baked until golden brown. So good! Check out the easy recipe with tips, FAQs and more.
(Loving making homemade bread? Make a batch of pandesal, the classic Filipino bread roll. Or jazz it up and make some sweet Spanish bread or cheesy ensaymada.)
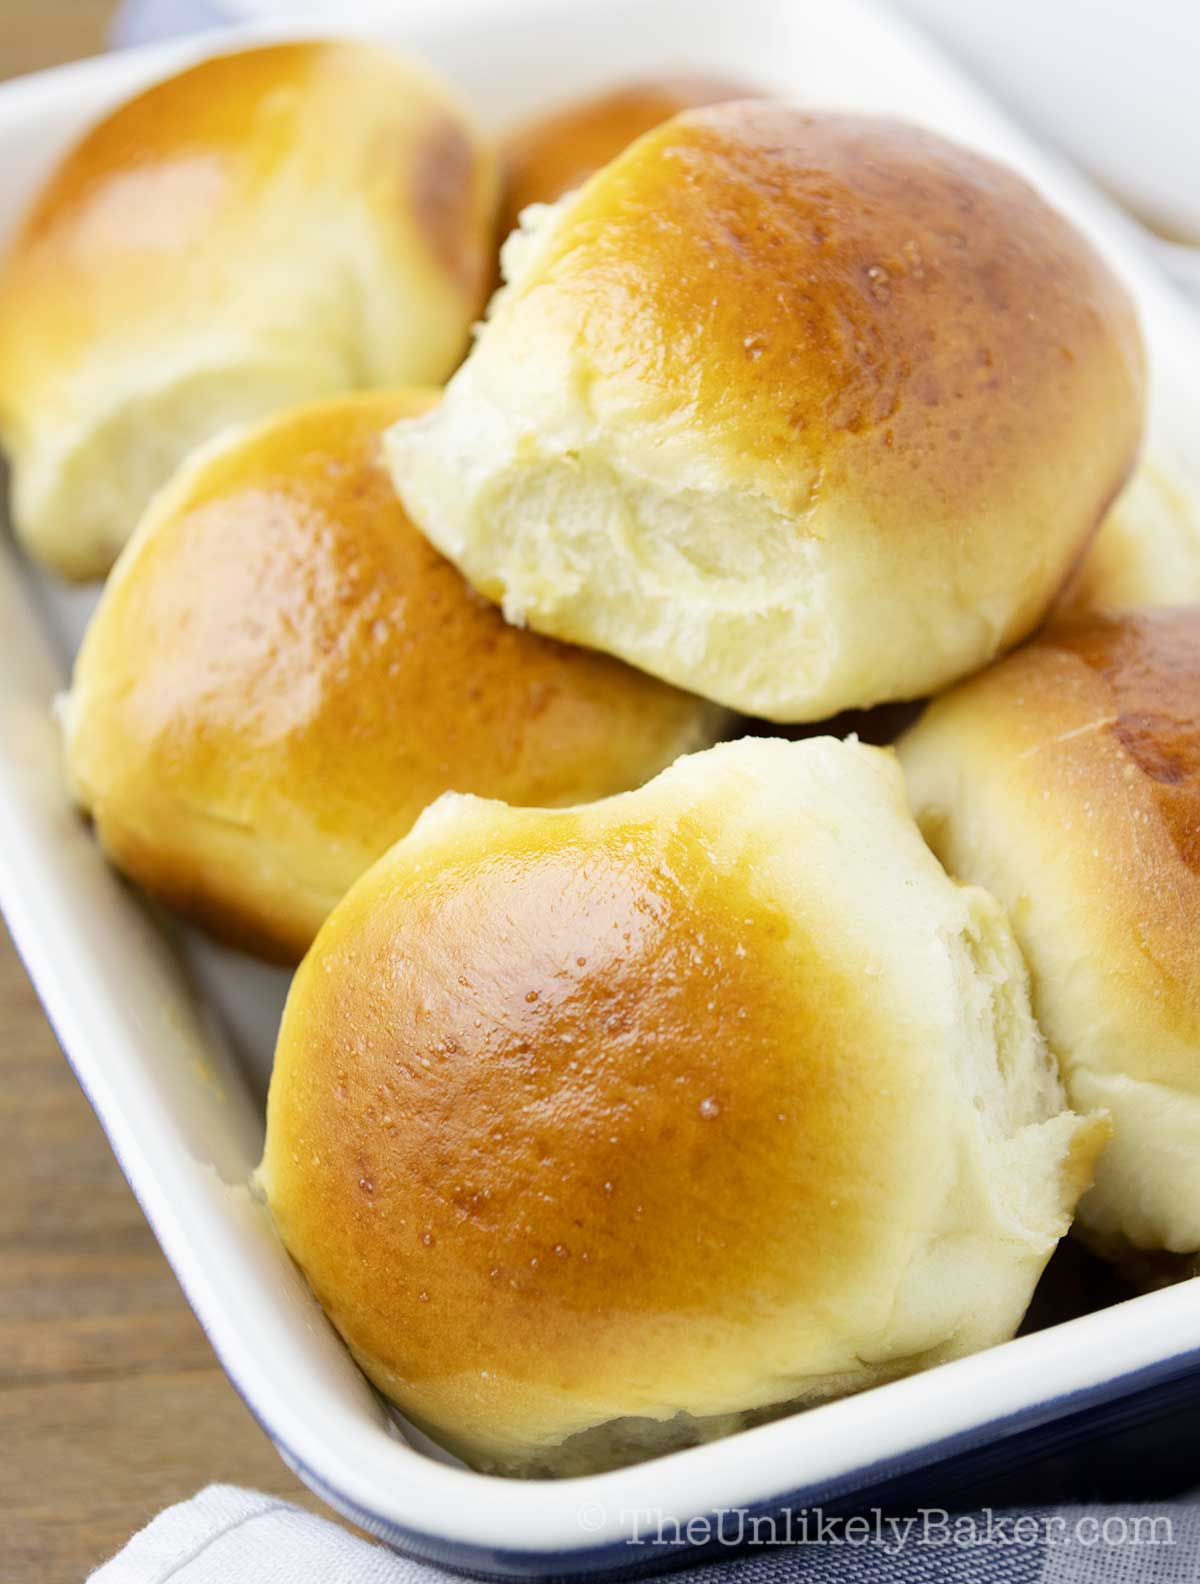
Like a lot of Filipino dishes, pan de coco (or coconut bread) has Spanish roots.
Over the years though, this soft bread roll has become as Filipino as they come.
They can be found in local bakeries or panaderias all over the country.
Note that this pan de coco recipe is different from the Honduran pan de coco, which is usually served with savoury dishes like stew or used in sandwiches.
The Filipino version is sweet, with a sticky coconut filling, and typically eaten on its own.
Why you’ll love making this at home
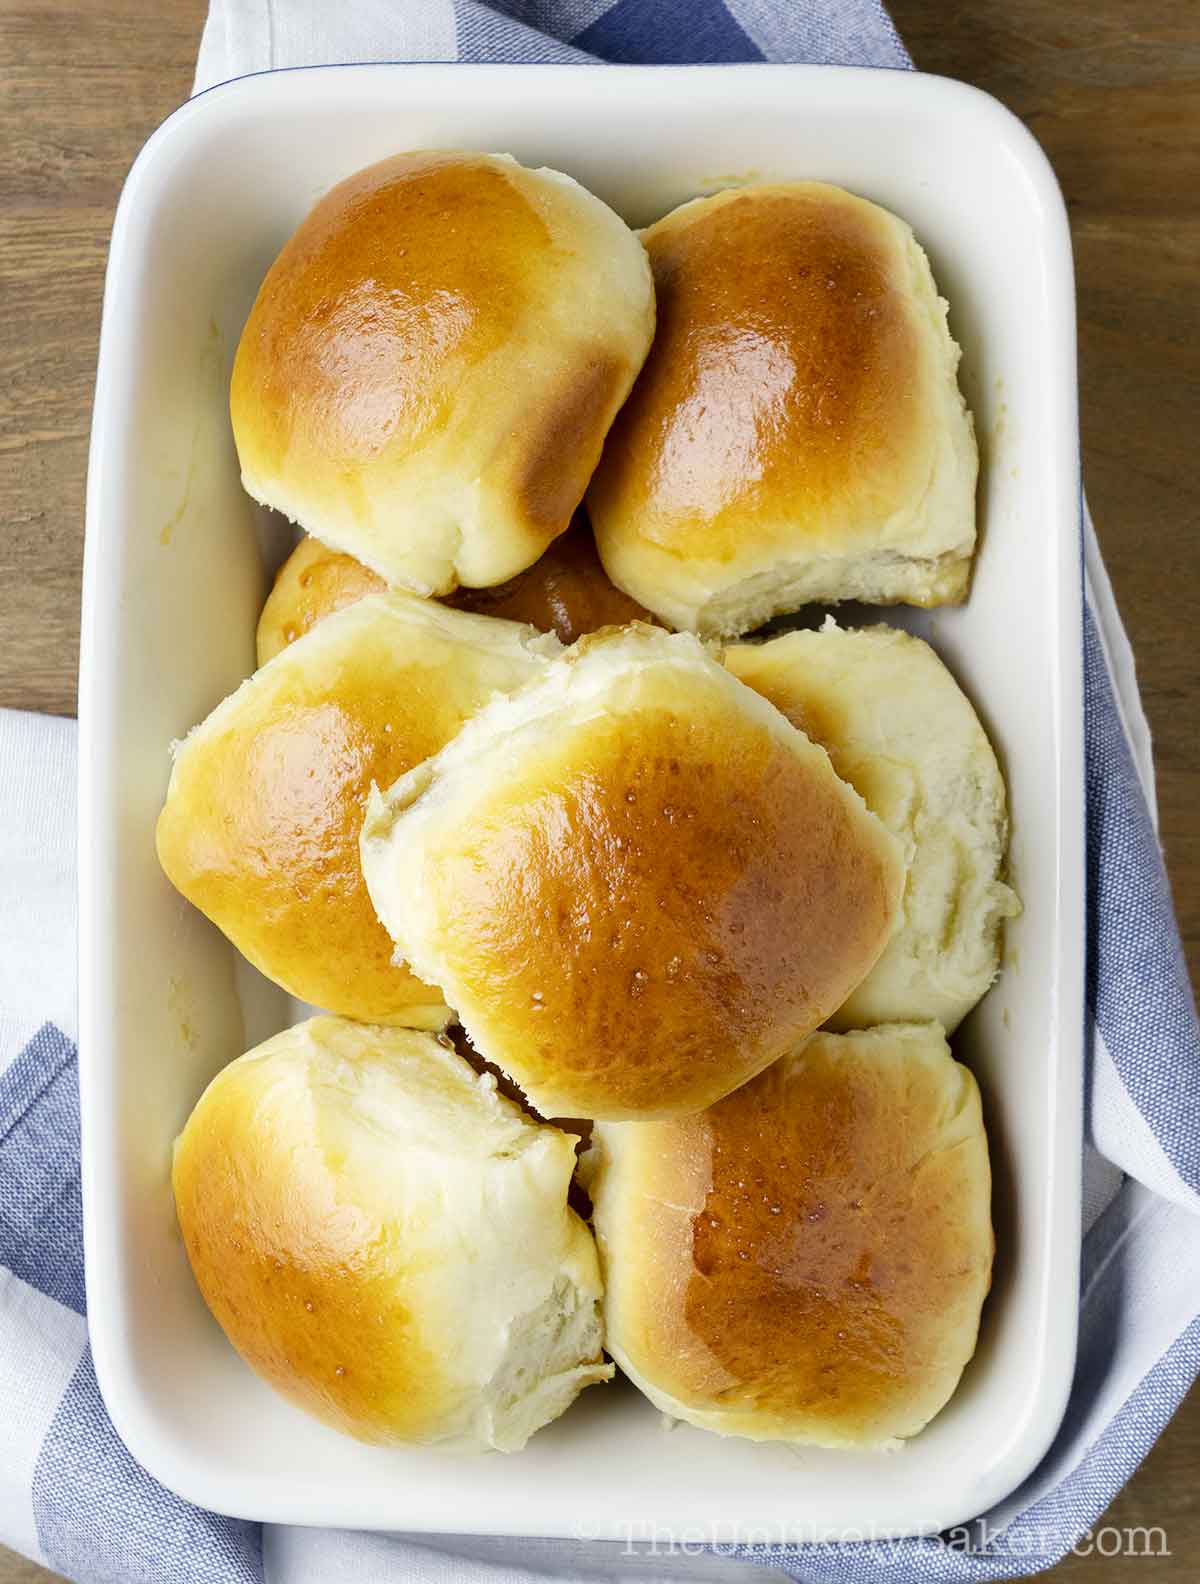
- I’ve found that in North America (at least, where I am) pan de coco is not as easily available as pandesal or ensaymada in Asian supermarkets. Happily, this recipe is easy and simple to follow so you can make it at home any time.
- If and when you do find pan de coco in the stores, the filling is either too sweet, not enough, or tastes more like fillers than coconut. Here, we use pure coconut and you can control how much filling you put in each bun.
- Finally, it tastes just like the pan de coco we grew up eating. So good!
How to make
This recipe is easy and straightforward. There are lots of steps but each one is small and manageable.
Ingredients
First, gather your ingredients. You’ll need pantry staples like milk, sugar and all-purpose flour. A few key things to remember:
- Dry yeast – in this recipe, I use active dry yeast as opposed to instant yeast — more on that below.
- Coconut milk – we use this for the filling. Make sure you’re getting milk, and not coconut cream.
- Shredded coconut (or desiccated coconut / grated coconut) – I’ve used both sweetened and unsweetened coconut for the filling and didn’t see that much of a difference. Use whatever you have on hand.
(Got fresh grated coconut? Try making some Chinese coconut buns!)
Baking tools
When baking bread, I find the following very useful:
- Instant read thermometer — this helps me get my warm milk or warm water to the right temperature every time
- Kitchen scale – I always weigh my ingredients when baking for consistent results. And when dividing dough, I weigh it so each piece comes out the same size
- Silicone pastry rolling mat – I really love this! It makes kneading easier and clean-up a breeze
- French rolling pin – I find the french rolling pin easier to use than a regular rolling pin but that’s mostly personal preference
- Bench scraper — I’d say this nifty little bench scraper is one of the most used gadget in my kitchen. Scrape, cut, scoop. It’s very handy
Other than these, you’ll need mixing bowls, measuring cups and spoons, and baking pans.
Step-by-step instructions
How to make the buns
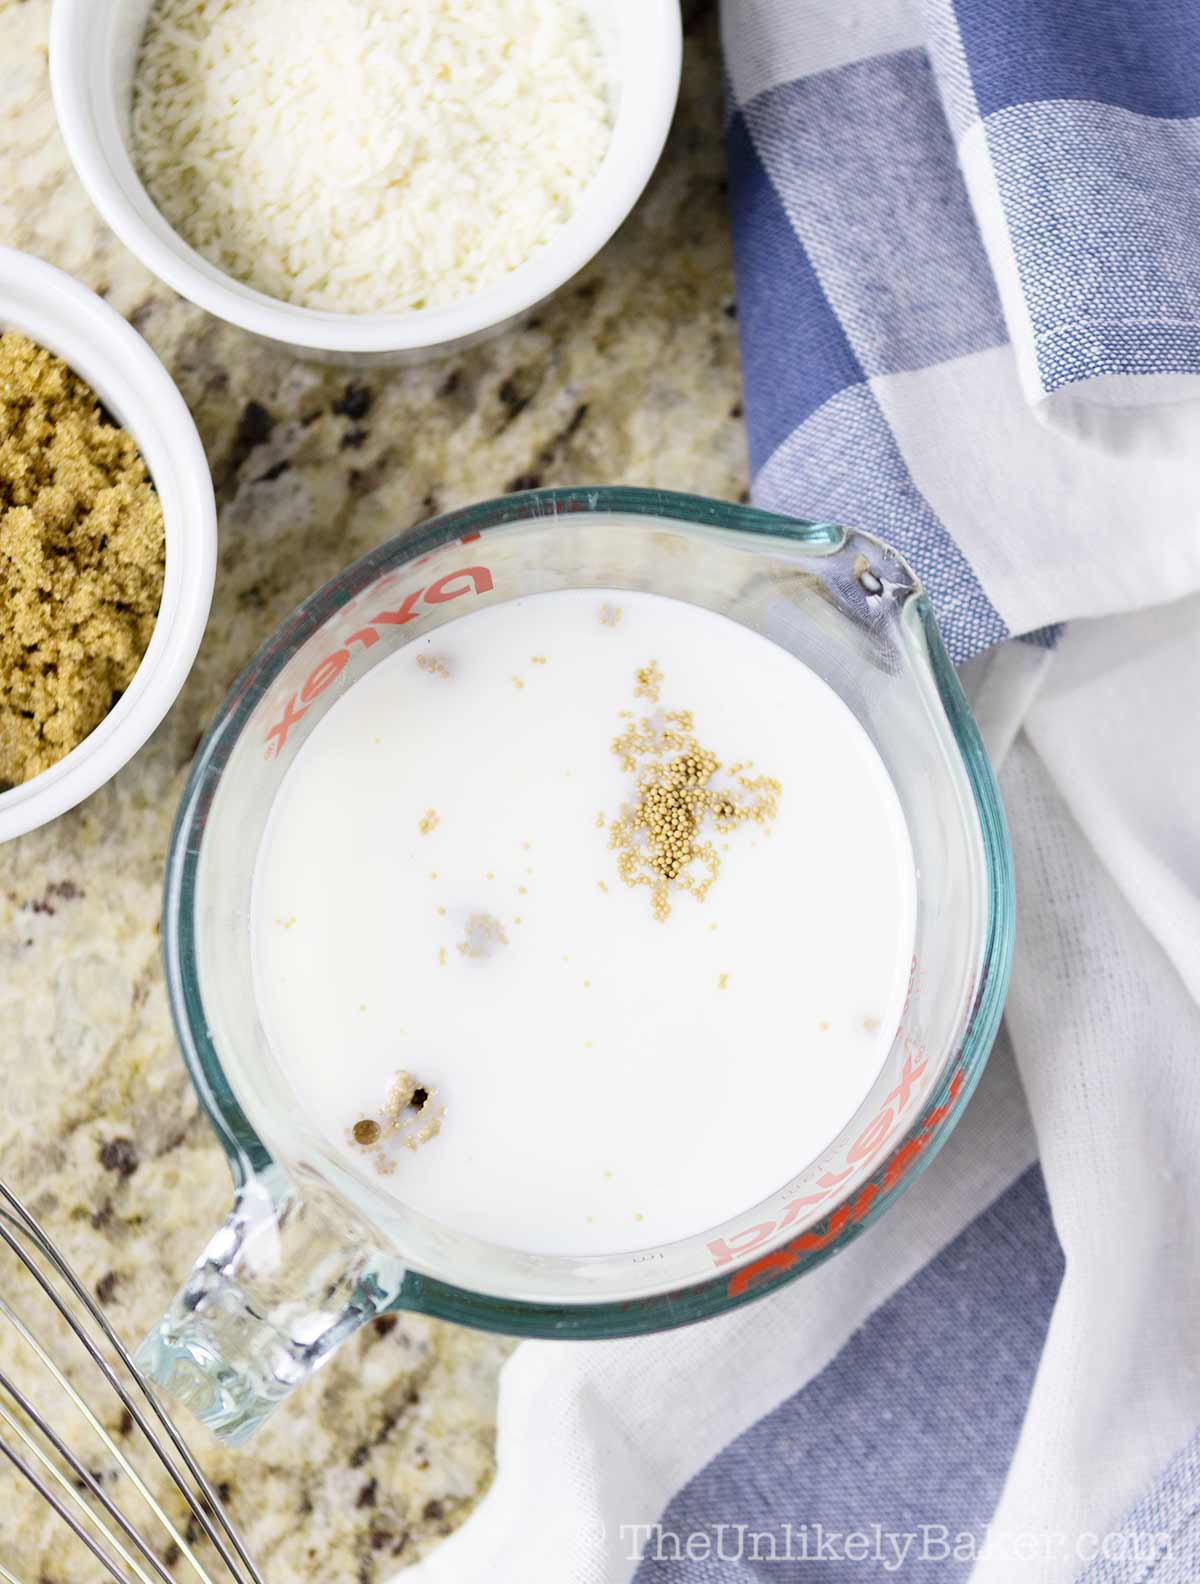
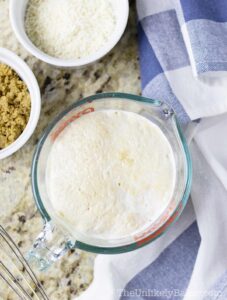
(1) In a small bowl or measuring cup, stir warm milk, sugar and yeast until combined.
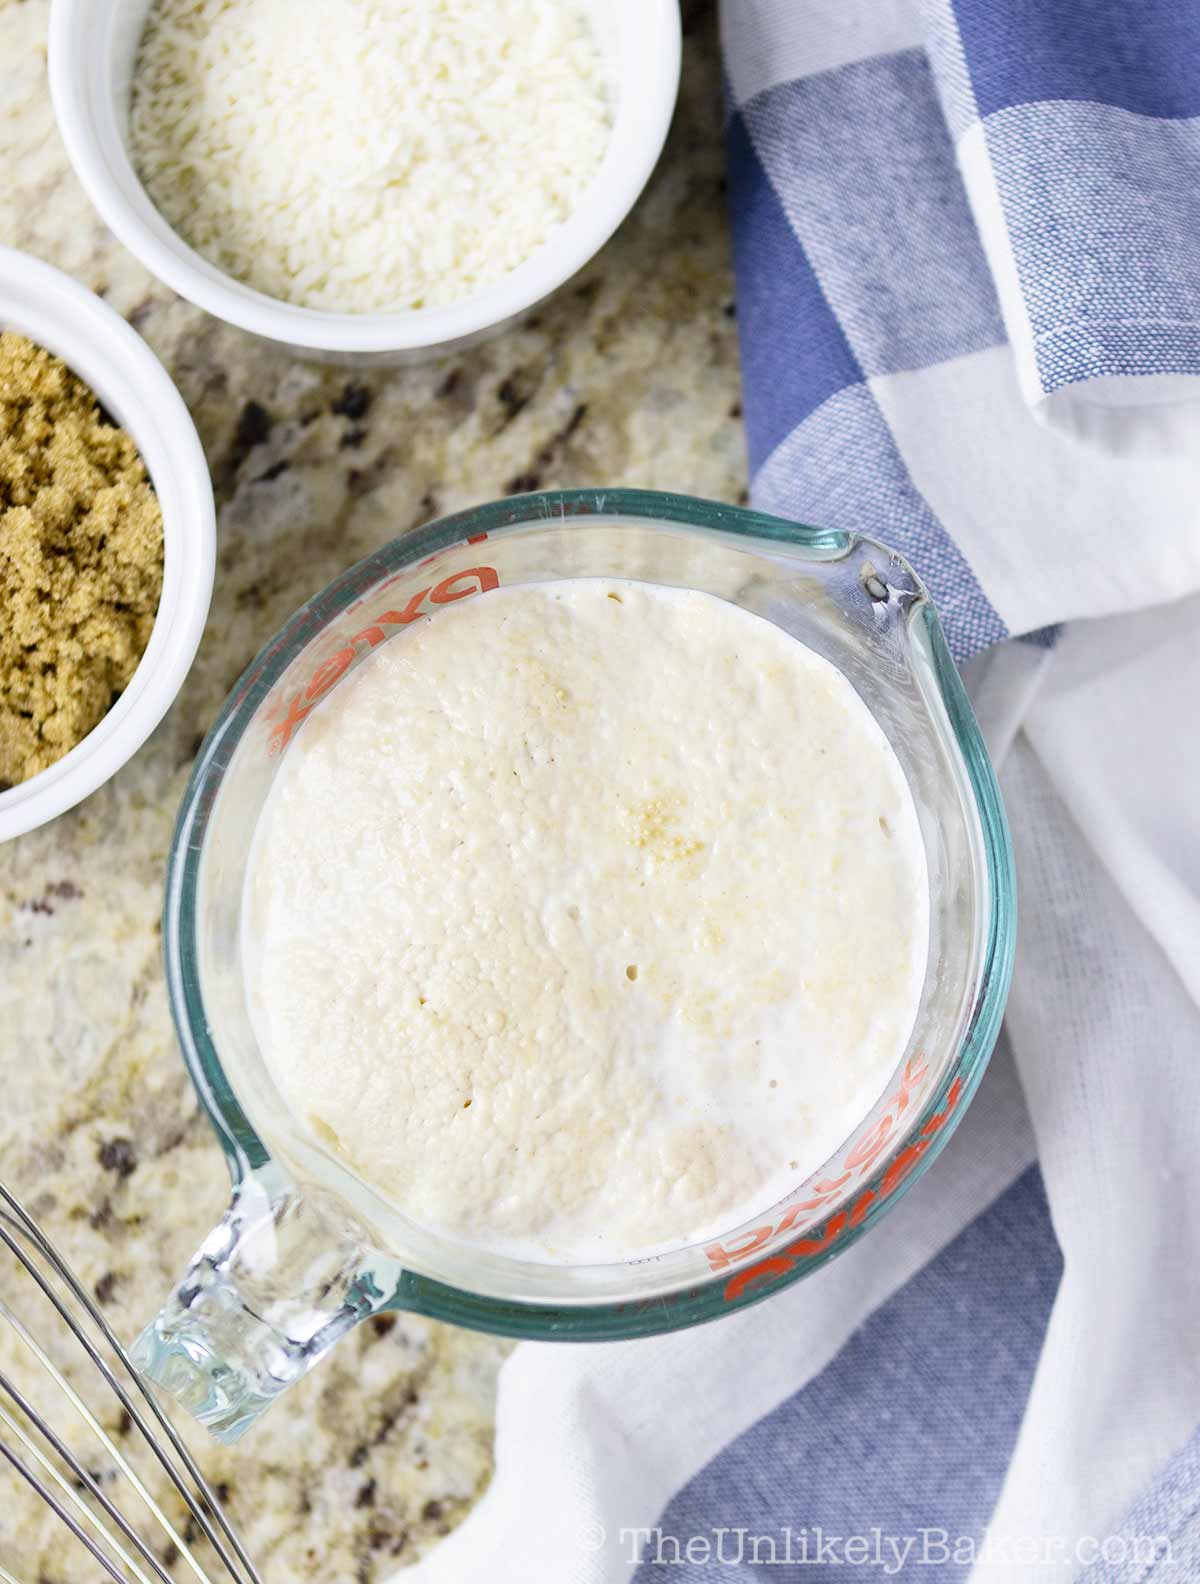
(2) Let stand until bubbly (about 10 minutes).
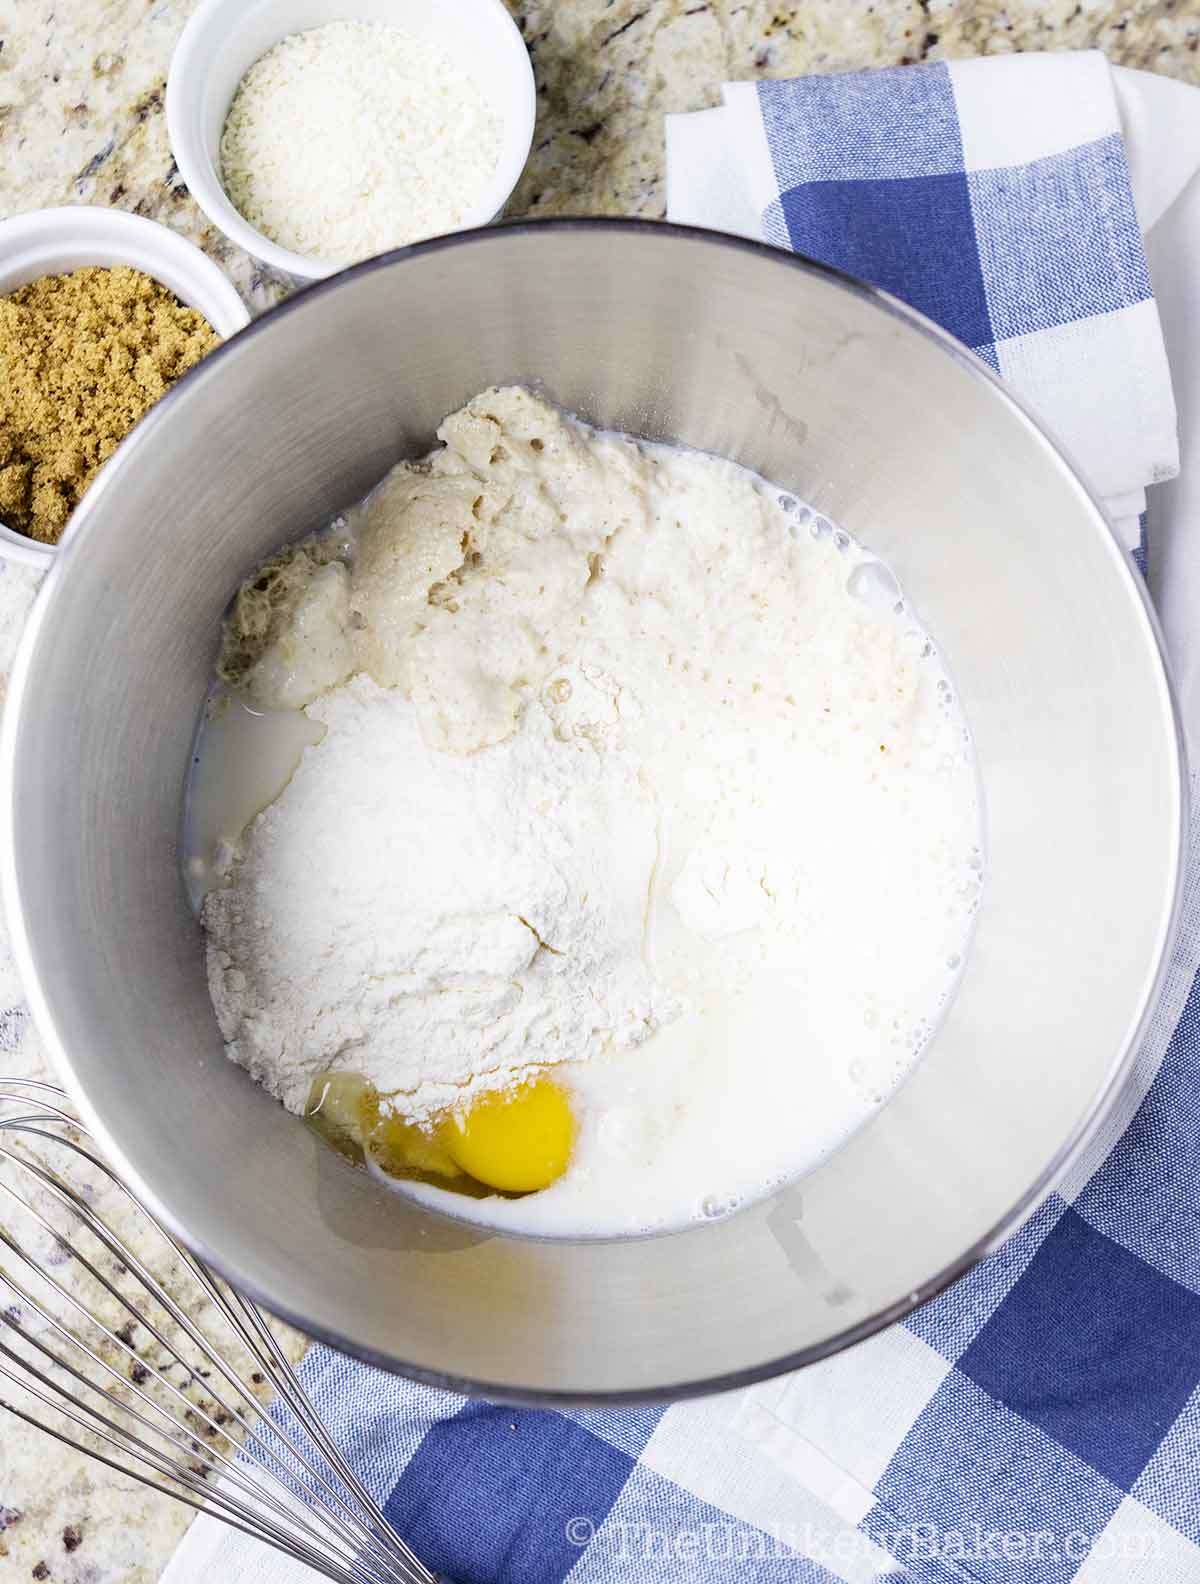
(3) In a large bowl if mixing by hand, or using the bowl of your stand mixer fitted with the dough hook attachment, stir yeast mixture, flour, sugar, salt and egg until combined, the dough sticks together in a ball and becomes smooth and elastic. Add more flour a little at time if your dough is too sticky, but no more than ¼ cup.
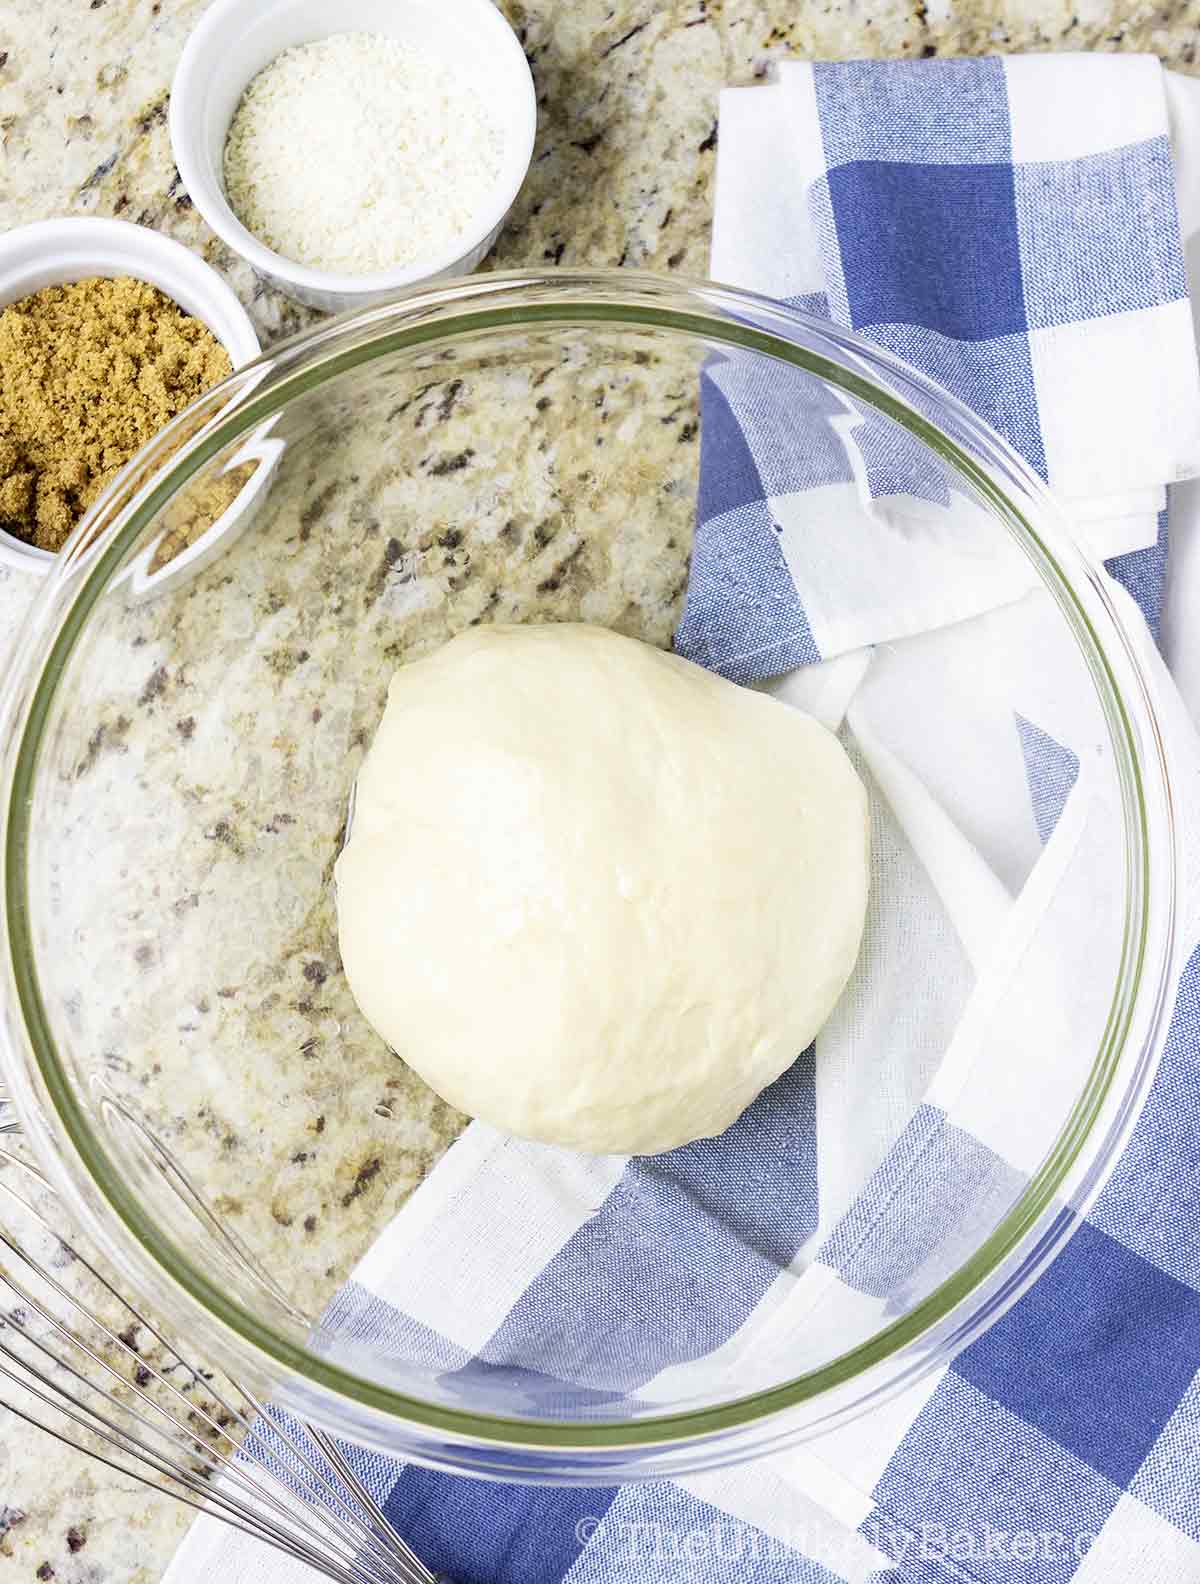
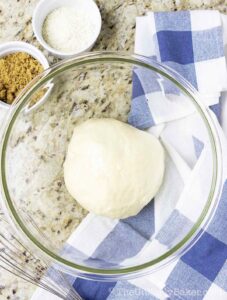
(4) Take the dough from the bowl and gently shape into a ball. Transfer into another bowl that’s been greased with canola oil. Cover and allow to rise until double in size (about 1 hour).
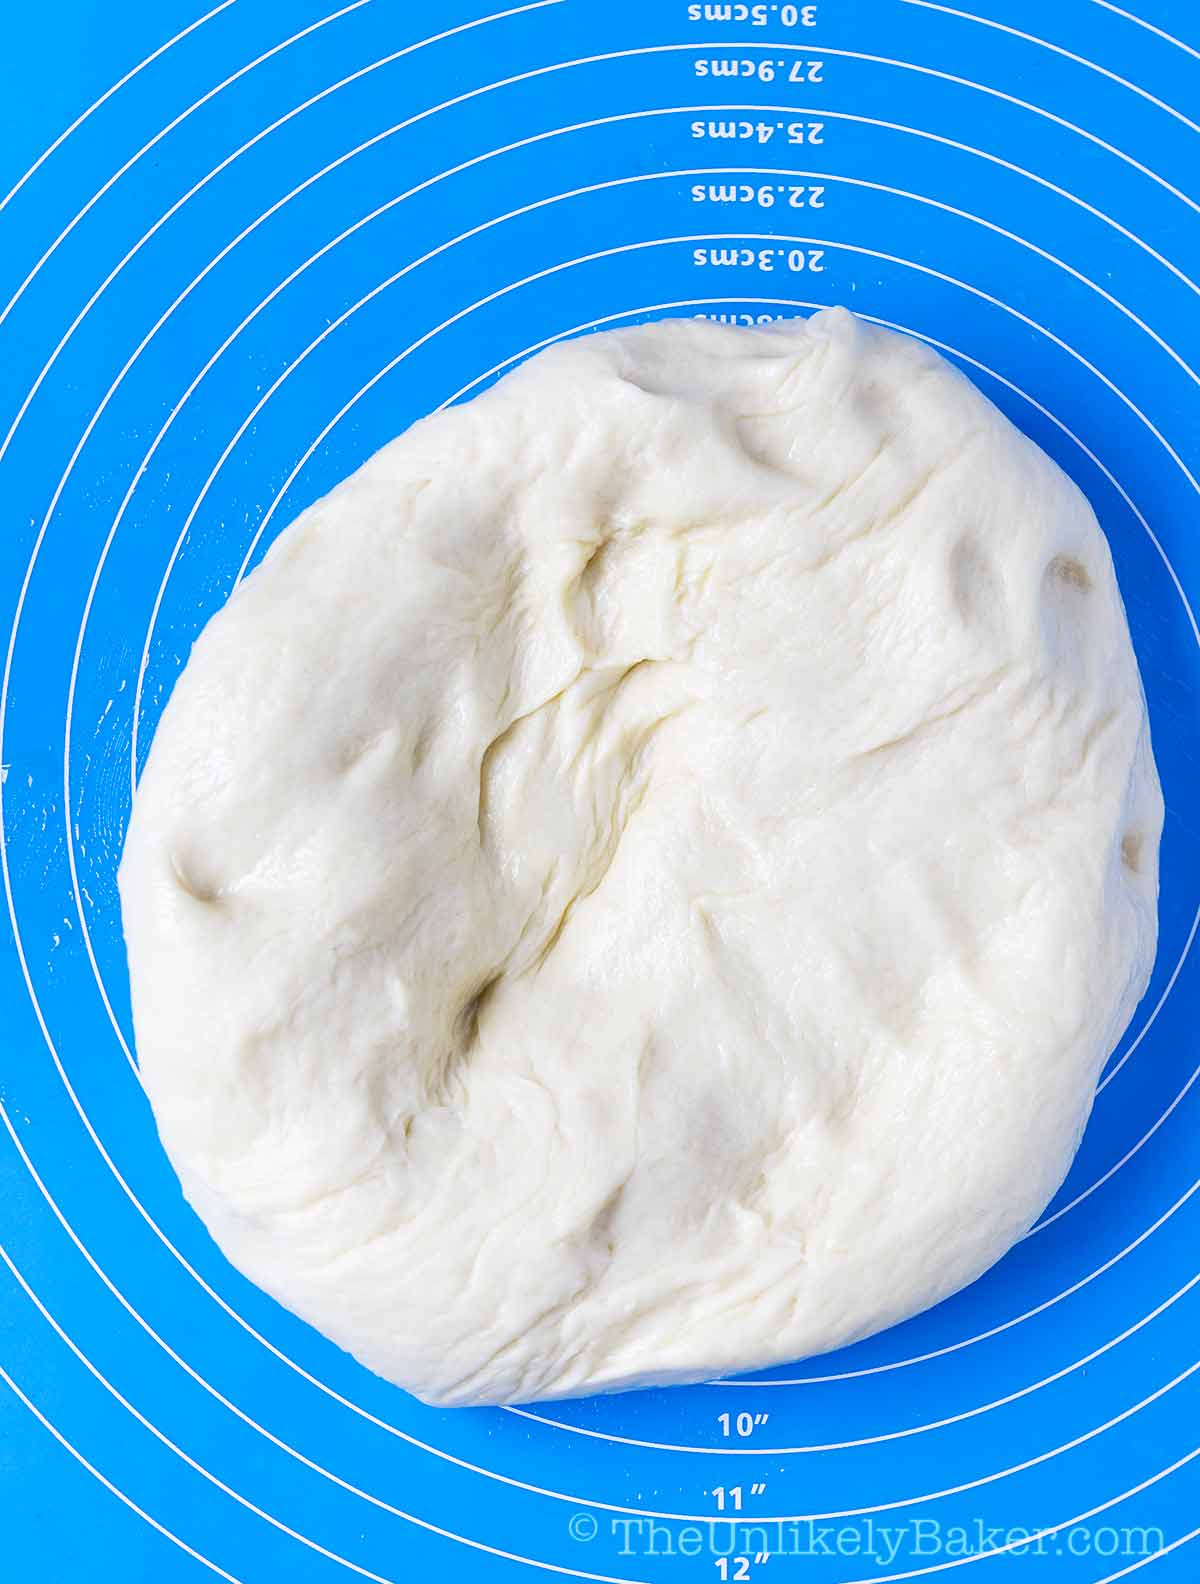
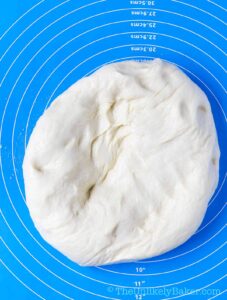
(5) When ready, punch air out of the dough and turn into a lightly oiled surface.
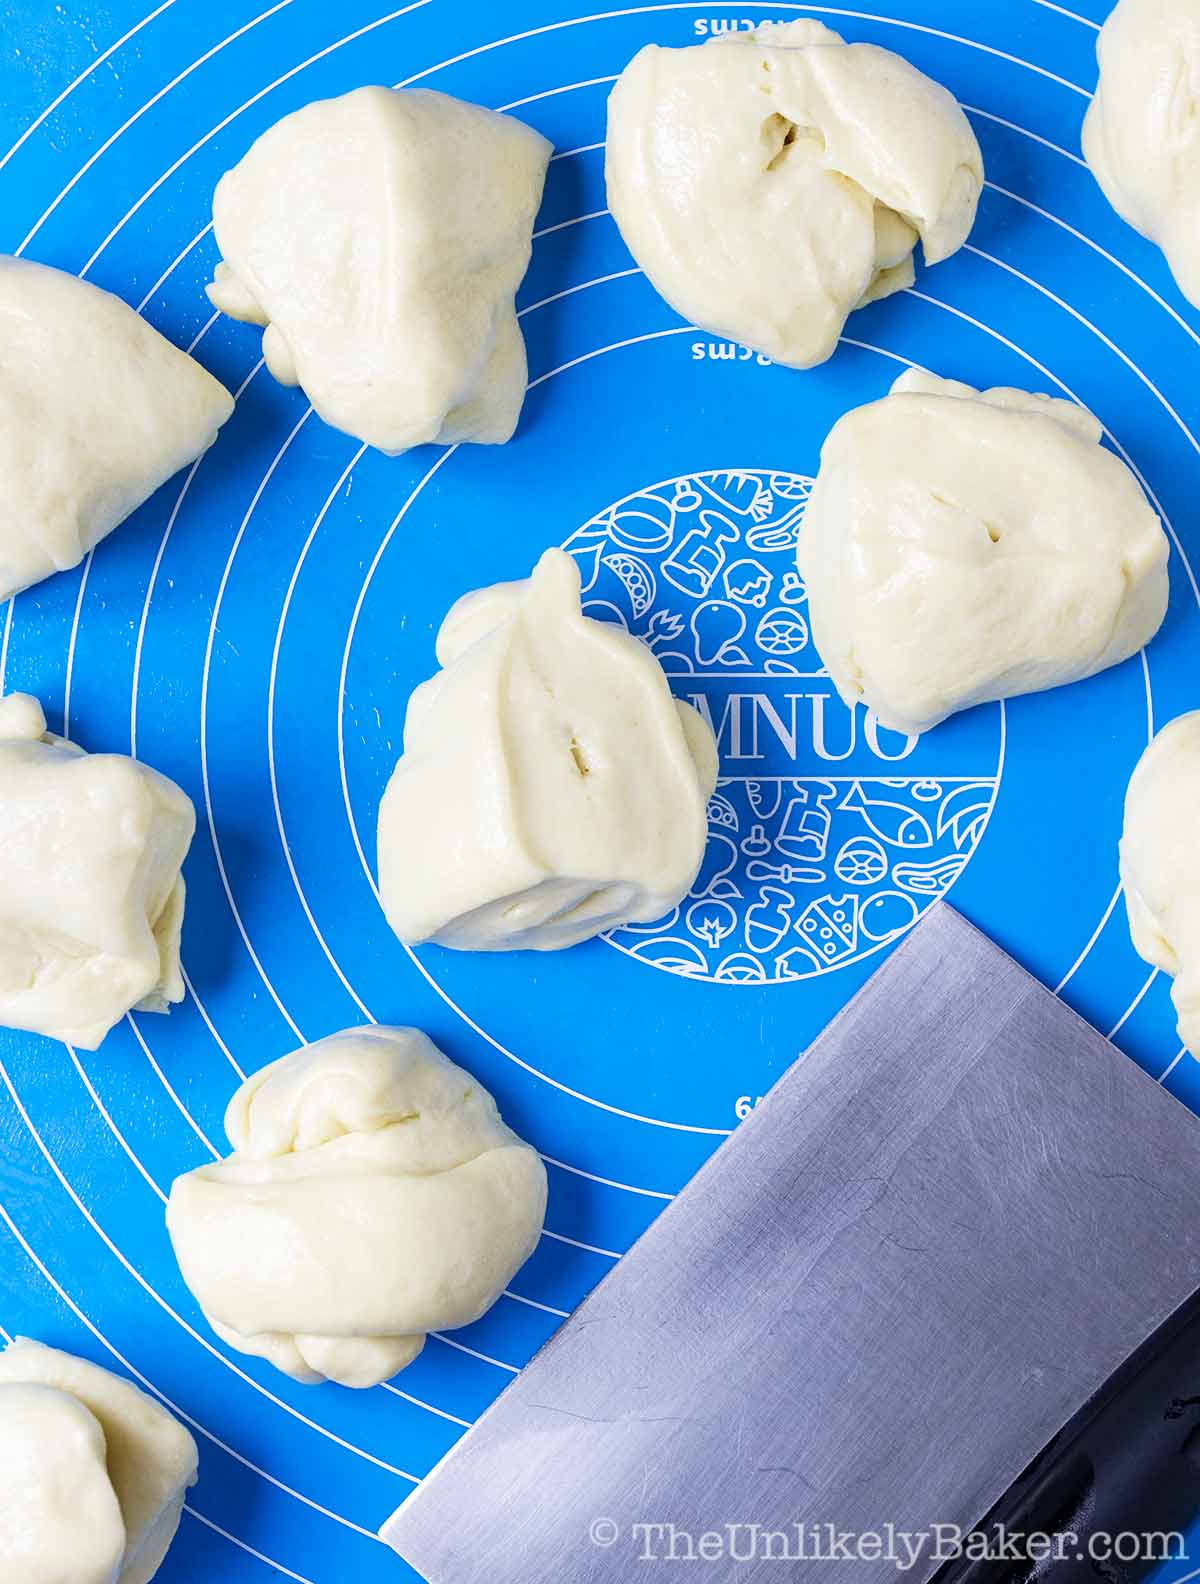
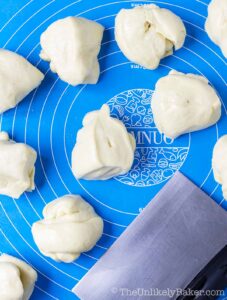
(6) Divide the dough into 12 equal pieces.
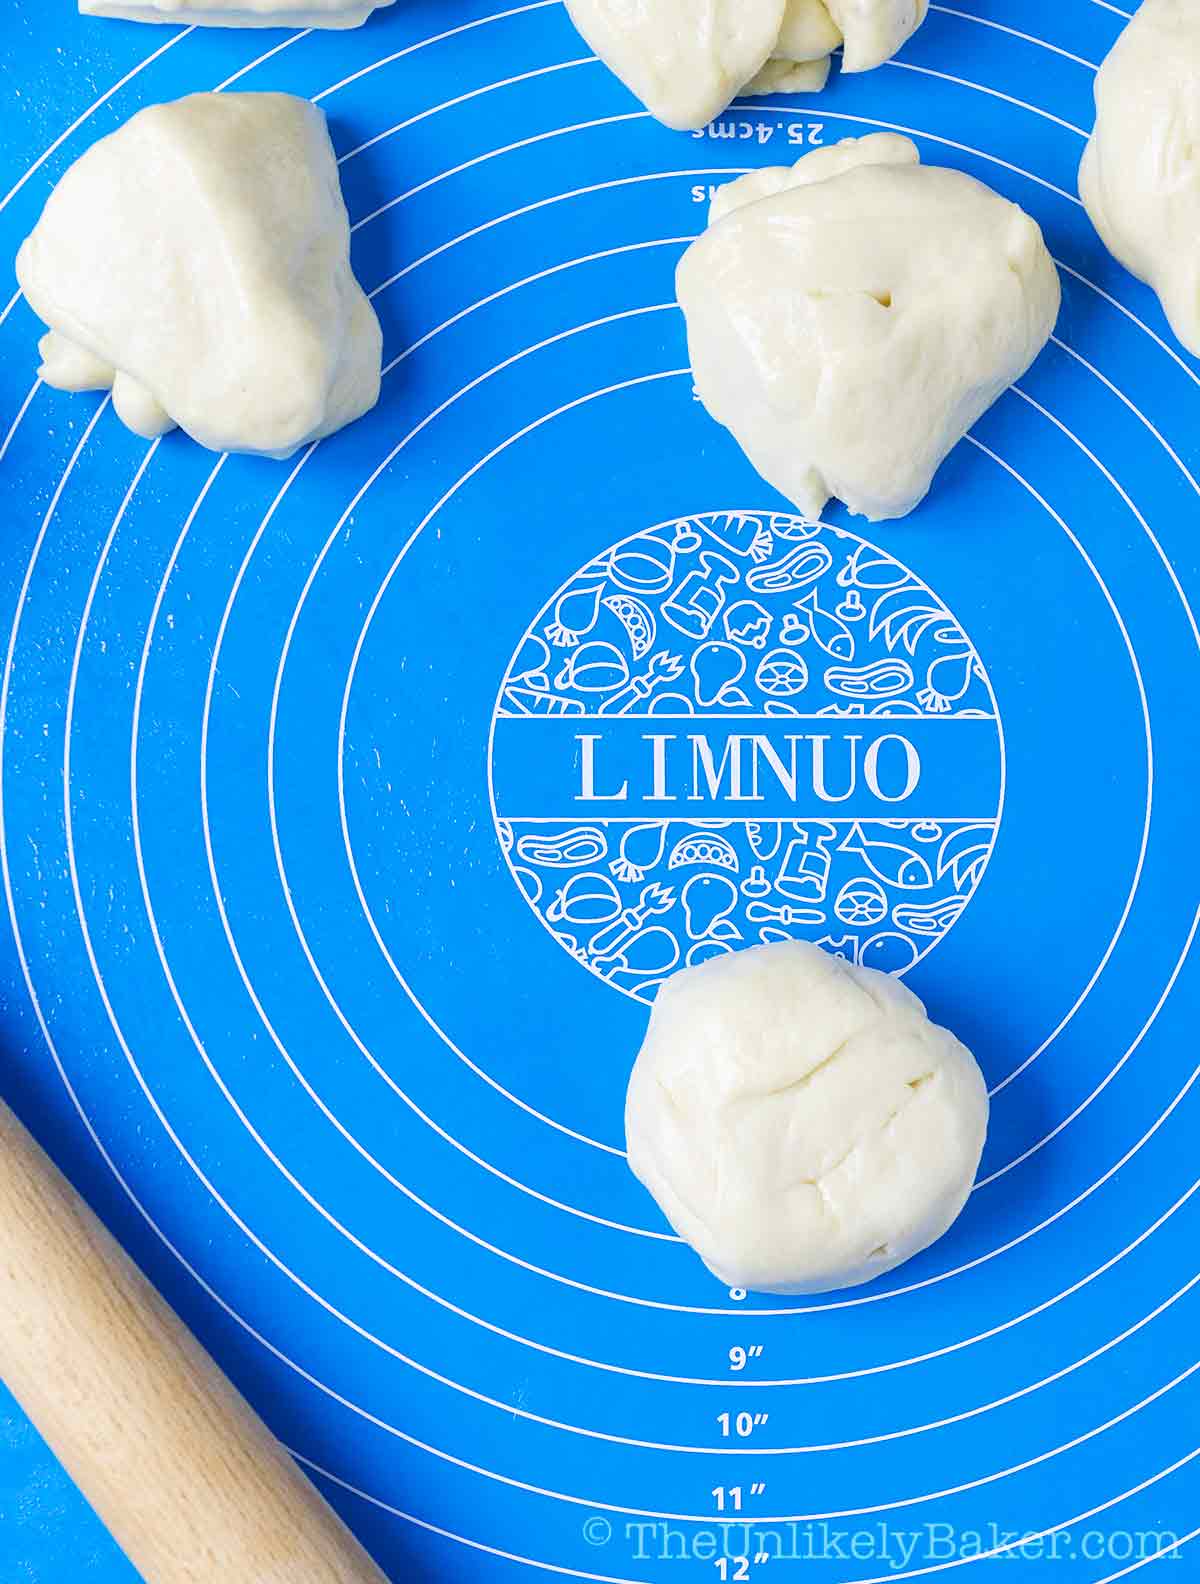
(7) Roll each piece into a ball.
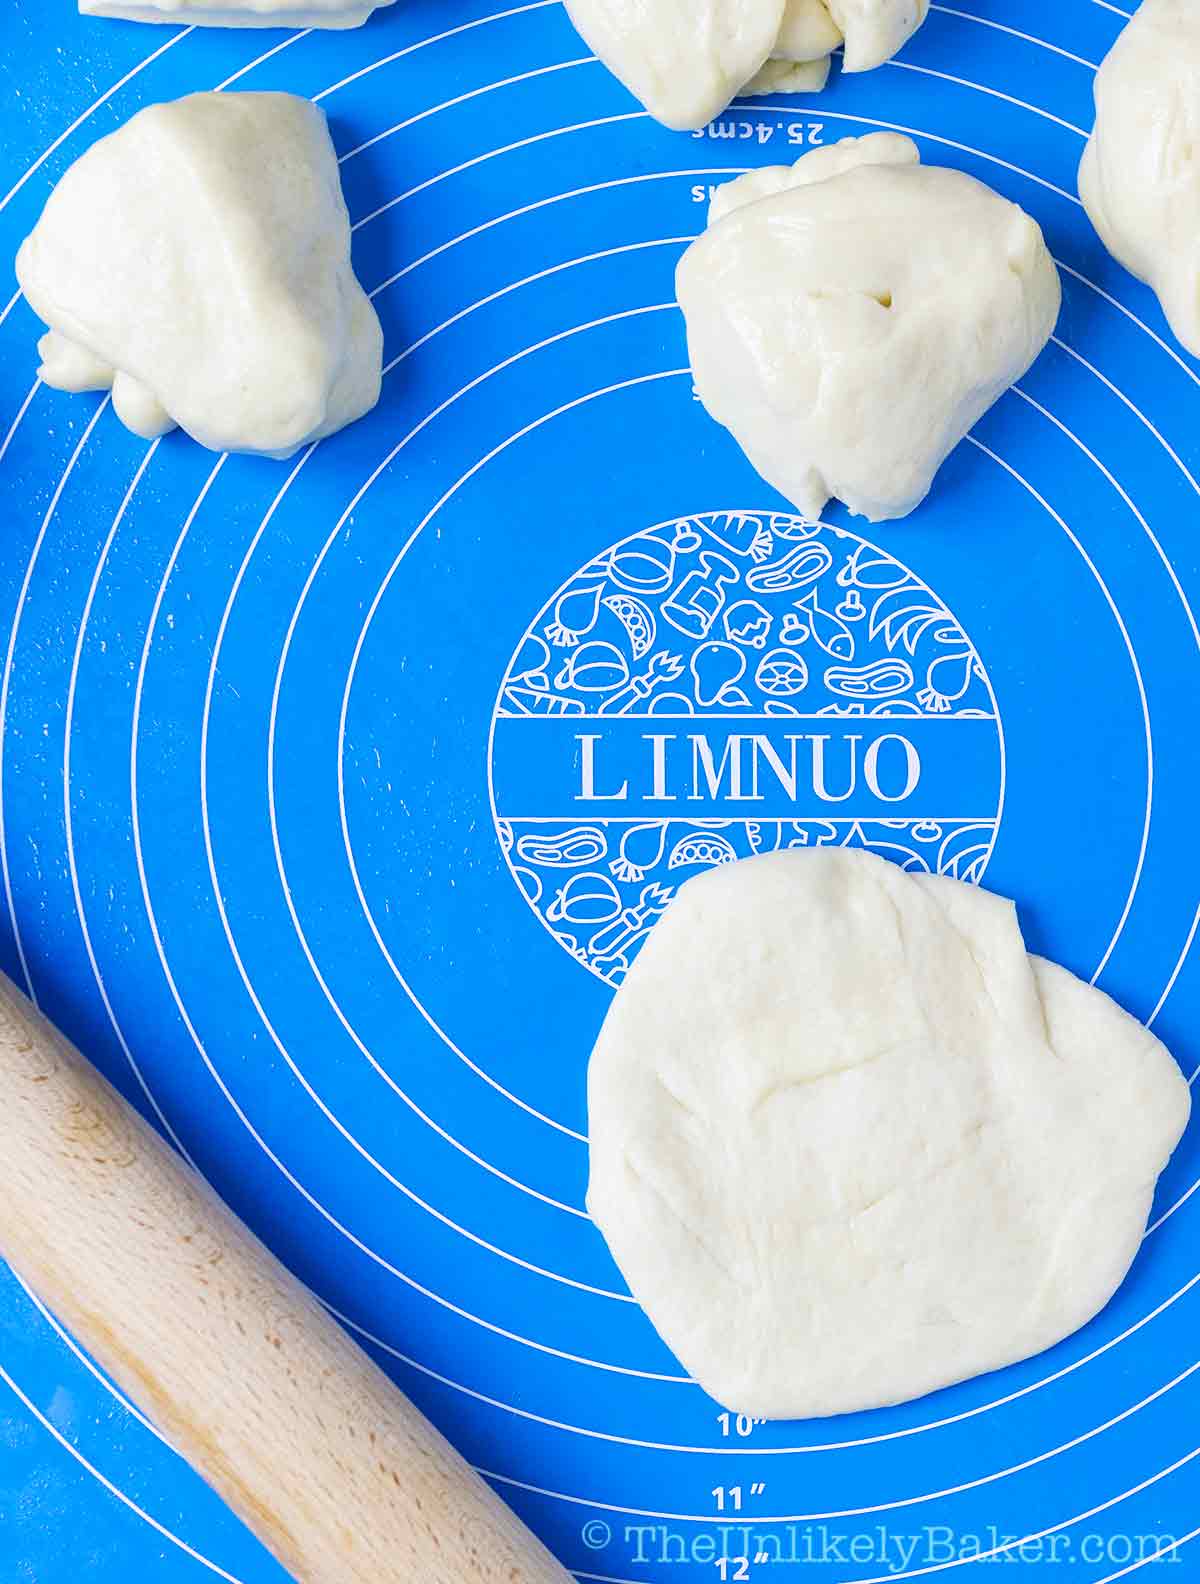
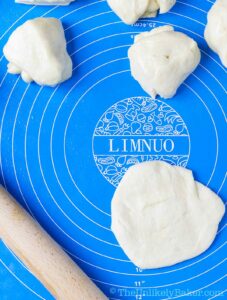
(8) Then flatten no thinner than 2mm.
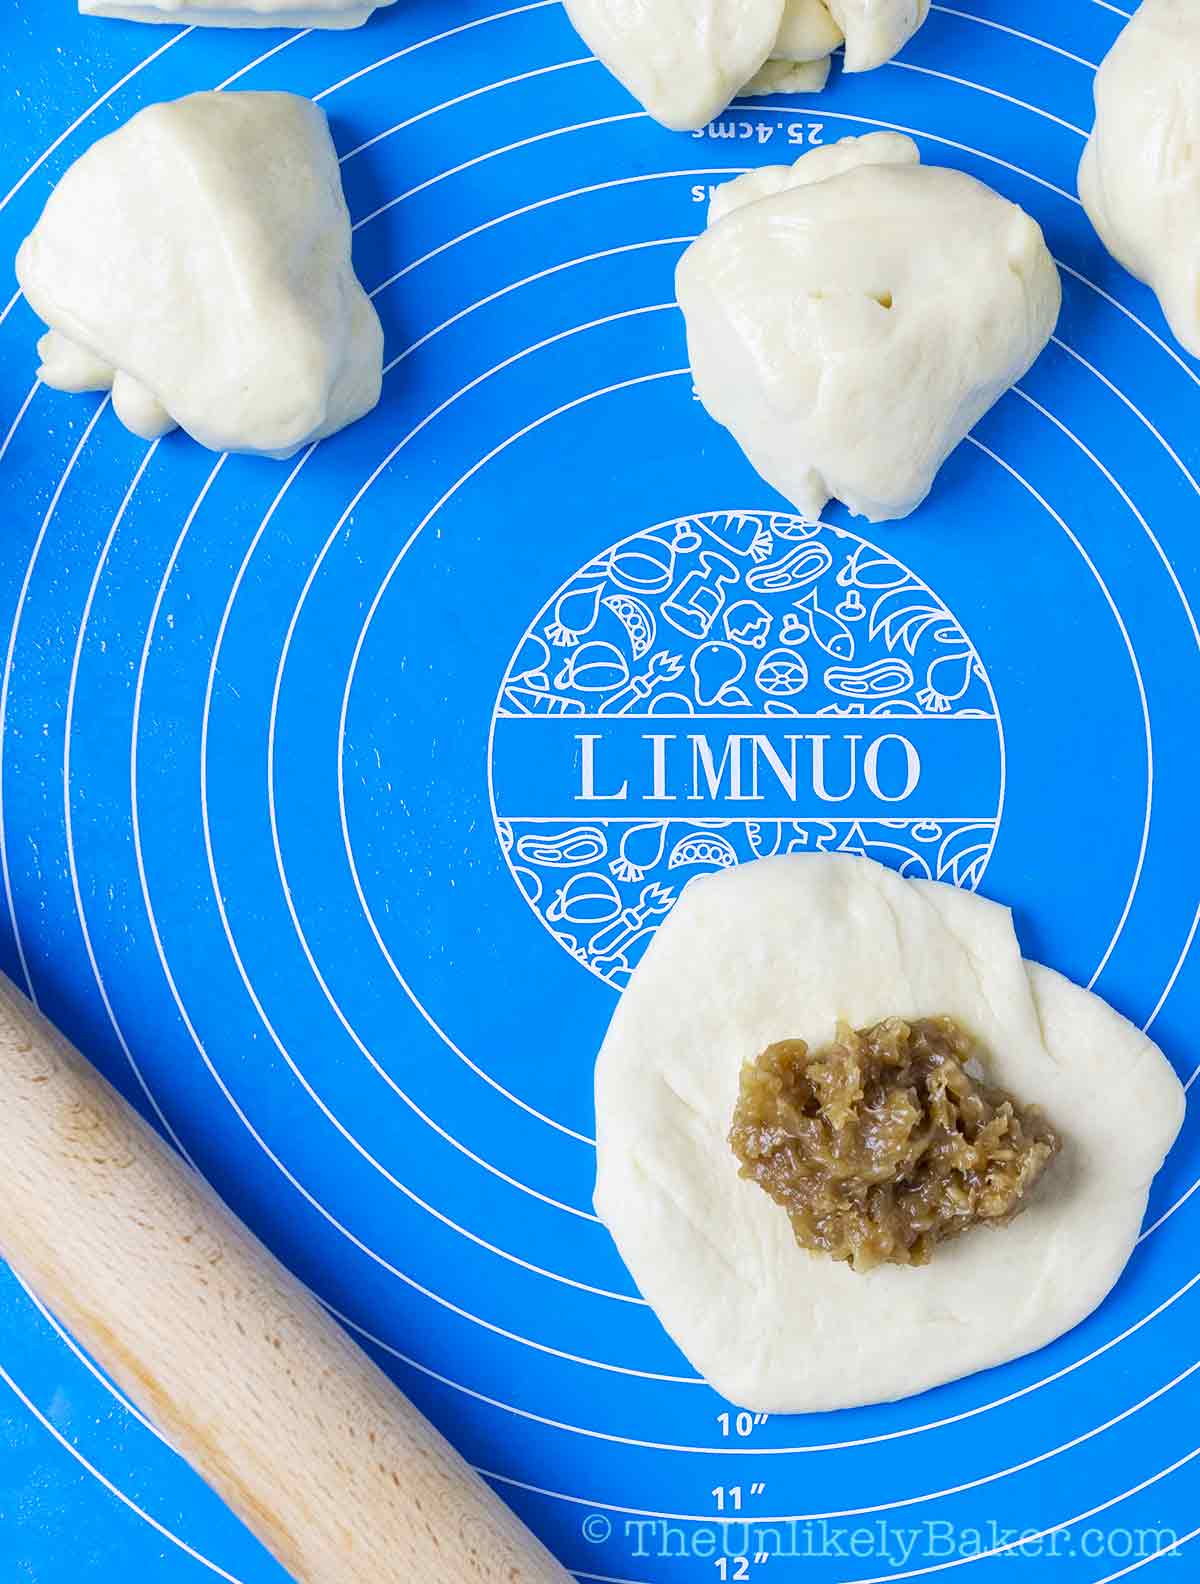
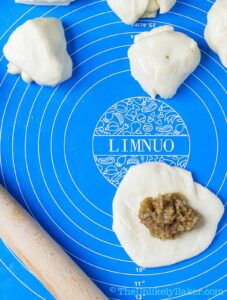
(9) Place a heaping tablespoonful of coconut filing.
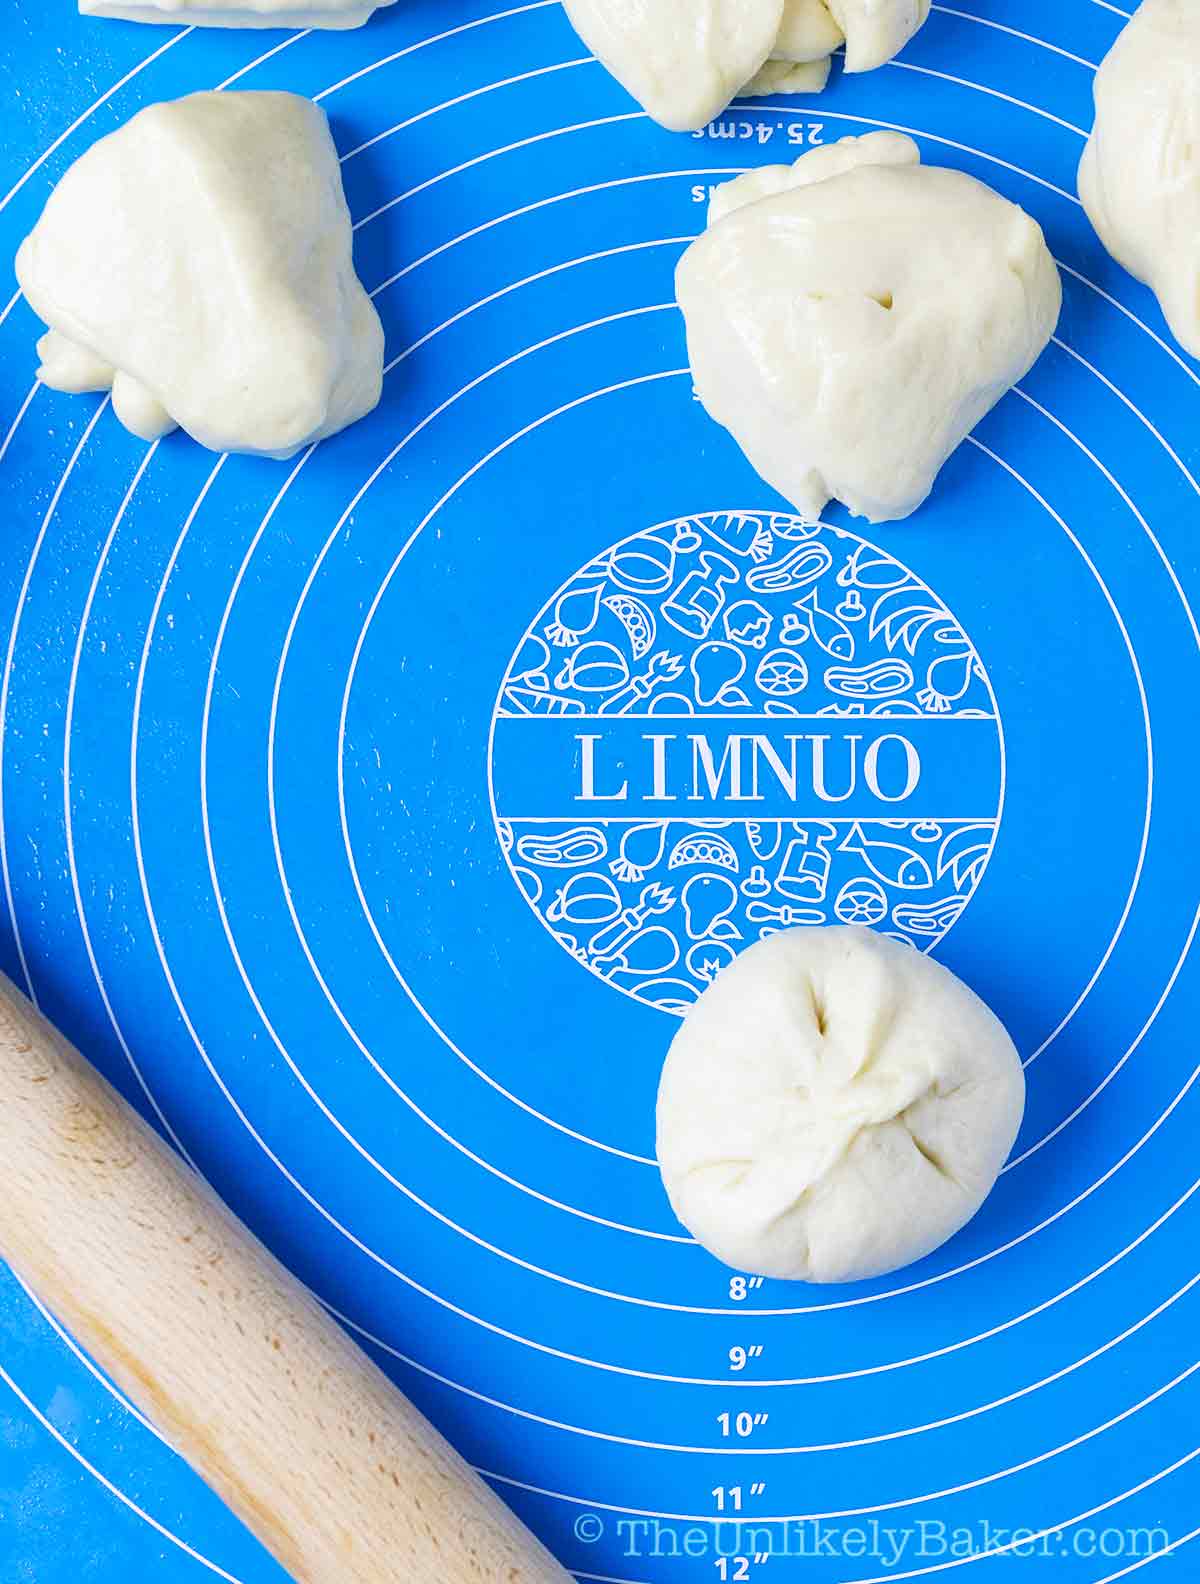
(10) Fold dough over filling and pinch to seal. Reshape if needed.
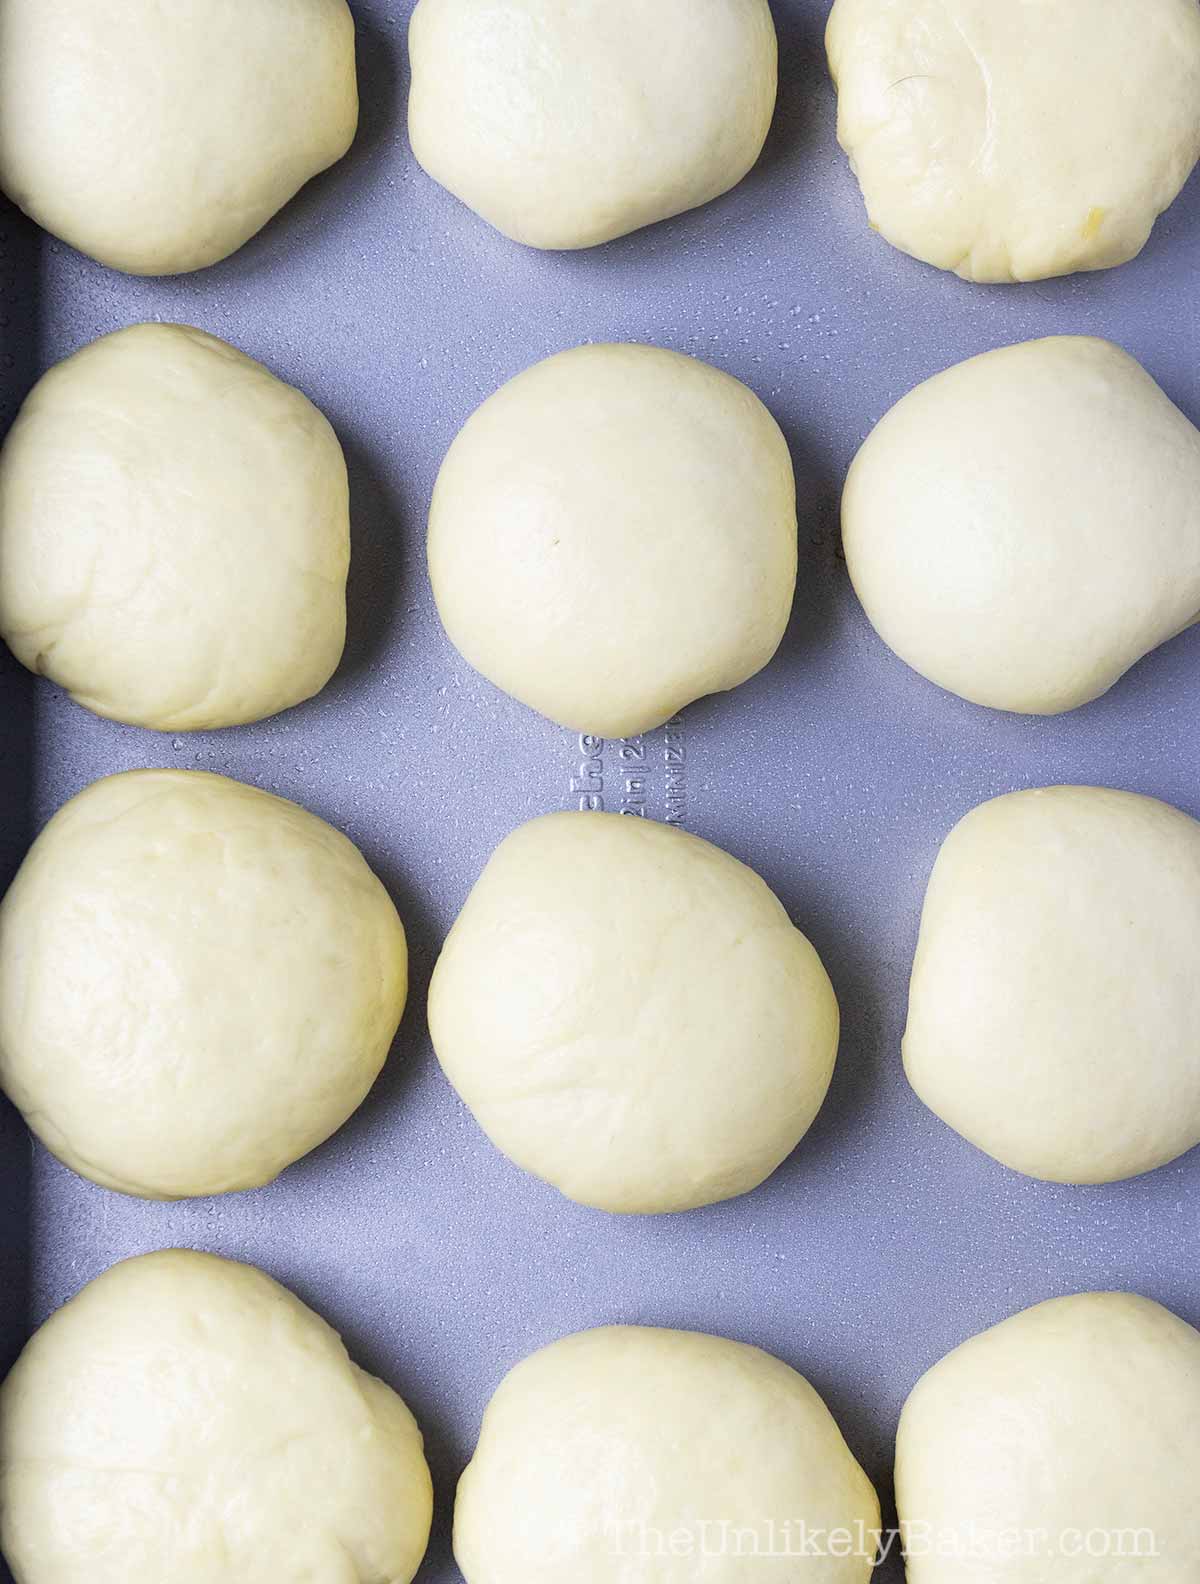
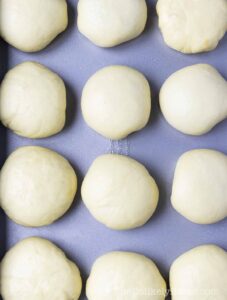
(11) Place each roll, seam side down, on a lightly greased 9×13 inch baking pan and allow to rise a second time (about 30m).
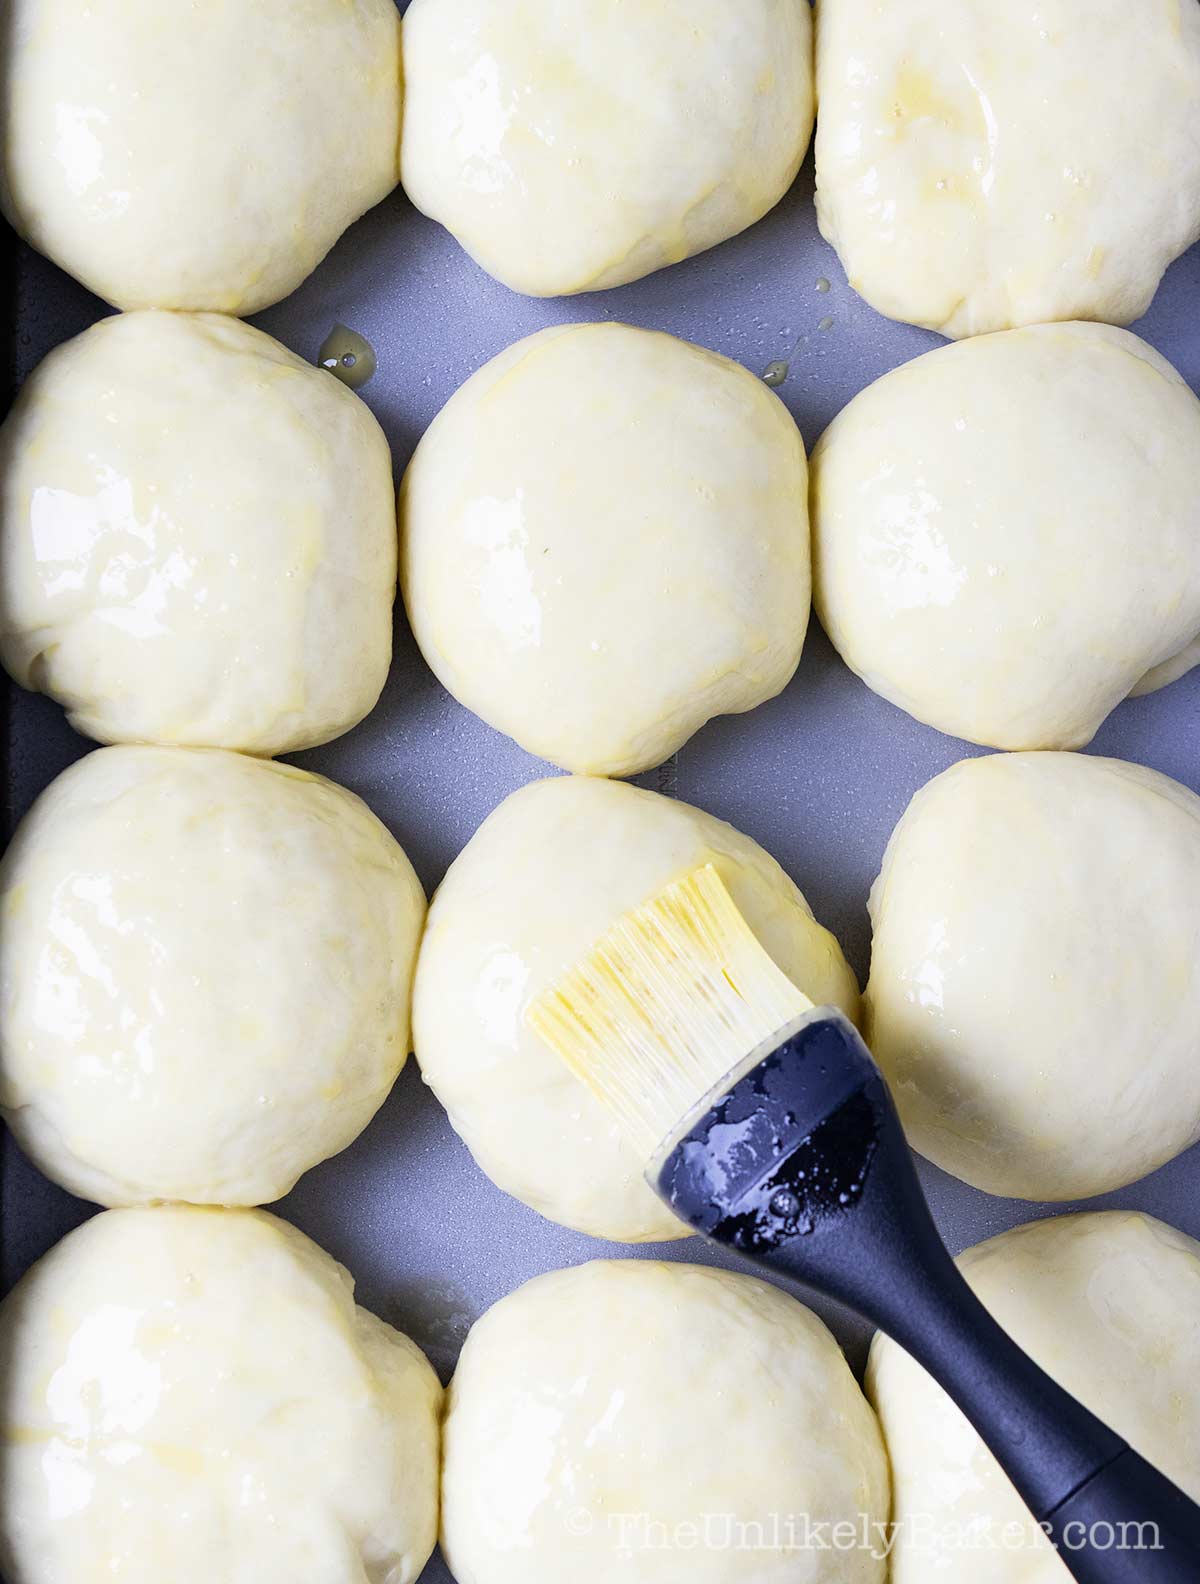
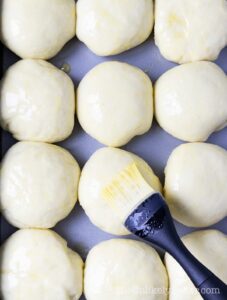
(12) Preheat oven to 350F, brush the pan de coco with egg wash and bake for 20 minutes or until the tops are golden brown. Best served warm.
How to make the filling
I usually make the filling while my dough is rising.
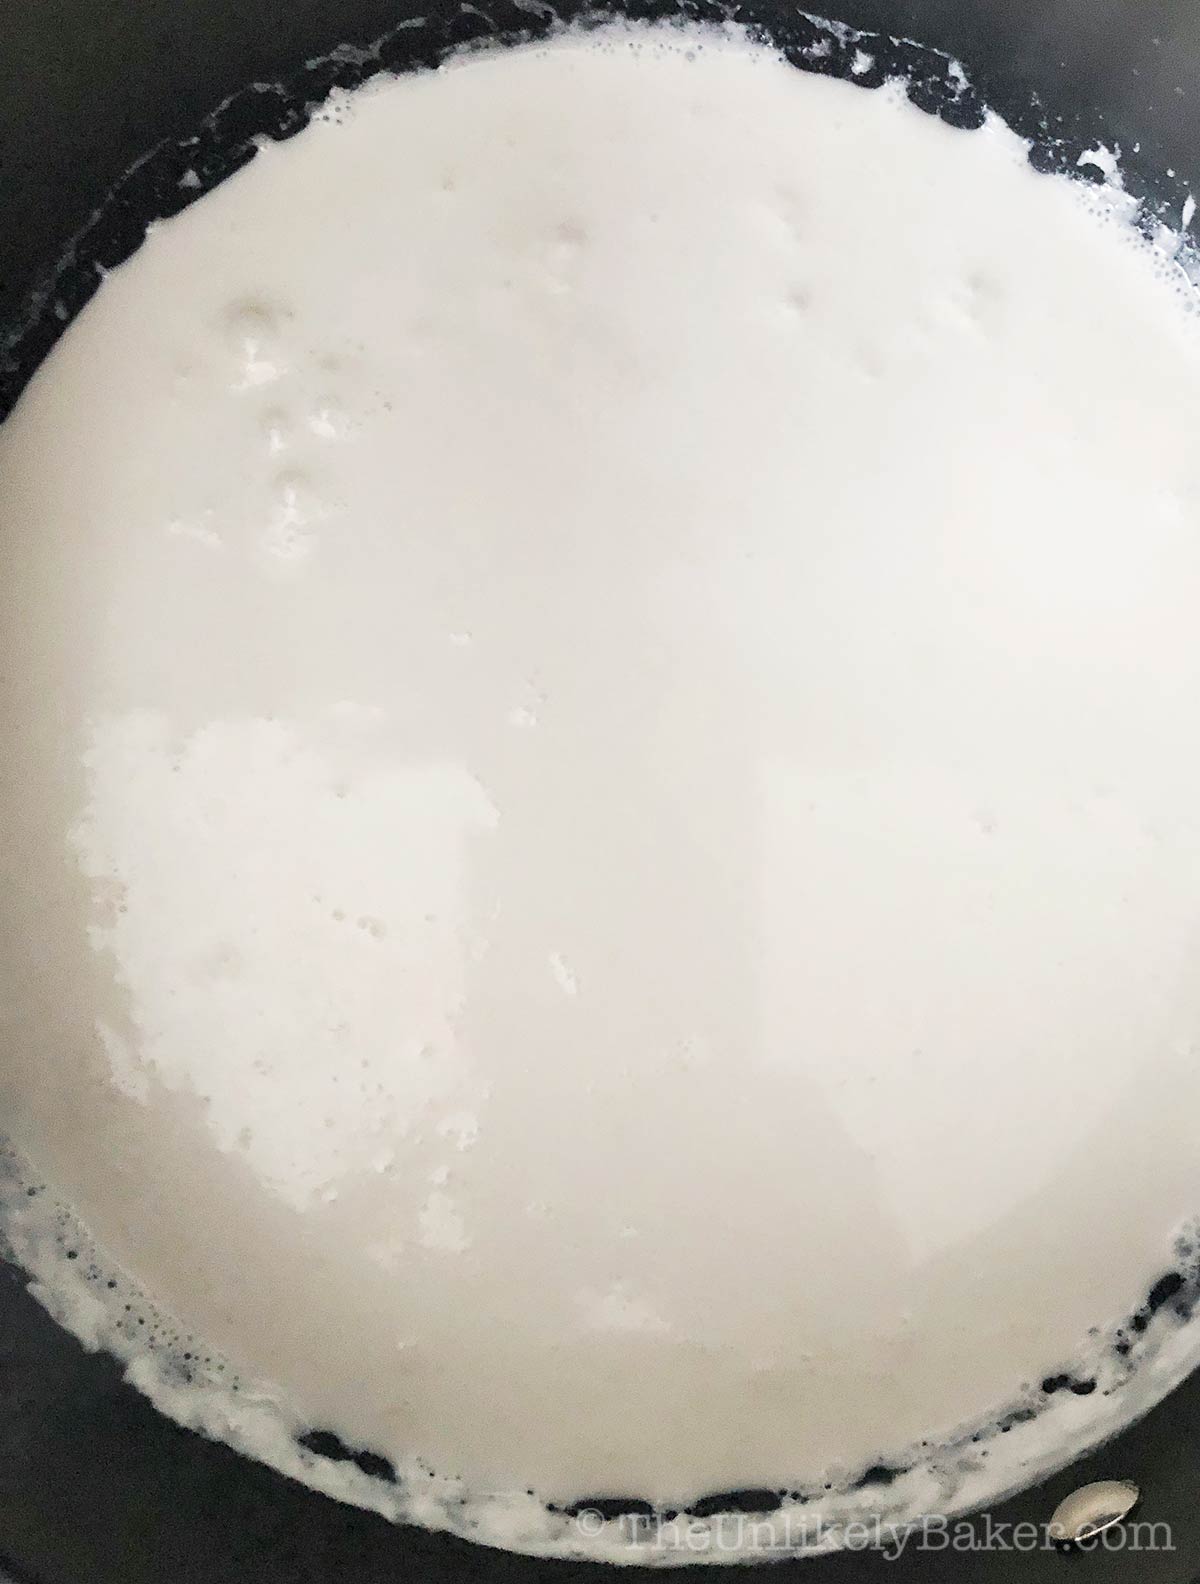
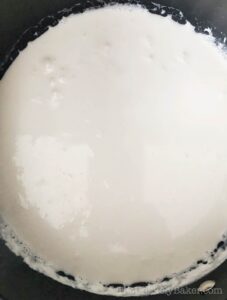
(1) Bring coconut milk to a simmer.
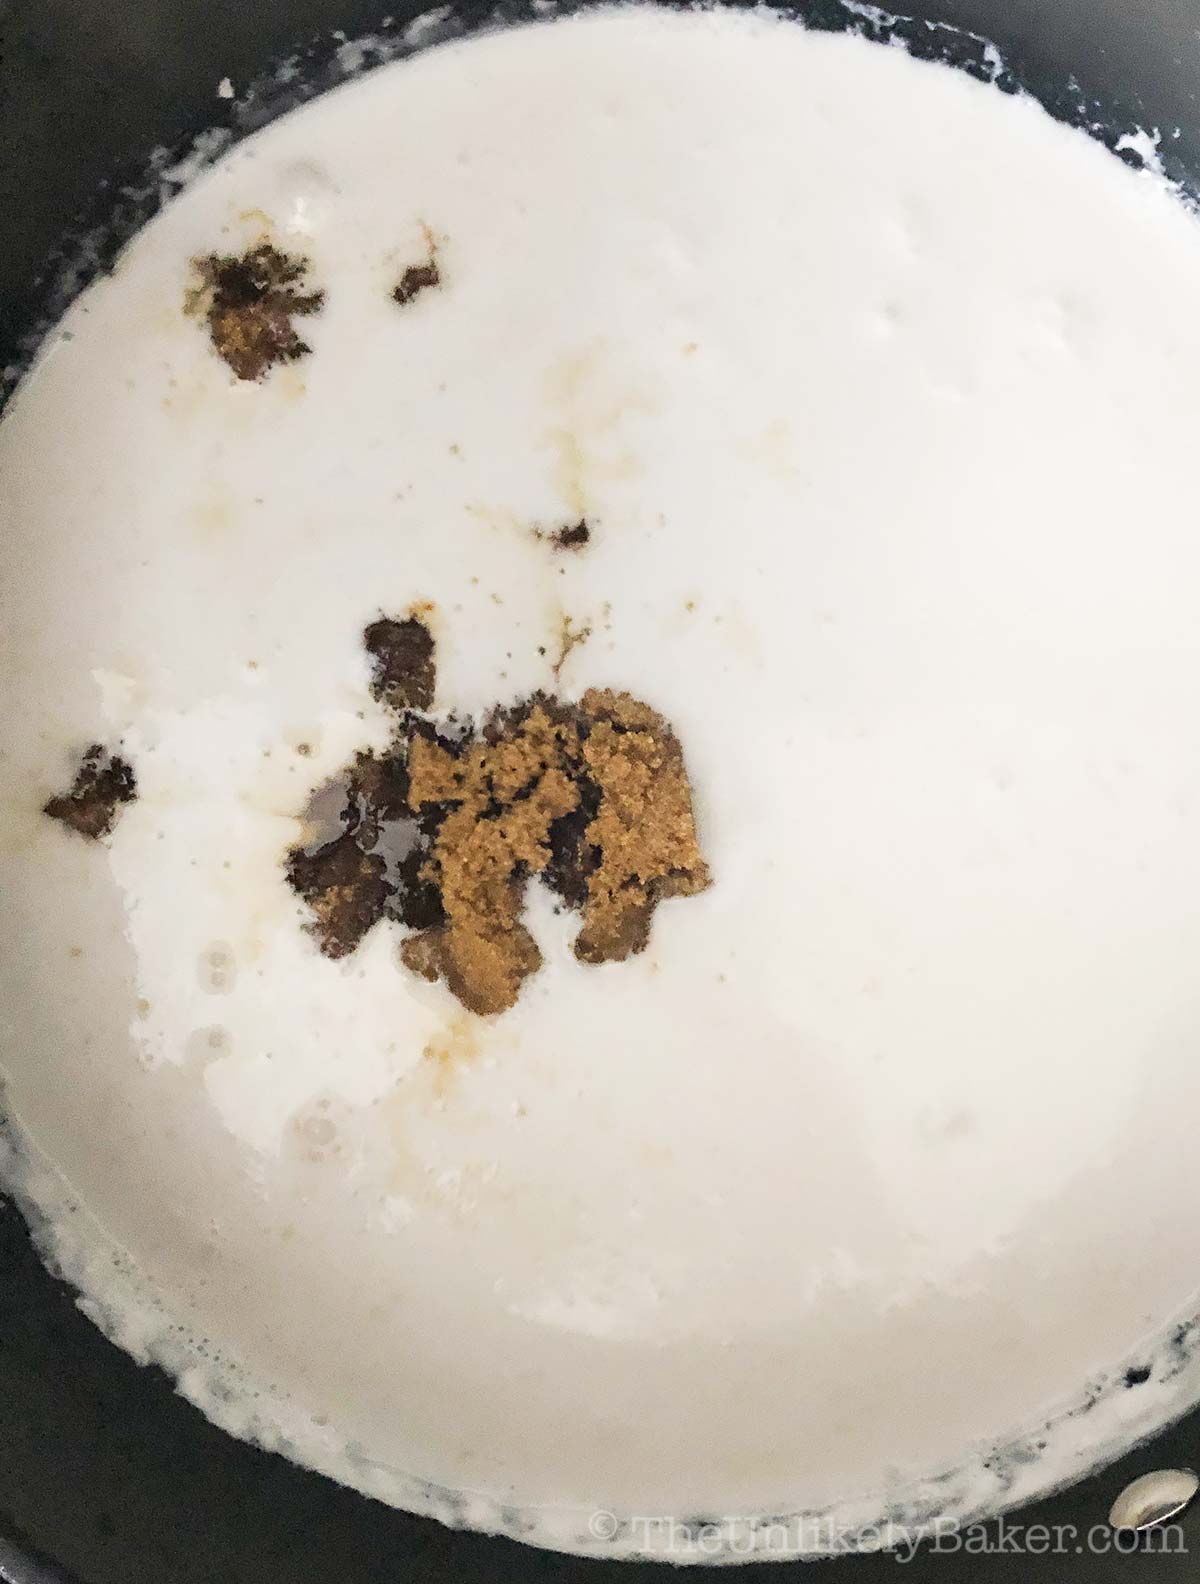
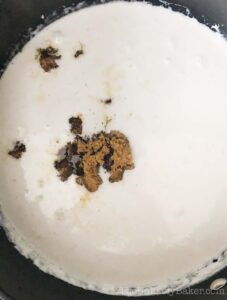
(2) Add brown sugar and stir until dissolved.
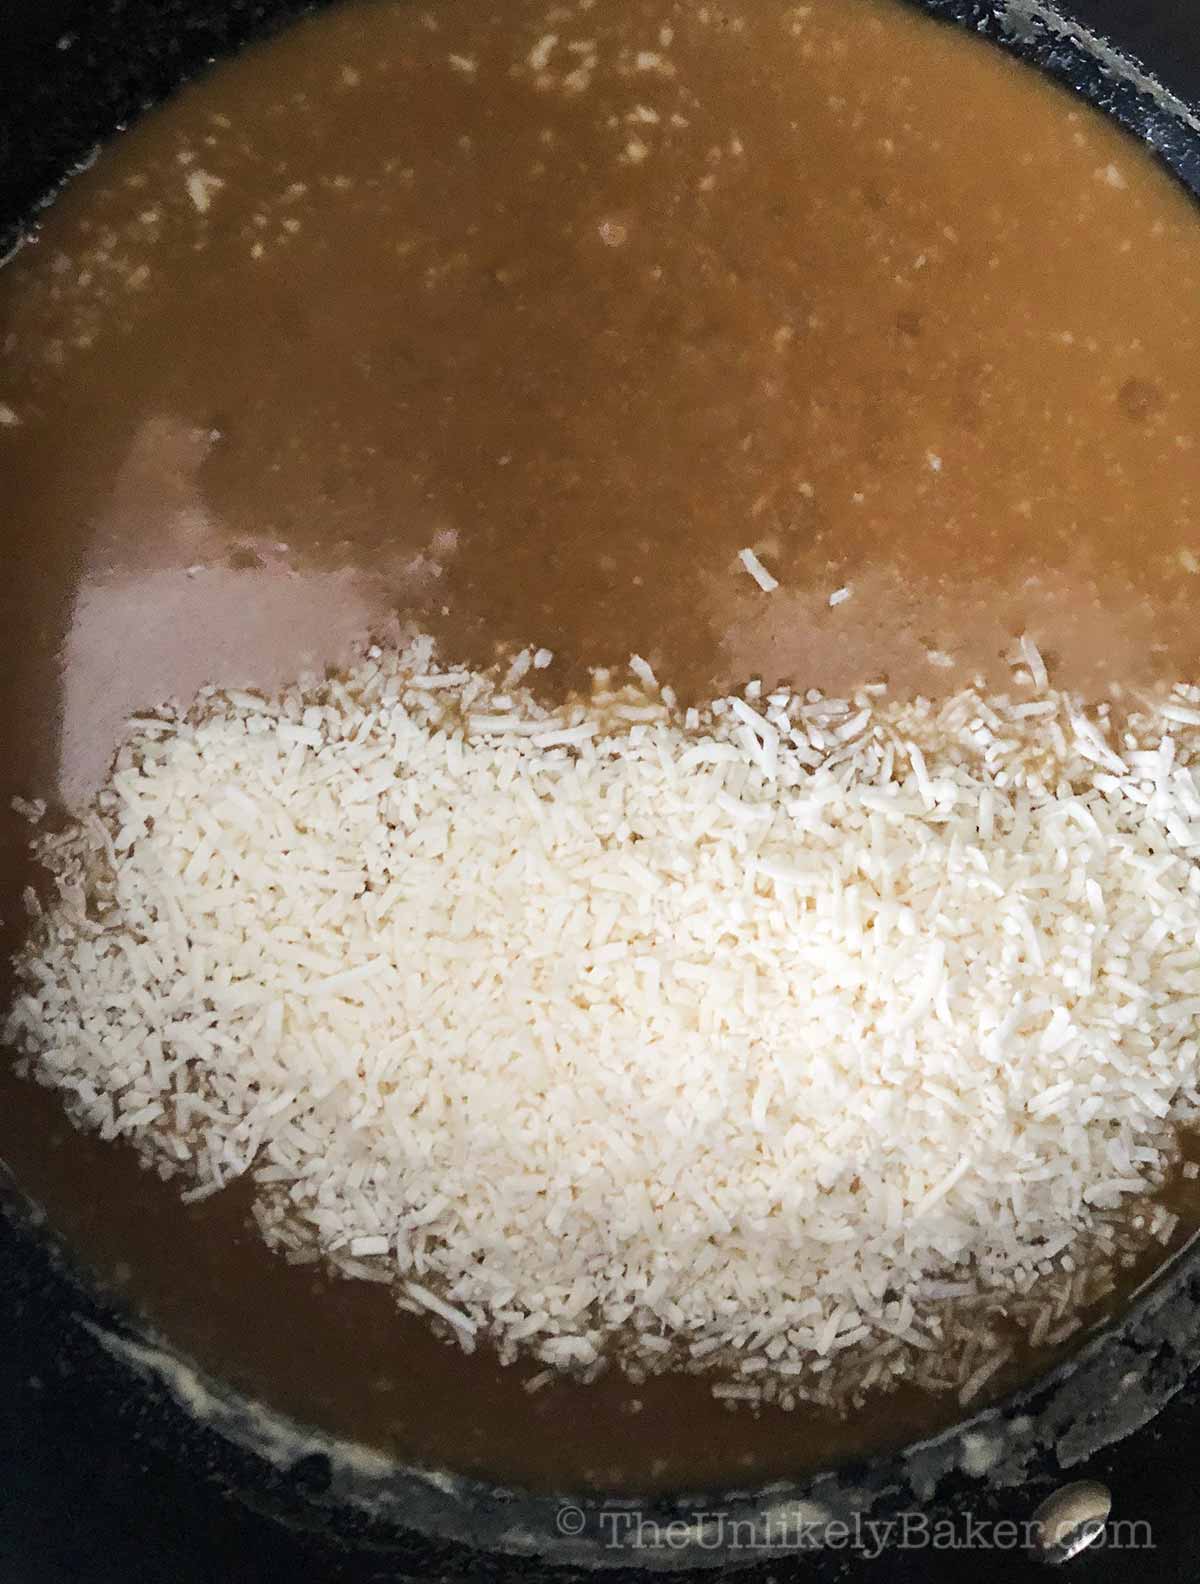
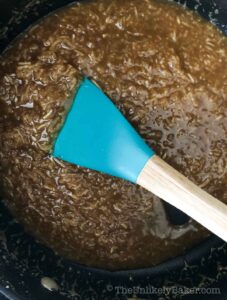
(3) Add shredded coconut and salt and cook on medium heat.
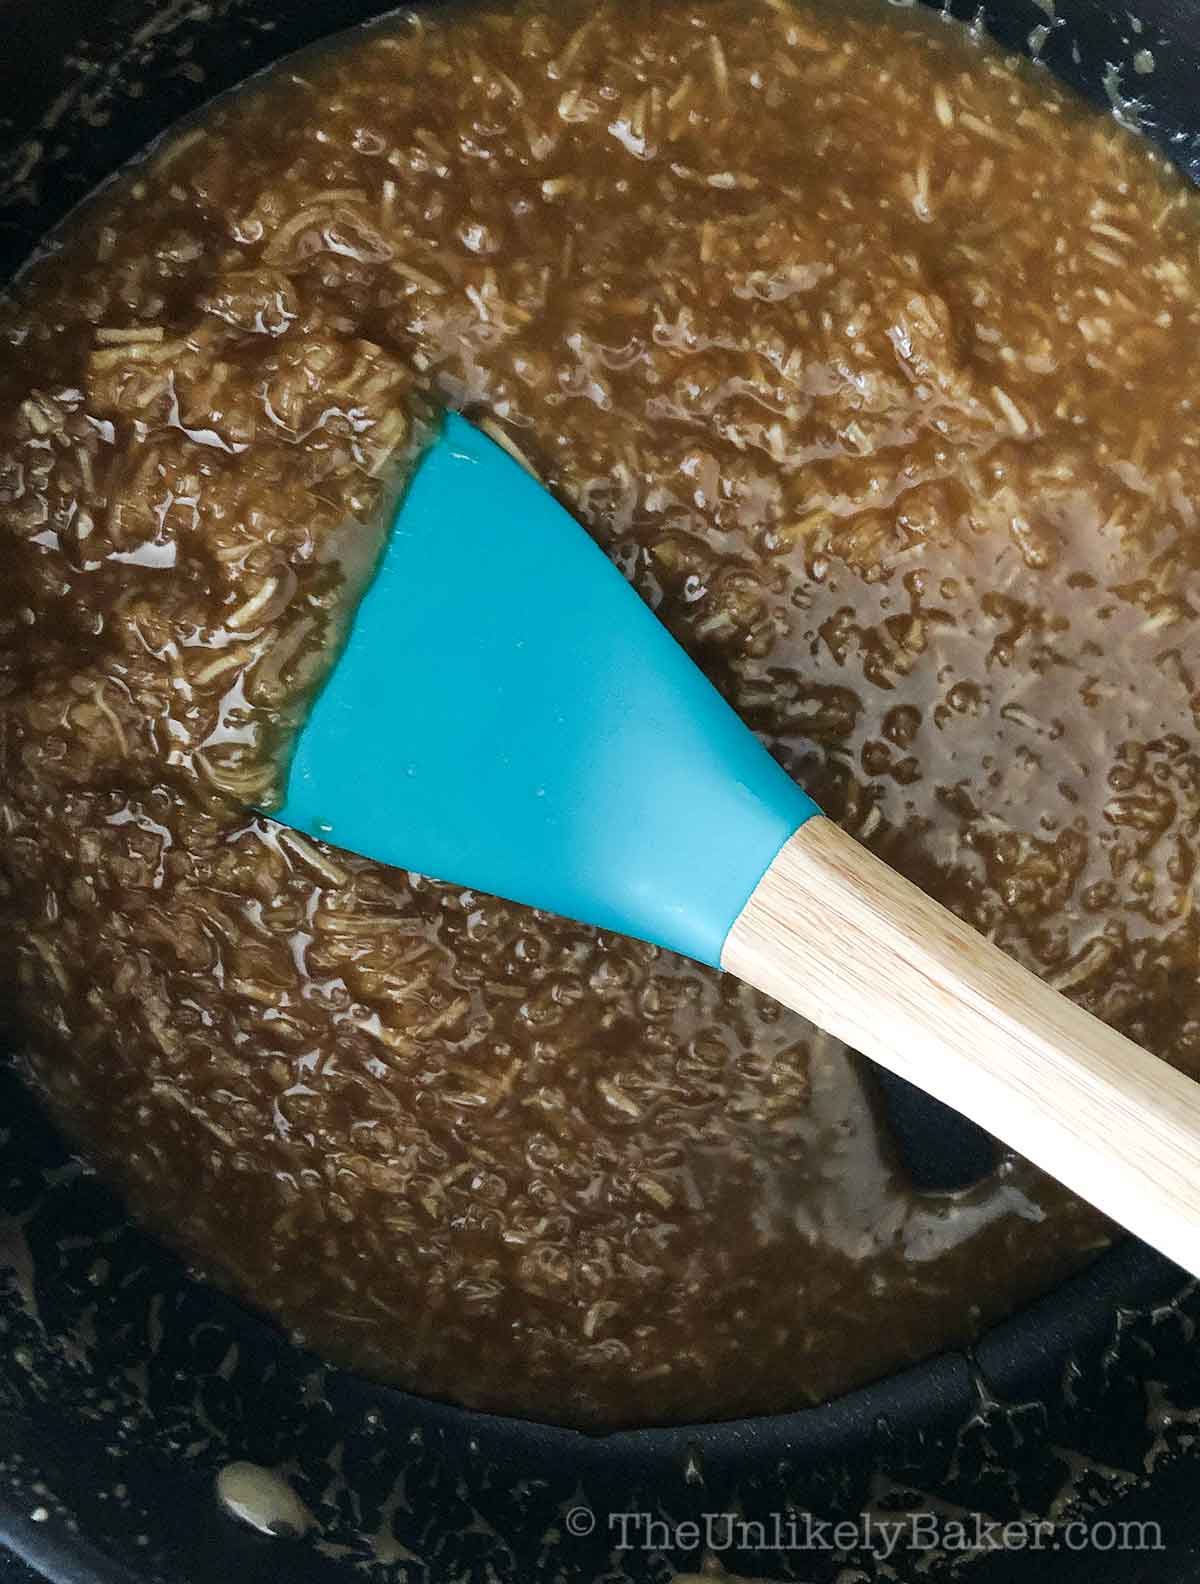
(4) Cook until thickened considerably (10-15m). Stir so it doesn’t burn. Also remember that the coconut filling will thicken as it cools so you don’t want to overdo it.
Expert baking tips
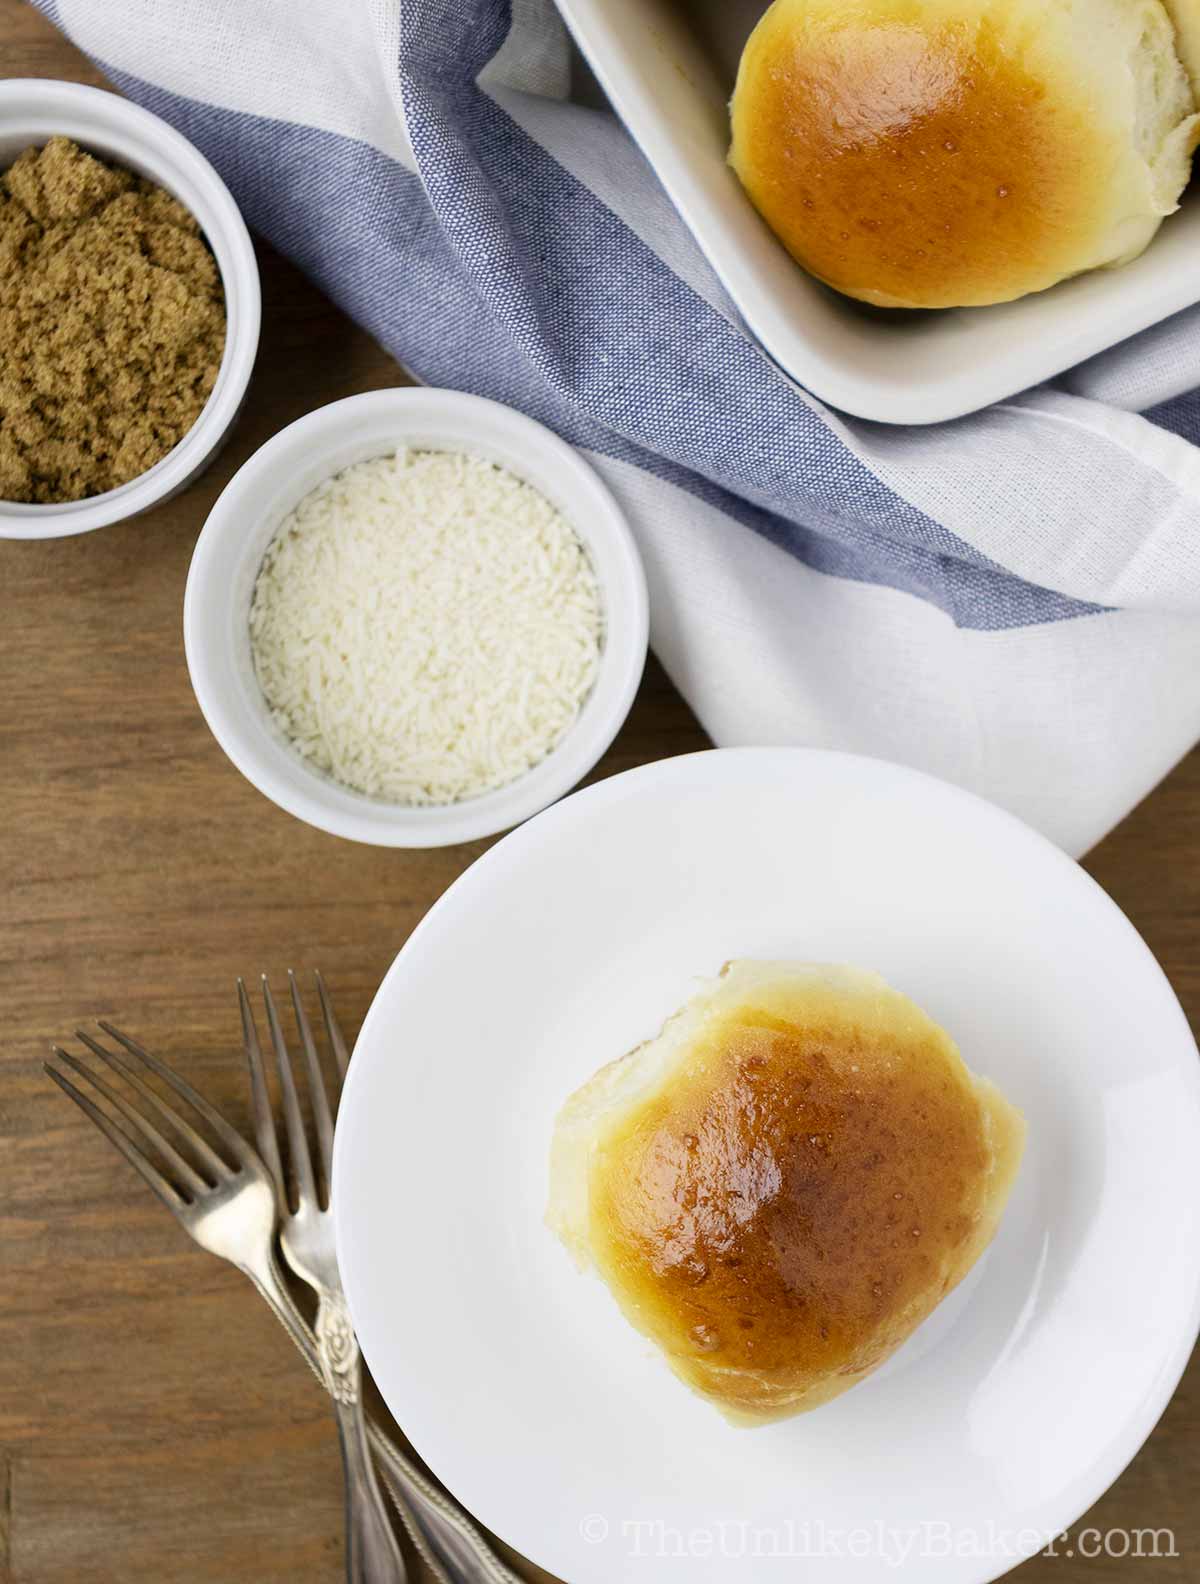
Easy, right?
Making pan de coco, or any bread, is a lot of steps but each step is really simple. And the end result is so rewarding!
Here are more baking tips to make bread making a breeze.
Working with yeast when baking bread
You know that lovely freshly baked bread smell? That’s yeast! In addition to making dough rise, yeast also gives bread its “bready” smell.
There are two main kinds of yeast you’ll find in stores — active dry or instant rise (sometimes also called quick rise or rapid rise).
Active dry yeast needs to be bloomed in lukewarm/warm water (about 100 to 110F) ; instant dry yeast can be added directly to dry ingredients like as flour.
I almost always use active dry yeast. I like how by blooming it in water I can guarantee that the yeast is still active.
Here’s more information about yeast that’s very helpful especially if you want to substitute one for the other.
How to proof yeast without a thermometer
If you don’t have a thermometer, you can tell if the milk (or water, if your recipe calls for that) is warm enough for the yeast by dabbing some of it on your wrist.
It should be warmer than your body temperature but not hot.
Kneading bread dough
When making bread, I usually prefer mixing and kneading by hand because there’s less chance of overworking it.
However, when I’m making pan de coco, I start stirring by hand then switch to the dough hook attachment of my stand mixer because the dough is on the sticky side.
Pan de coco is supposed to be soft and fluffy so I watch my mixture like a hawk and stop as soon as I get that smooth and elastic texture. Over-kneading results to hard, dry or dense bread and we don’t want that.
Not sure what “kneading until smooth and elastic” means? Here’s a great resource that talks all about it.
Filling tips
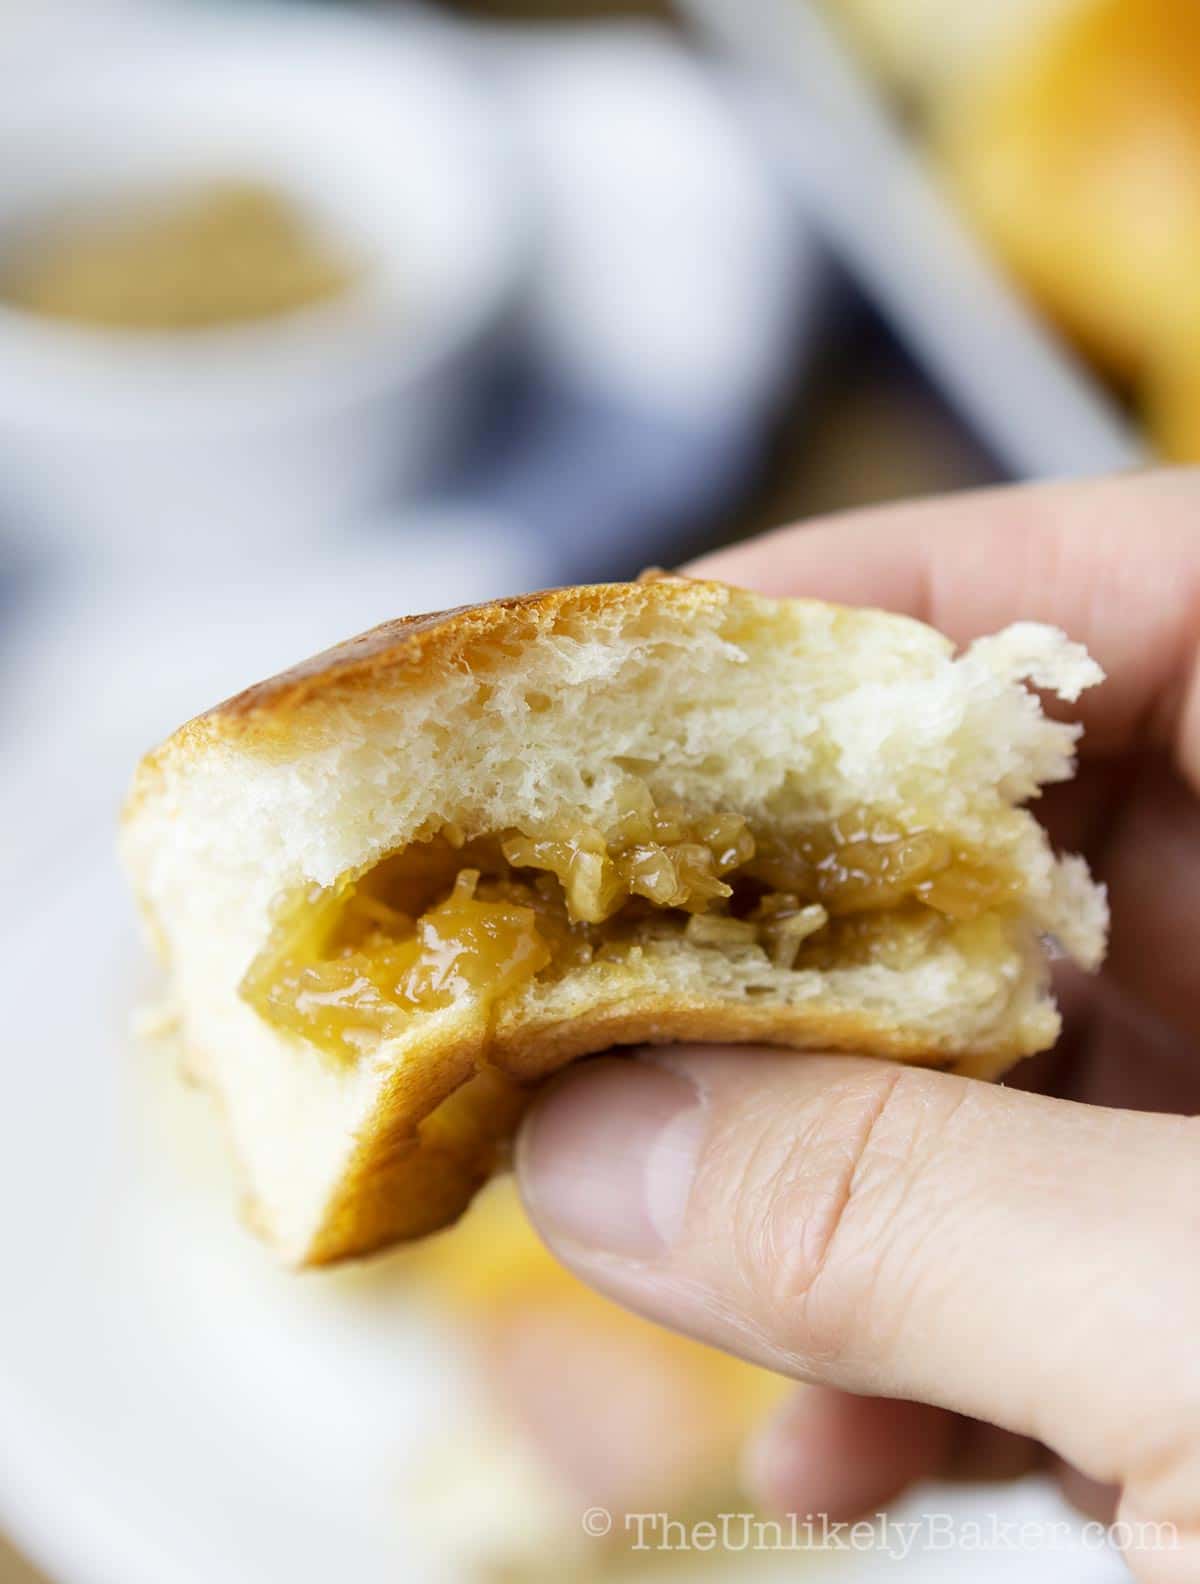
Between you and me, I really don’t care all that much if bread and rolls are perfectly shaped. And so what if the filling flows over? They’re still delicious.
But if you want perfect rolls, here are some things you can do:
- Weigh your dough and divide into pieces of equal weight — this is when that kitchen scale comes in handy
- Measure each piece with a baking ruler as you flatten it to ensure they are of equal size
- Don’t flatten each piece too thinly (try not to go thinner than 2mm) or the filling will seep through
- Don’t get carried away with how much filling to put. You should be able to fold the dough over it and have enough space to pinch and seal.
Also, remember that practice makes perfect so the more bread you bake, the better you’ll get at it.
Recipe FAQs
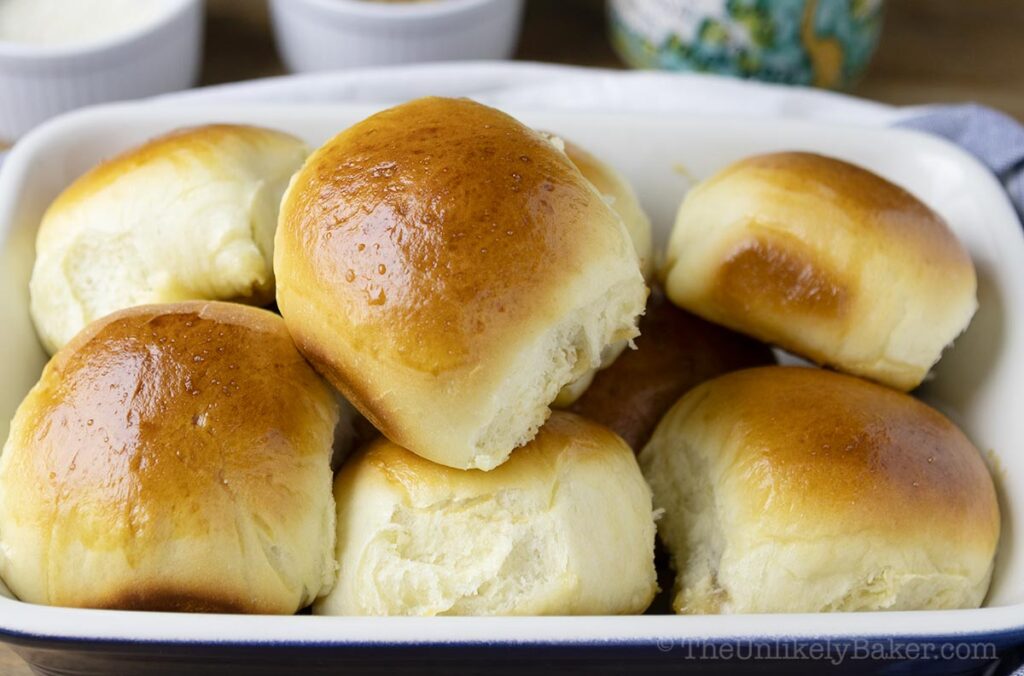
A lot of recipes say to allow the dough to rise until “double in size”.
Depending on the recipe, this can range from 30 minutes to 2 hours. Just check at the halfway mark so you can get an indication of how much longer you have to go.
For me, what’s important is finding the proper place to leave my dough.
It’s cold here most of the year so leaving my bowl on our not-so-warm counter is not exactly ideal.
So what I like to do is turn my oven on to its lowest setting for a few minutes, then turn it off so that it’ll be about 90F when I’m ready to put my dough in to rise.
Just remember to remove the dough from the oven when you’re ready to preheat for baking.
Pan de coco is best eaten freshly baked.
If you need to keep it for longer, just place the completely cool bread rolls in a large Ziploc bag and put the bag in the freezer. It should last up to a month.
To thaw, simply pop it in the microwave for about 20 seconds until the filling is heated through.
Other Filipino bread recipes
Looking to bake more Filipino breads and panaderia favorites? Check these out:
Here’s a delicious list of Filipino bread and bakery favorites so you can have them all in one place.
Happy baking!
Did you make this recipe? I’d love to hear all about it! Leave a comment or a star rating below. You can also tag me on Instagram or Facebook. I’d love to see your creations!
You can also find me on Pinterest, Twitter and YouTube.
Filipino Pan de Coco Recipe
Ingredients
For the yeast mixture
- 1 cup milk warmed to about 110F
- 2 tbsp granulated sugar
- 2¼ tsp active dry yeast equivalent to 1 envelope
For the Pan de Coco dough
- 3 cups all-purpose flour may need more
- ¼ cup granulated sugar
- ½ tsp salt
- 1 pc large egg room temperature
- canola oil for greasing
For the egg wash
- 1 pc large egg
- 1 tbsp water
For the Pan de Coco filling
- 1 cup coconut milk
- 1 cup unsweetened shredded coconut see notes
- ½ cup brown sugar packed
- ½ tsp salt
Instructions
- In a small bowl or measuring cup, stir 1 cup warm milk, 2 tbsp sugar and 2¼ tsp yeast until combined. Let stand until foamy and bubbly (about 10 minutes).

- In a large bowl if mixing by hand, or using the bowl of your stand mixer fitted with the dough hook attachment (see notes), stir yeast mixture, 3 cups flour, ¼ cup sugar, ½ tsp salt and 1 egg until combined, the dough sticks together in a ball and becomes smooth and elastic. Add more flour a little at time if your dough is too sticky, but no more than ¼ cup in total.

- Take the dough from the bowl and gently shape into a ball. Transfer into another bowl that’s been greased with canola oil. Cover and allow to rise until double in size (about 1 hour).

- When ready, punch air out of the dough and turn into a lightly oiled surface.

- Divide into 12 equal pieces.

- Roll each piece into a ball then flatten no thinner than 2mm.

- Place a heaping tablespoonful of pan de coco filing (instructions below), fold dough over filling and pinch to seal. Reshape if needed.

- Place each roll, seam side down, on a lightly greased 9×13 inch baking pan and allow to rise a second time (about 30m).

- Preheat oven to 350F, brush the pan de coco with egg wash (1 egg combined with 1 tbsp water) and bake for 20 minutes or until the tops are golden brown. Best served warm.

- While you're waiting for your dough to rise, you can work on your filling. First, bring 1 cup coconut milk to a simmer.

- Add ½ cup brown sugar and stir until dissolved.

- Add 1 cup shredded coconut and ½ tsp salt and cook on medium heat until thickened considerably (10-15m). Stir often so it doesn’t burn (see notes). Set aside until you're ready to use.

Video
Notes
- I’ve used both sweetened and unsweetened shredded coconut for the filling and didn’t notice a significant difference in taste. You can use whatever you have on hand. Or opt for unsweetened if you want to control the sugar content.
- When I’m making pan de coco, I start stirring by hand then switch to the dough hook attachment of my stand mixer to finish things up. If you’re stirring by hand, once the dough comes together in a ball, turn into a lightly oiled surface and knead until smooth and elastic.
- Remember that the coconut filling will thicken as it cools so you don’t want to overdo it. Otherwise, it will get very thick and very hard like candy.
- See post for more baking tips and suggestions.
Nutrition
Nutritional information are estimates only.


AC
I made this today, with a couple of slight variations. Firstly, I used coconut milk instead of normal milk, (I cannot have any dairy). Secondly I used a bread maker for the dough and finally I used instant yeast (1.5 tsps) for it to rise.
The result was perfect. My Filipina girlfriend thought they were perfect, soft and yummy, and I, being British, could finally enjoy pan de coco – Thanks so much.
Jolina
You’re most welcome AC! Glad you enjoyed them. And thanks for sharing your variations, they’re super helpful for other bakers who might want to do the same things.
Bethany
At first I was doubtful that no butter or oil was used. Still soft. I used instant yeast as well. I used bread flour. My British acquaintance loved it. Most of them had the second helping.
Jolina
Second helpings are always a great sign! Glad you liked them.
Lina
We love the pan de coco. I think I over cooked my filling but it softened a bit after baking. Still delicious!!
Jolina
Thanks Lina! I watch my coconut filling closely when cooking it and remember it will continue to set as it cools 🙂
Jamie
As a Filipino, this is one of the best bread rolls in the country! A perfect bake roll filled with sweetened coconut on the inside! Making every bite full of flavor and taste. Love it!
Jolina
I agree! 🙂 It’s one of my favorites
Tanya
Grew up eating pan de coco for merienda. I’m so excited to bake this!!
Gianina
Hi. This is the best recipe ever for pan de coco!! Thank you so much! Just wondering, I want to double the recipe. Can i just double the ingredients or do i have to make it in batches? Thanks
Jolina
Hi Gianina, glad you liked it! If you have the oven space you can just double the recipe.
Aida Ballesteros
Hi Jolina,
Great Recipe! I’ll definitely give a try. What’s the measurement if I will be using Instant yeast instead of the Active Dry Yeast? Which is more preferable when baking breads, active or instant? Thank you!
Jolina
Hi Aida, unfortunately I don’t use instant yeast when making bread so I can’t advise on the substitution. The reason I Like using active yeast is I get to proof the yeast first before using it, making sure it’s still good to use.
Elizabeth
Wow! My family went crazy the moment I brought out from the oven. Taste and looks PERFECT! So soft and still with a little bite. I followed your recipe exactly. And the next day we warmed in the oven toaster still great. Thank you!
Jolina
You’re most welcome Elizabeth! So happy you and your family loved the pan de coco. I baked some over the Easter weekend myself 🙂
Gem
My first time making pan de coco and they’re delicious! Soft and fluffy. I used unsweeetend coconut but the sweetness of the filling is just right. Thanks for the recipe!
Jolina
You’re welcome Gem! Glad you liked them.
Rika
I always buy this bread from the store. It looks so easy to make. Can’t wait to try it soon.
Maggie
I’ve always loved Filipino dishes! And this pan de coco will be added to my list of foods that I want to try really soon. It looks so yummy!
Marysa
Hi Jolina, I tried your pan de coco recipe and mine turned out a little tough. Any ideas? I used my stand mixer. Maybe that’s why?
Jolina
Hi Marysa, that would be my first guess. It’s easy to over knead dough using a stand mixer. I prefer kneading by hand but this pan de coco dough is sticky so stand mixer is easier. I just watch it very carefully.
Rose
I eat pan de coco ALL THE TIME. For snacks or breakfast, thanks for sharing your recipe! Hope to try it very soon.
Farrah Less
I missed being home as soon as I see pan de coco . One of my favorite bread growing up thanks for sharing this i would definitely want to make this one of this days.
Ruth
I love Pan De Coco. Perfect for my coffee time. I’m not a good baker, I just usually buy from the store but your photos are inspiring me to try!!