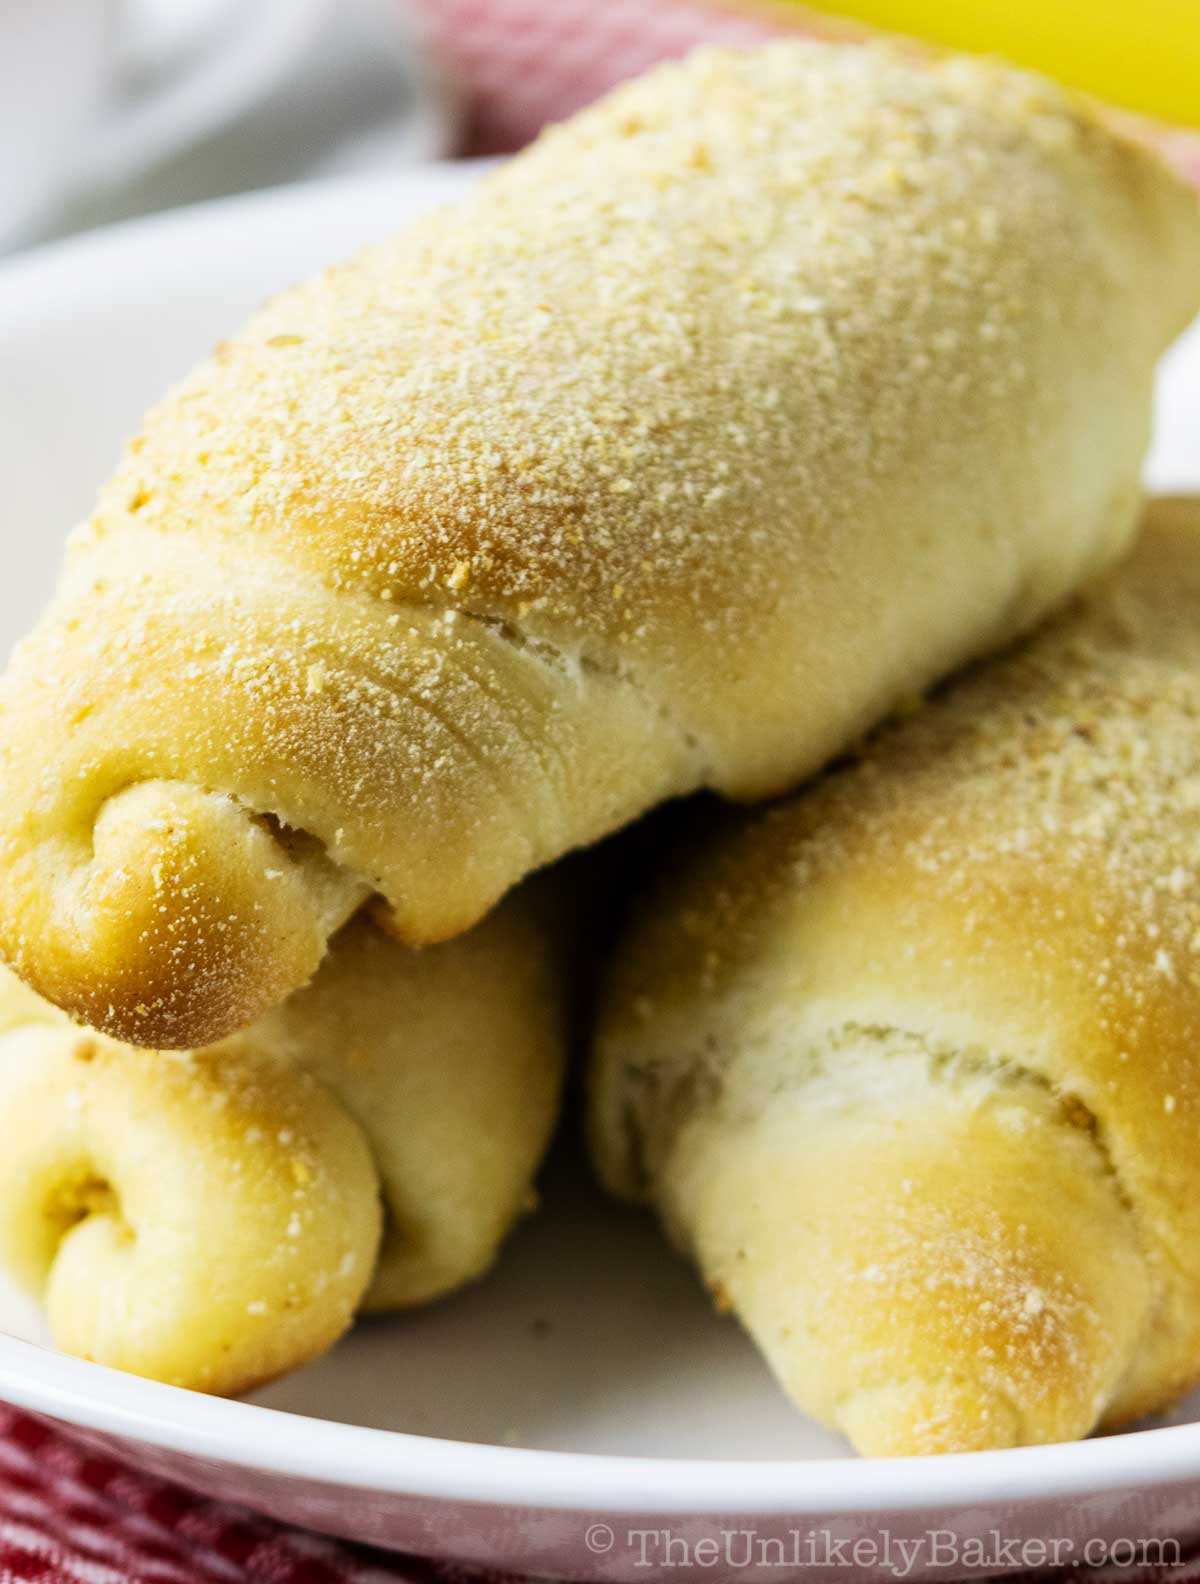
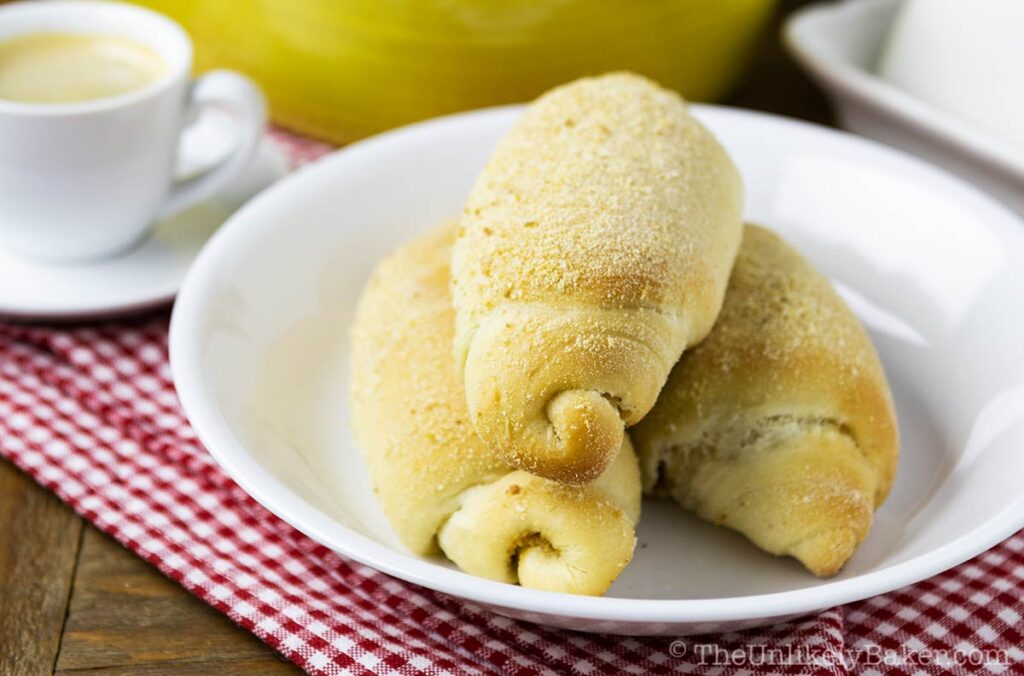
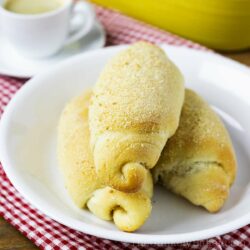
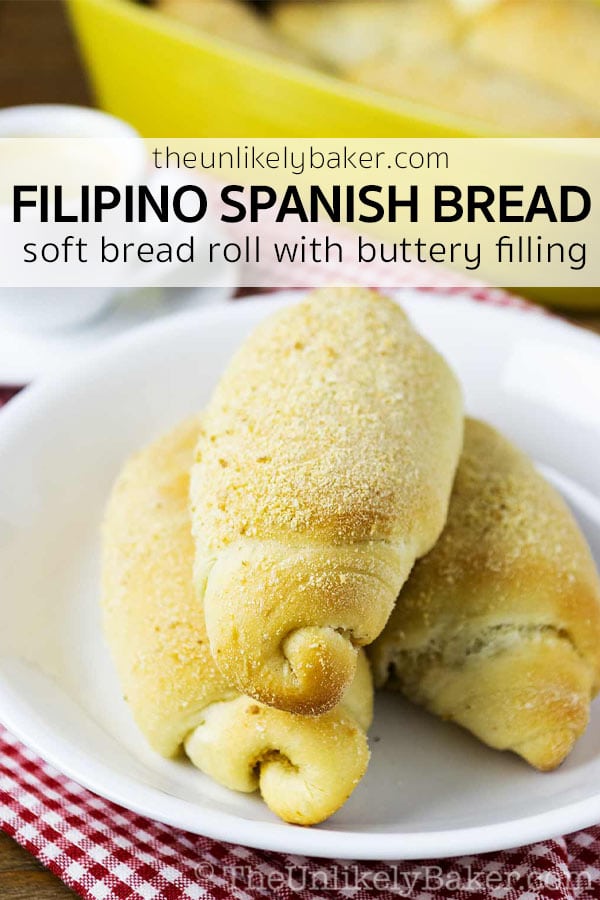
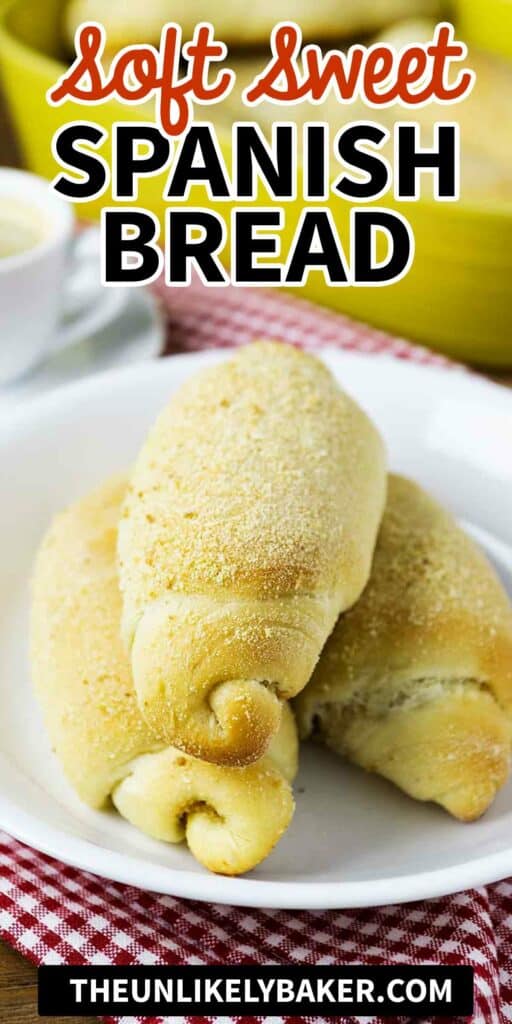
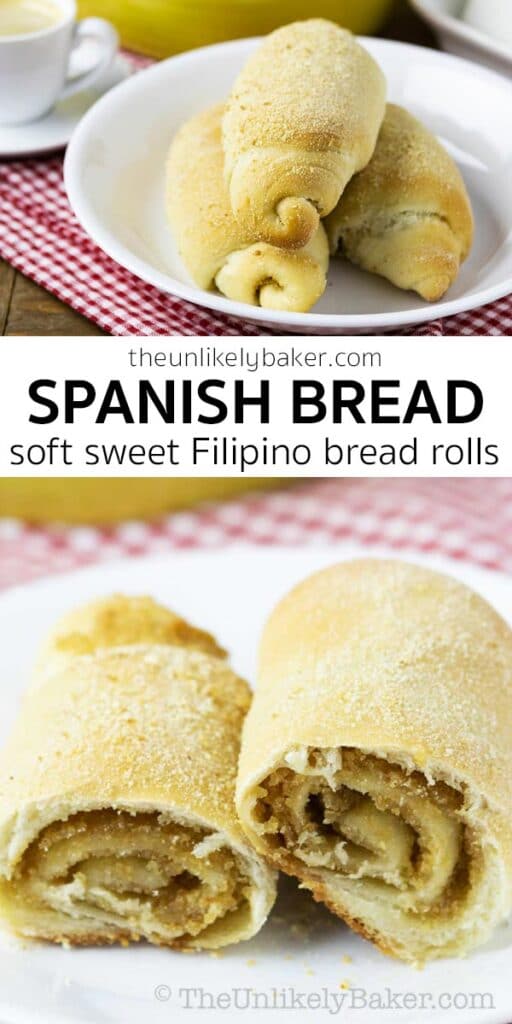
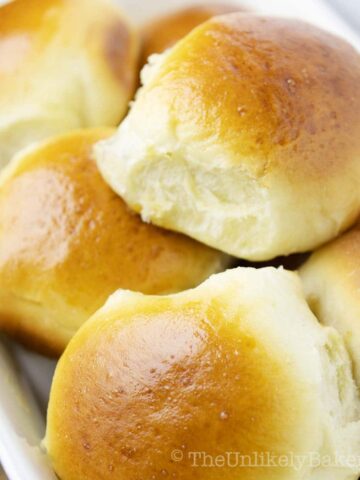
Spanish bread is a Filipino sweet bread roll with a buttery, sugary filling. It’s then rolled in bread crumbs and baked until golden brown and delicious!
(Fan of sweet bread rolls? Try this ube bread recipe — it’s packed with ube halaya and topped with toasted coconut! Pan de coco is also delicious – soft and fluffy rolls filled with sweet coconut.)
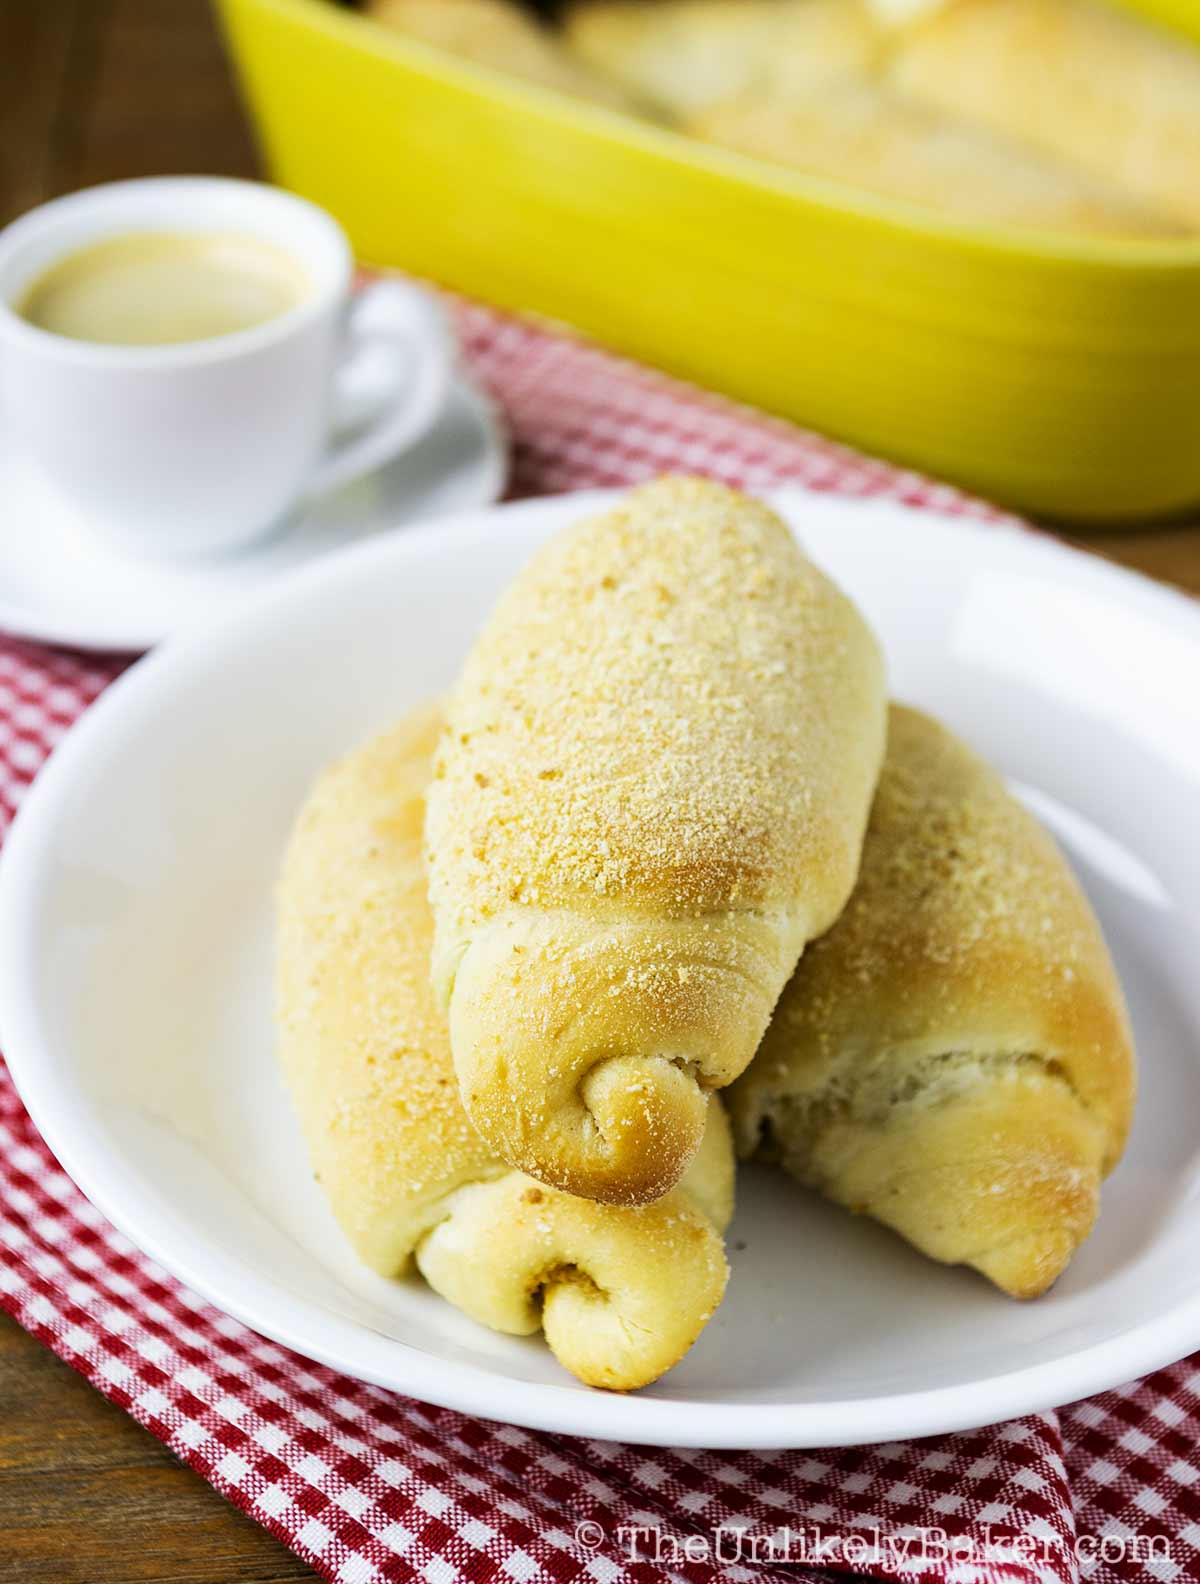
The Philippines was under Spanish rule for more than 300 years (yes, that long) so Spain’s influence on Filipino culture runs deep and profound. The country itself is named after King Philip!
You can see obvious Spanish influence on Philippine cuisine, from champorado to leche flan.
Ironically, Spanish bread has nothing to do with Spain lol! Nobody knows for sure why it’s called “Spanish” bread but one thing’s for certain — it’s delicious.
And easier to make than you think.
What is it?
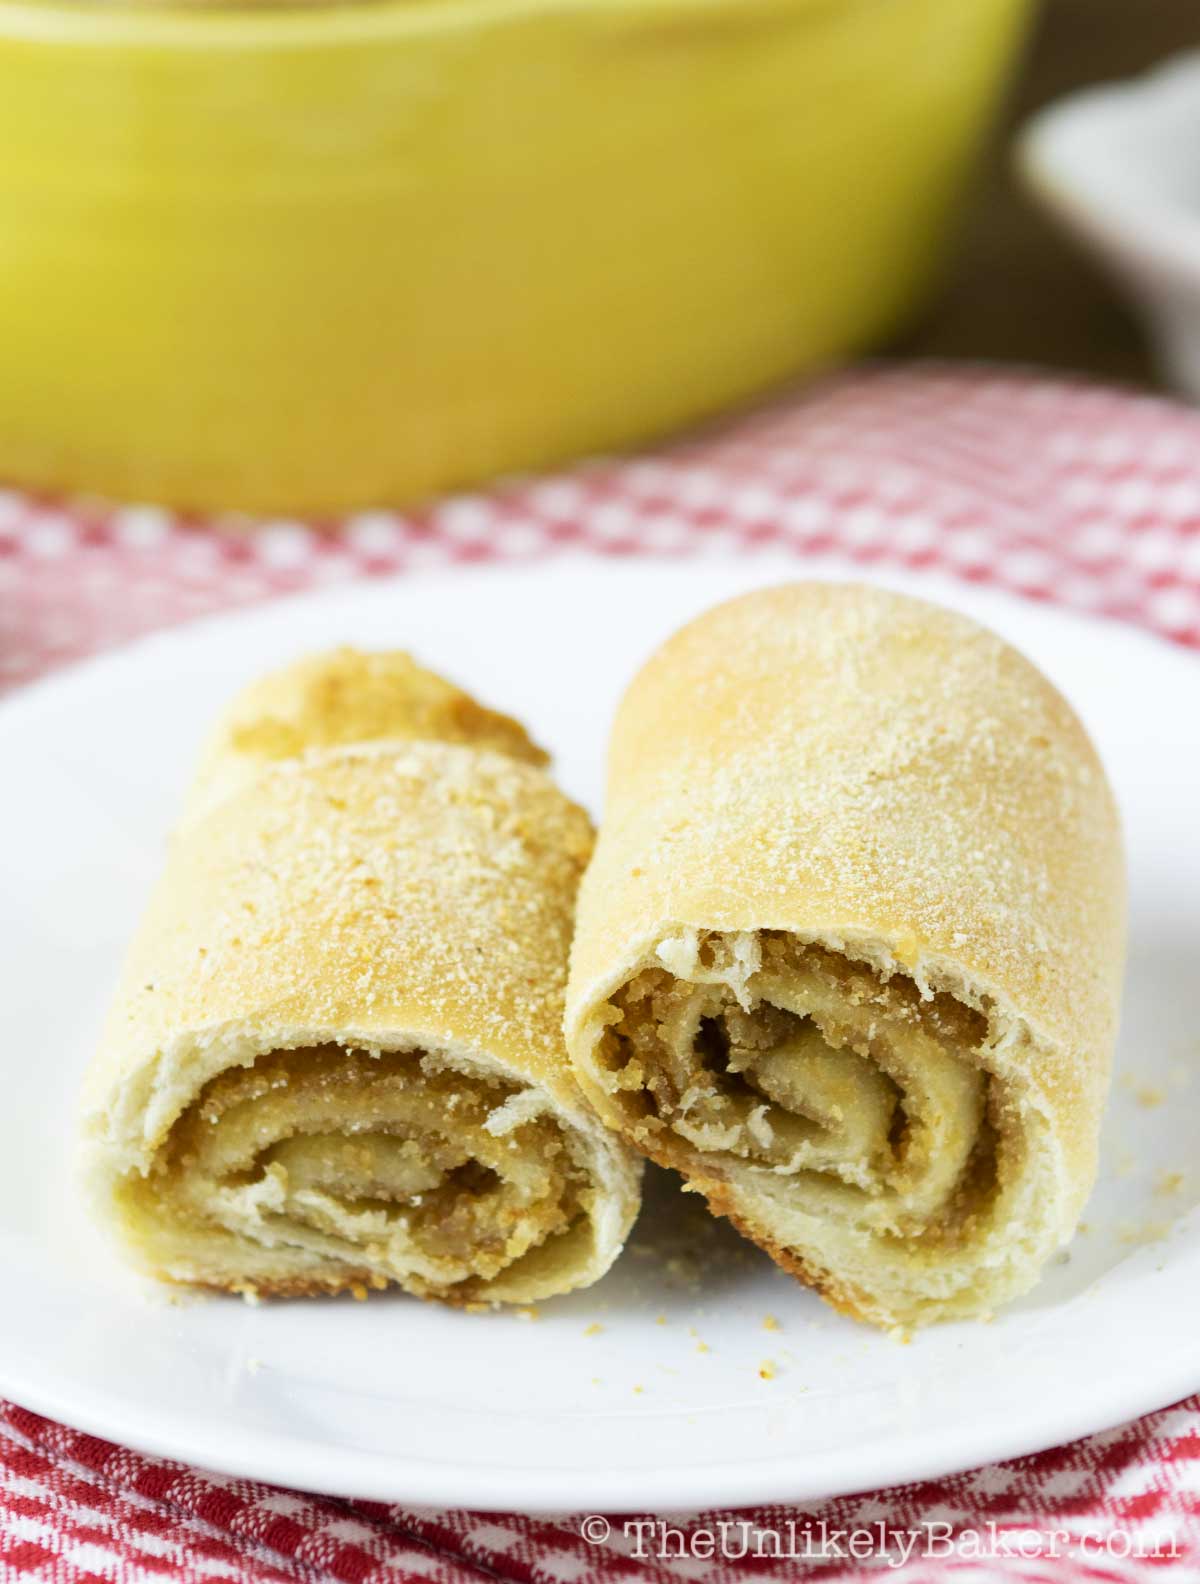
But first, what exactly is it?
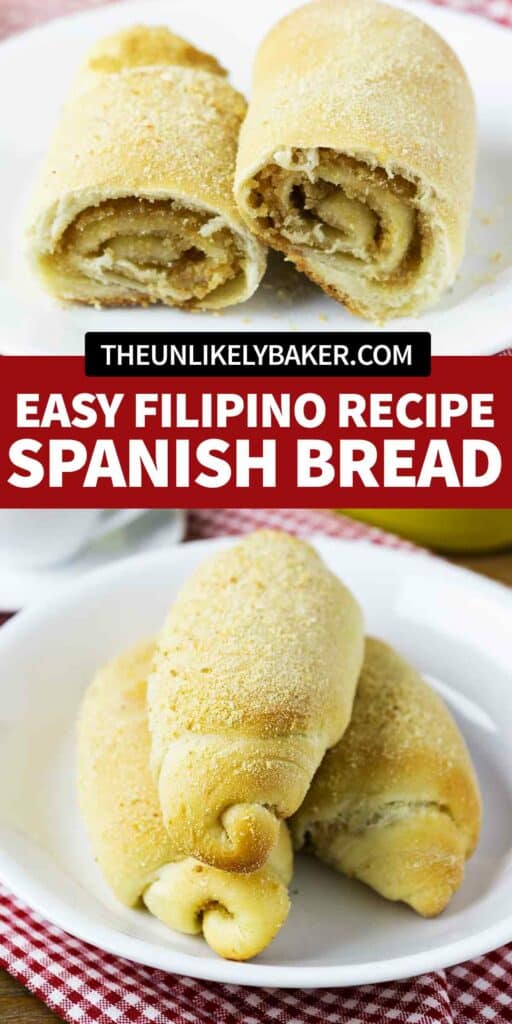
Spanish bread (or Spanish rolls or Spanish sweet bread) is a sweet, buttery bread roll.
I find it difficult to find something similar to compare it to, to be honest; it’s certainly uniquely Pinoy.
My recipe starts with dough that’s very similar to my pandesal recipe, but softer.
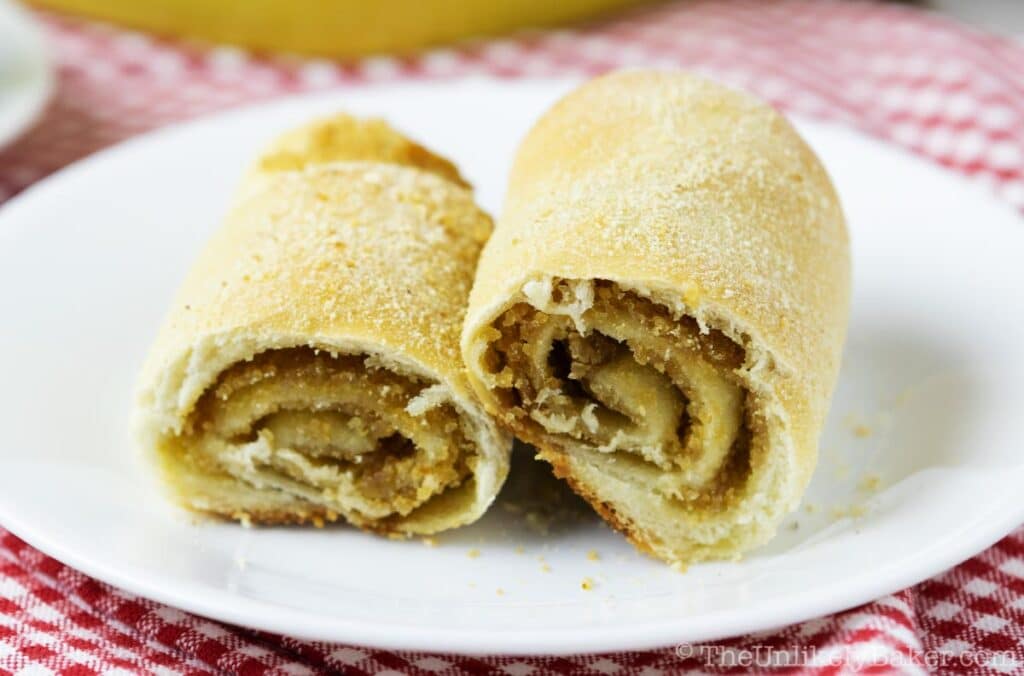
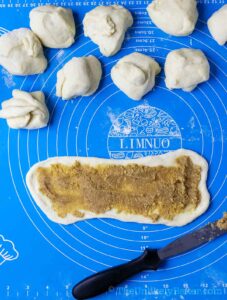
After I divide the dough into equal pieces, I flatten it, spread a filling that consists of breadcrumbs, butter, sugar and milk, then roll it into a log.
Spanish bread is usually enjoyed as a snack or merienda but we eat it for breakfast too. It’s perfect with coffee or tea.
How to make
Ingredients
To make this delicious Filipino bread, you’ll need pantry staples like granulated sugar, all-purpose flour and salt. Key thing to note:
- Dry yeast – in this recipe, I use active dry yeast as opposed to instant yeast – more on that below
- Bread crumbs – I use plain bread crumbs not the flavoured ones
- Milk – I use skim milk, you can also use whole milk or evaporated milk
Baking tools
When baking bread, I find the following very useful:
- Instant read thermometer – helps me get my warm milk or warm water to the right temperature every time
- Kitchen scale – I always weigh my ingredients when baking for consistent results. And when dividing dough, I weigh it so each piece comes out the same size
- Silicone pastry rolling mat – I really love this! It makes kneading easier and clean-up a breeze
- French rolling pin – I find the french rolling pin easier to use than a regular rolling pin but that’s mostly personal preference
- Bench scraper — I’d say this nifty little bench scraper is one of the most used gadget in my kitchen. Scrape, cut, scoop. It’s very handy
Other than these, you’ll need mixing bowls, measuring cups and spoons, and baking pans.
Step-by-step instructions
Spanish bread has two components — the dough and the filling. First, let’s work on the dough.
How to make the dough
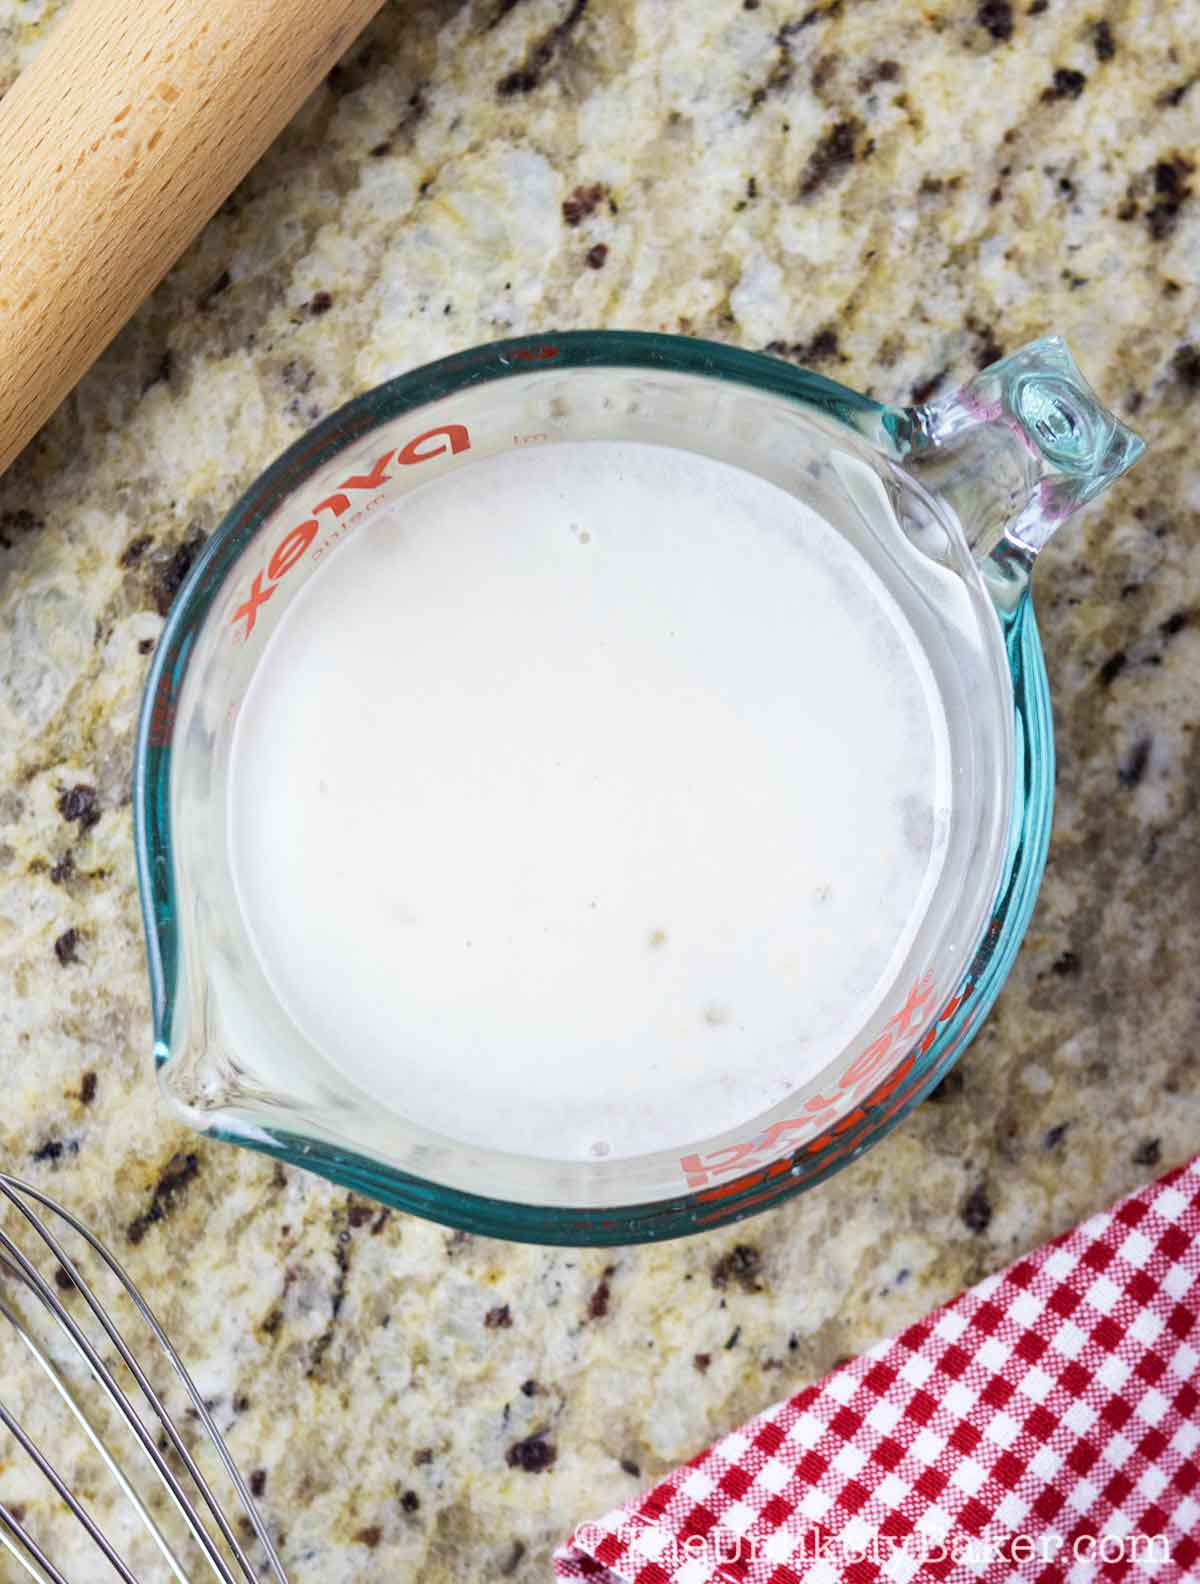
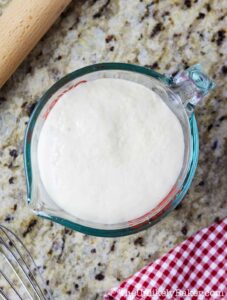
(1) In a small bowl or measuring cup, stir warm water, active dry yeast and granulated sugar until dissolved.
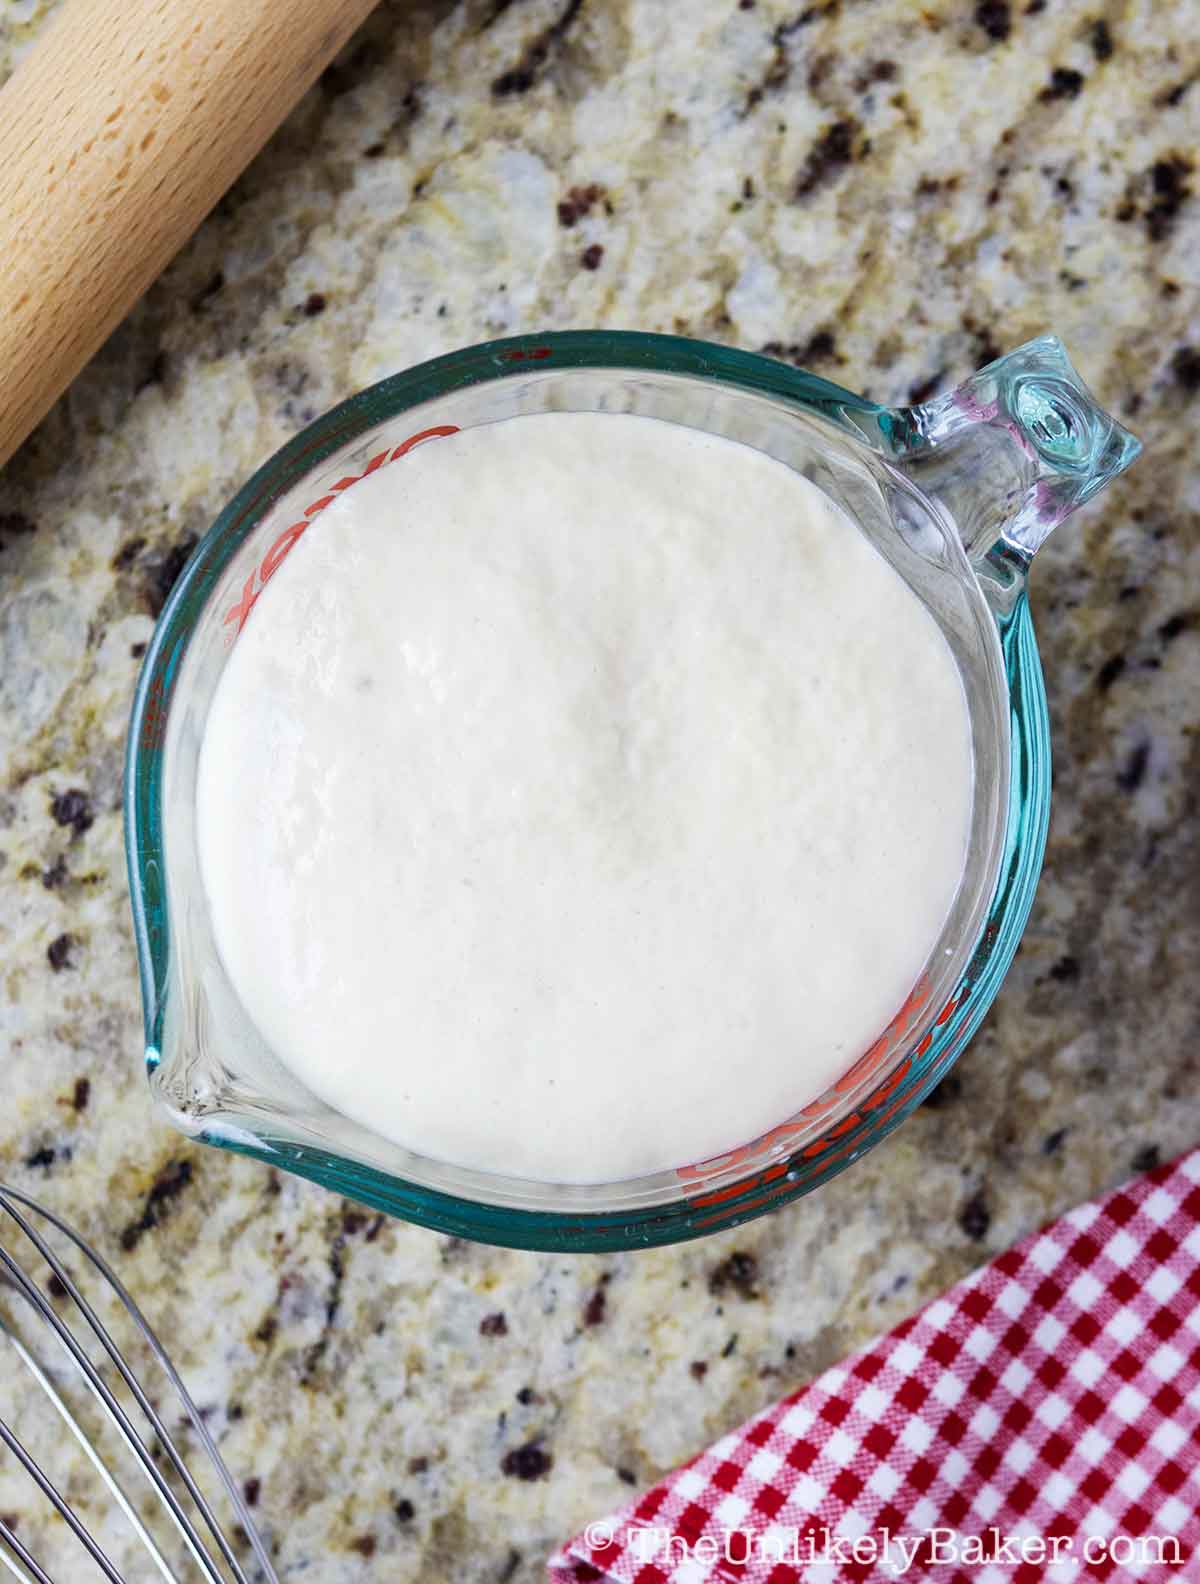
(2) Set aside and let stand until bubbly (about 10 minutes).
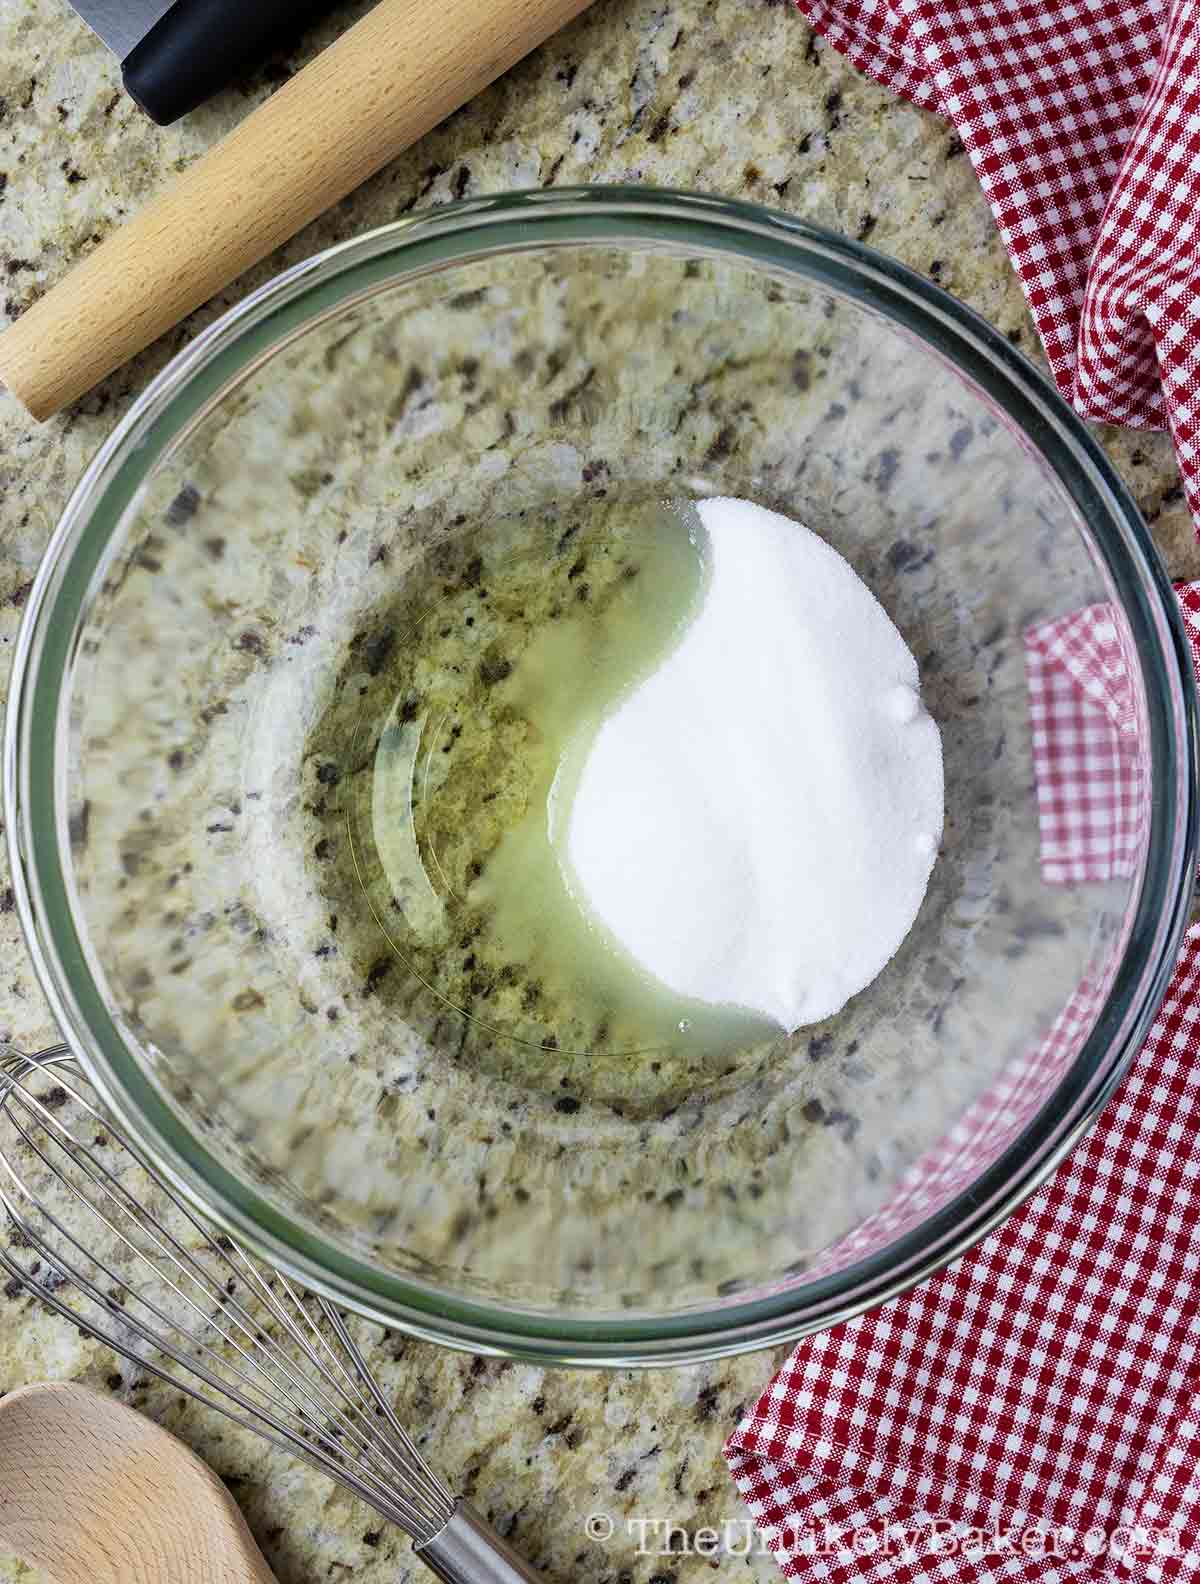
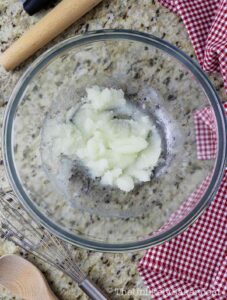
(3) In a large bowl, stir sugar and oil.
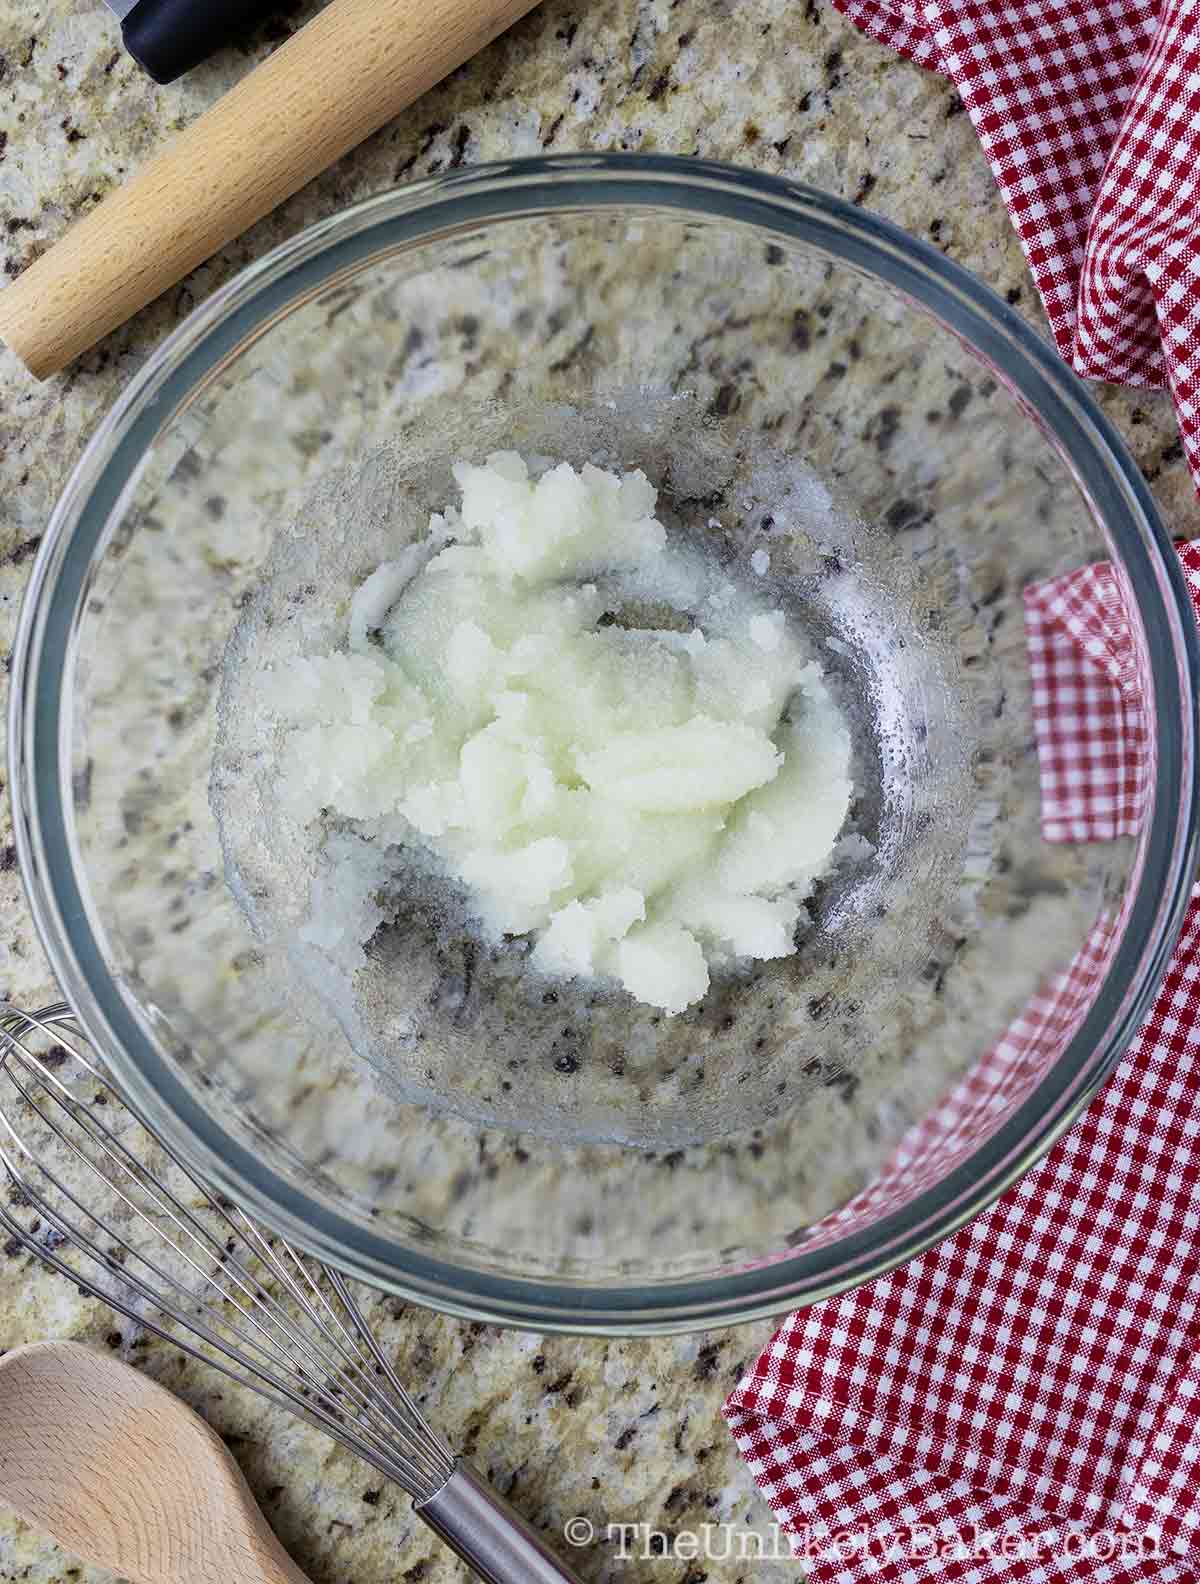
(4) Stir until fully combined
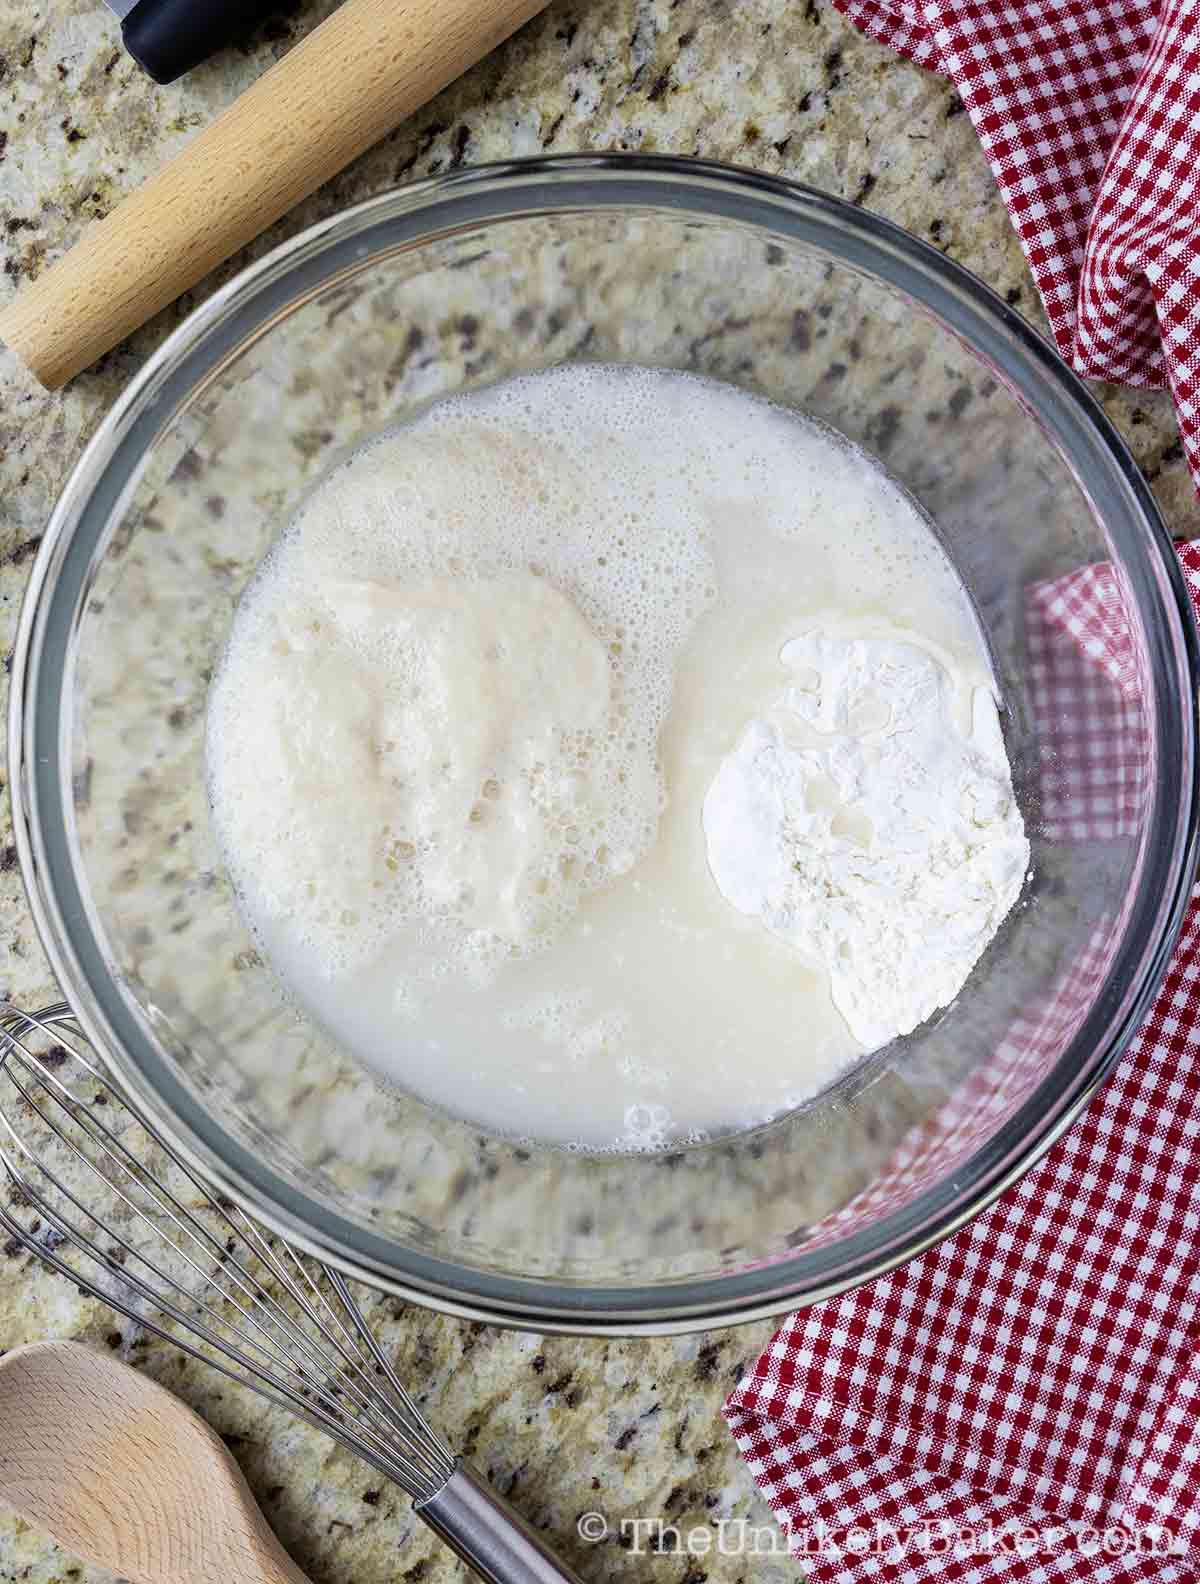
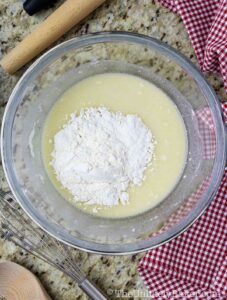
(5) Add salt, your yeast mixture, warm water and 1 cup flour. Stir until incorporated.
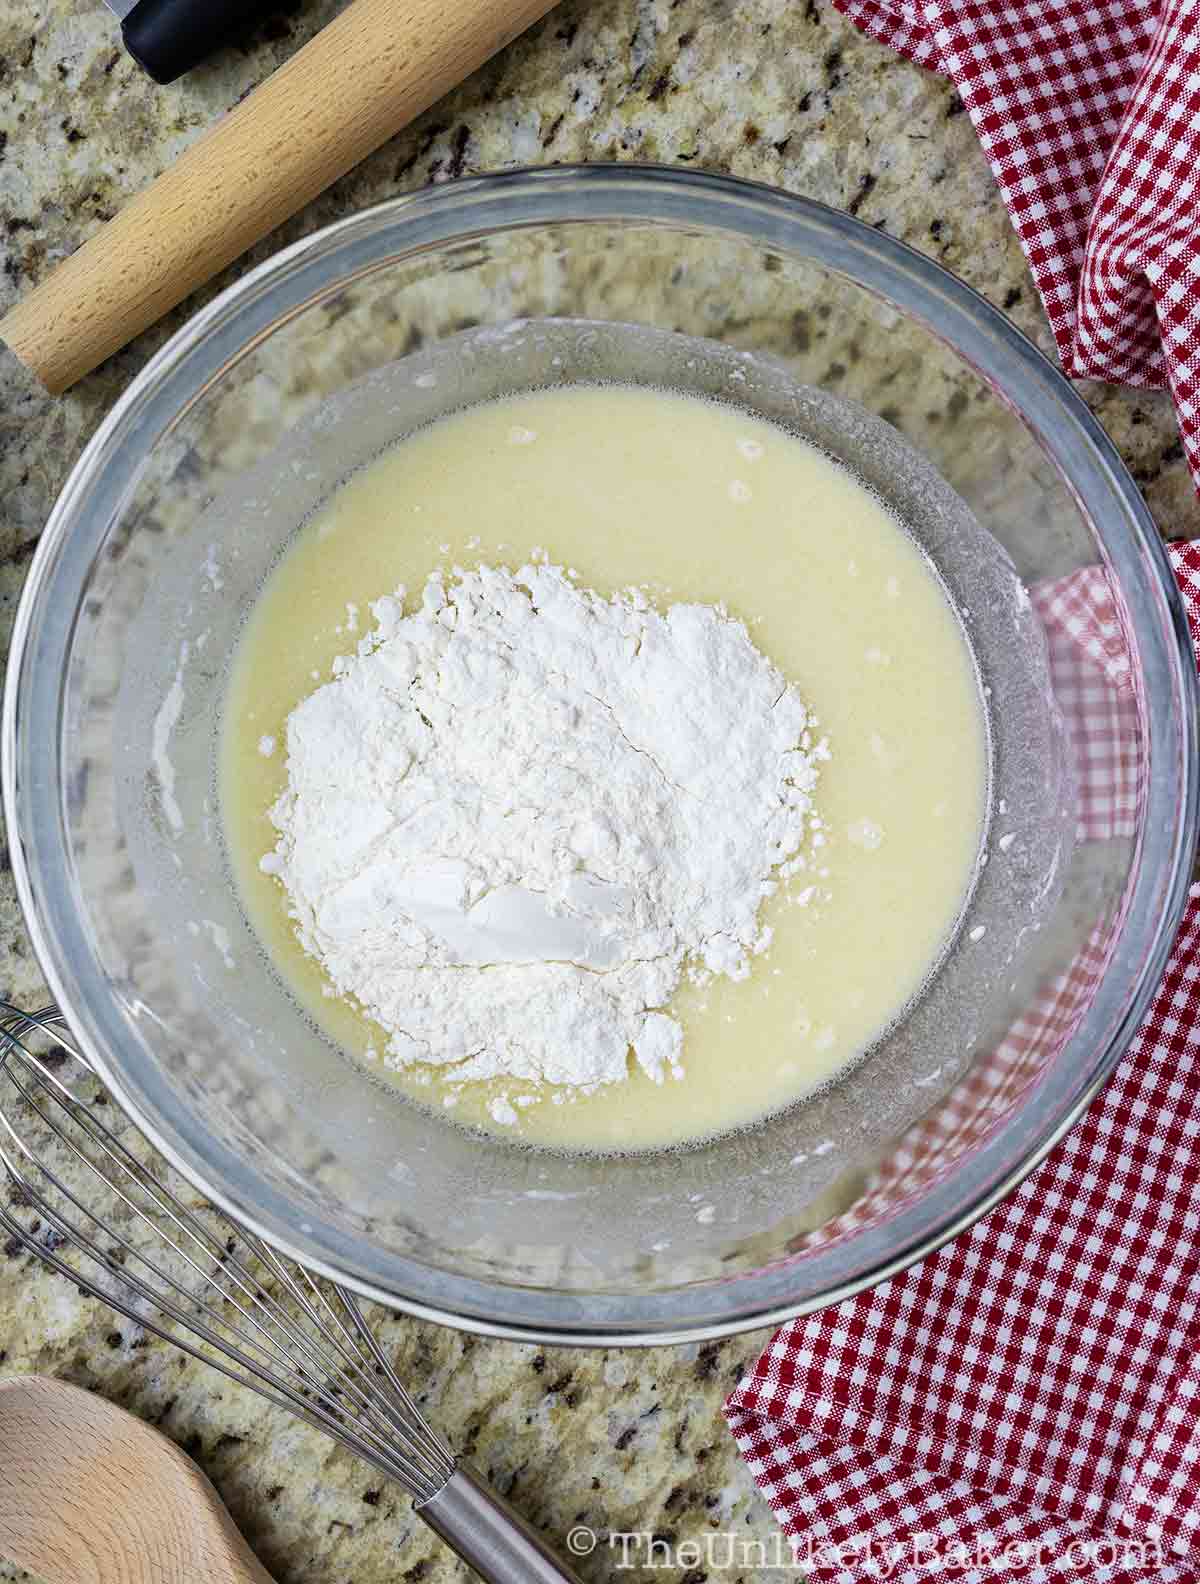
(6) Proceed to add the rest of your flour ½ cup at a time combining well after each addition. If your dough is too wet or sticky, add more flour a little at a time until the dough becomes manageable.
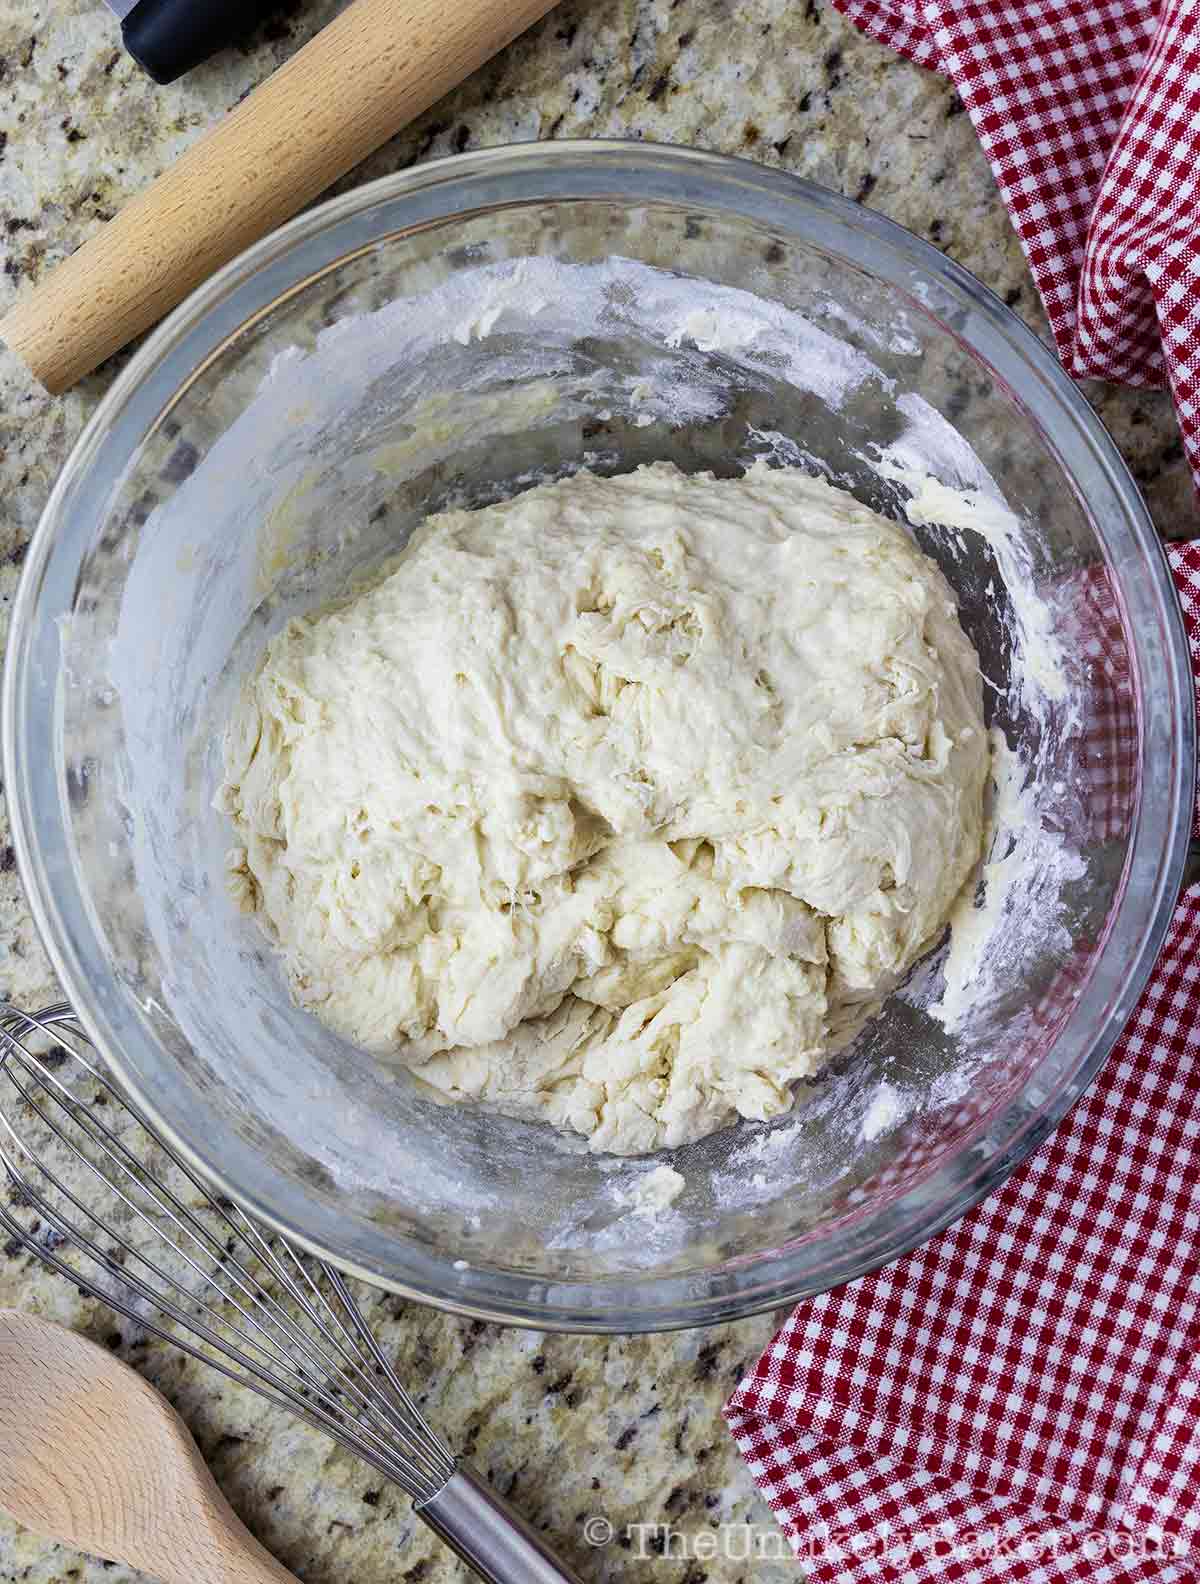
(7) Once the dough starts pulling and sticking together in a ball, transfer it into a floured surface.
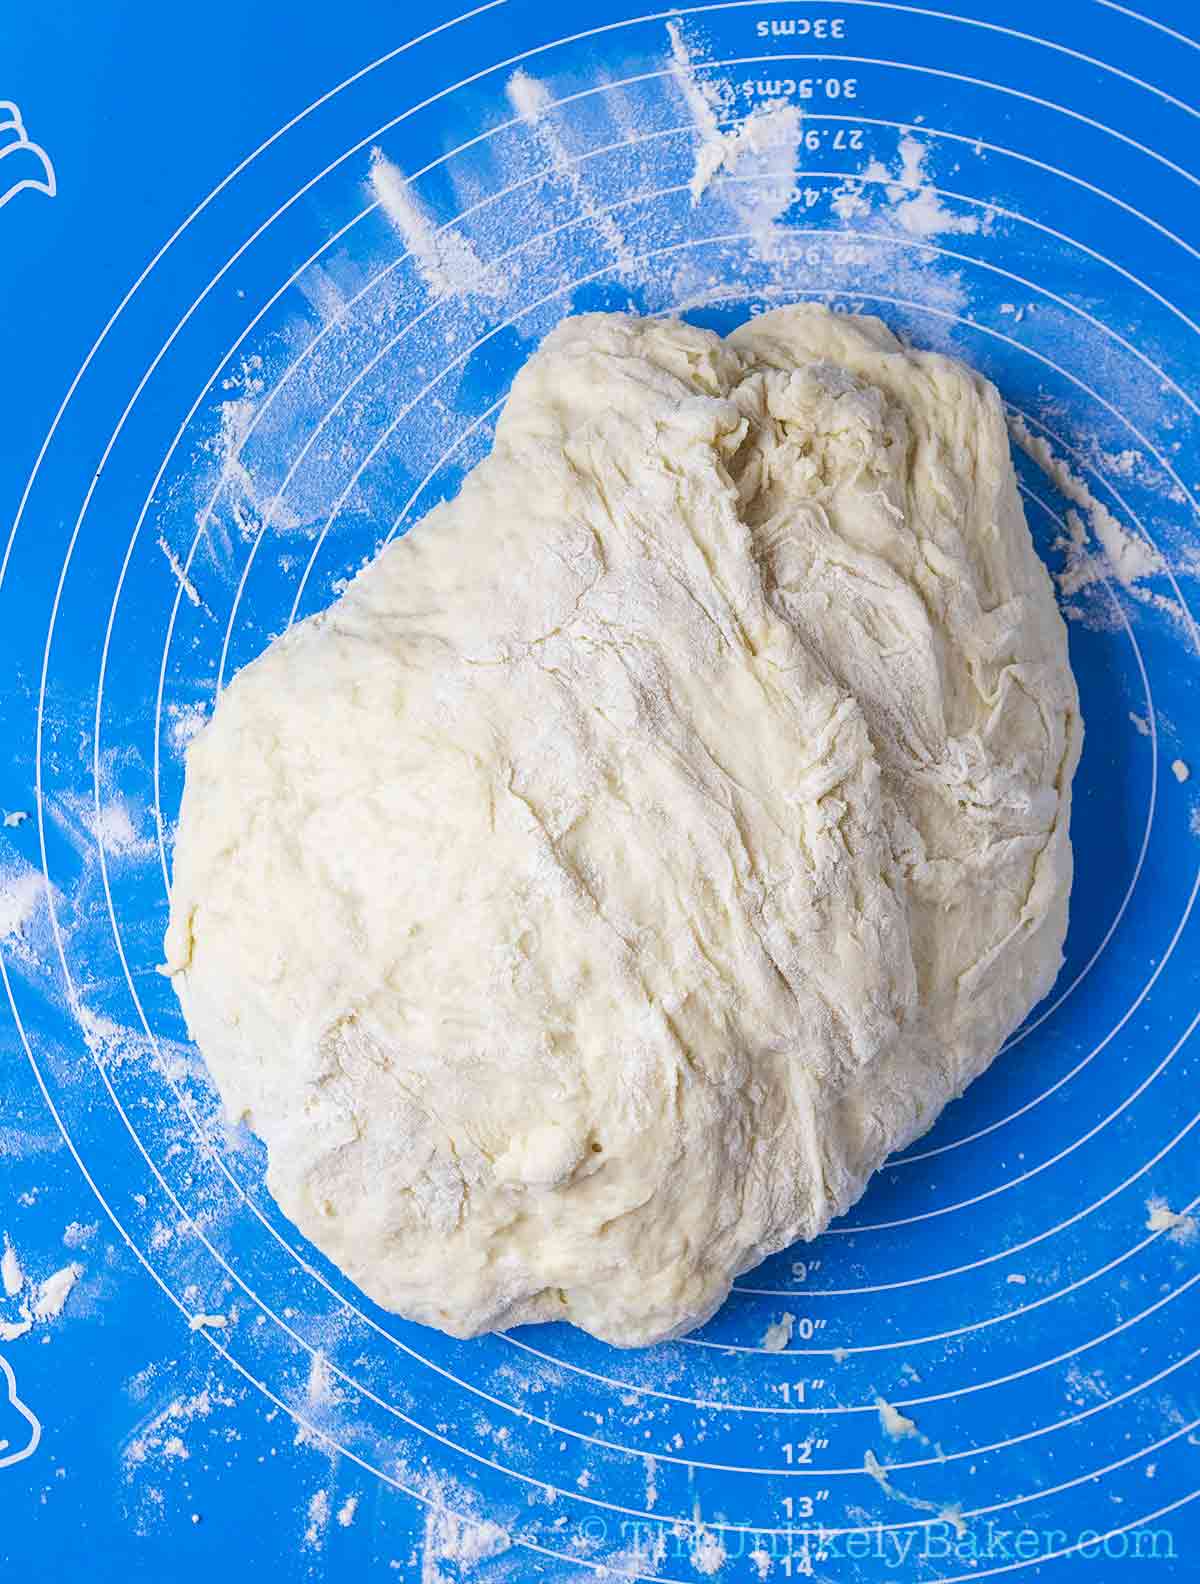
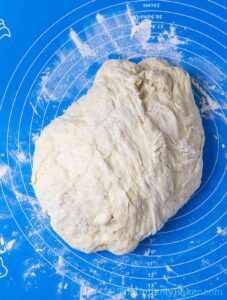
(8) Knead until smooth and elastic (8-10 minutes). When in doubt, knead some more.
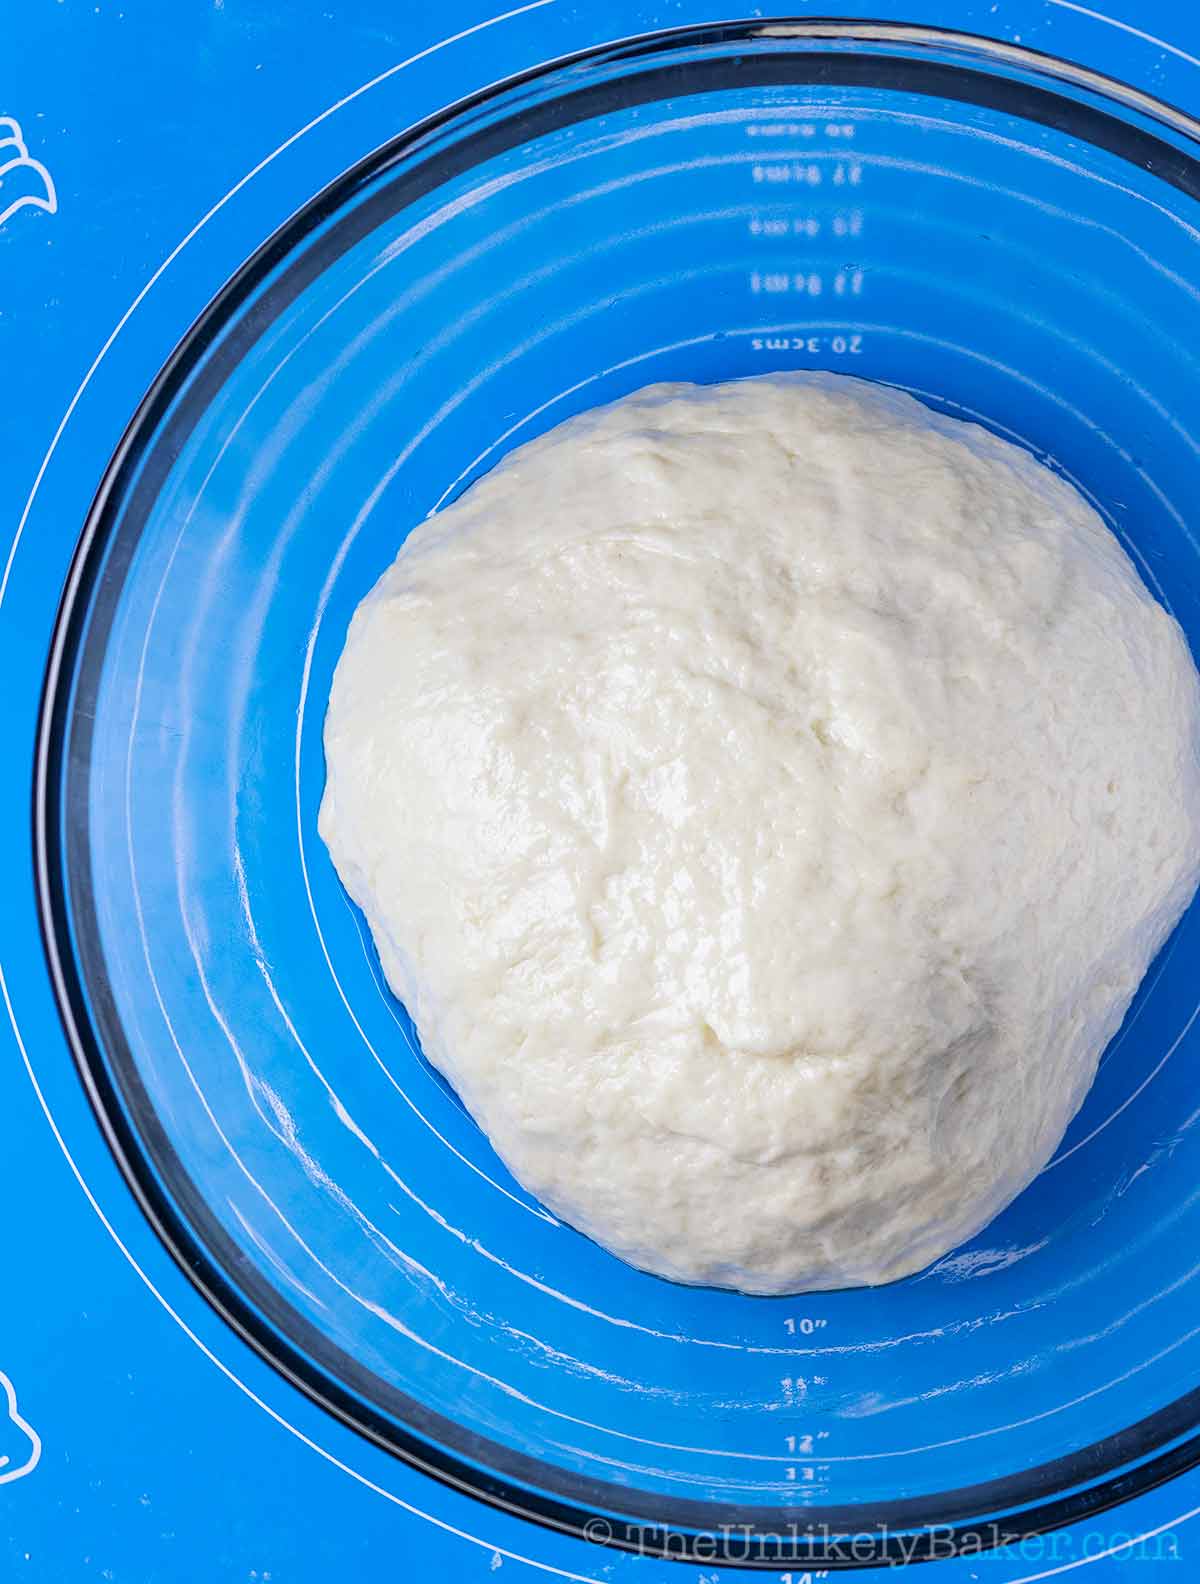
(9) Grease a large bowl with oil. Place dough in the greased bowl and turn to ensure the whole dough is coated.
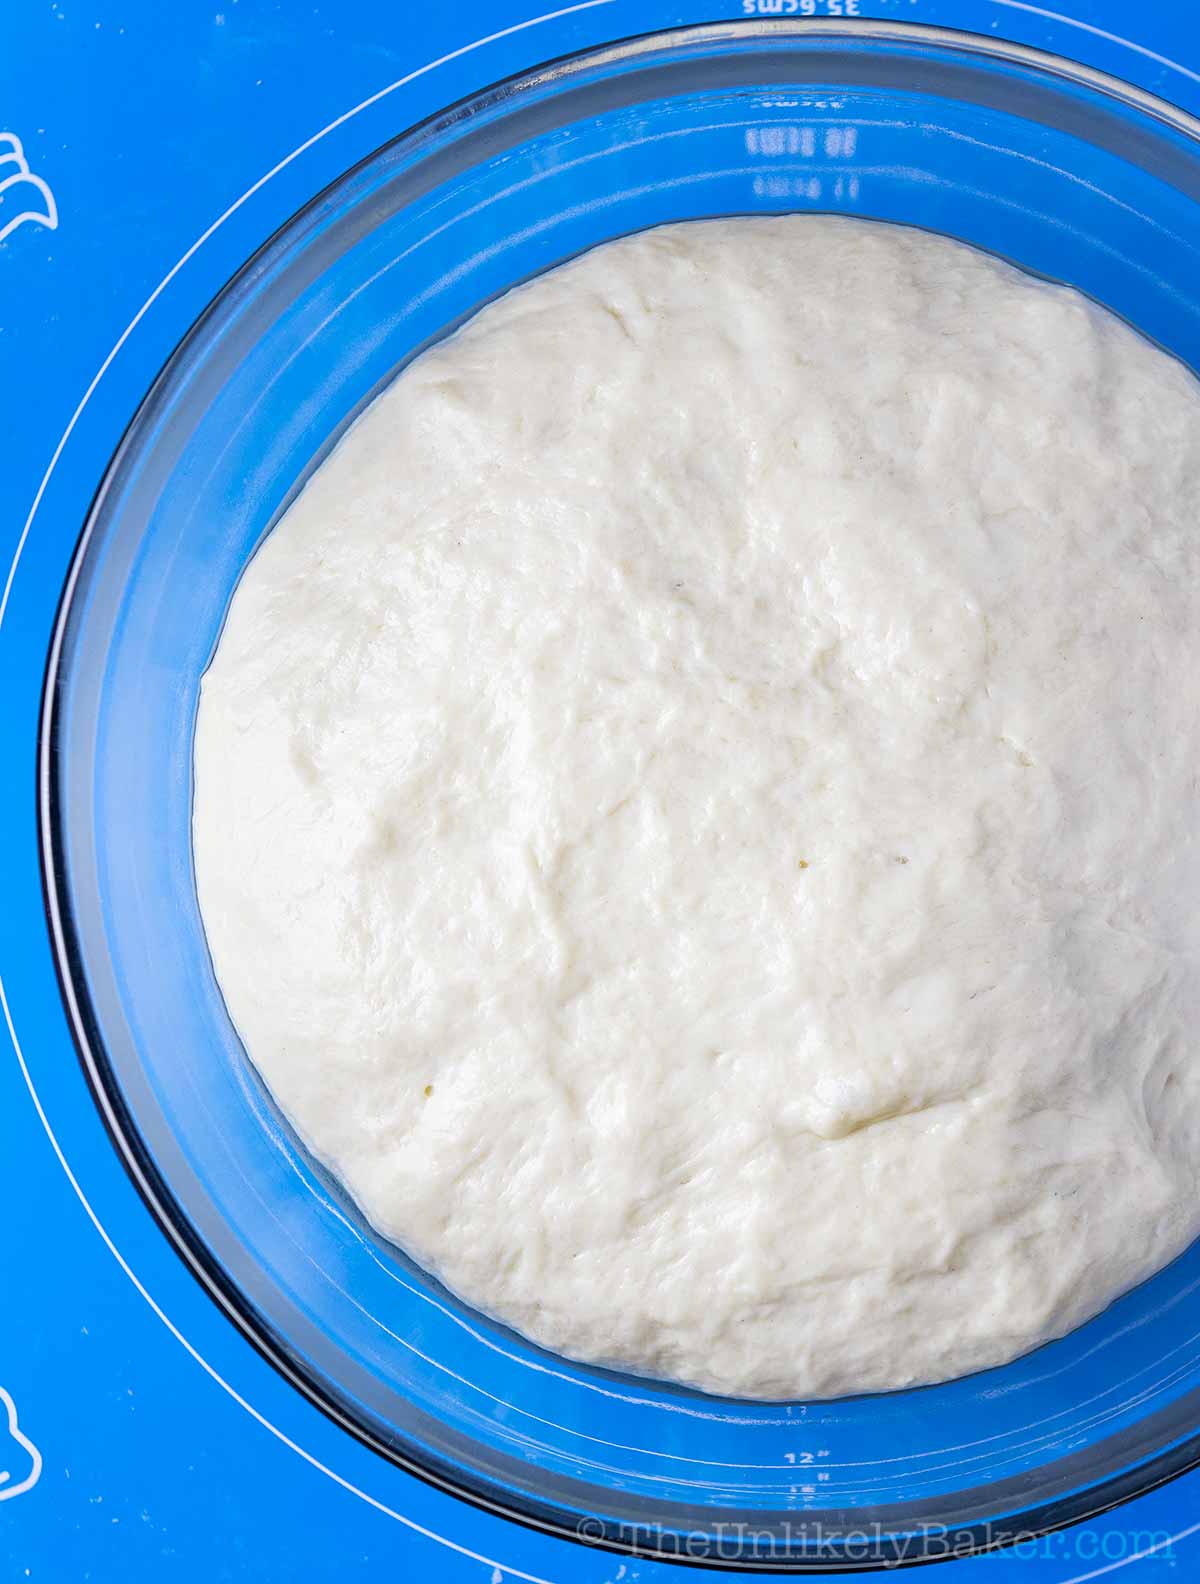
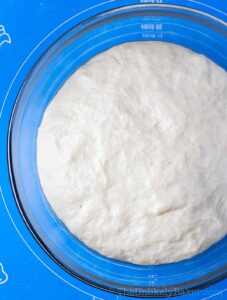
(10) Cover with a damp cloth and allow to rise in a dry warm place (about 90F) until it doubles in size (about 1.5 hours). This is when I usually prepare the filling (see next section).
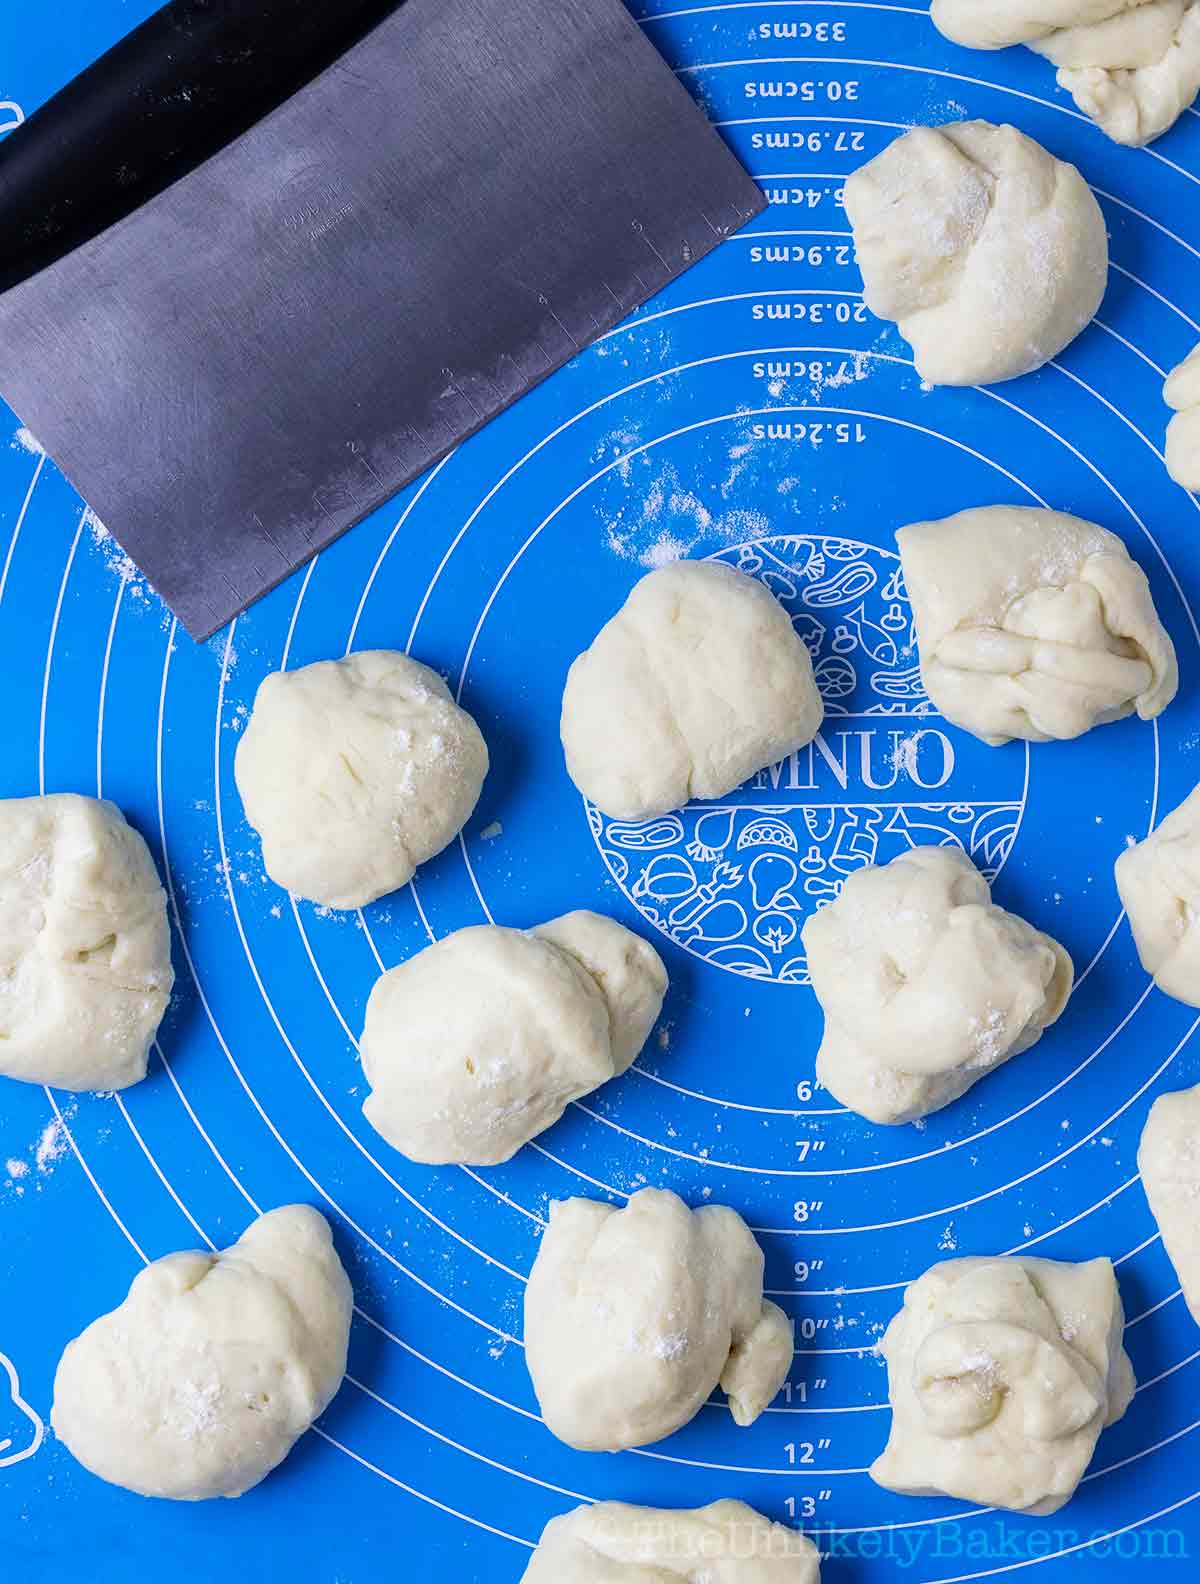
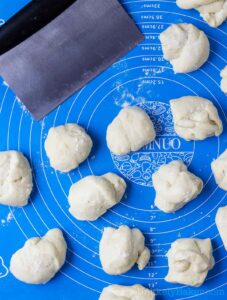
(11) Once the dough is ready, turn it into a lightly floured surface and knead slightly. Weigh the dough and divide into 18 pieces.
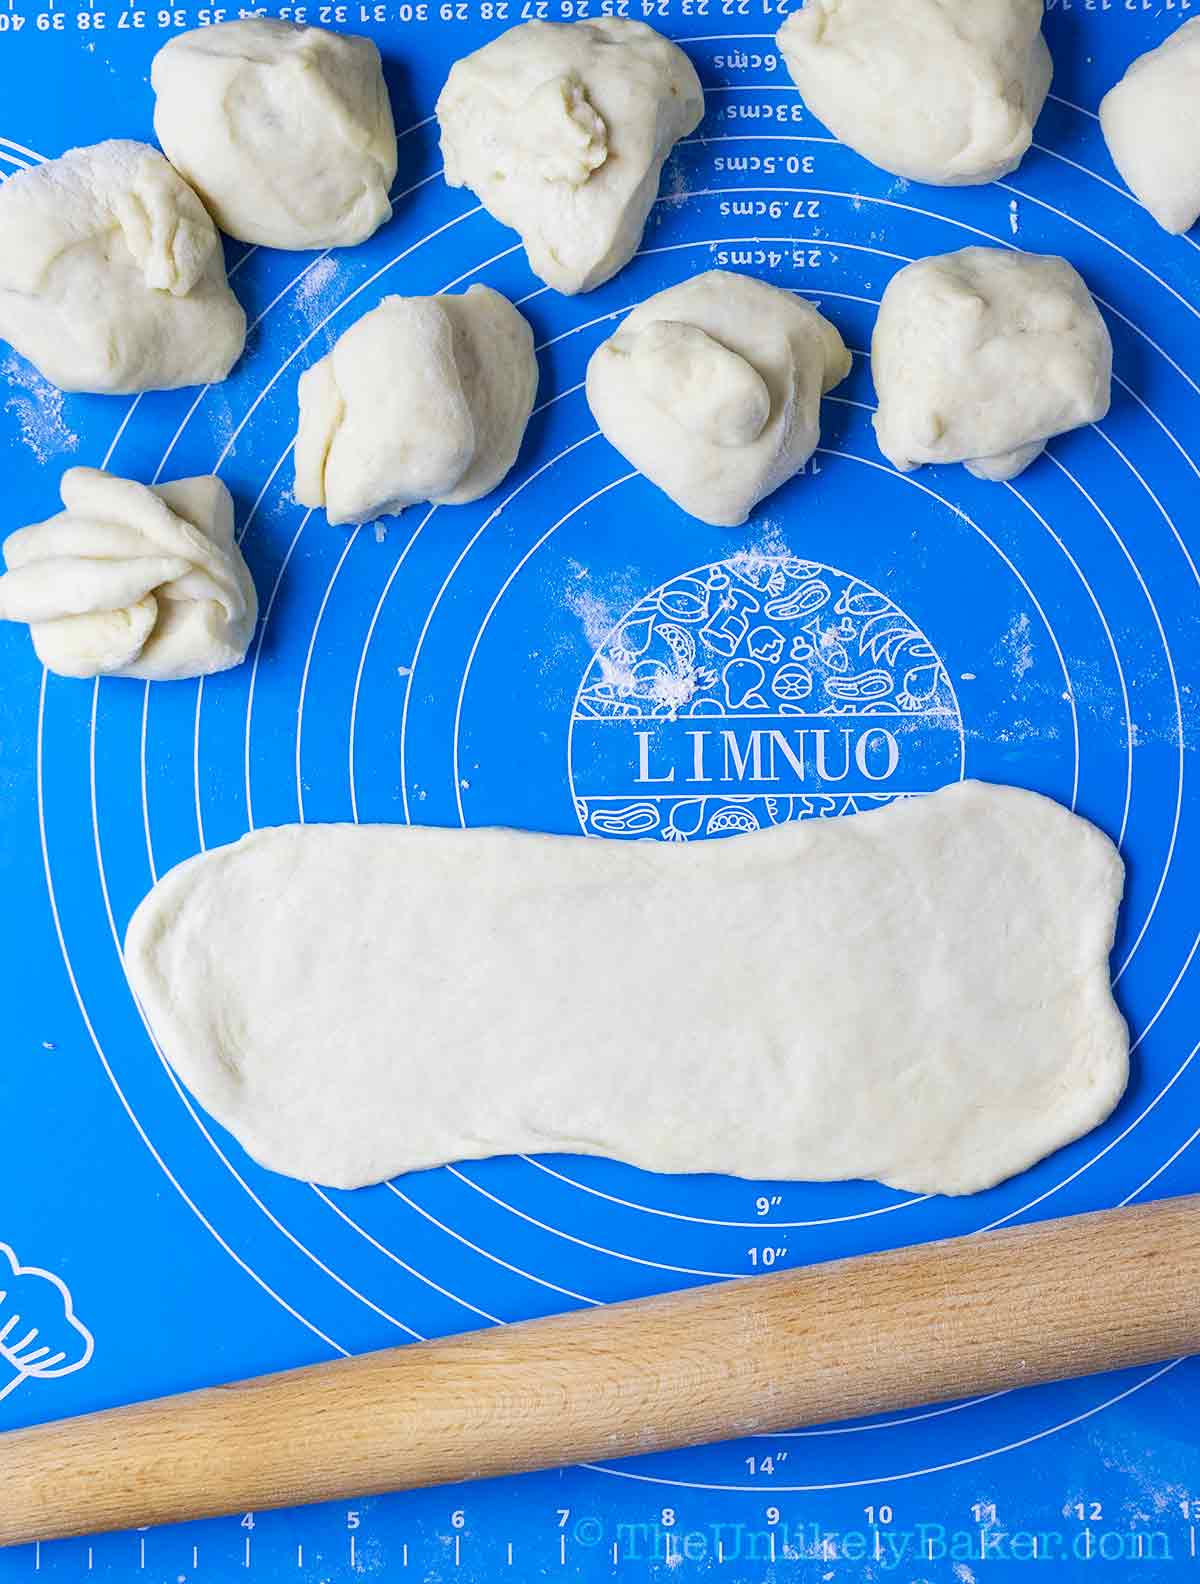
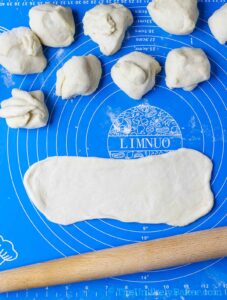
(12) Flatten each piece into an oval/rectangle thats approximately 10 x 3 inches. Don’t flatten it too thin; go no thinner than 2mm.
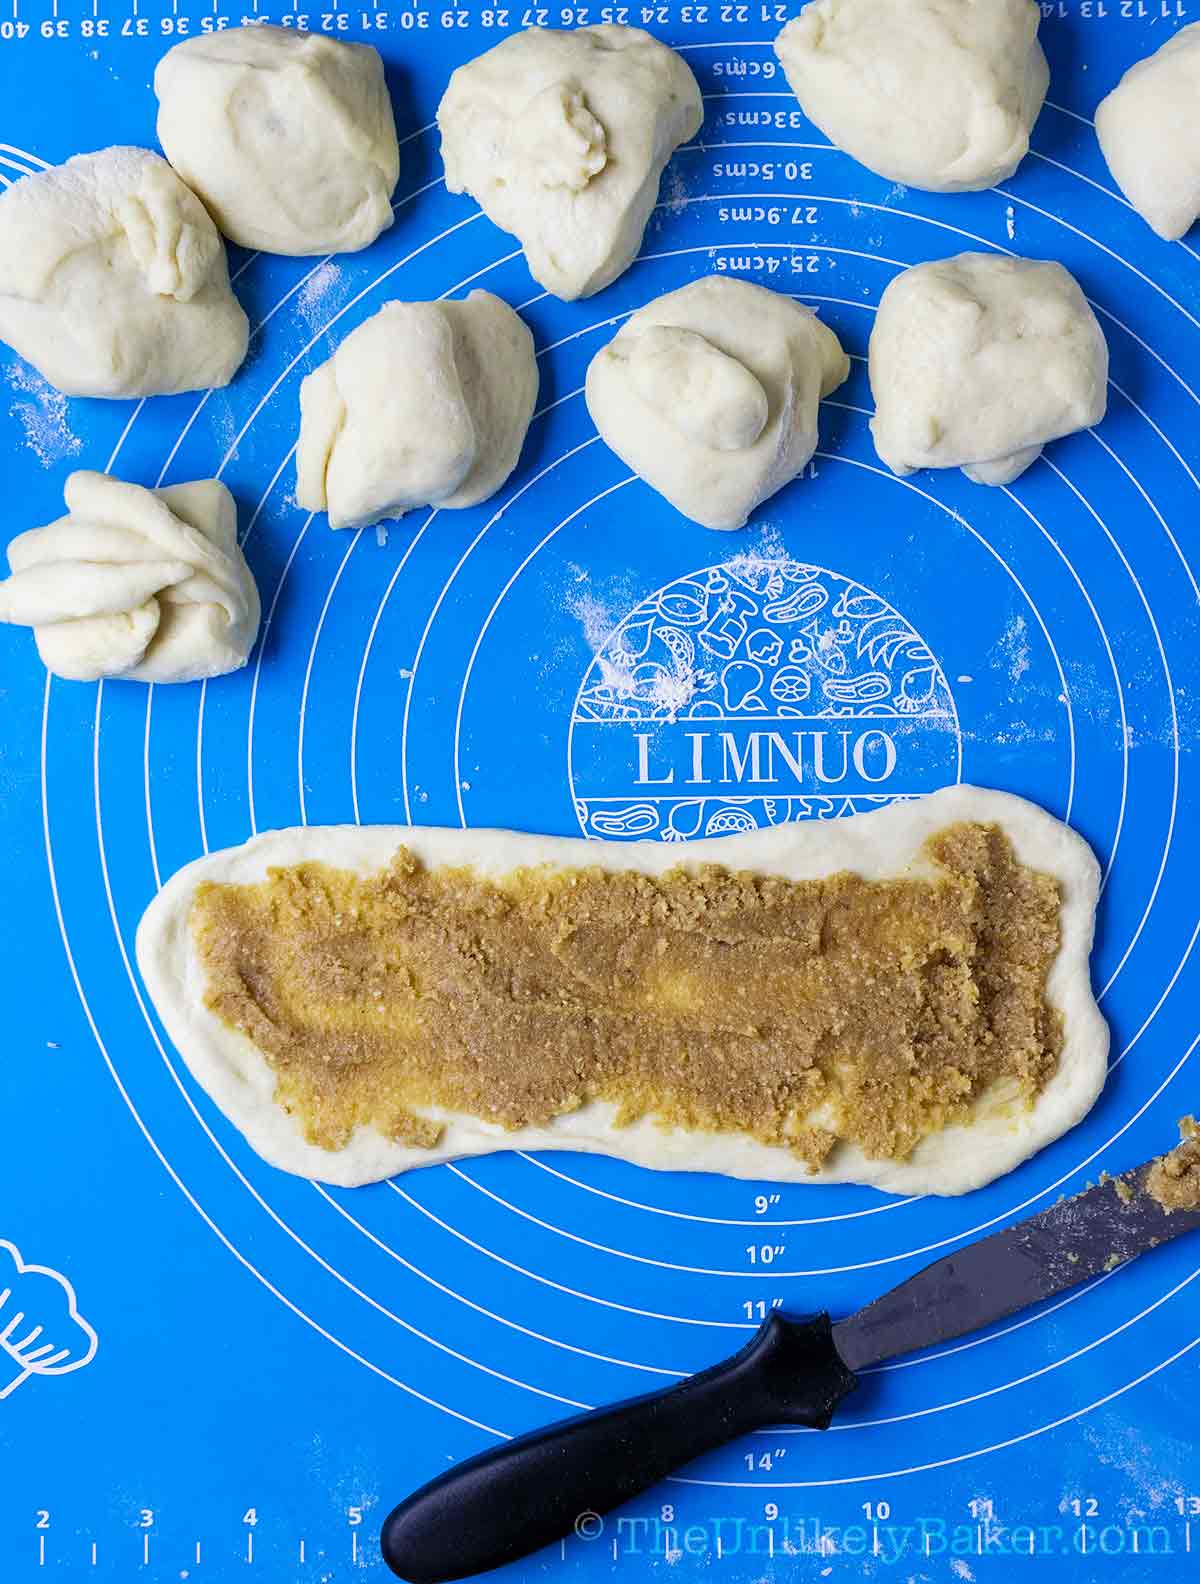
(13) Spread 1-2 heaping tablespoons of buttery filling on the dough, leaving a half inch border all around.
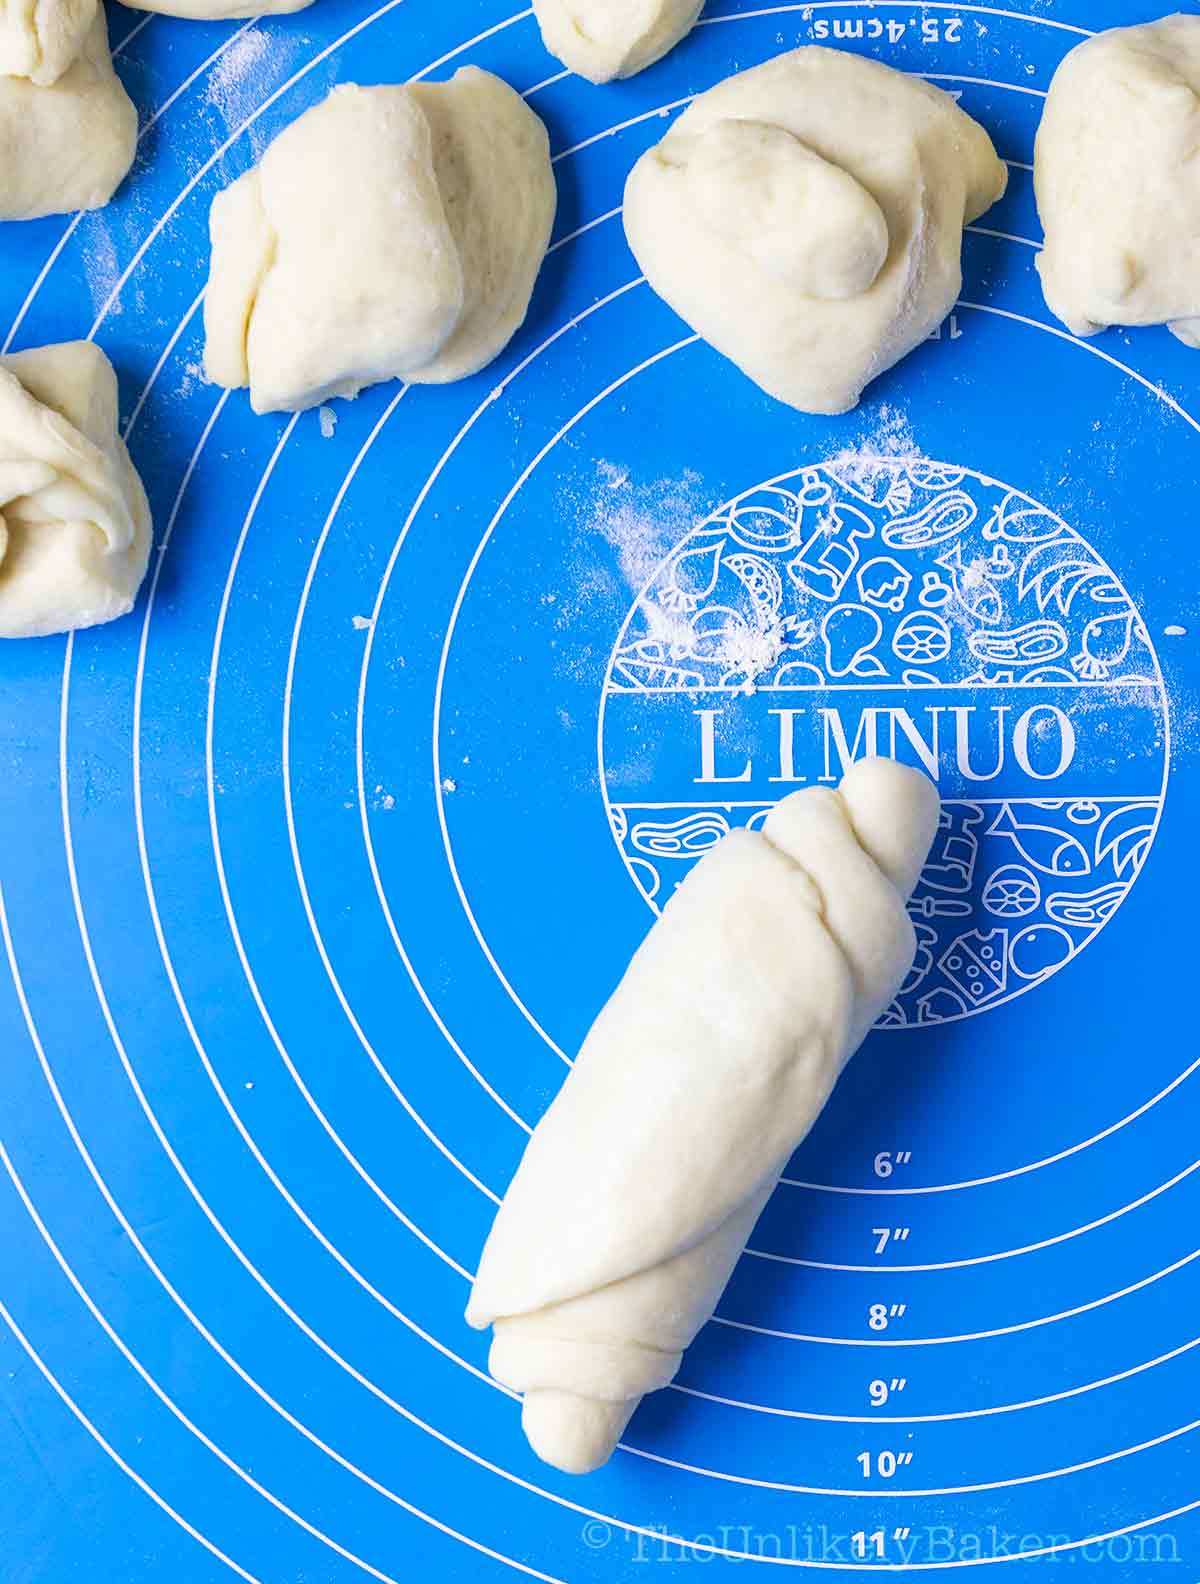
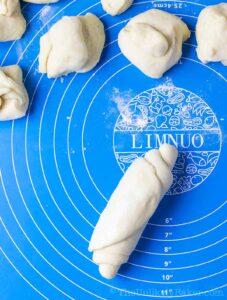
(14) Roll the dough and pinch at the seams to seal.
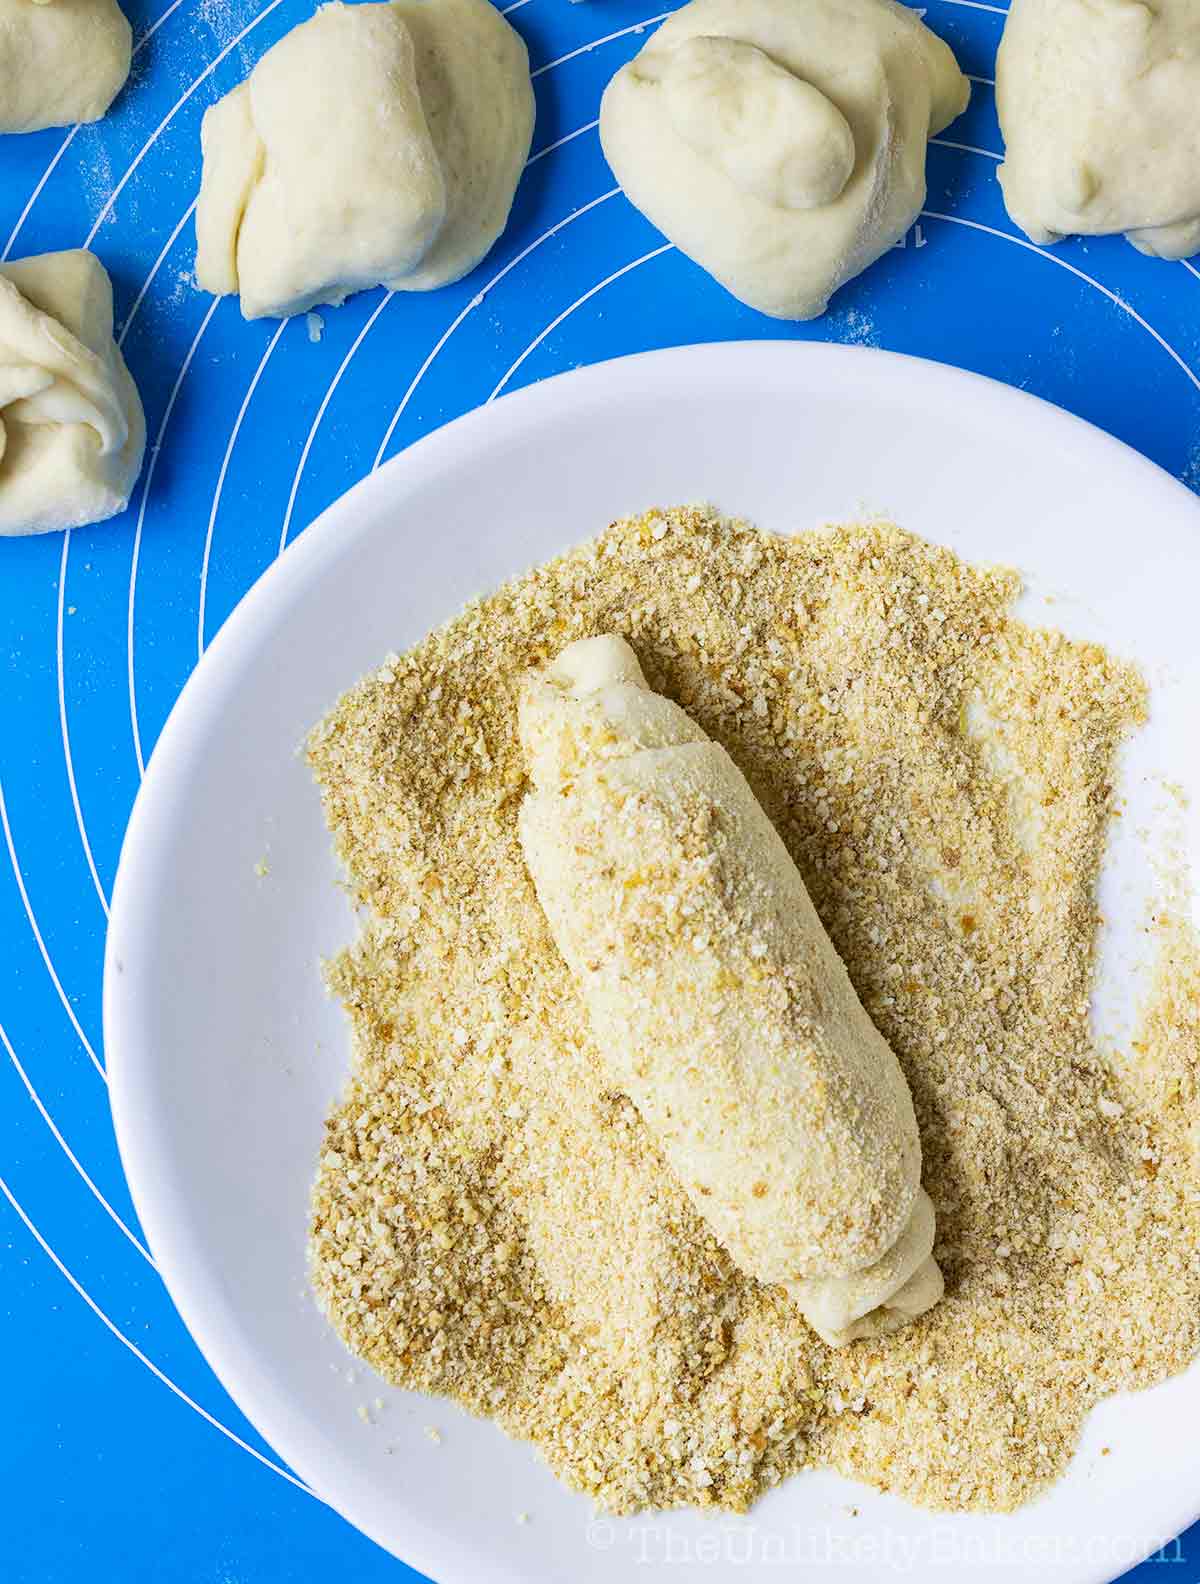
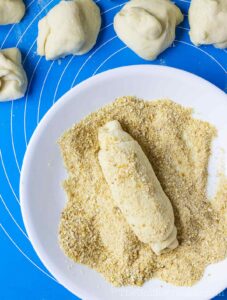
(15) Roll in bread crumbs.
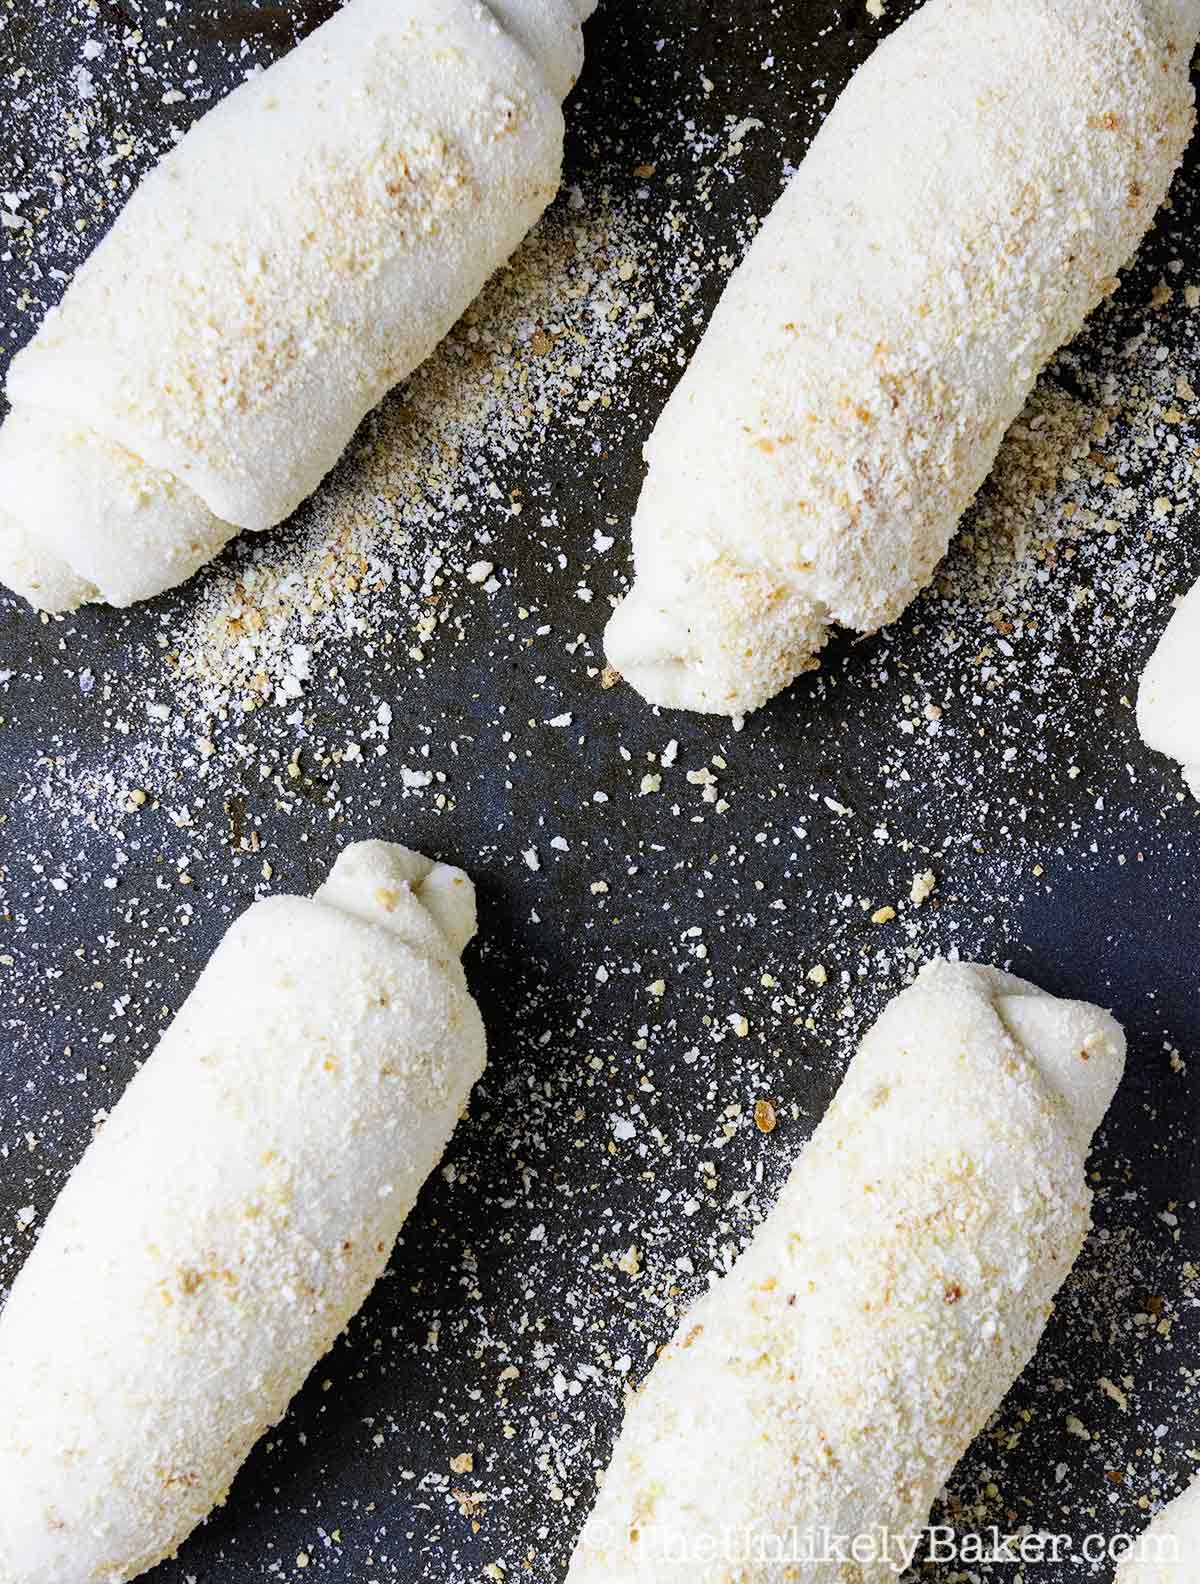
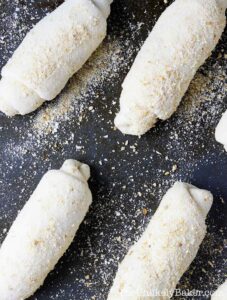
(16) Place on lightly greased baking pans (you’ll need 2) and cover with a damp cloth. Space evenly. Allow to rise a second time (about an hour).
When ready, preheat your oven to 375F. Bake for 20-25 minutes or until a light golden brown.
How to make the filling
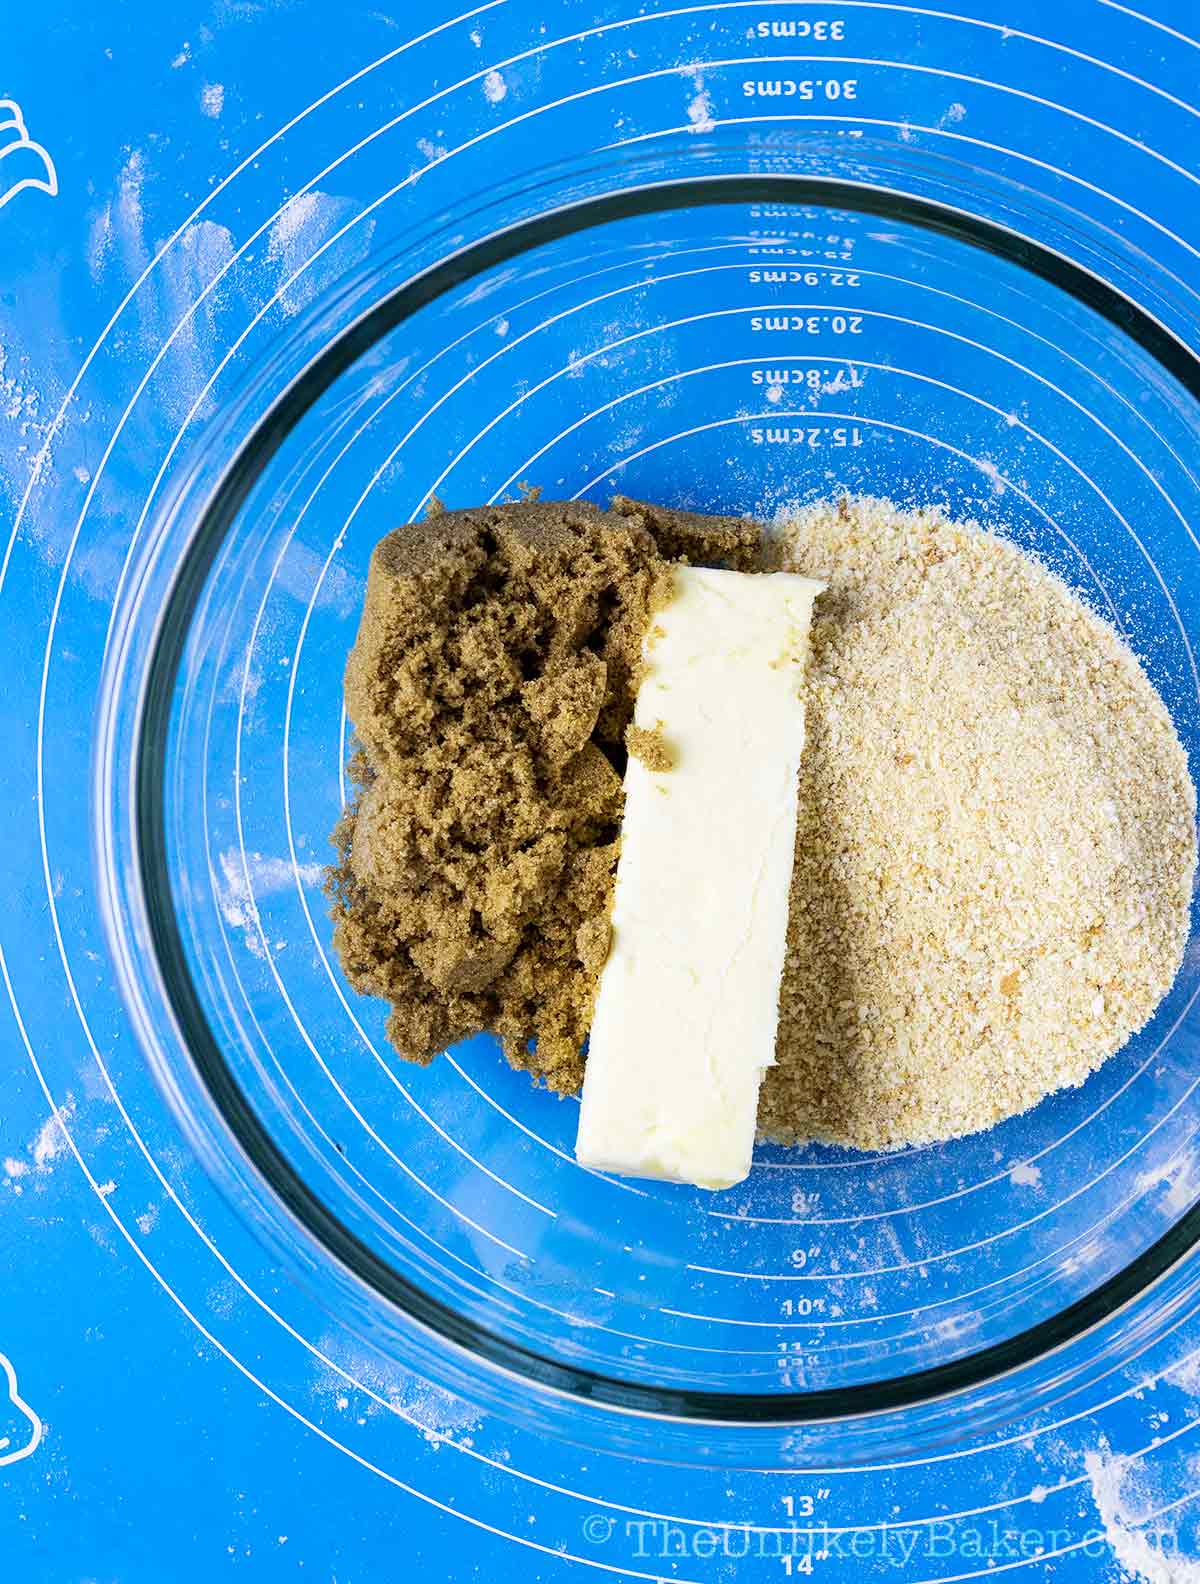
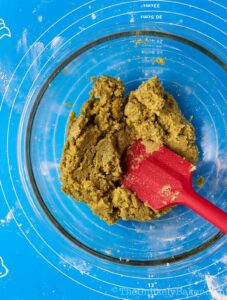
(1) To make the filling, simply combine softened unsalted butter, breadcrumbs, brown sugar and milk in small bowl.
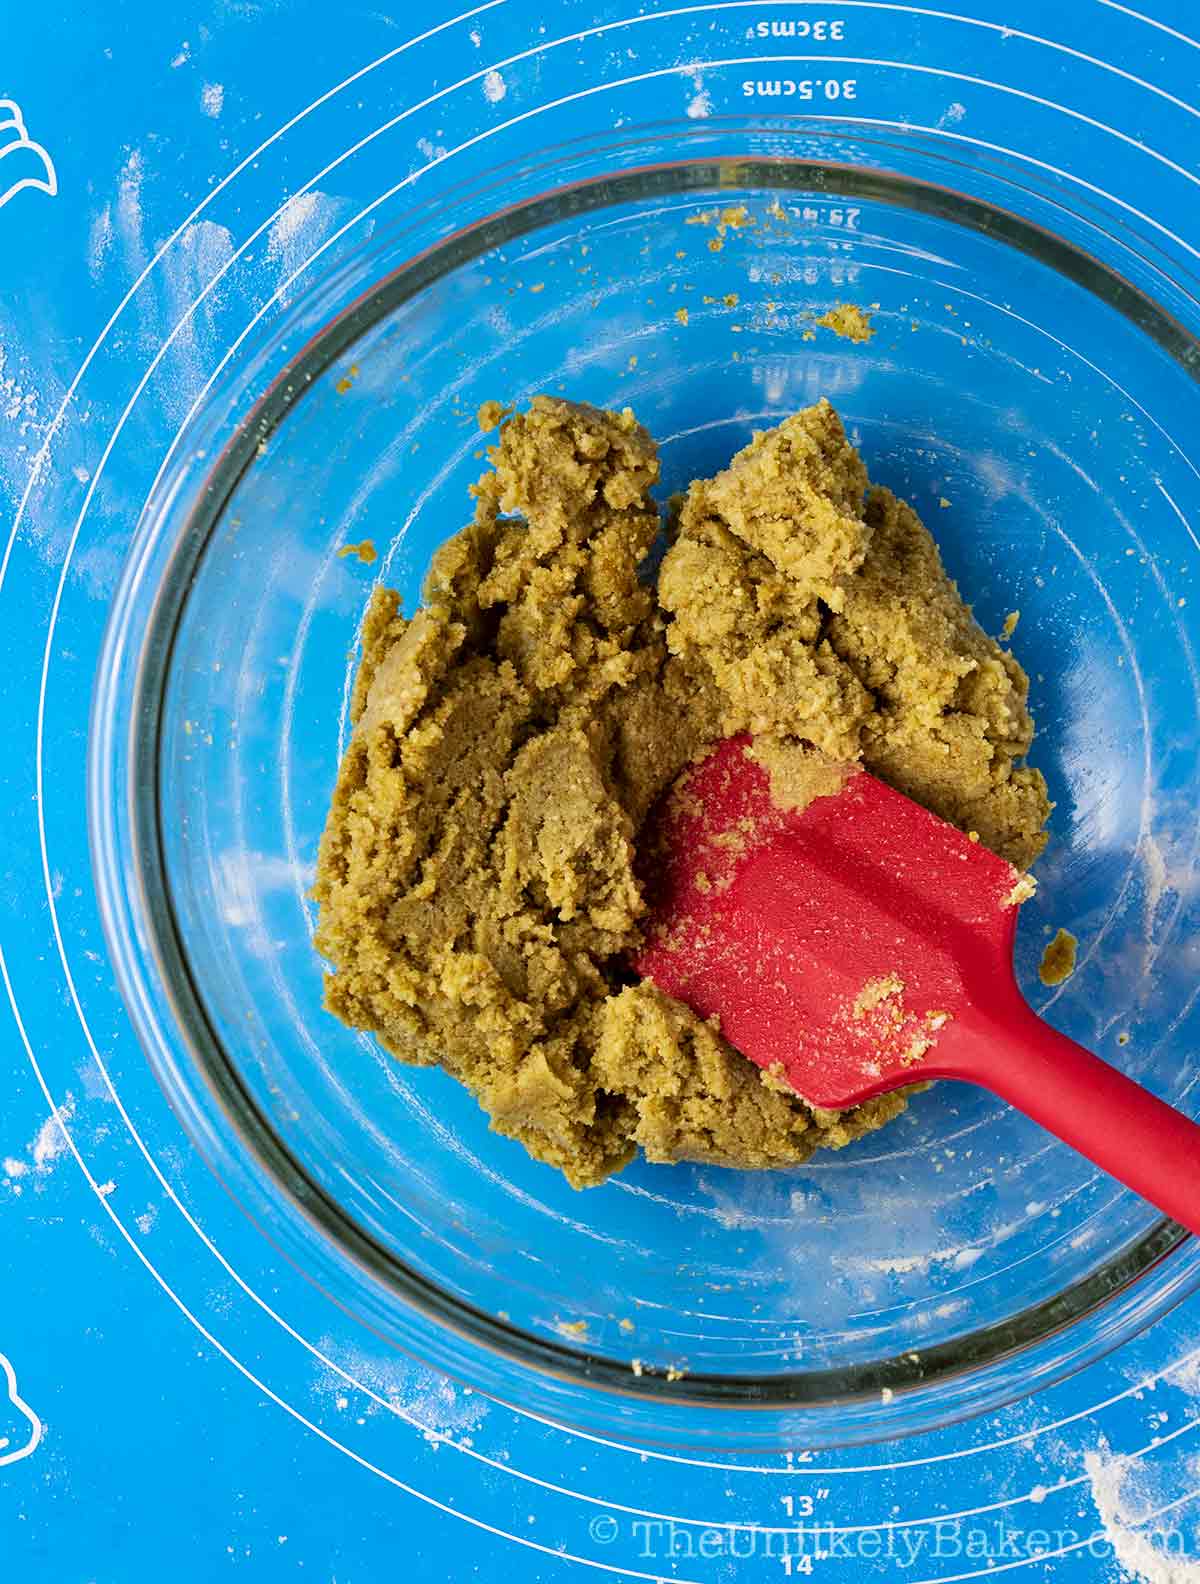
(2) Ensure the mixture is smooth and evenly blended. If your filling is too chunky, add more milk 1 teaspoon at a time until you get a spreadable — but still fairly thick — consistency.
Bread baking expert tips
New to bread baking? Wondering what makes bread soft and chewy? Check out these tips.
Working with yeast
You know that lovely freshly baked bread smell? That’s yeast! In addition to making dough rise, yeast also gives bread its “bready” smell.
There are two main kinds of yeast you’ll find in the supermarket — active dry or instant rise (sometimes also called quick rise or rapid rise).
Active dry yeast needs to be bloomed in warm water; instant dry yeast can be added directly to dry ingredients such as flour.
I almost always use active dry yeast. For one, I like how by blooming it in water I can guarantee that the yeast is still alive.
Here’s more information about yeast that’s very helpful especially if you want to substitute one for the other.
Kneading the dough
I know some bakers like to use the dough hook of their stand mixers to knead their bread dough and that’s fine.
I prefer to knead by hand because there’s less chance of over-kneading. And there’s really something very relaxing about it!
If you’re unsure what “kneading until smooth and elastic” actually means, here’s a great resource that talks all about it.
Soft and chewy bread is a combination of several factors, but properly proofing your yeast and not over-kneading your dough are key.
Filling and rolling bread
Between you and me, I really don’t care all that much if bread and rolls are perfectly shaped. And so what if the filling flows over? They’re still delicious.
But you want perfect rolls, here are some things you can do:
- Weigh your dough
- Measure each piece with a baking ruler as you flatten it
- Don’t flatten it too thinly (no thinner than 2mm)
- And don’t get carried away with the filling
Also, remember that practice makes perfect so the more bread you bake, the better you’ll get at it.
Dough rise time and other questions
A lot of recipes say to allow the dough to rise until “double in size”.
Depending on the recipe, this can range from 30 minutes to 2 hours. Just check in at the halfway mark so you can get an indication of how much longer you have to go.
For me, what’s important is finding the proper place to leave my dough.
It’s cold here most of the year so leaving my bowl on our not-so-warm counter is not exactly ideal.
So what I like to do is turn my oven on to its lowest setting for a few minutes, then turn it off so that it’ll be about 90F when I’m ready to put my dough in to rise.
Just remember to remove the dough from the oven when you’re ready to preheat for baking.
And do you really need a damp cloth to cover your dough while rising? I do but it’s not necessary. Sometimes I use plastic wrap. And other bakers I know use pot lids.
The key is covering the bowl with something because doing so helps the dough retain moisture and prevents it from drying out.
The best kind of flour to use when making bread
I’ve personally never used bread flour to bake bread. I always use all purpose flour because that’s what I always have on hand. And I’ve had great success with it.
So if you don’t have bread flour, no worries. You can use all purpose flour and make very tasty bread out of it.
I did read that the higher percentage of gluten in bread flour (somewhere between 11-14%) makes it ideal for bread because it makes the dough more elastic and easier to work, resulting to lighter textured breads.
So if you’re curious, you can substitute all-purpose flour for bread flour easily. It’s a 1:1 substitution. You can read all about it and the different kinds of flour here.
Storage and shelf life
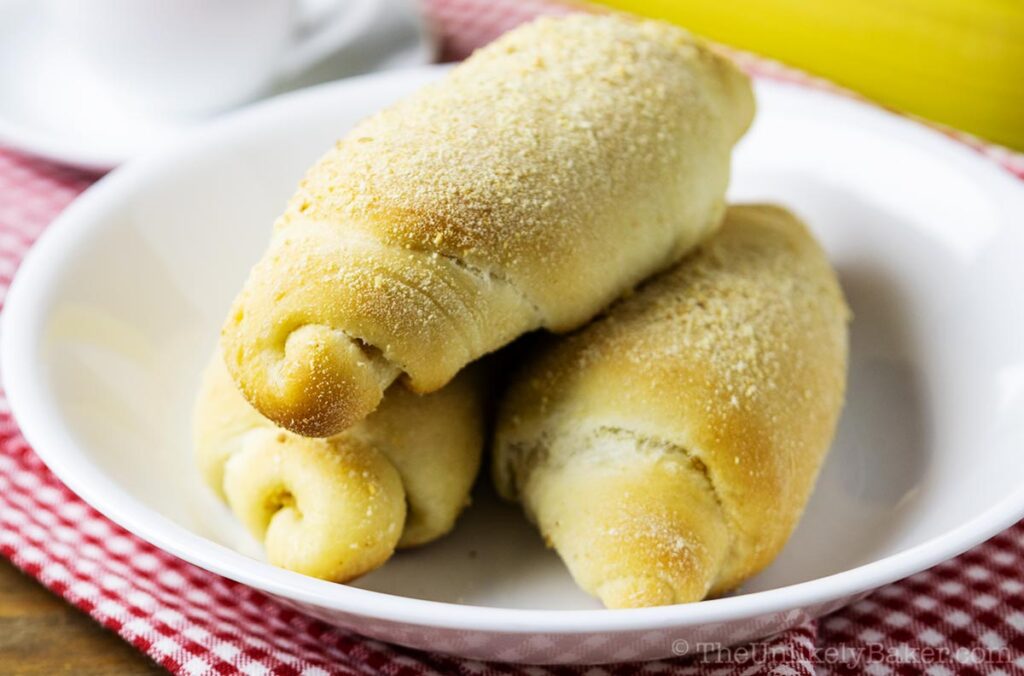
As with any kind of bread, the best way to store Spanish bread is freezing it.
Just place the completely cool bread in a large Ziploc bag and put the bag in the freezer. It should last at least 1 month.
To serve, thaw in the microwave for a few seconds then pop in the oven toaster until warm and toasty. Good as new.
Other Filipino bread recipes
Want to try other Filipino bread recipes? Check these out:
Hope you enjoy this recipe. It’s a fairly long process but it’s a simple one and the results are more than worth it!
Happy baking!
Did you make Spanish bread? I’d love to hear all about it! Leave a comment or a star rating below. You can also tag me on Instagram or Facebook. I’d love to see your creations!
You can also find me on Pinterest, Twitter and YouTube.
Filipino Spanish Bread Recipe
Ingredients
For the yeast mixture:
- 1 envelope active dry yeast 1 envelope = 2¼ teaspoons
- 1 tsp granulated sugar
- 1 cup warm water about 110F
For the Spanish bread dough:
- ⅔ cup granulated sugar
- ¼ cup canola oil + more for coating can substitute with vegetable oil
- 1 cup warm water warm water from the tap is fine
- 2 tsp salt
- 6 cup all-purpose flour
For the Spanish bread buttery filling:
- ½ cup unsalted butter softened
- ¾ cup plain breadcrumbs + more for rolling
- ½ cup brown sugar packed
- 3 tbsp milk
Instructions
For the Spanish bread dough:
- In a small bowl or measuring cup, stir 1 envelope active dry yeast and 1 tsp granulated sugar in warm water (about 110F) until dissolved. Set aside and let stand until bubbly (about 10 minutes).

- In a large bowl, stir ⅔ cup sugar and ¼ cup oil until fully combined.

- Add 2 tsp salt, your yeast mixture, 1 cup warm water and 1 cup flour. Stir until incorporated. Proceed to add the rest of your flour ½ cup at a time combining well after each addition (see notes).

- Once the dough starts pulling and sticking together in a ball, transfer it into a floured surface and knead until smooth and elastic (8-10 minutes). When in doubt, knead some more.

- Grease a large bowl with oil. Place your dough in the greased bowl and turn to ensure the whole dough is coated. Cover with a damp cloth and allow to rise in a dry warm place (about 90F) until it doubles in size (about 1.5 hours).

- Once the dough is ready, turn it into a lightly floured surface and knead slightly. Weigh the dough and divide into 18 pieces.

- Flatten each piece into an oval/rectangle that's approximately 10 x 3 inches. Don’t flatten it too thin; go no thinner than 2mm.

- Spread 1-2 heaping tablespoons of buttery filling (instructions follow) on the dough, leaving a half inch border all around.

- Roll the dough and pinch at the seams to seal.

- Roll in bread crumbs until full covered.

- Place on lightly greased baking pans (you'll need 2) and cover with a damp cloth. Space evenly. Allow to rise a second time (about an hour).

- Preheat your oven to 375F. Bake for 20-25 minutes or until the bread turns a light golden brown.
For the Spanish bread filling:
- In a small bowl, combine ½ cup softened unsalted butter, ¾ cup breadcrumbs, ½ cup brown sugar and 1-3 tbsp milk (see notes) until combined.

Video
Notes
- If your dough is too wet or sticky, add more flour a little at a time until the dough becomes manageable.
- When making your filling, start with 1 tbsp milk and add more until you achieve spreadable consistency.
- Since you’re using 2 pans, it would be a good idea to rotate the pans halfway through baking especially if your oven has hot spots. Check in and see. I use 2 half sheet pans that’s 18×13 inches each.
- See the post for the complete step-by-step photos and bread baking tips.
Nutrition
Nutritional information are estimates only.

Leonor
Hi,
I have tried your recipe and I will say it is soo good. I have baked it twice already as my first I have made a mistake with the salt but still it tasted good. This time, I will not say perfect baked but it is soo good. I will continue to bake it until I achieved the ones like yours. Hahaha. Thank you very much for your recipe. I am following it
Jolina
That’s awesome Leonor! Practice makes perfect and you get delicious Spanish bread every time too 🙂 Happy baking!
Nicole
I’m excited to try this recipe! Your ube pandesal recipe is the only pandesal recipe that I use!
That being said, can I use your ube pandesal recipe to make this?
Jolina
Hi Nicole, glad you like the ube pandesal. I haven’t tried but I believe the dough should work for Spanish bread. Sounds delicious! Great idea.
Joy
Hi! I fondly remember enjoying Spanish bread for meryenda whenever I would go on family vacations to the Philippines and I’ve been craving it lately so I tried your recipe. I loved it (and my parents loved it even more)! The filing was not too sweet and the bread was nice and fluffy. Will definitely be baking it again, thanks so much for sharing your recipe!
Jolina
That’s awesome Joy! And you’re most welcome 🙂
Kita Bryant
This looks like such a delicious recipe! They would be awesome for breakfast!
Clarissa
This looks delicious! Haven’t tried a bread like this, must try.
Catalina
I am sure this bread will be our new favorite. Seems easy to make it at home!
May
Yes spanish bread! I remember them from my grade school days. I’m not much of a baker but I might just try to recreate this fave from childhood. So good!