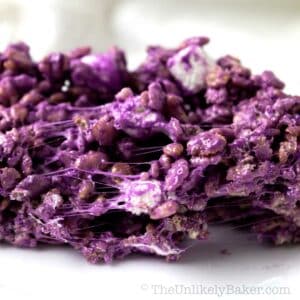
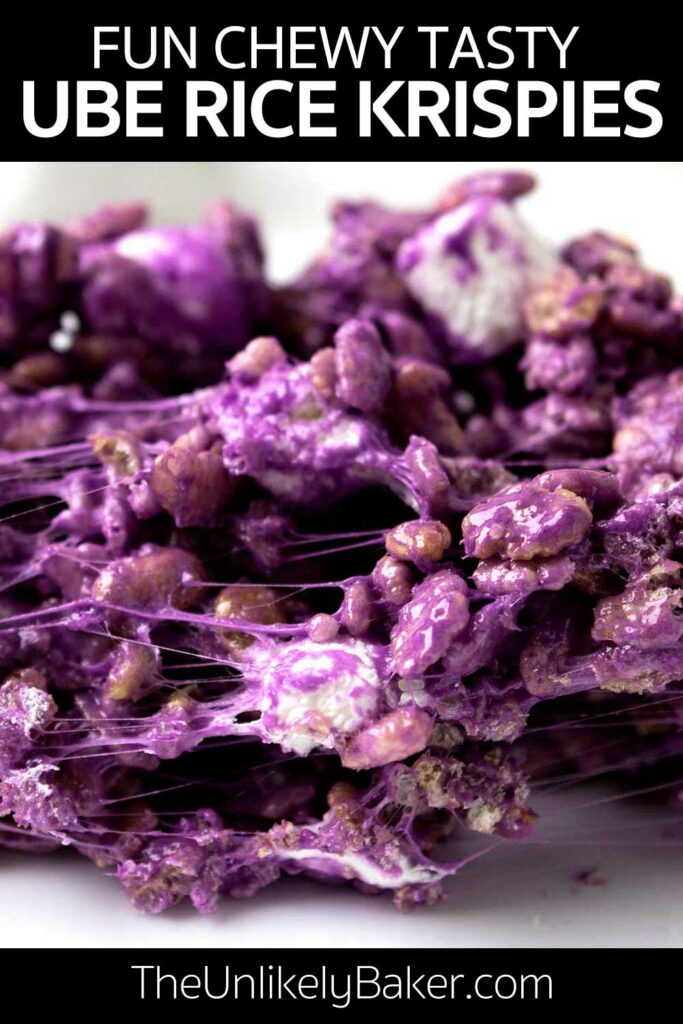
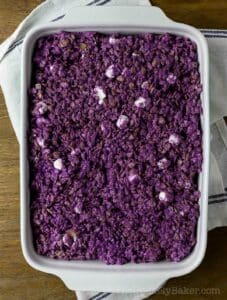
Looking for unique rice Krispie treats? Try ube rice krispies! Ube, puffed rice cereal and marshmallows come together for a fun, chewy and delightfully purple snack. Easy to make, no need to bake, just 6 ingredients, and so good!
(Love to involve the kids in the kitchen? Making chocolate cornflake cookies is loads of fun. And if you’re looking for ube rice cake, try this puto recipe or Filipino steamed rice cakes.)
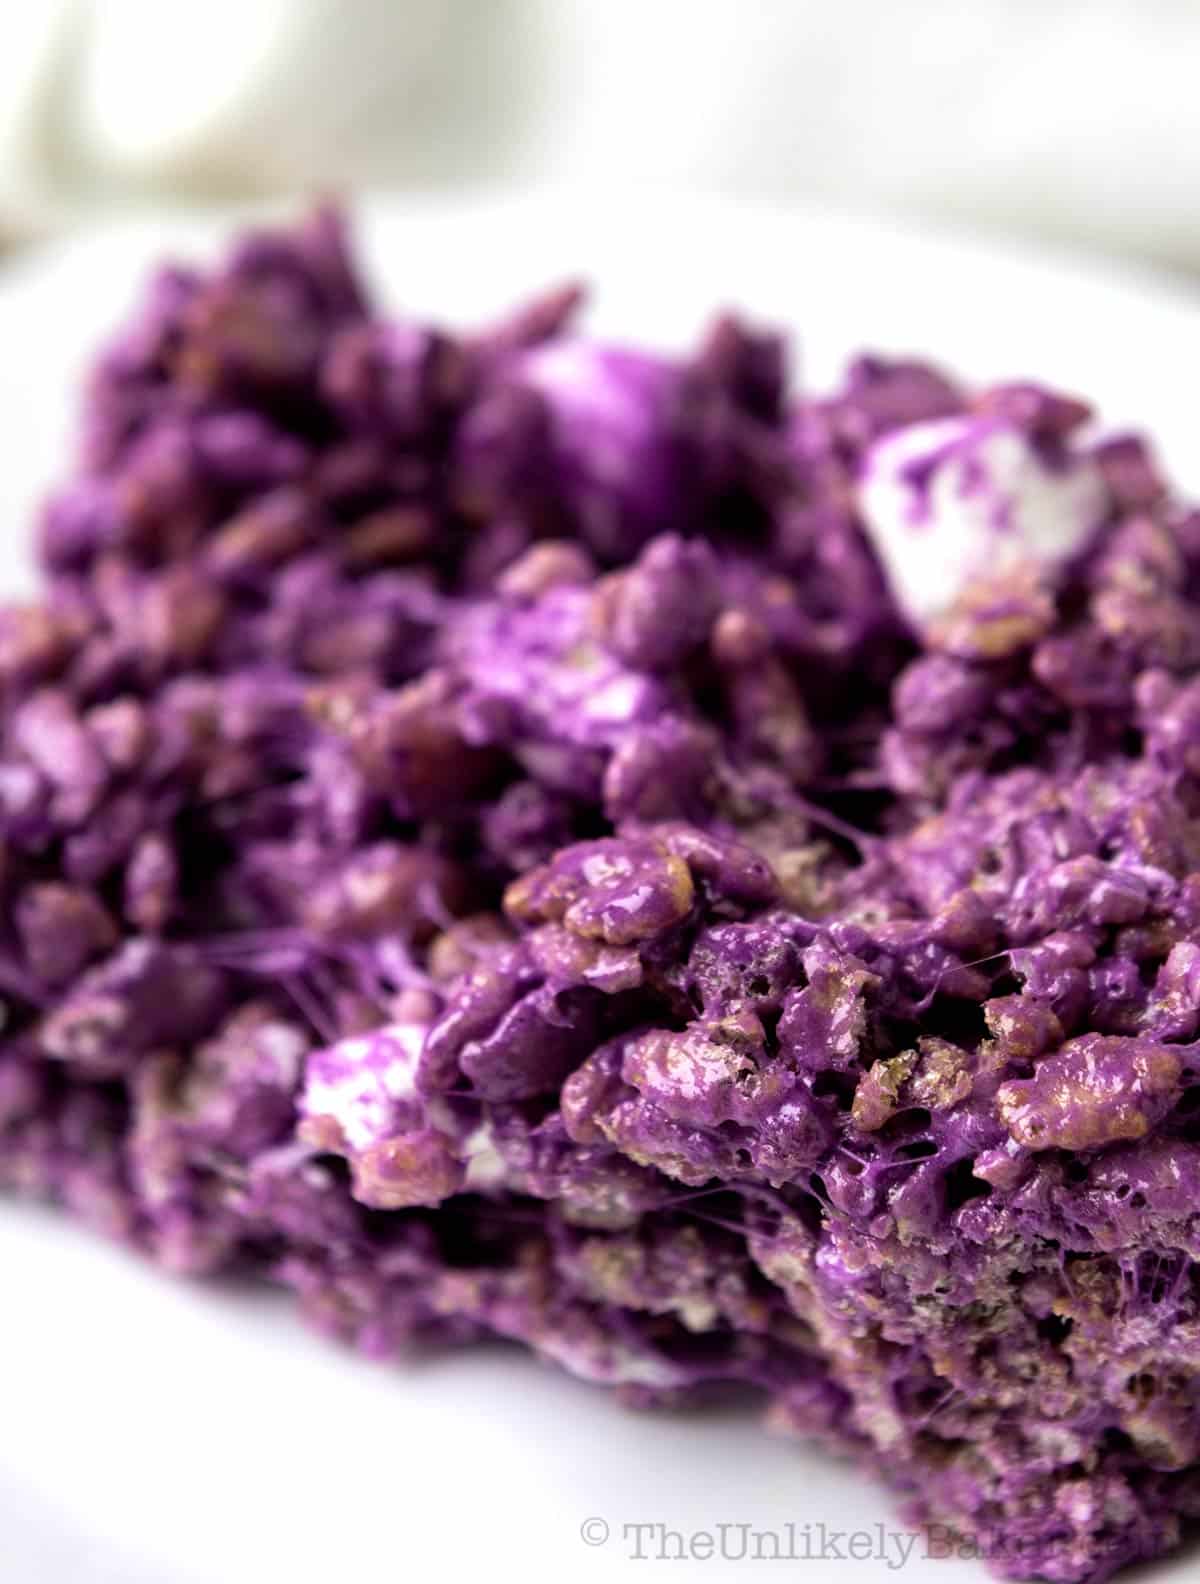
I love ube and I love incorporating it in different kinds of recipes.
I have tried and tested recipes for ube cake, ube roll cake, ube cheesecake and ube ice cream.
But I also enjoy making unique ube desserts like ube tarts, ube brownies and ube hand pies.
My parents insist on calling these rice krispie treats “puffed rice” or “popped rice” because it reminds them of a delicacy from their childhood but I don’t recall ever eating ube rice krispies when I was a kid.
So these definitely belong to my unique collection lol!
I love making (and eating) all kinds of rice krispie squares and this is definitely the best of the best.
They’re fun and easy to make too. Let’s get to it.
Why you’ll love making this recipe
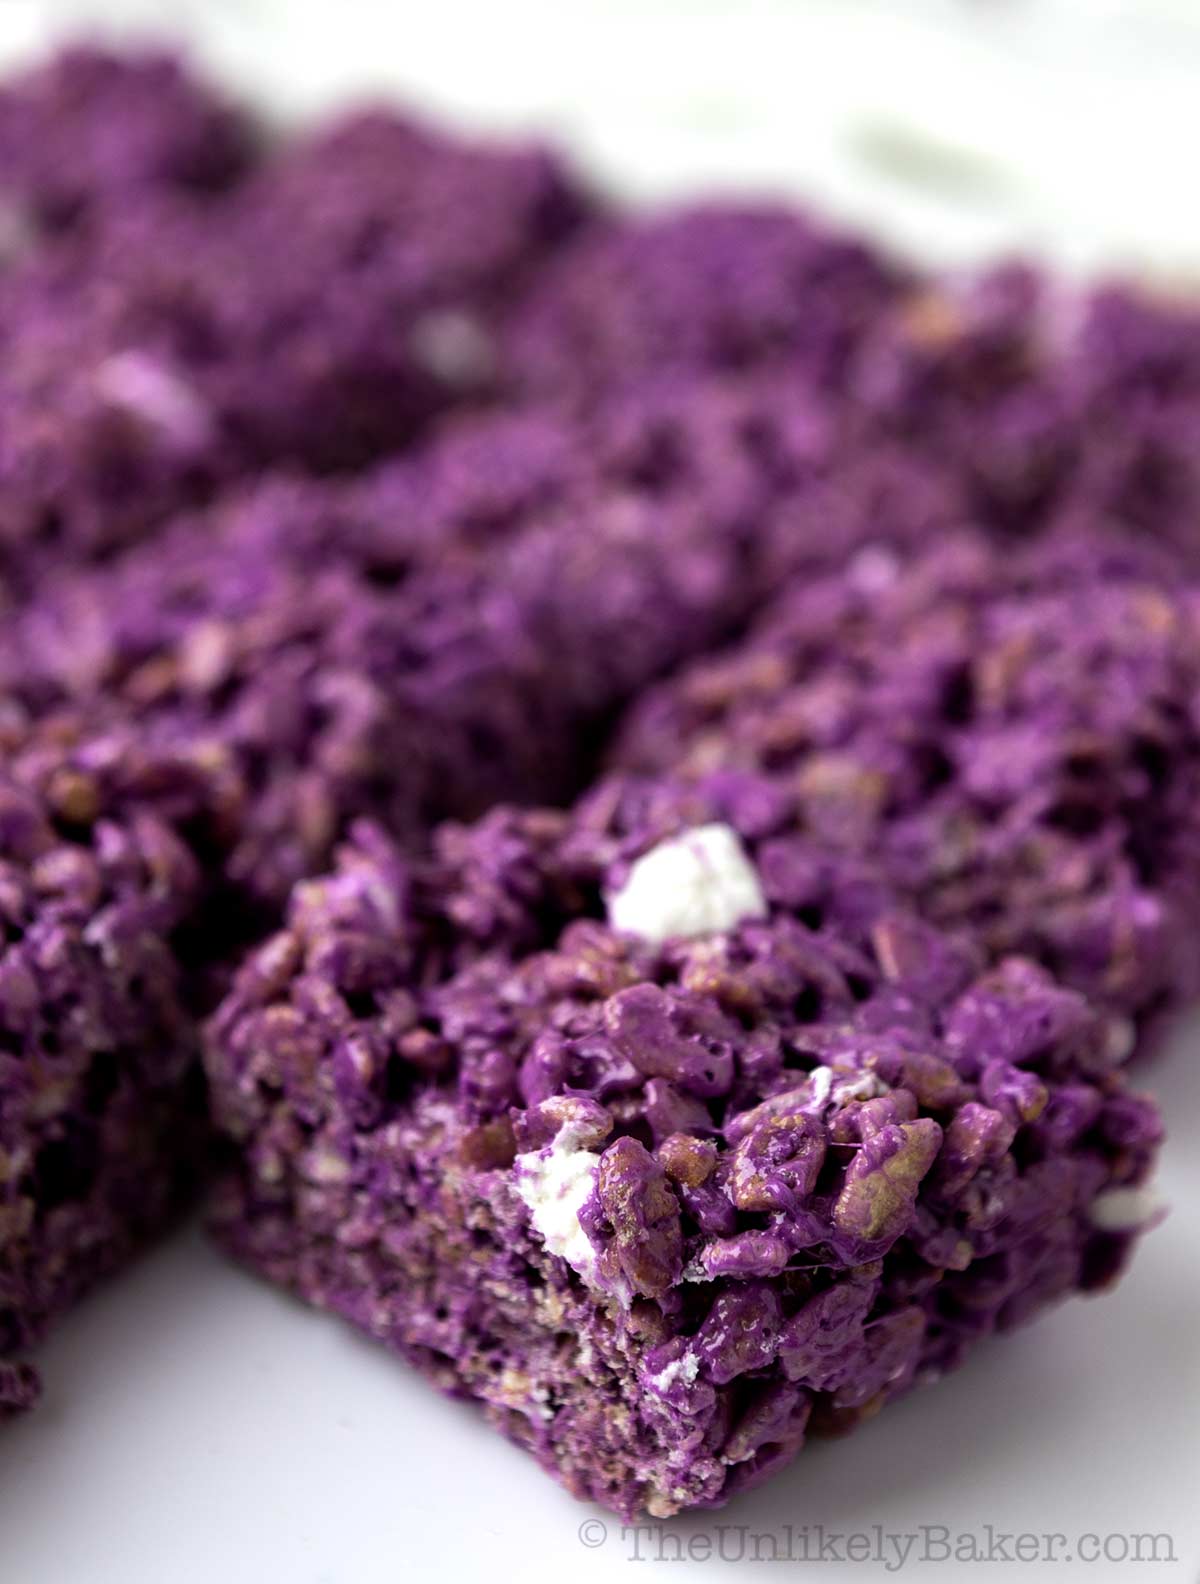
If you’ve made rice krispies before, then you know how easy it is to make them. Just melt, mix, set.
If this is your first time, you’ll love making them too because:
- Fool proof. The recipe is simple, easy and quick to make. It’s a 1-bowl recipe, plus, I give tips below on how to make the process that much easier.
- No bake. You don’t need the oven here. Some recipes use the stove but I like using the microwave for the added convenience.
- Fun. And it’s fun! Get the kids to help. Sticky, messy, purple. They will love it.
(Try these other fun recipes for the holidays: cake batter rice krispie treats, gingerbread rice krispie treats and pumpkin rice krispie treats.)
How to make
Ingredient notes
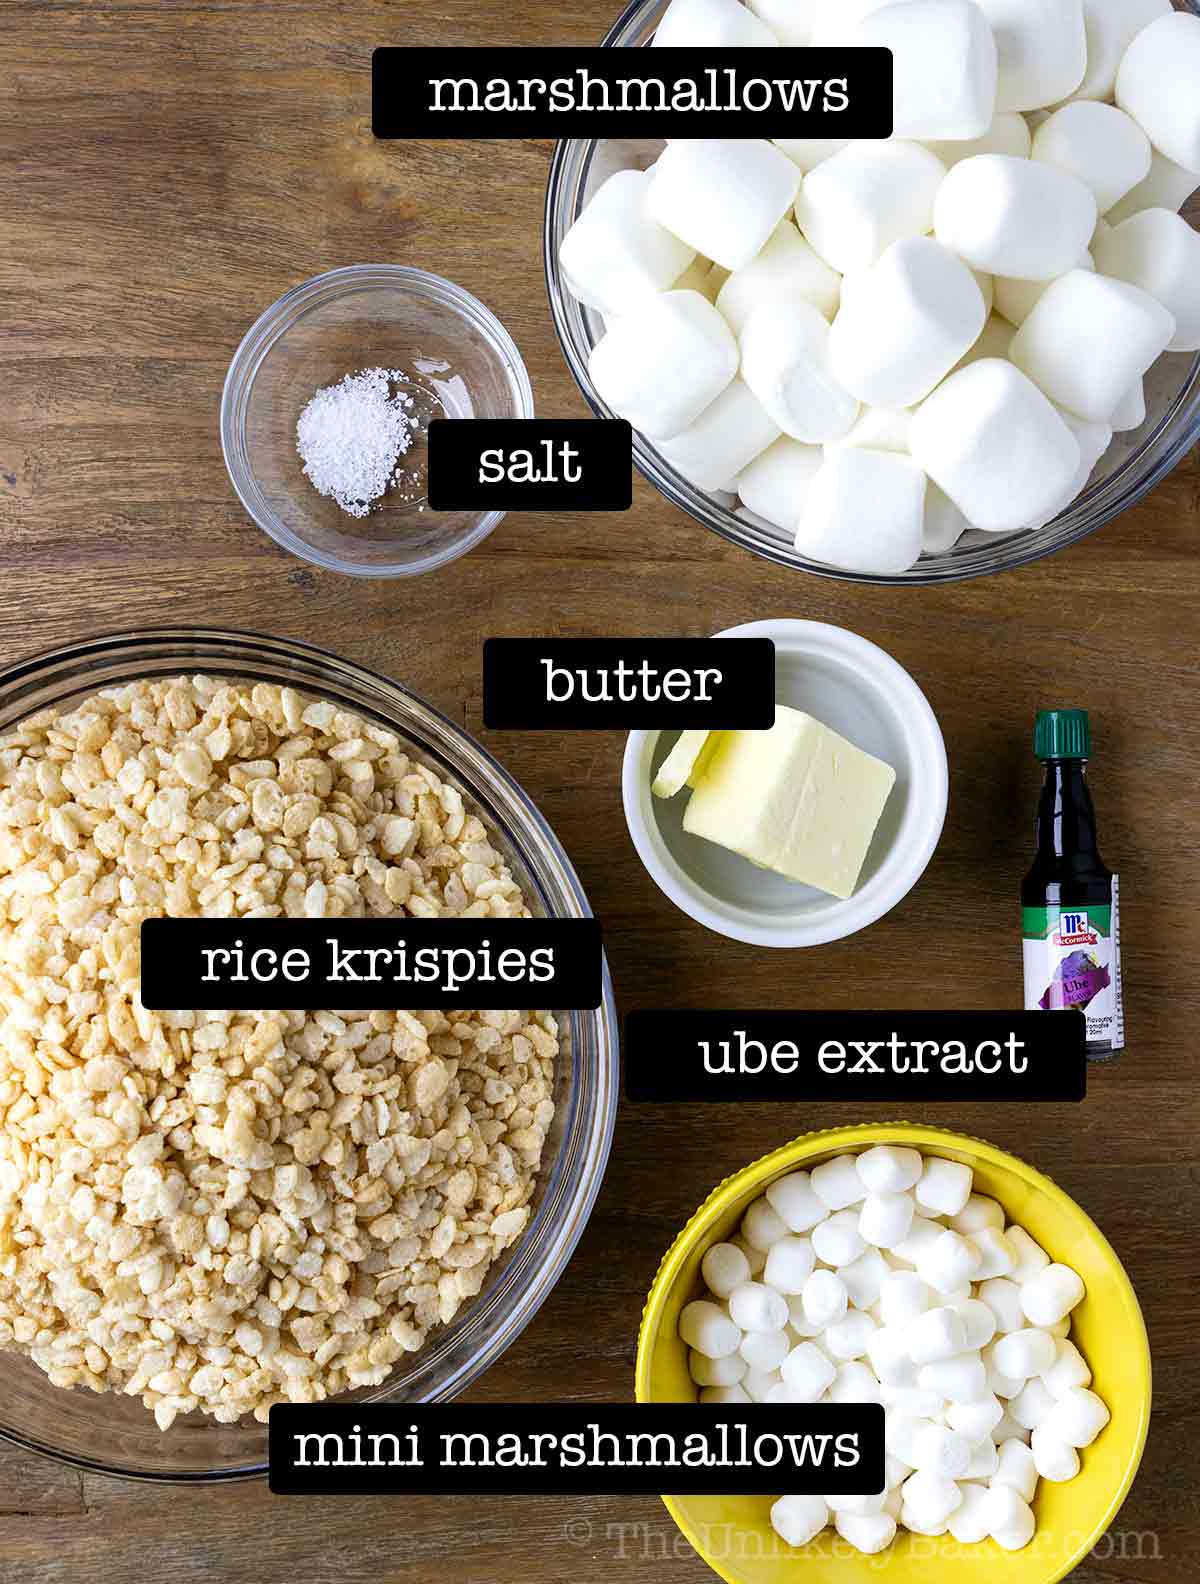
You’ll need just 6 ingredients to make this recipe. A few things to note:
- Butter — I use unsalted butter here. If you only have salted butter, that’s fine too. Just omit the added salt in the recipe.
- Large or jumbo marshmallows — I use large marshmallows to make the squares mostly because that’s what we always have on hand for when we want to make s’mores. You can use regular-sized or mini marshmallows if you like, just make sure to use the same amount (400g or 14oz).
- Rice Krispies cereal — Rice Krispies is a brand of cereal. If there’s a generic or store-brand equivalent that’s available, you can use those too.
- Ube extract — you can buy ube extract from an Asian supermarket or Amazon. I always use the McCormick brand.
(Got mini marshmallows? Make a batch of these amazing chocolate chip marshmallow cookies!)
Tools you’ll need
As far as tools go, you’ll need a 9×13 inch baking dish or baking pan.
I like using a baking dish instead of a pan because I find the krispies easier to remove and the dish easier to clean.
You’ll also need bowls, mixing spoons and a baking or cooking spray, like PAM.
Instructions
Thoroughly grease a 9×13 inch baking dish and set aside.
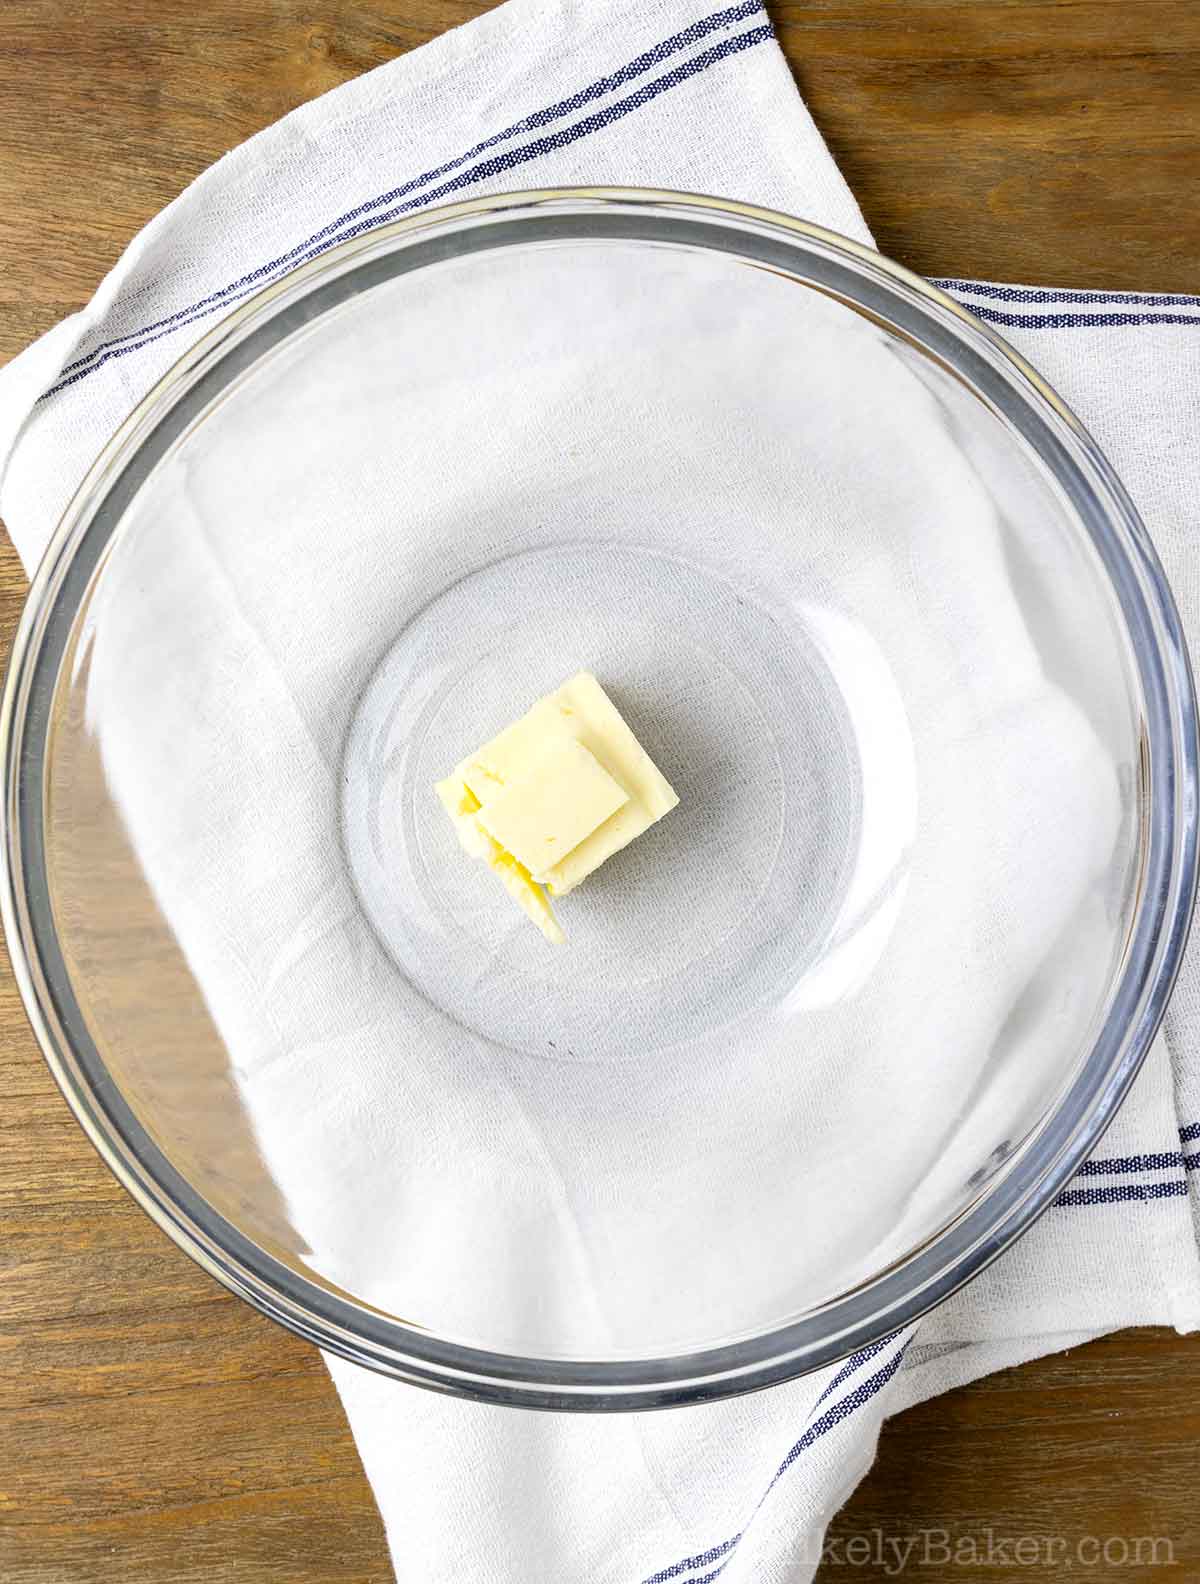
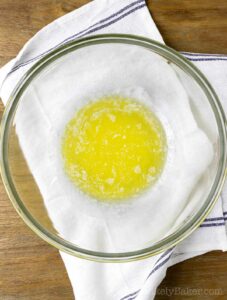
In a large bowl, melt butter for 1 minute on high.
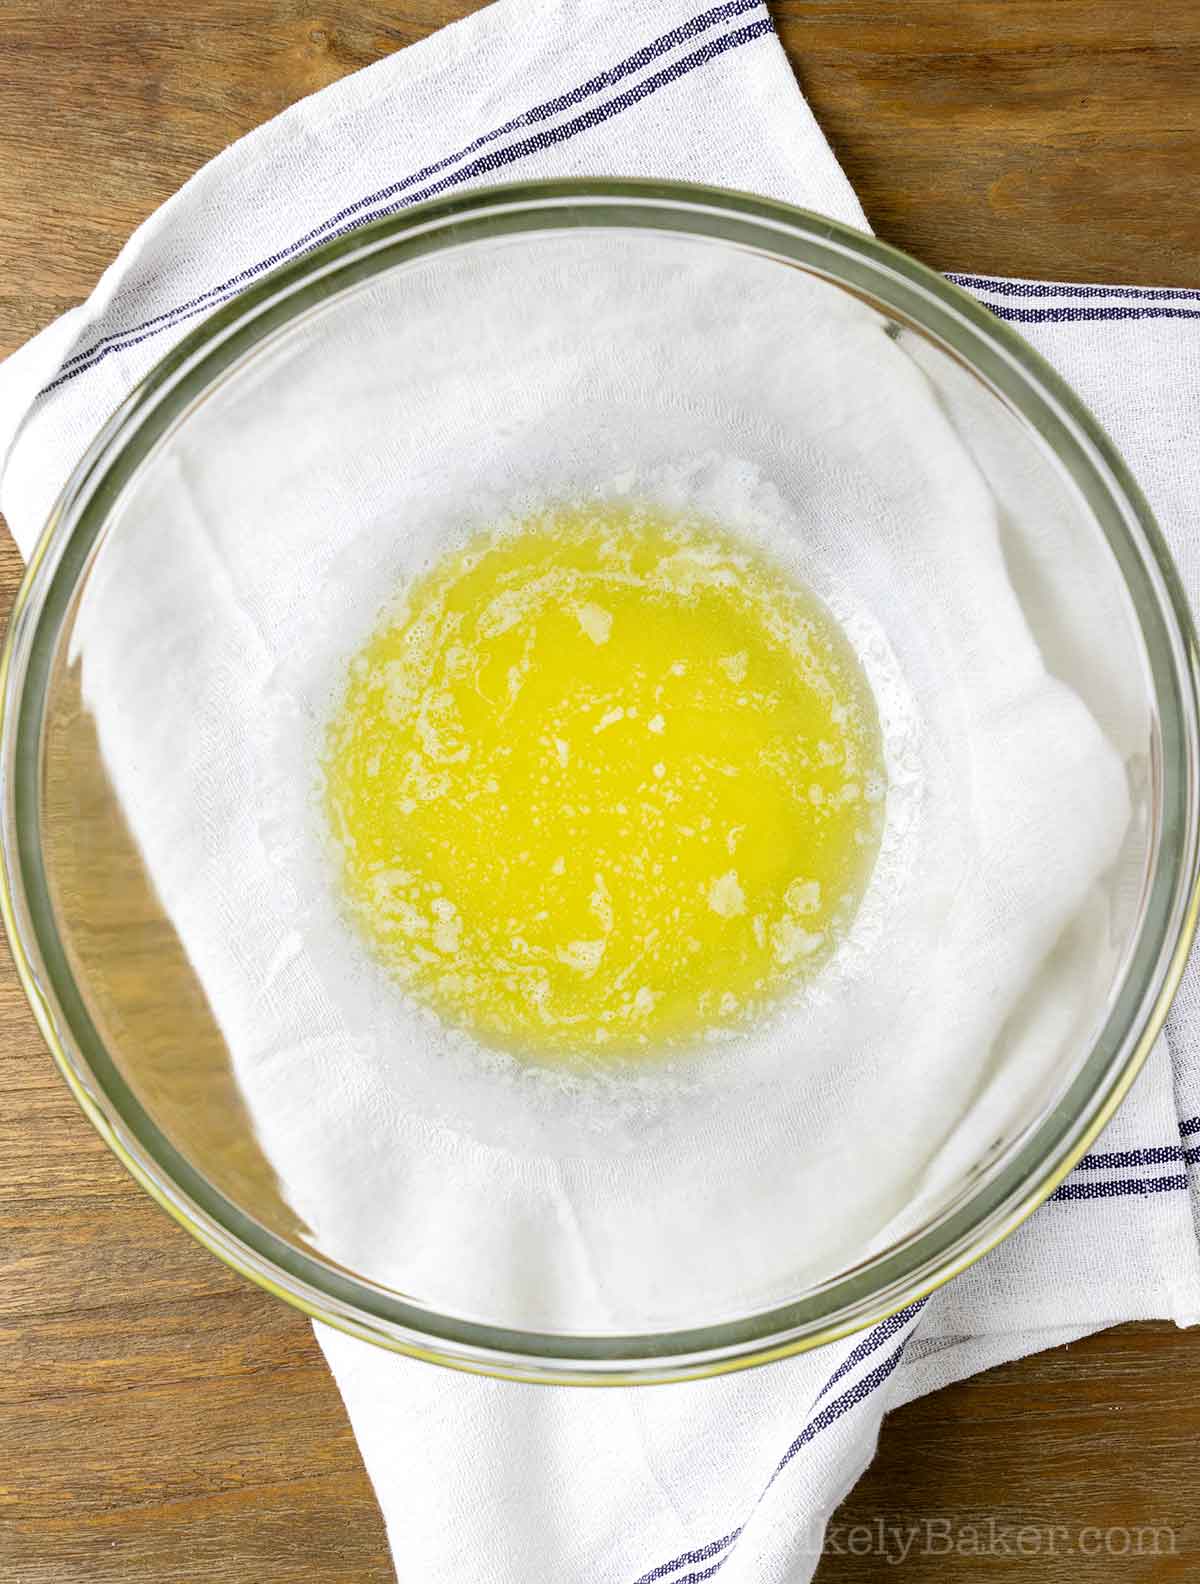
Continue to heat in 10 second increments until fully melted.
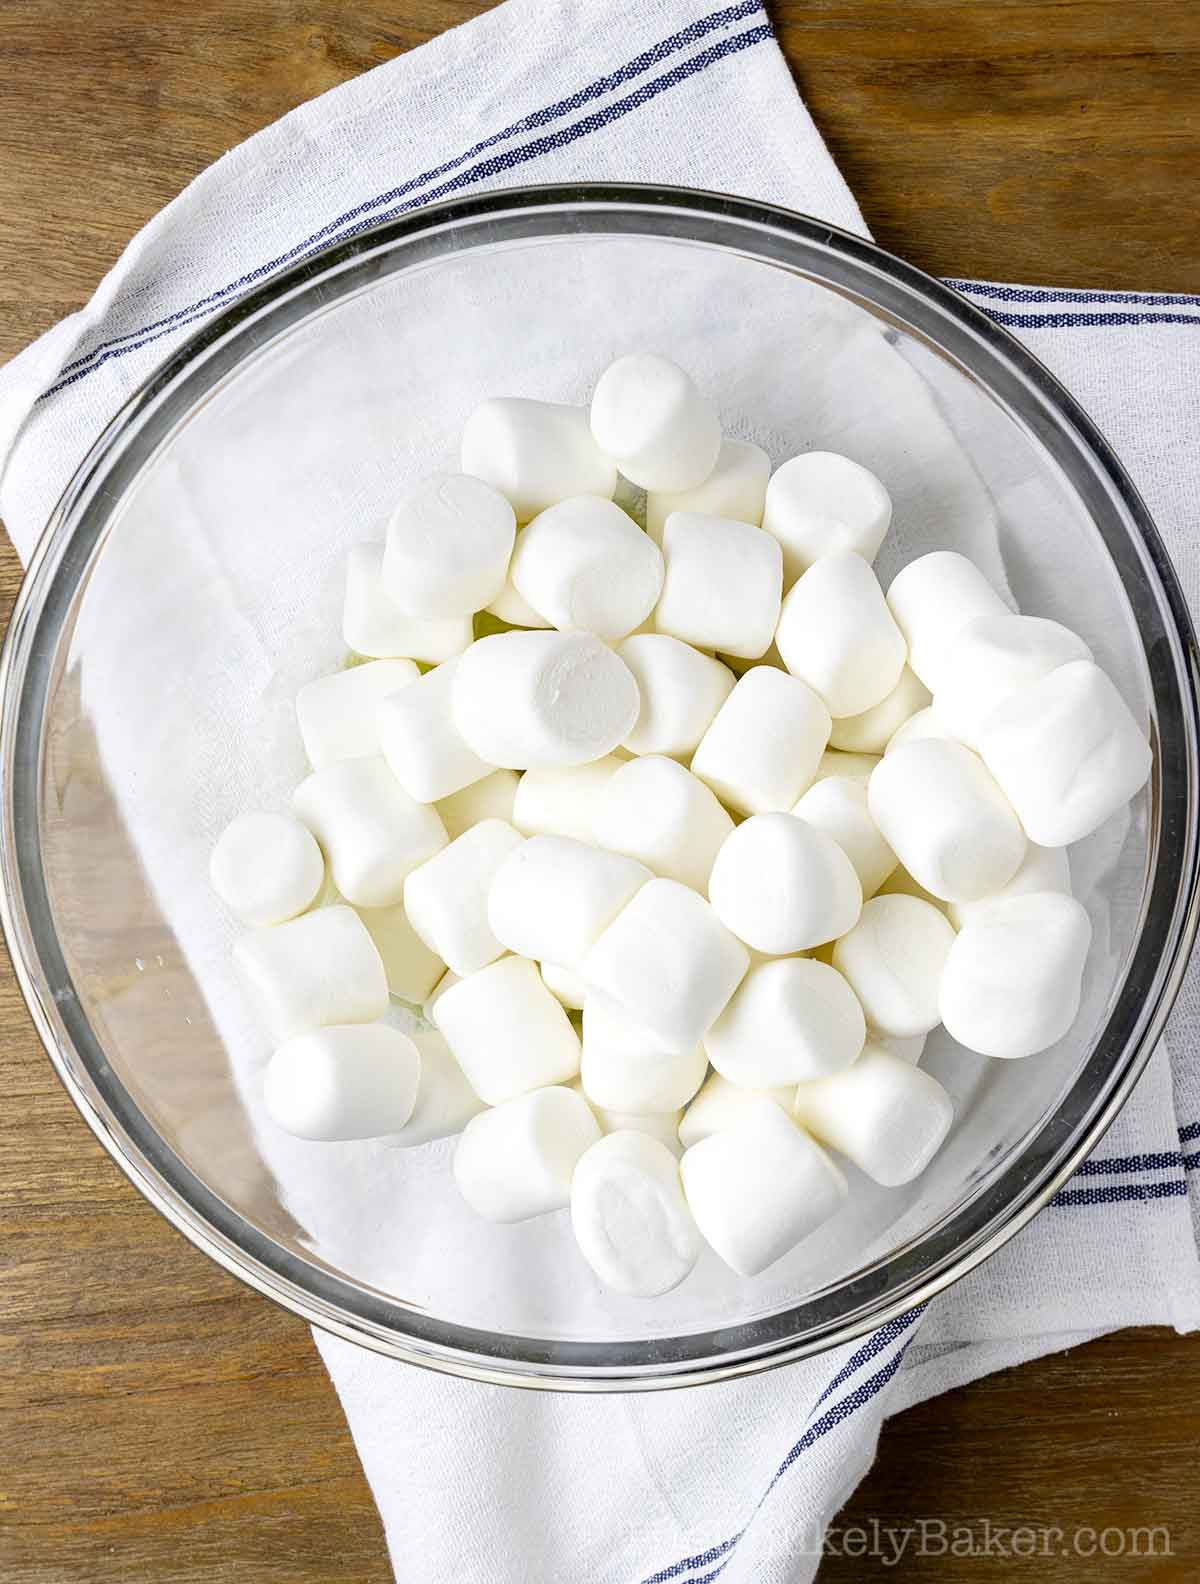
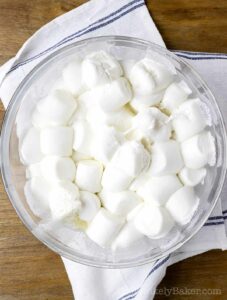
Add marshmallows and microwave on high for 2 minutes or until the marshmallows become very, very soft (but not completely melted).
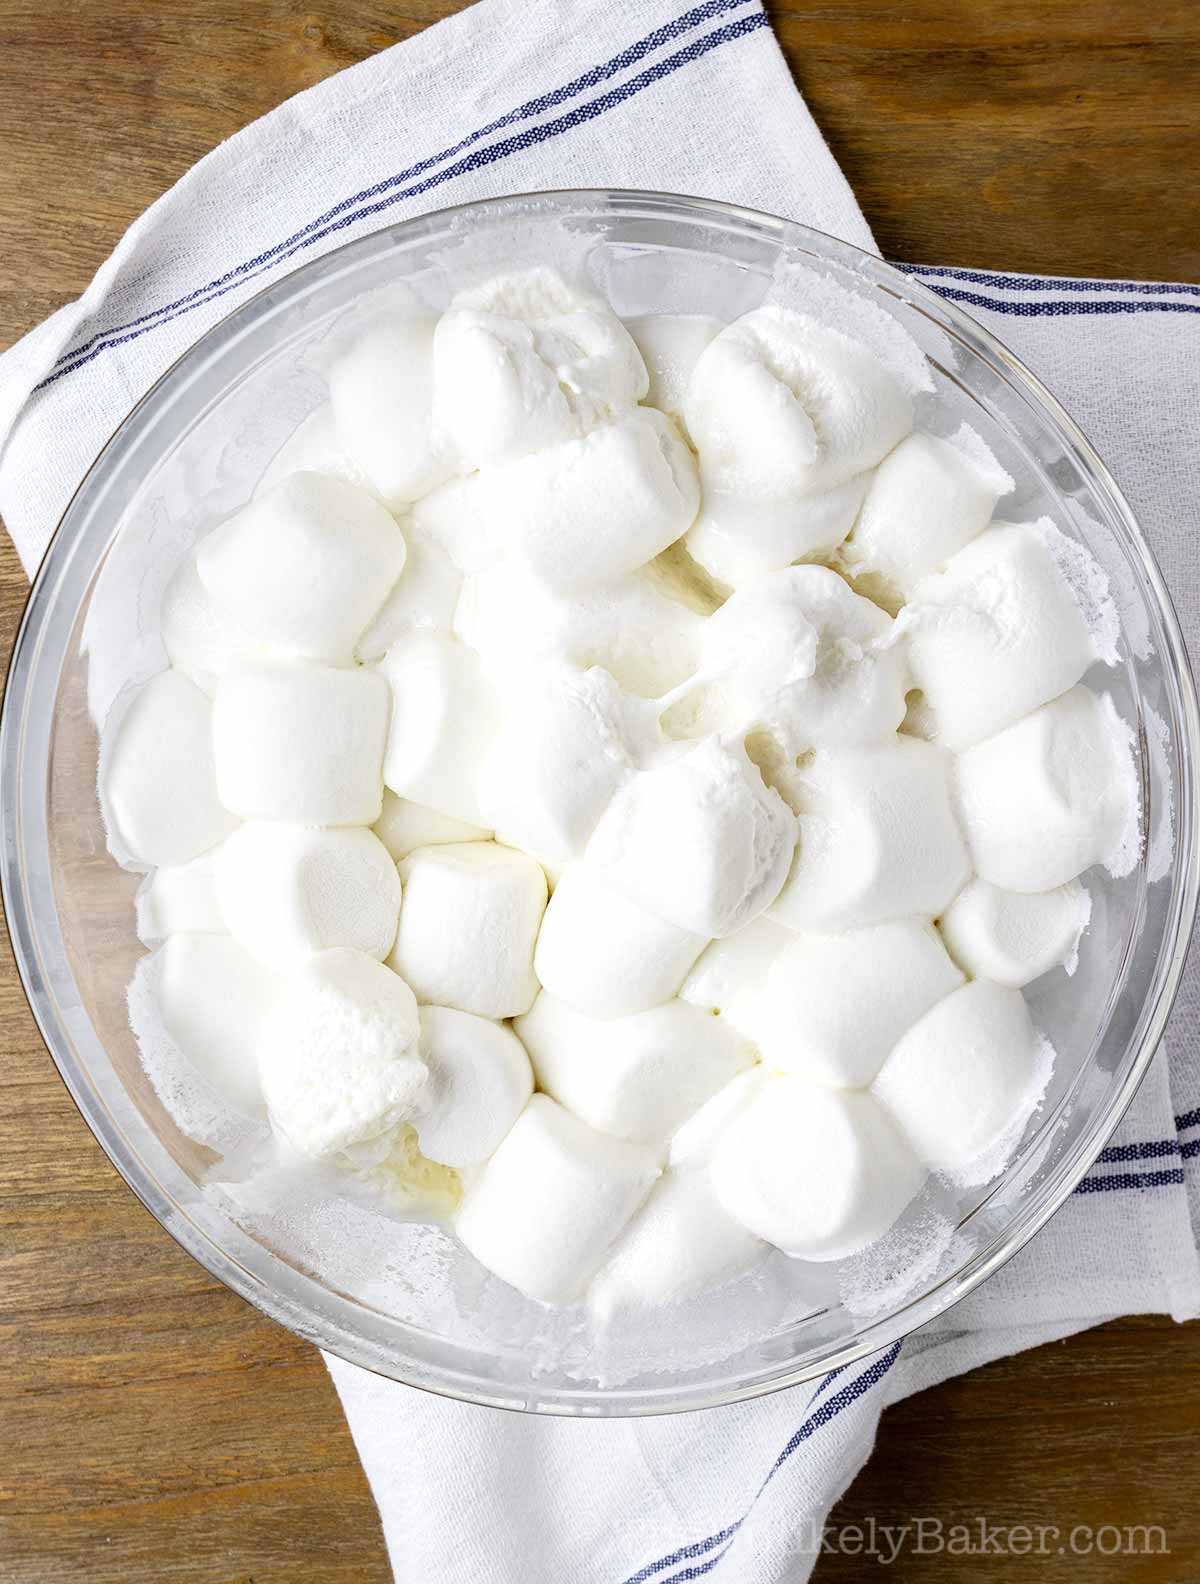
Watch carefully — the marshmallows will puff up. And watch that the bottom of your bowl doesn’t get too hot. After 2 minutes and you think they need to be heated more, do so in 10 second increments.
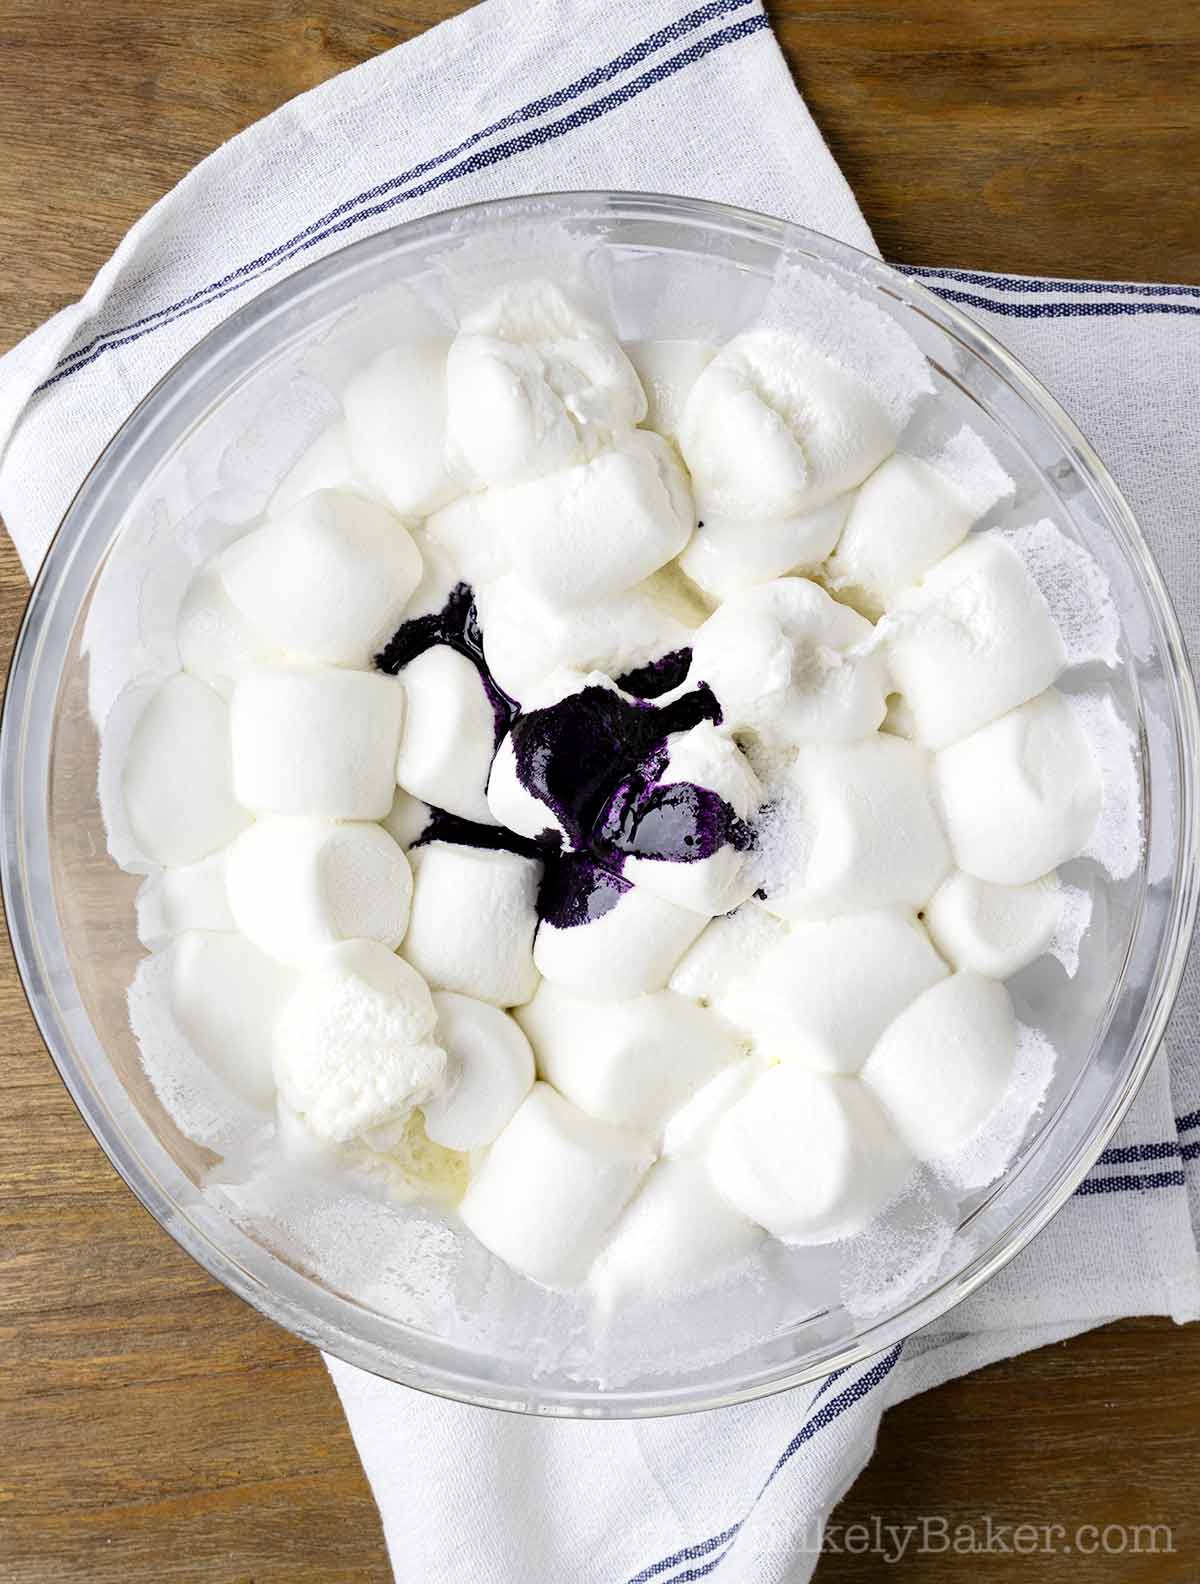
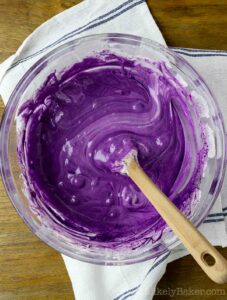
Add ube extract and salt.
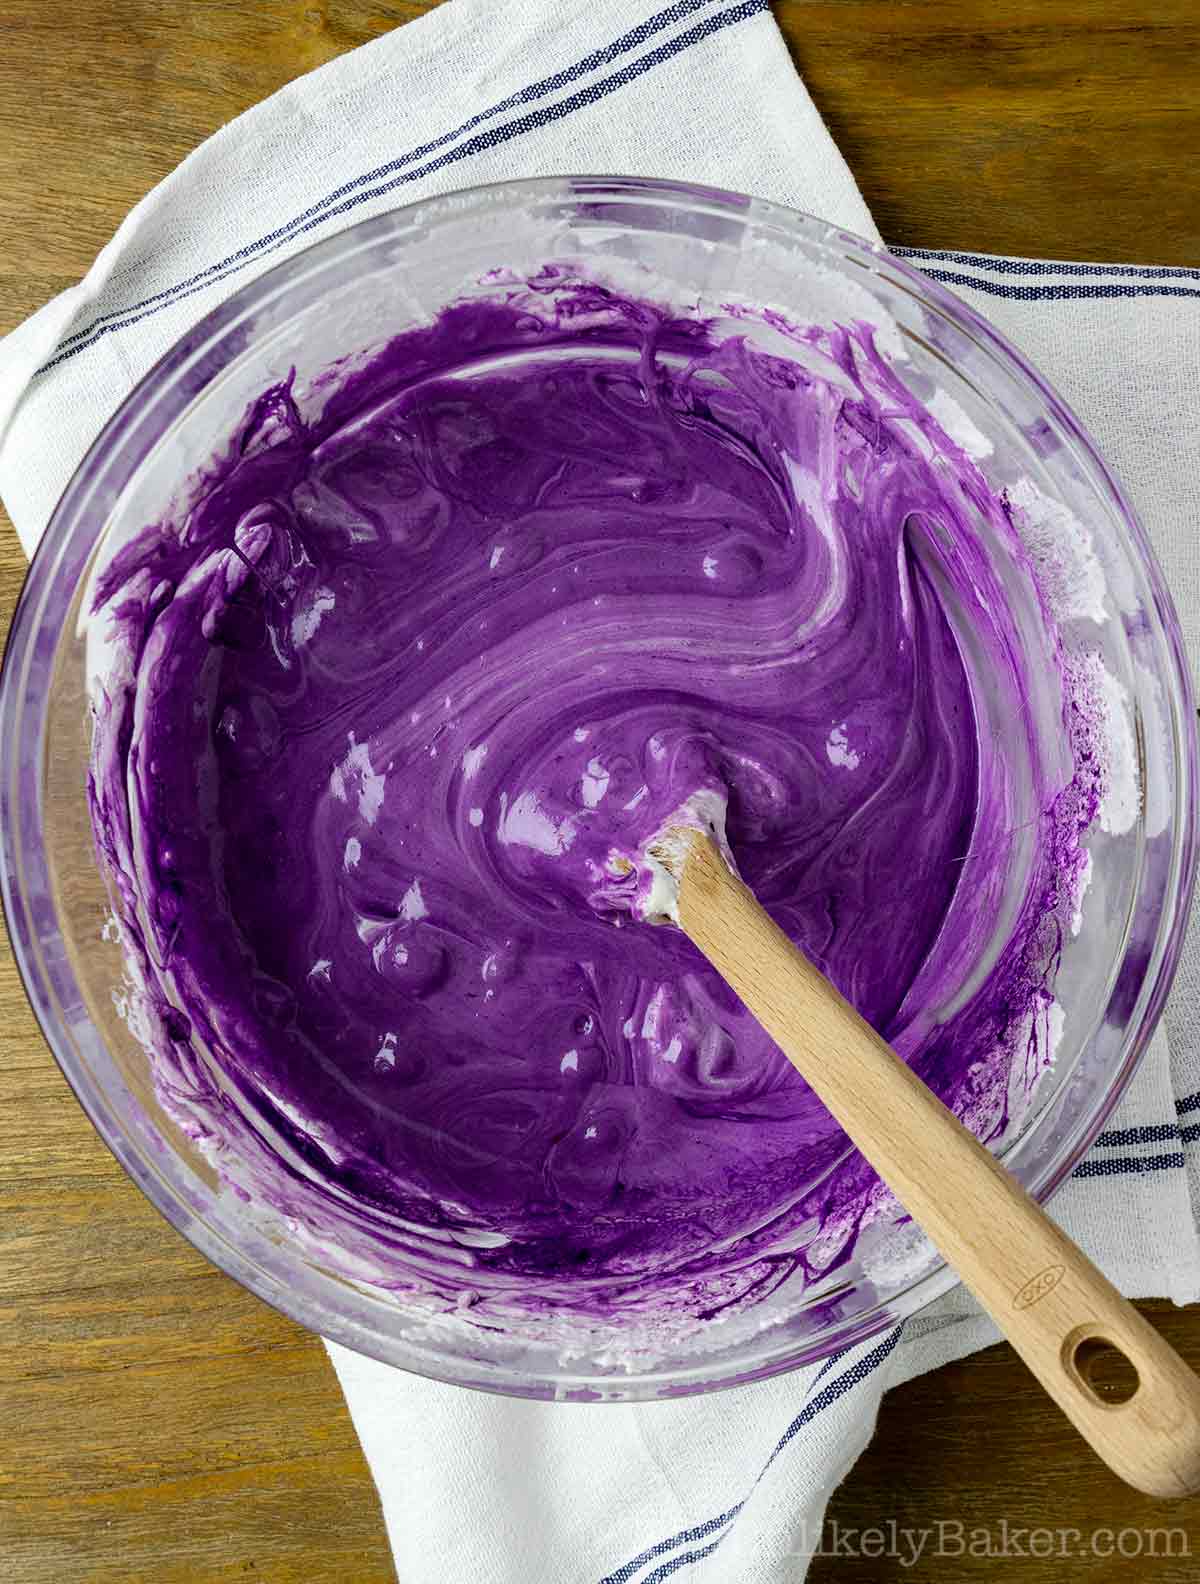
Stir until fully melted, smooth and incorporated.
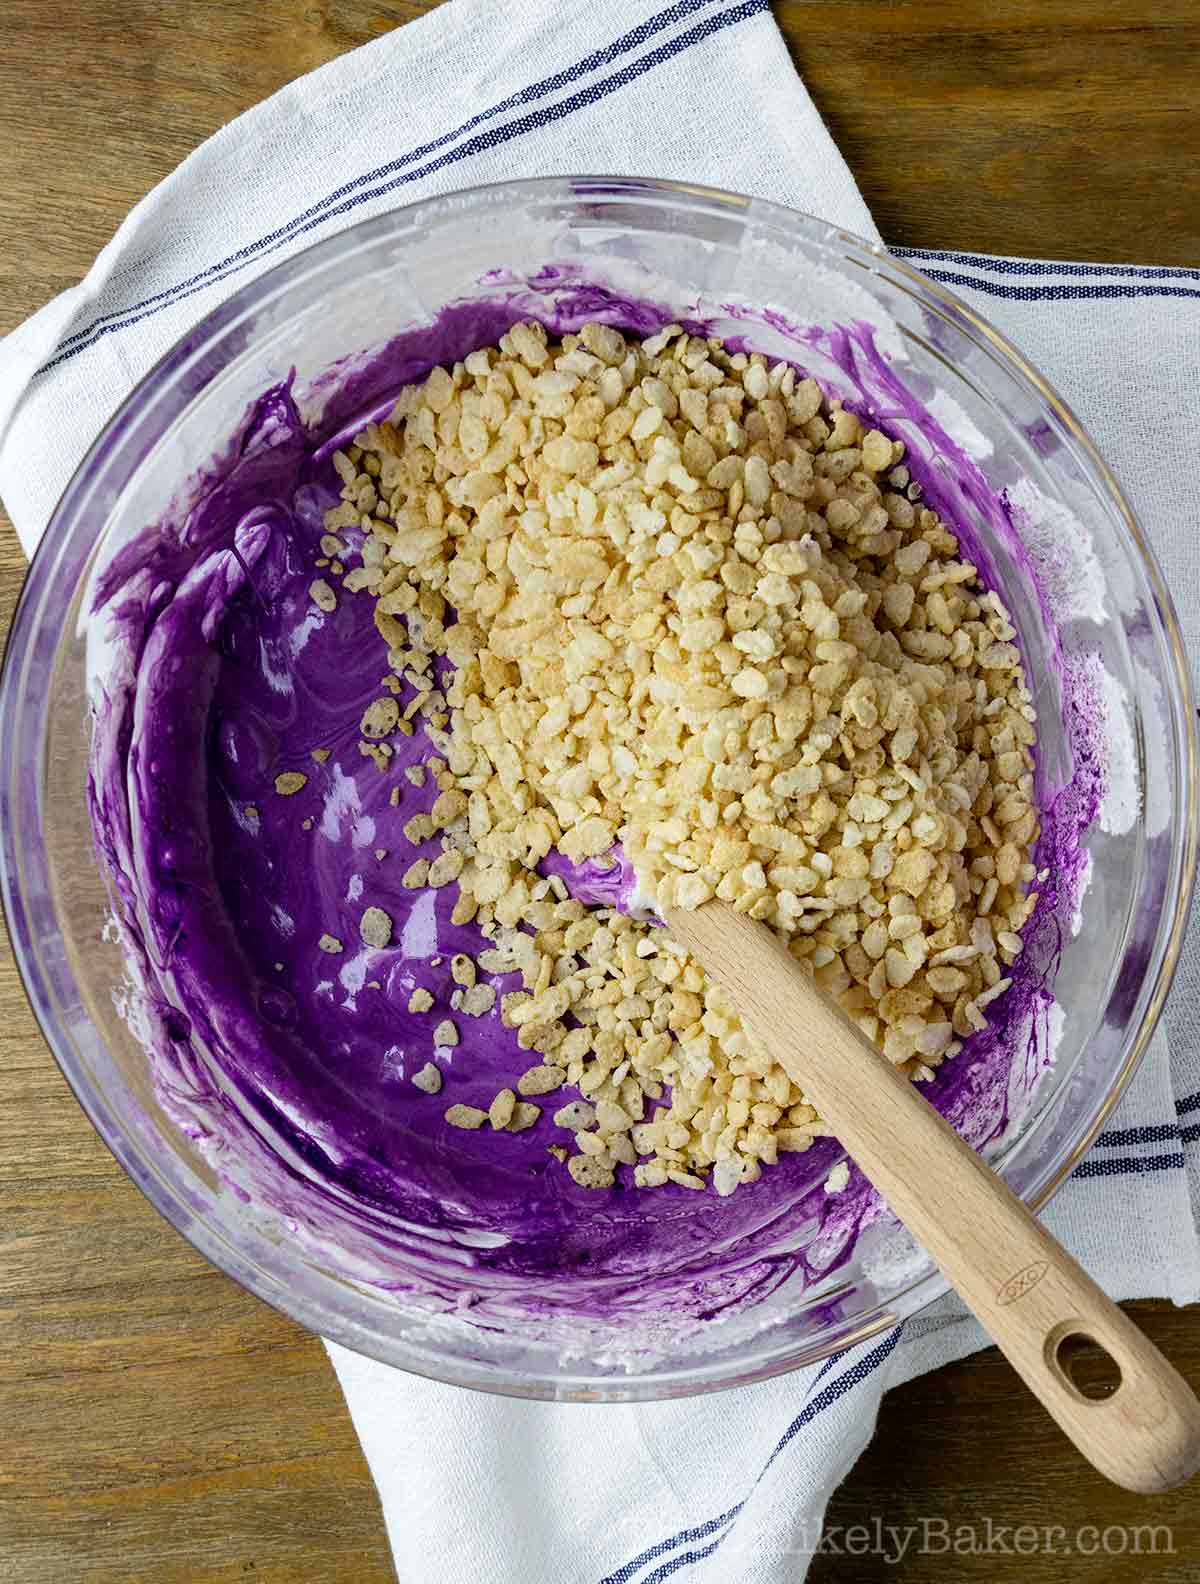
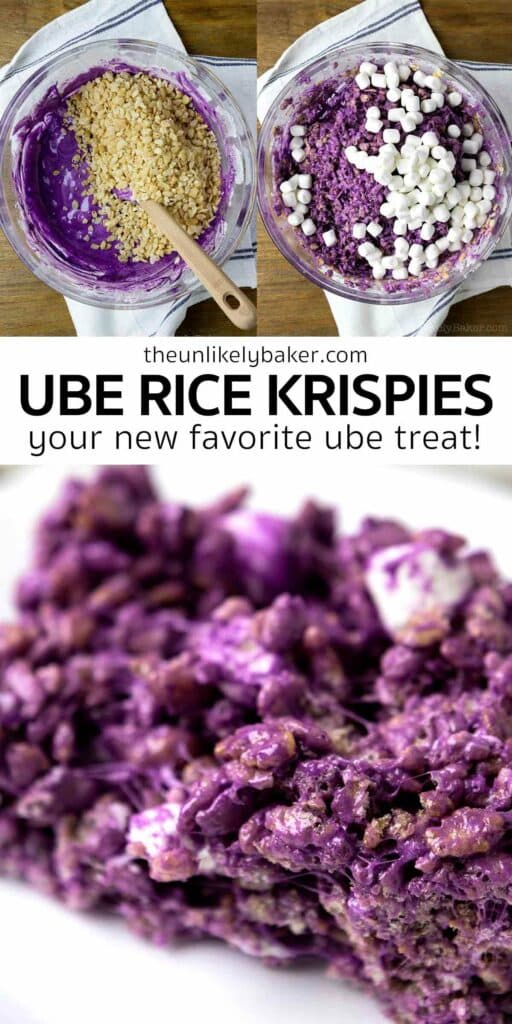
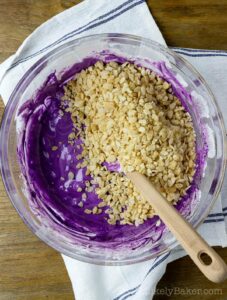
Add rice krispies about 2 cups at a time.
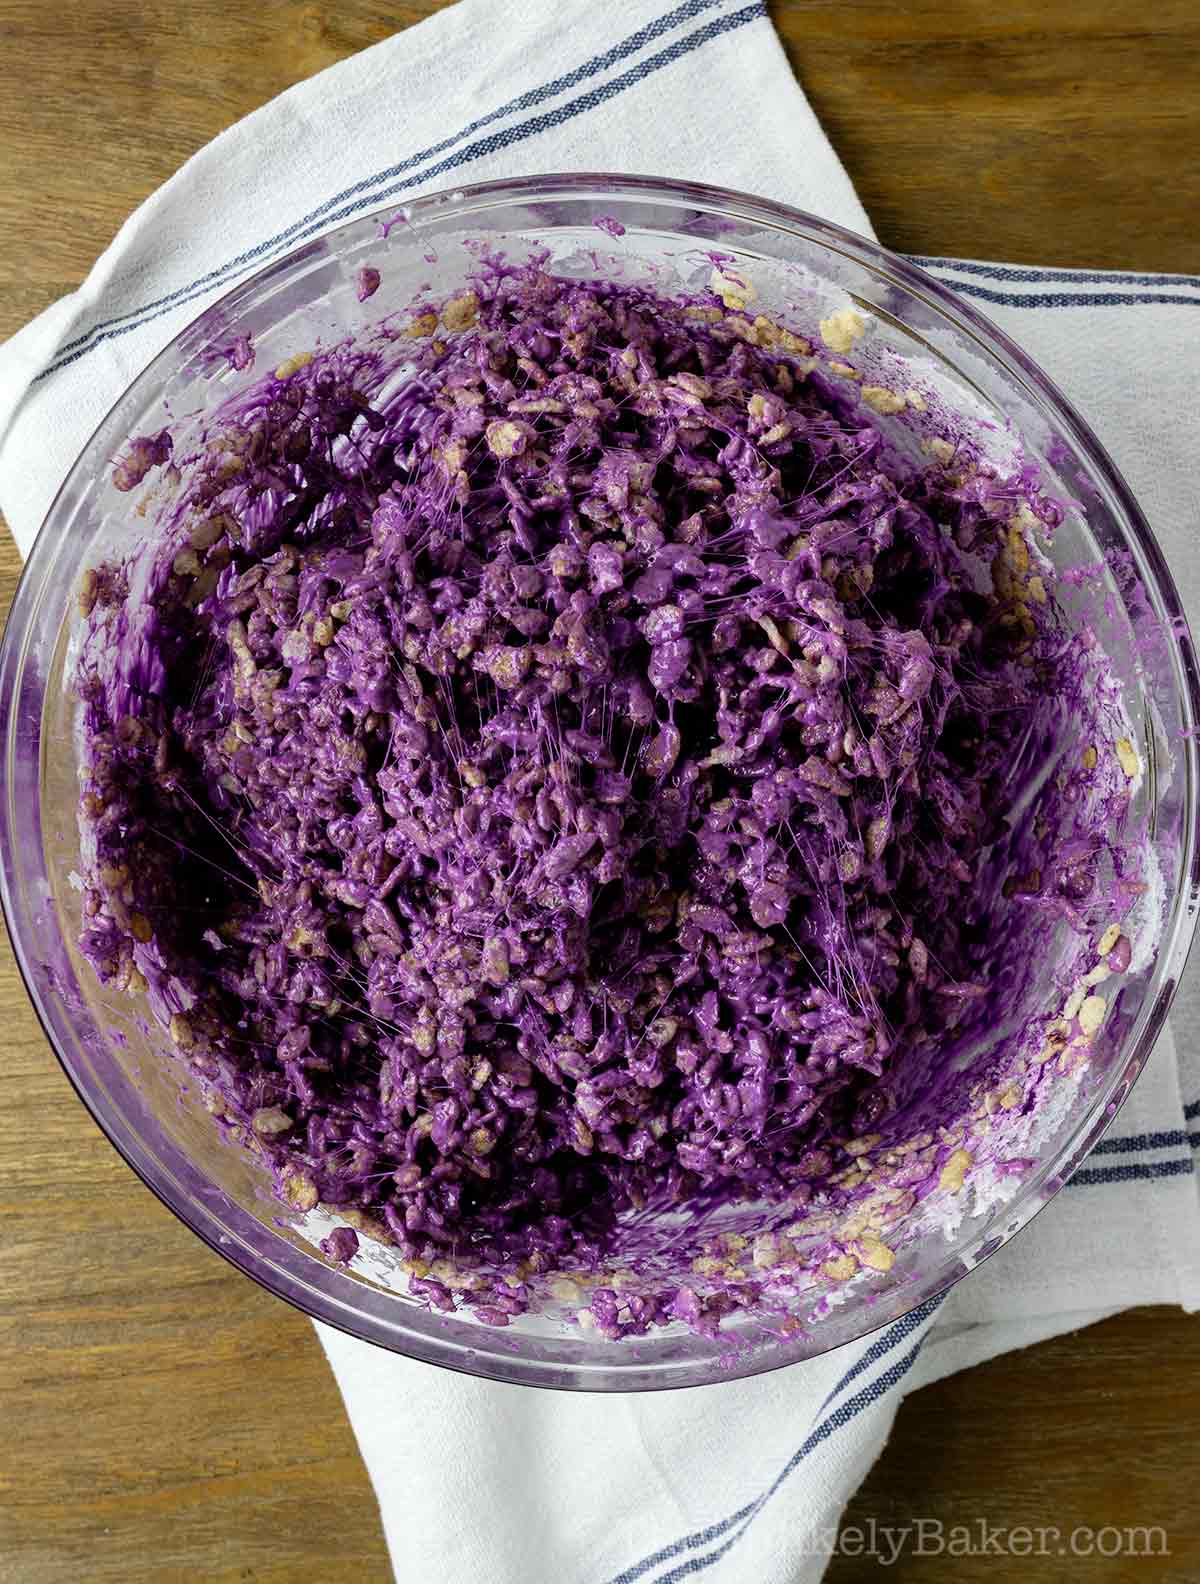
Stir until evenly blended.
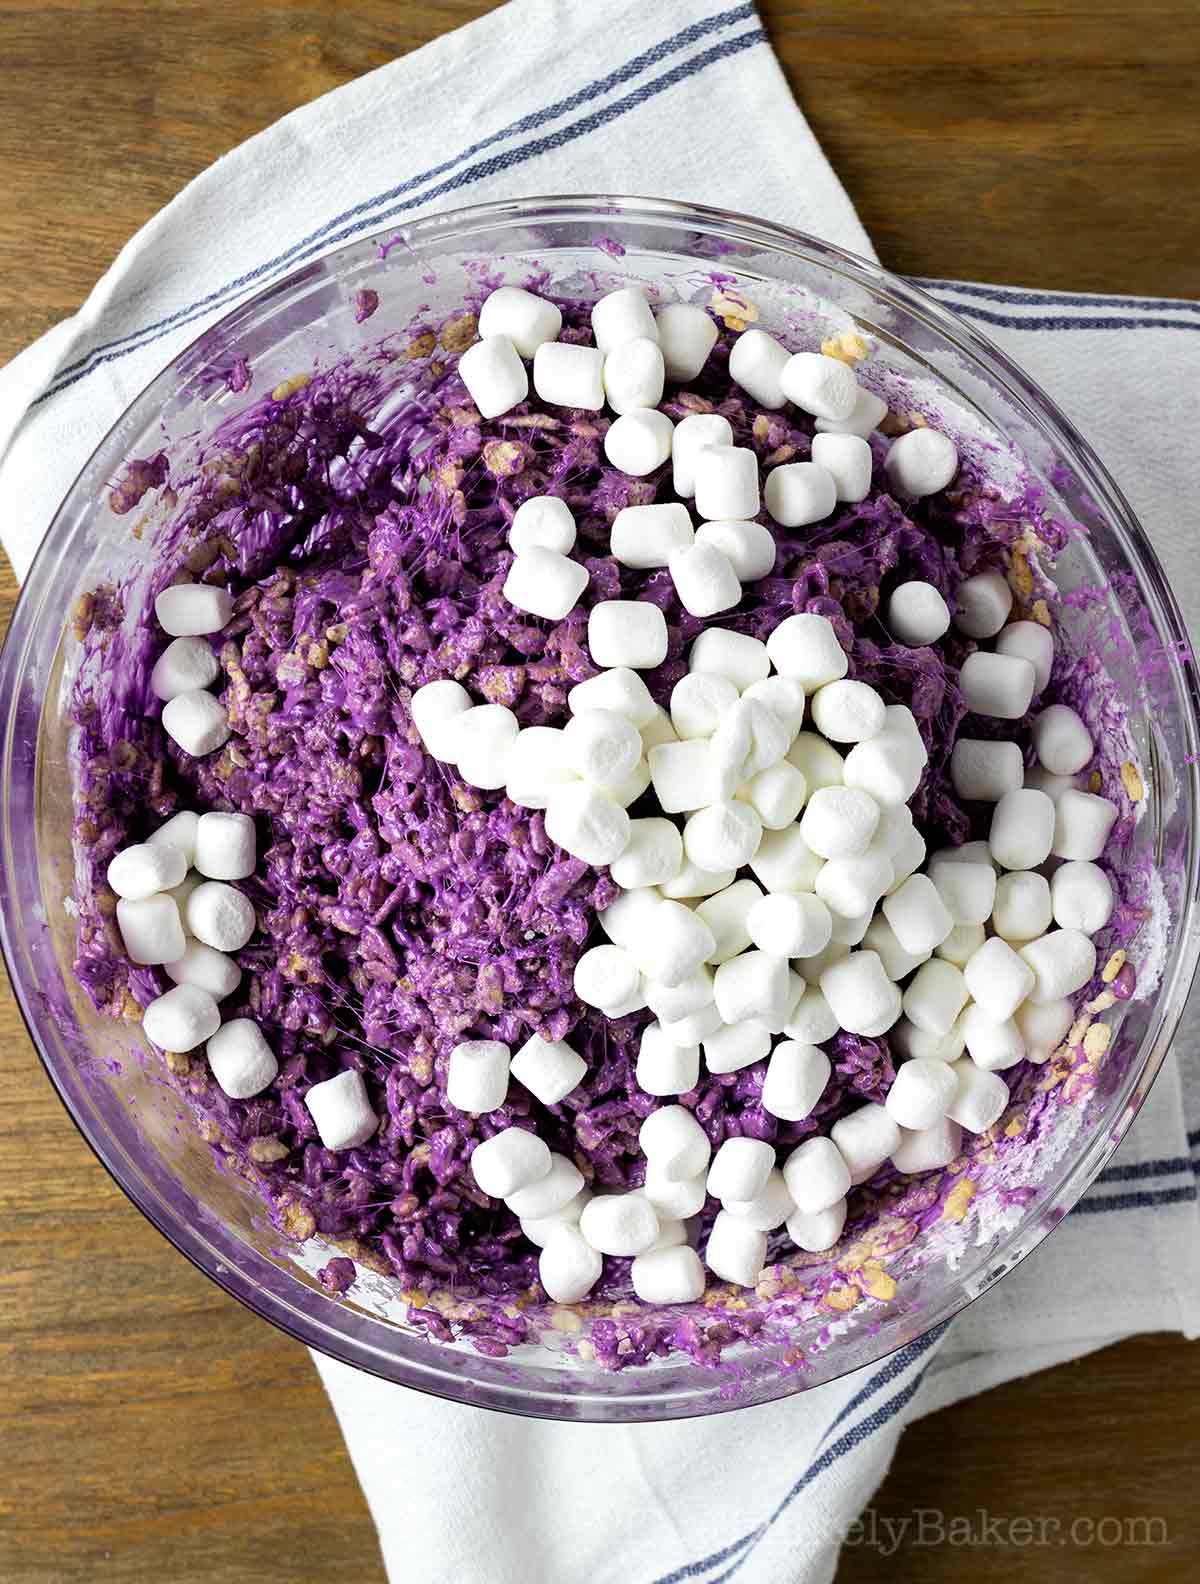
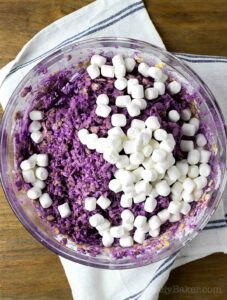
Add mini marshmallows.
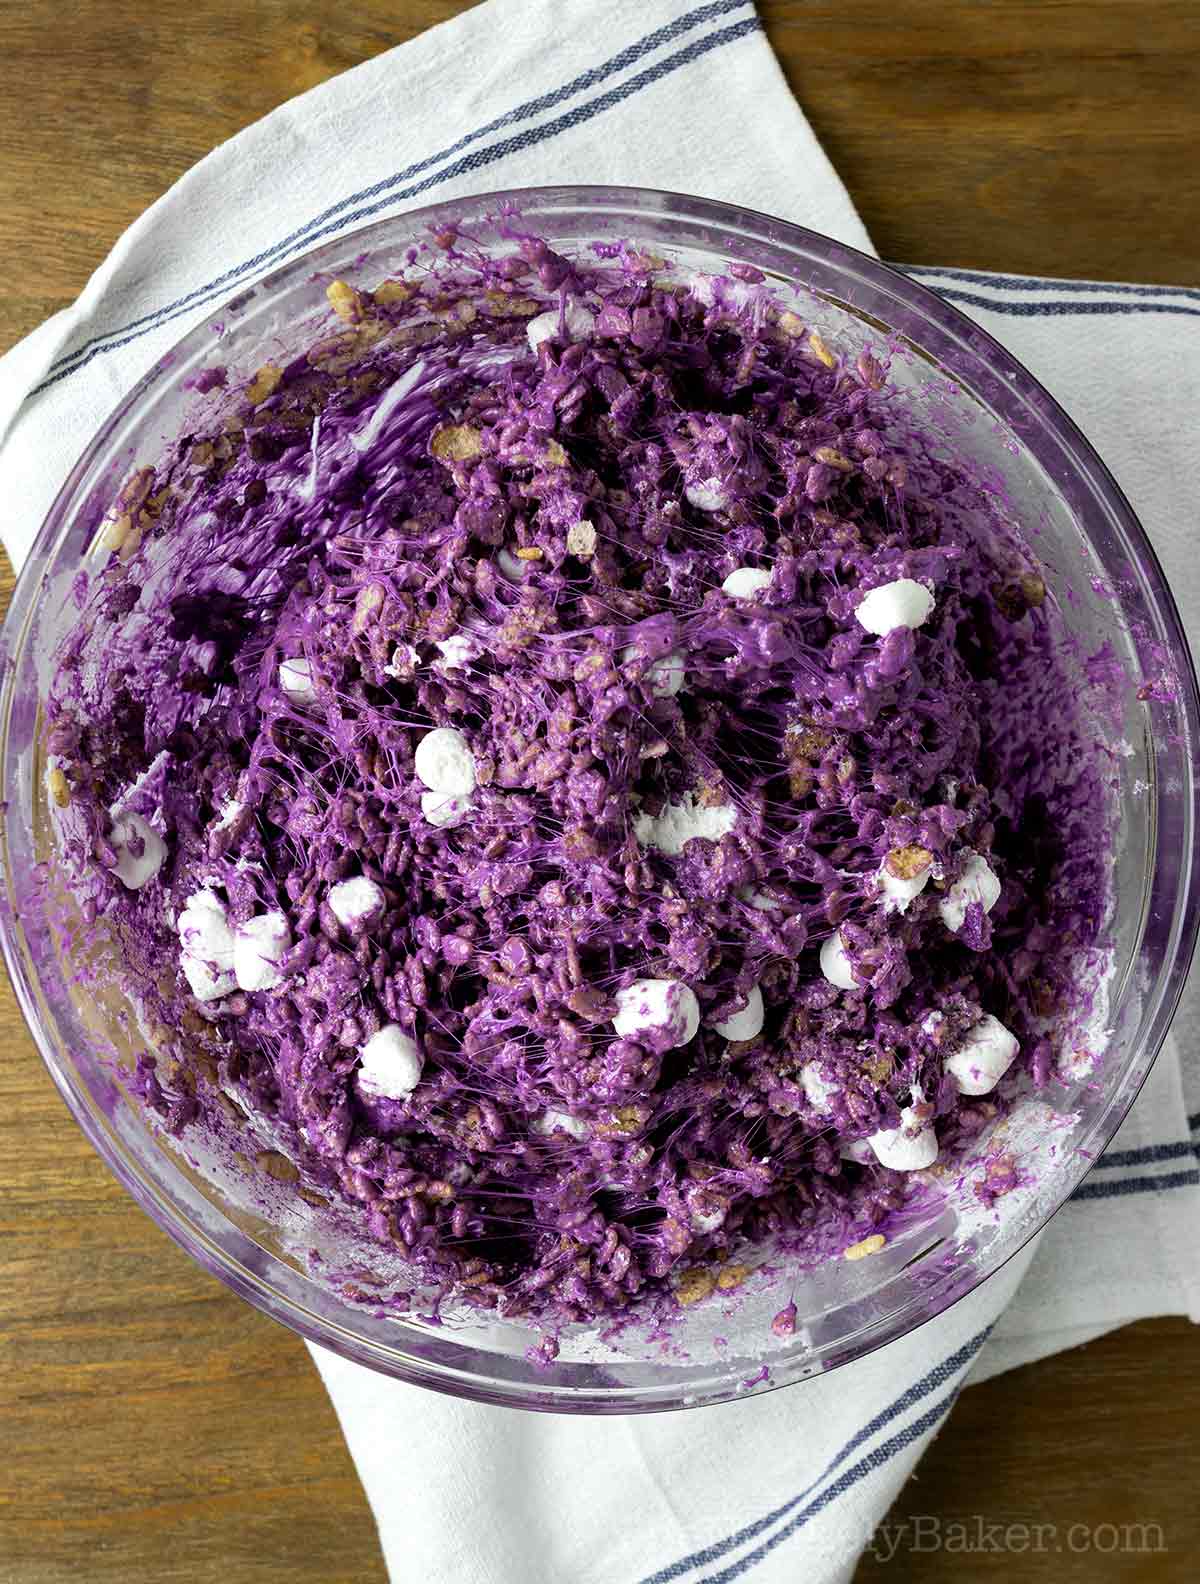
Stir to combine.
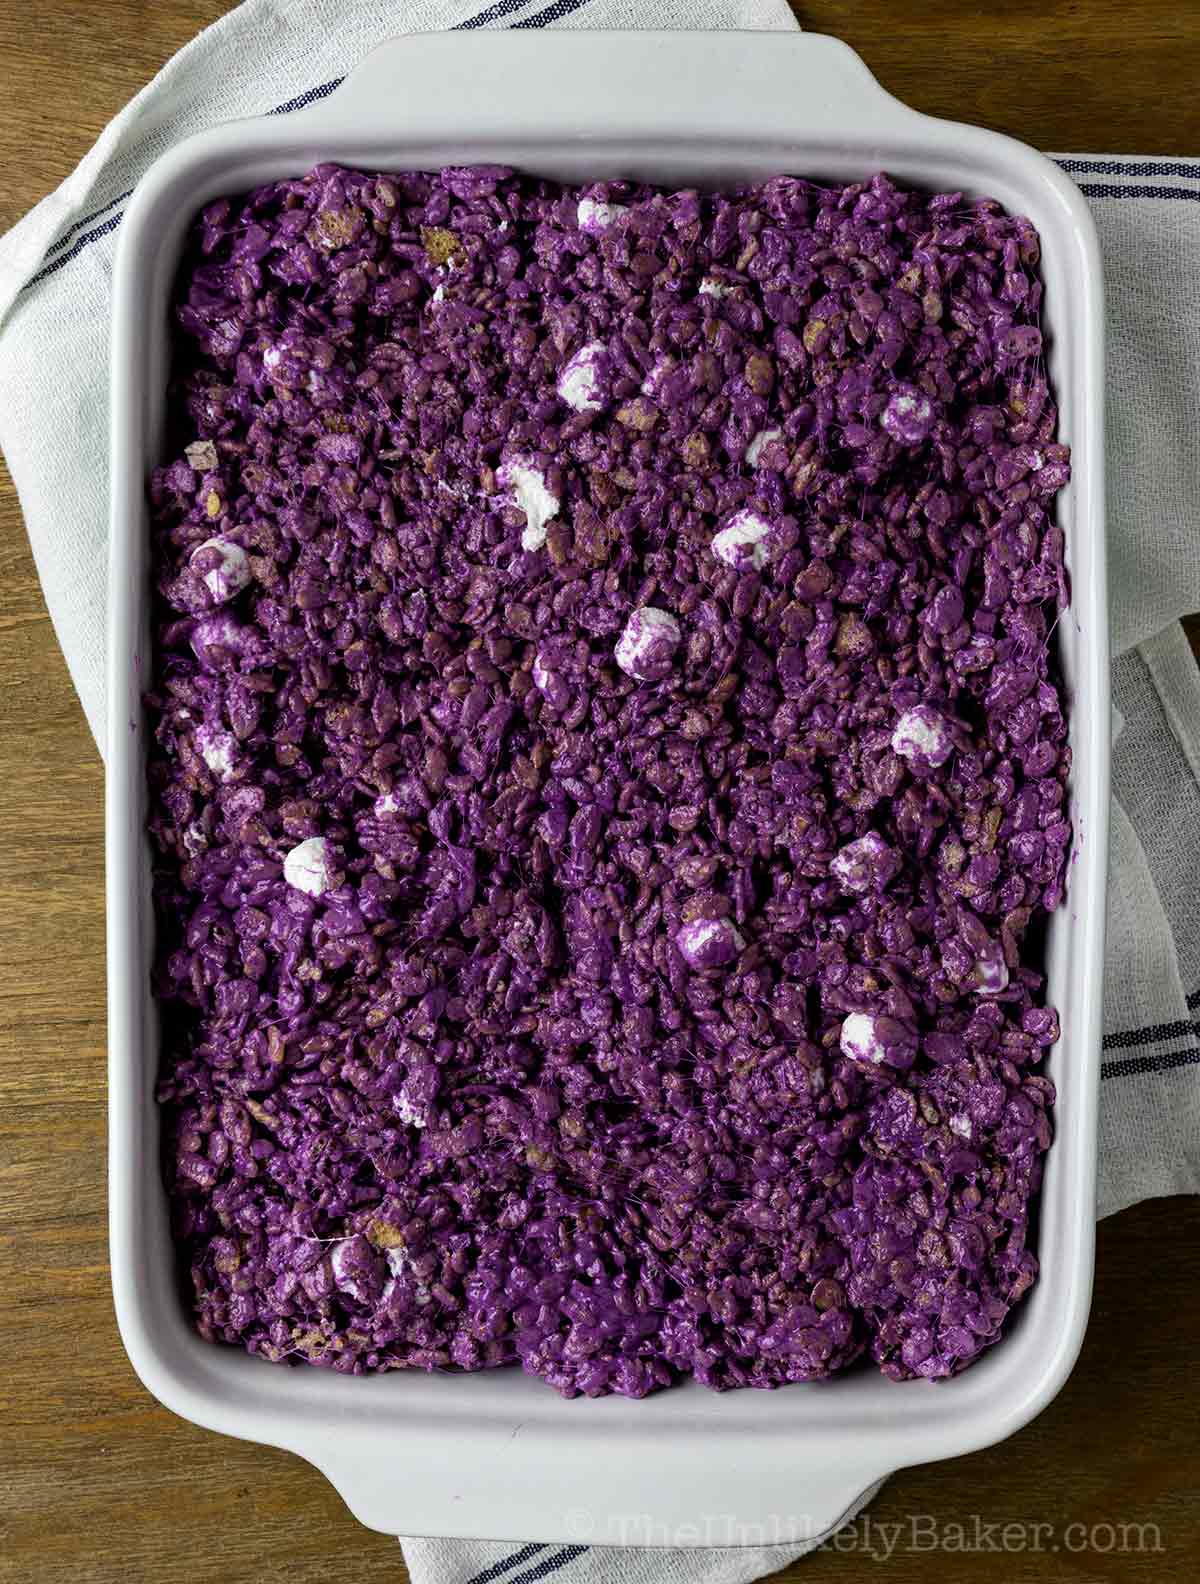
Transfer to your prepared baking dish and — using slightly oiled hands — spread the mixture evenly while gently pressing down.
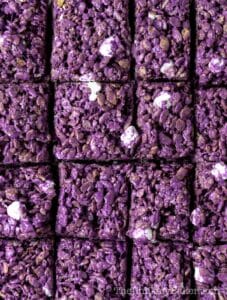
Allow to set for at least an hour on your counter before slicing into squares.
Expert tips
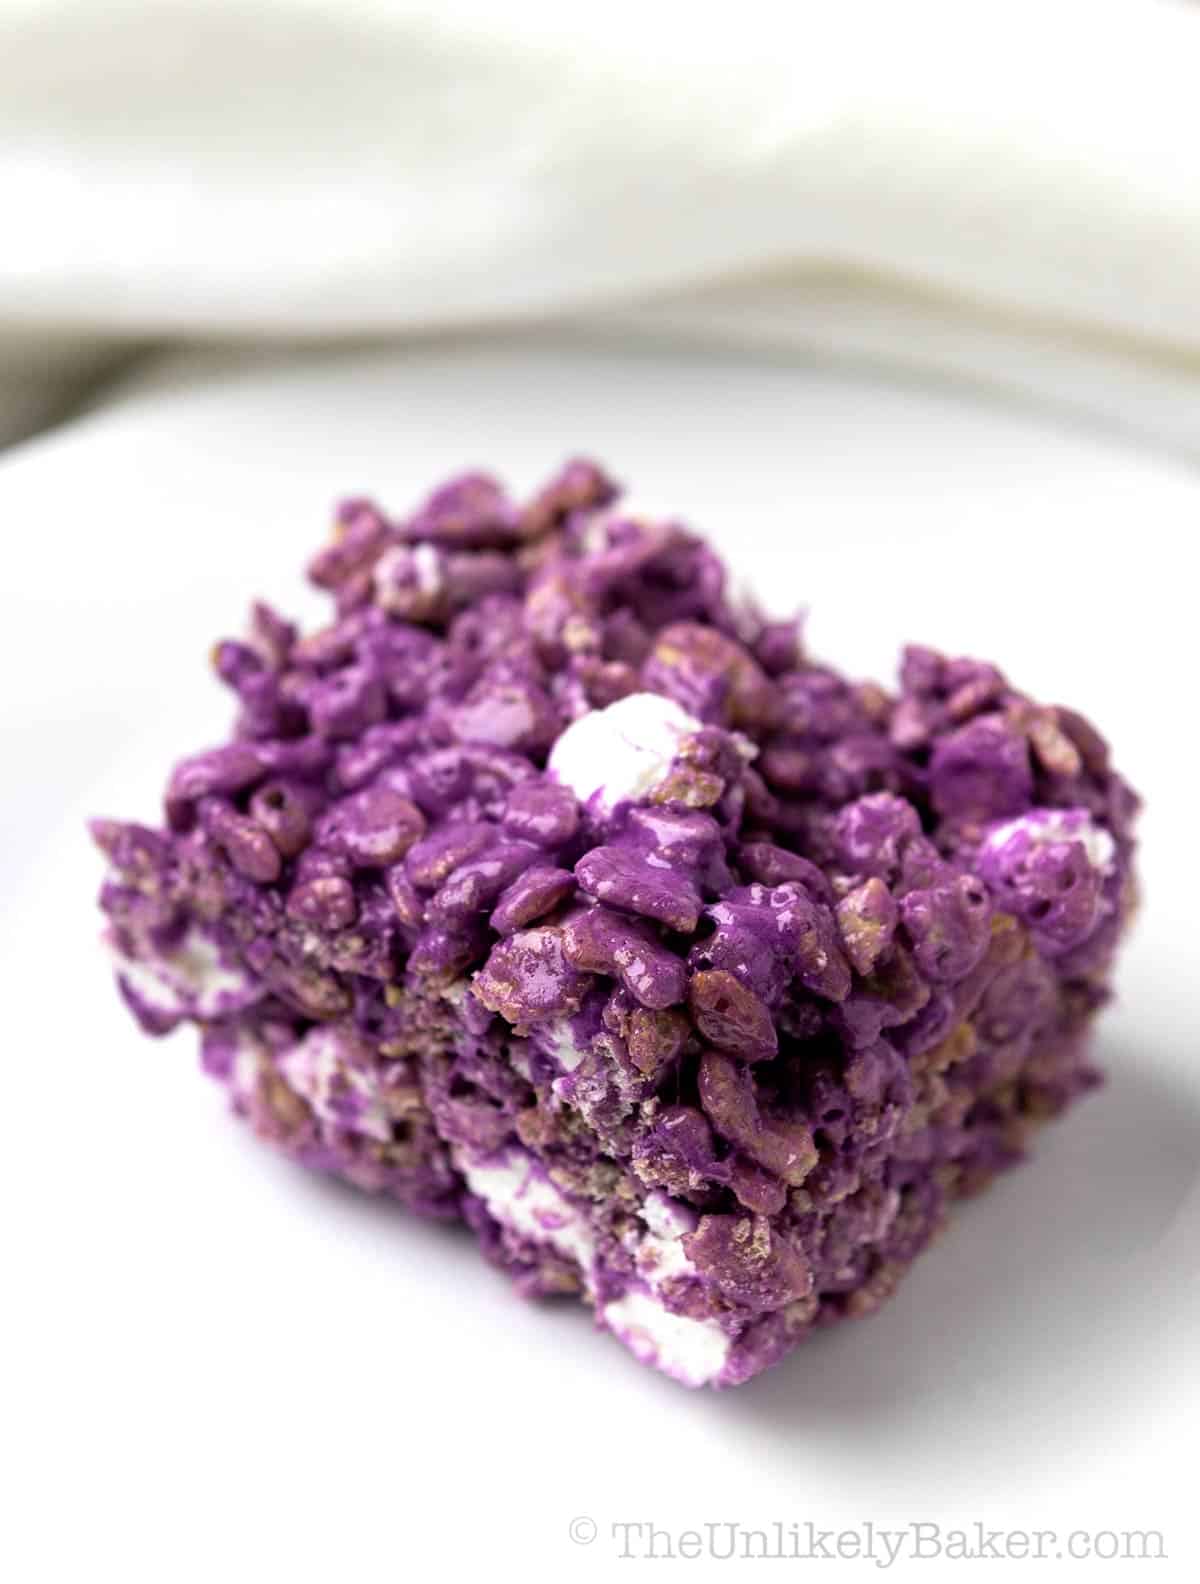
Easy, right? Here are more tips to make this recipe even easier.
- Use fresh marshmallows. Stale marshmallows tend to dry out and they don’t melt as well as fresh marshmallows (i.e., freshly opened bag). Let’s save those older marshmallows for s’mores!
- Grease pan and spoon. You don’t need me to tell you this is going to be one sticky situation lol. But if you thoroughly grease your pan, the rice krispies should slide right out. And greased spoons (or a greased spatula) will also make the mixture easier to stir.
- Greased hands. It will also make it that much easier to press and spread around the pan if you put a little oil on your hands. Don’t put a lot, we don’t want excess oil transferring into the mixture.
- Press gently. Speaking of pressing, avoid pressing the mixture too firmly into your pan. The more firmly packed they are, the tougher they get.
- Patience is key. Want neat, smooth squares? Leave the rice krispie treats alone for at least an hour before cutting. The ube squares you see in the photos were cut after about 30 minutes (patience is clearly not my virtue lol) but I found that waiting another 30 minutes results to neater slices. It also helps to oil your knife or bench scraper a little so that the marshmallows don’t stick as you’re slicing.
Recipe FAQs
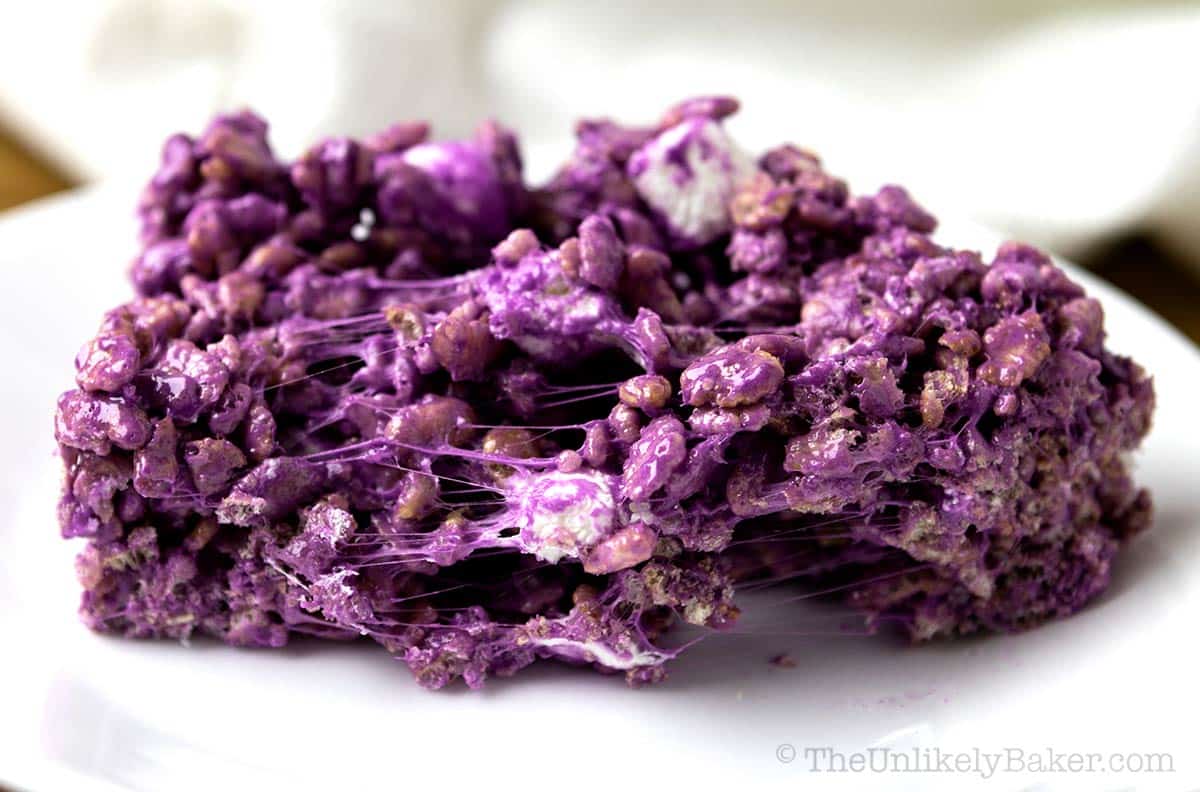
This can be a result of several things:
(1) Marshmallows that got heated too much they turned into hard candy. We don’t want them to melt in the microwave completely; just to get very, very soft that they turn into a nice, gooey mixture when they’re stirred.
(2) Using stale marshmallows. Use fresh marshmallows as much as possible.
(3) Pressing too firmly. When spreading the rice krispies on your baking dish, don’t pack them in too firmly.
The ube flavor in these ube rice Krispie treats are on the subtle side when you first make them. However, they intensify the longer they keep.
I would warn against adding too much ube extract to the mixture; it may end up with a bitter aftertaste.
If you need to, add no more than 1 teaspoon.
You certainly can! Using a smaller pan would result to thicker squares, using a larger pan would result to thinner squares.
I just find that a 9×13 inch pan results to the perfect thickness for me.
And instead of cutting these into squares, you can also use a cookie cutter to make all kinds of different shapes for Halloween, Valentine’s and more.
You can store ube rice krispies in a covered container on your counter. They should last up to 5 days.
I don’t recommend refrigerating or freezing them.
Other fun and easy dessert recipes
Love making easy and fun desserts? Check these out.
Got extra marshmallows? Make a batch of s’mores brownies, some Fruity Pebbles bars or use more rice Krispies and make coconut rice Krispie treats or peanut butter rice krispie bars!
Happy mixing!
Did you make this ube rice Krispies recipe?I’d love to hear all about it! Leave a comment or a star rating below. You can also tag me on Instagram or Facebook. I’d love to see your creations!
You can also find me on Pinterest, Twitter and YouTube.
Ube Rice Krispies
Ingredients
- ¼ cup unsalted butter
- 1 14-oz bag large or jumbo marshmallows you can substitute with regular or mini marshmallows
- 1 tbsp ube extract
- ¼ tsp salt
- 8 oz Rice Krispies cereal about 9 cups
- 3 oz mini marshmallows about 1½ cups
Instructions
- Thoroughly grease a 9×13 baking dish and set aside.
- In a large bowl, melt butter for 1 minute on high. Continue to heat in 10 second increments until fully melted.

- Add marshmallows and microwave on high for 2 minutes or until the marshmallows become very, very soft (but not completely melted). Watch carefully — the marshmallows will puff up. And watch that the bottom of your bowl doesn’t get too hot. After 2 minutes and you think they need to be heated more, do so in 10 second increments.

- Add ube extract and salt then stir until the marshmallows are fully melted, and the mixture is smooth and incorporated.

- Add rice krispies about 2 cups at a time and stir until evenly blended.

- Add mini marshmallows and stir to combine.

- Transfer to your prepared baking dish and — using slightly oiled hands — spread the mixture evenly while gently pressing down.

- Allow to set for at least an hour on your counter before slicing into squares.

Video
Notes
- The yield depends on how big or small you slice your rice krispies. The estimated nutritional information is based on 24 squares.
- Use greased spoons (or a greased spatula) to make the mixture easier to stir.
- Avoid pressing the mixture too firmly into your pan. The more firmly packed they are, the tougher they get.
- See post for more tips, FAQs and step-by-step photos.
Nutrition
Nutritional information are estimates only.

Erica
I think the ube extract is too large of an amount. I haven’t experimented with using less of the extract but upon making this recipe for the first time, all I can taste is food dye overpowering the Rice Krispies.
Jolina
Hi Erica, thanks for trying the recipe! You can always adjust the amount to taste.
Mariepeth Thomason
Can I omit the 3 oz mini marshmallows?
Jolina
Hi Mariepeth, yes you can. Enjoy!
Katelyn
My kids loved these! They love ube halaya too 🙂
Jolina
That’s awesome Katelyn!
Carinne
My kids loved these ube rice krispies! We love making different flavors and they especially loved the purple color. Many thanks!
Jolina
Glad they did, Carinne!
Ashley
What a unique rice krispie flavor! I’ve been hearing about ube for a long time, I think I’ll start experimenting with this one!
Anna
We love ube and this is our favorite by far. Looking forward to trying your other ube recipes! Cheers from a fellow Filipna 🙂
Jolina
Glad you liked them Anna!
Marysa
So pretty! I would absolutely love to give these a try. Such a pretty purple color, and I’m sure they taste amazing.
Apps
I have been a big fan of Ube and have tried making different ube desserts, but this one is definitely a new and unique addition to my collection. It’s amazing how the simple addition of Ube extract can make such a difference in the flavor of the treats. The instructions were easy to follow, and it was fun to involve my kids in the kitchen while making them.
Jolina
Glad you liked them!
Monica
I love rice krispie treats! The purple the ube gives is such a fun addition!
Tara Pittman
I just love the color of these. Purple is a pretty color.
Amber Myers
What a unique flavor. I haven’t ever tried Rice Krispie Treats like this before so I’m curious to try it.