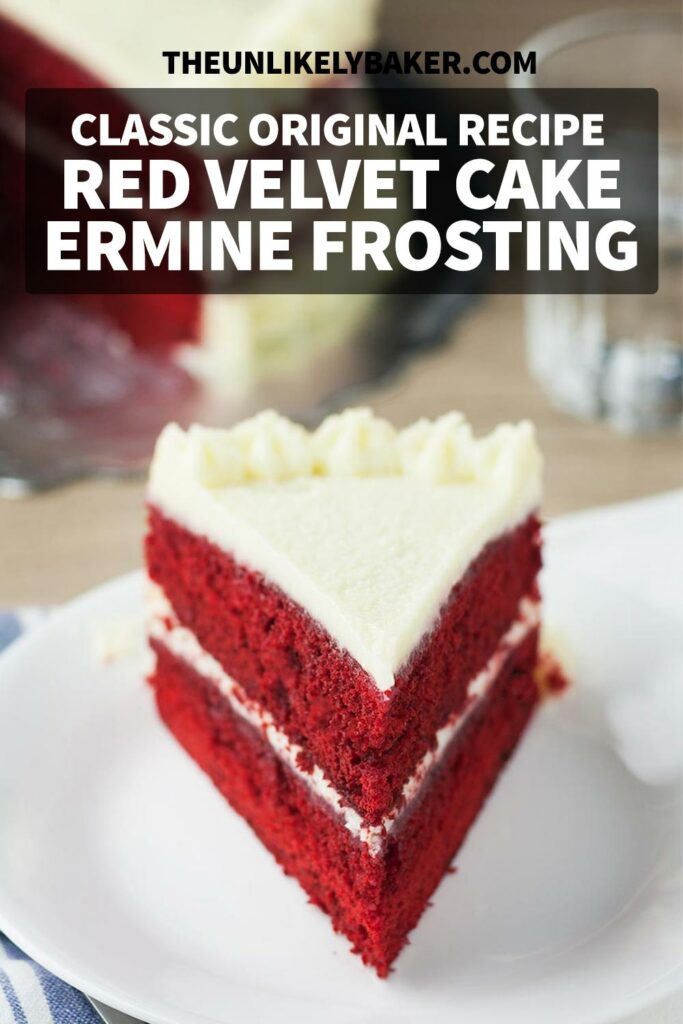
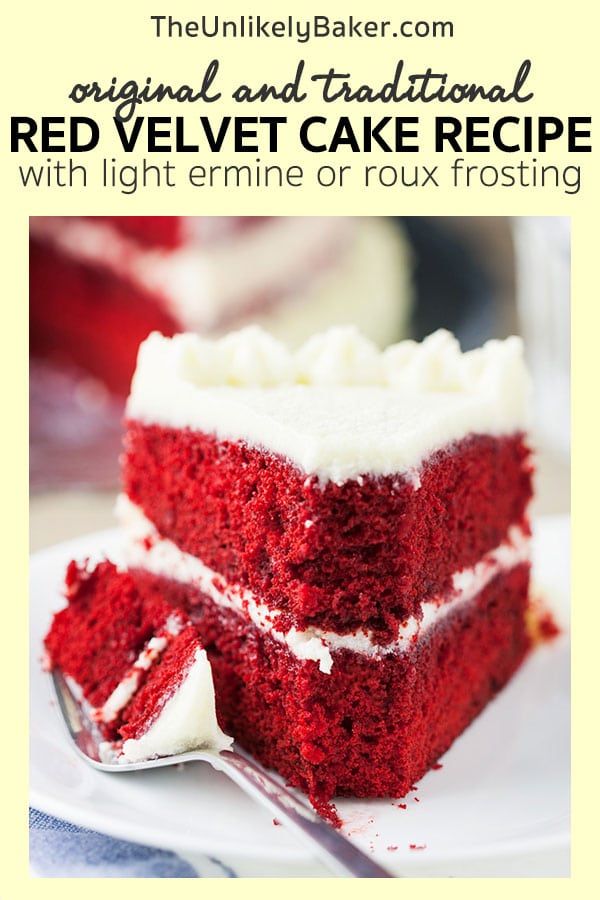
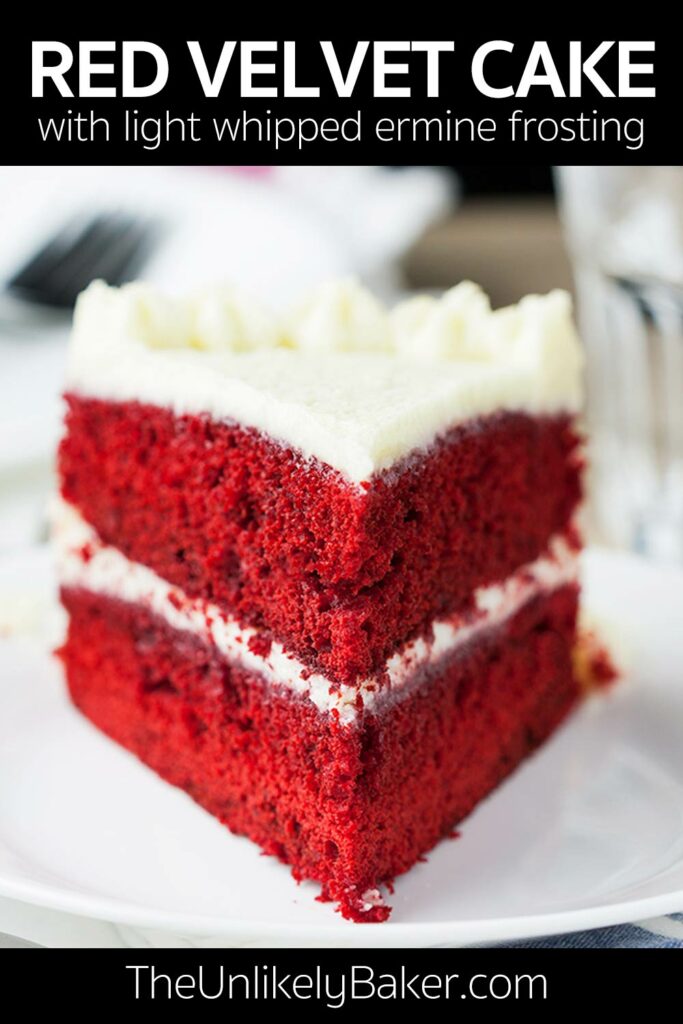
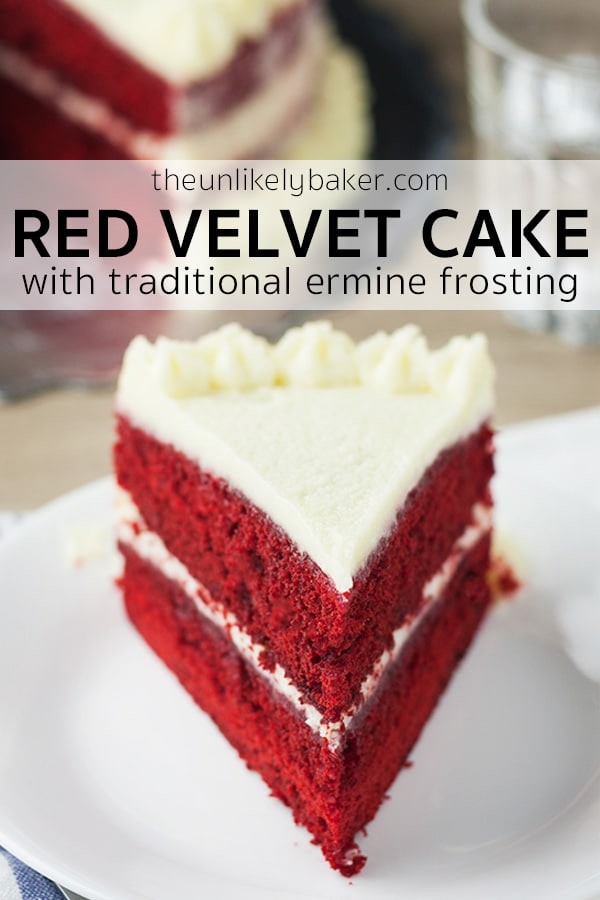
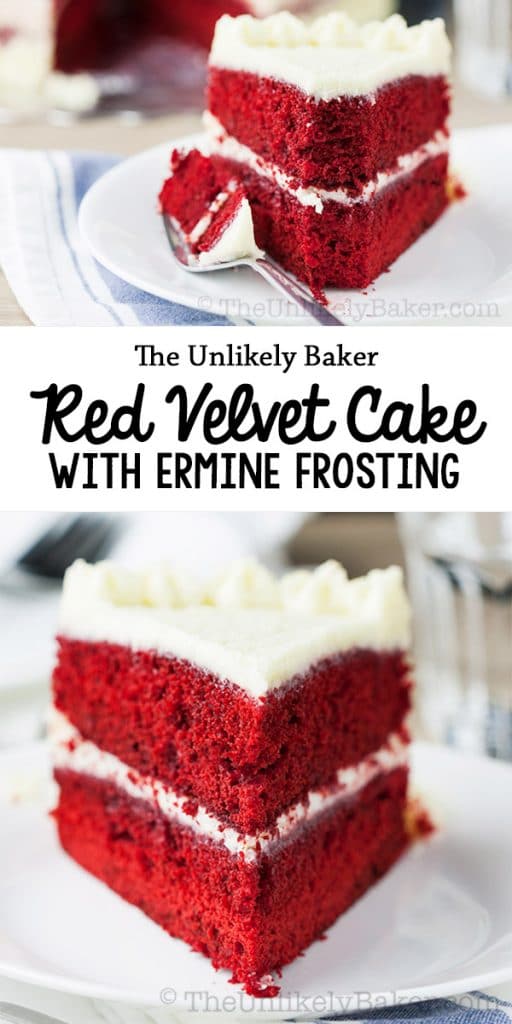
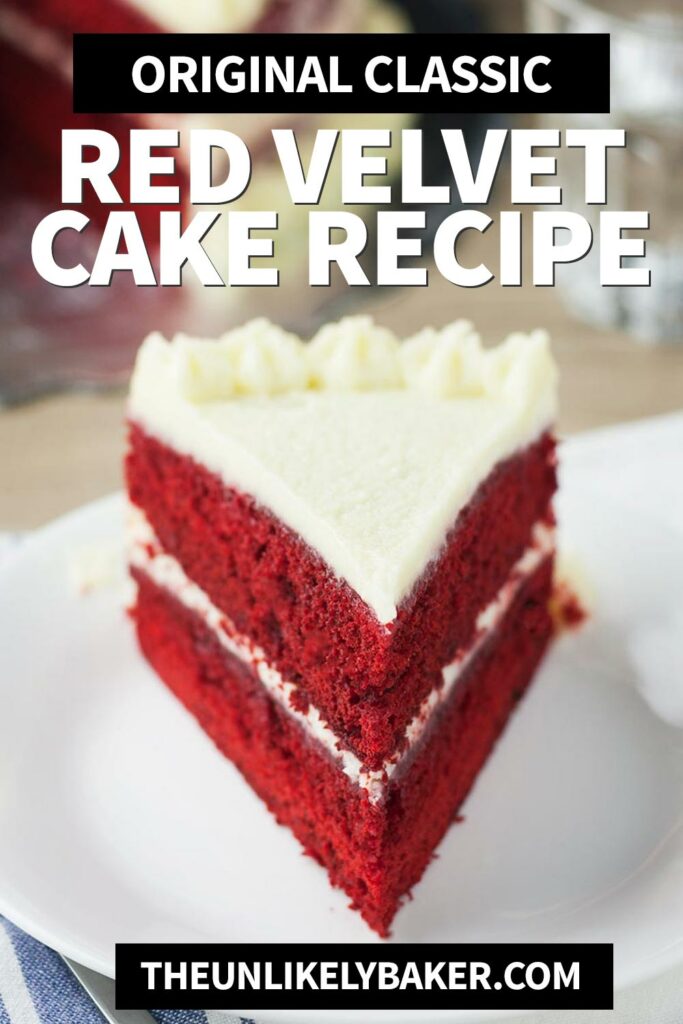
Red velvet cake with ermine frosting is the red velvet cake of the good old days. It’s not weighed down with heavy cream cheese but paired with the most delicate whipped ermine frosting. The combination is delicious!
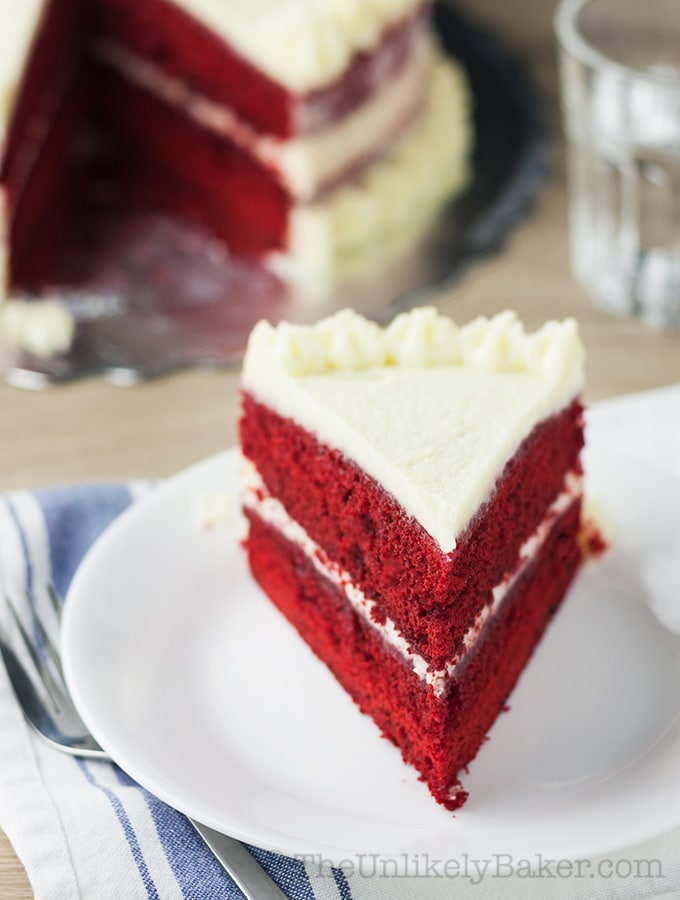
I used to have a love-hate relationship with red velvet cake. I loved to eat it. But it hated me. I’ve failed at baking it so many times I’ve lost count.
This was the recipe that changed everything. Now I can successfully make red velvet cake and know it will be a hit every single time.
Let’s get to it.
What went wrong
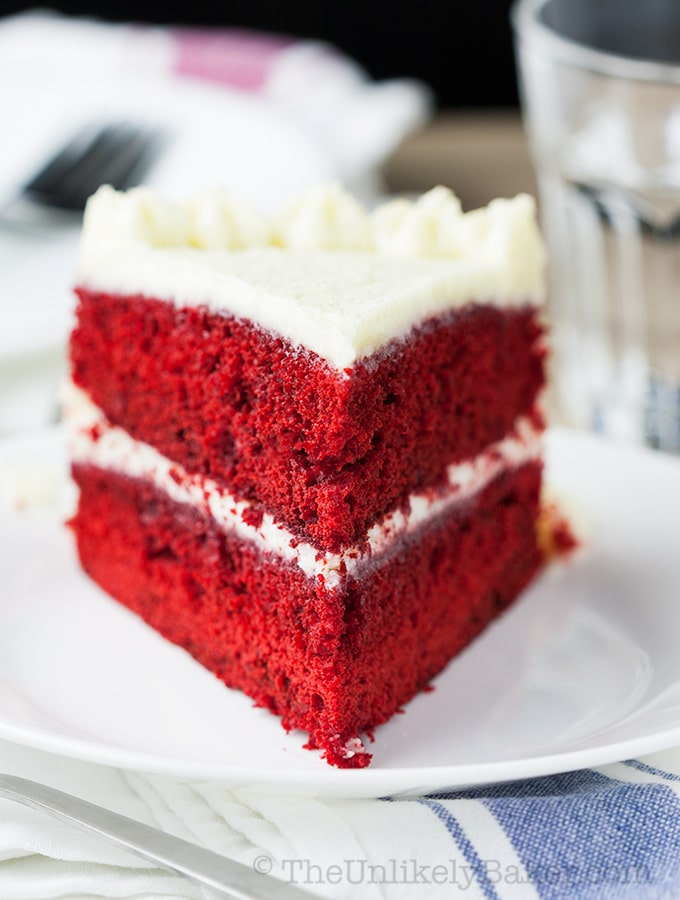
Let’s get real for a second – red velvet cake is not for the fainthearted.
One time my cake turned very brown – too little red food colour. So for my next try I added more food colouring.
That made the batter too runny that I’ve had to scoop the collapsed remnants out of the pan (and straight into the garbage bin).
Don’t even get me started on the cream cheese frosting.
First it won’t stiffen to the proper consistency – my cream cheese and butter were always too soft.
Or I thought it did, only to find it flowing like soup from within my layers like sweet, white, evil lava (now this is just wrong).
(I’m still not very good at cream cheese frosting so I usually make Swiss Meringue Buttercream instead.)
Keys for success
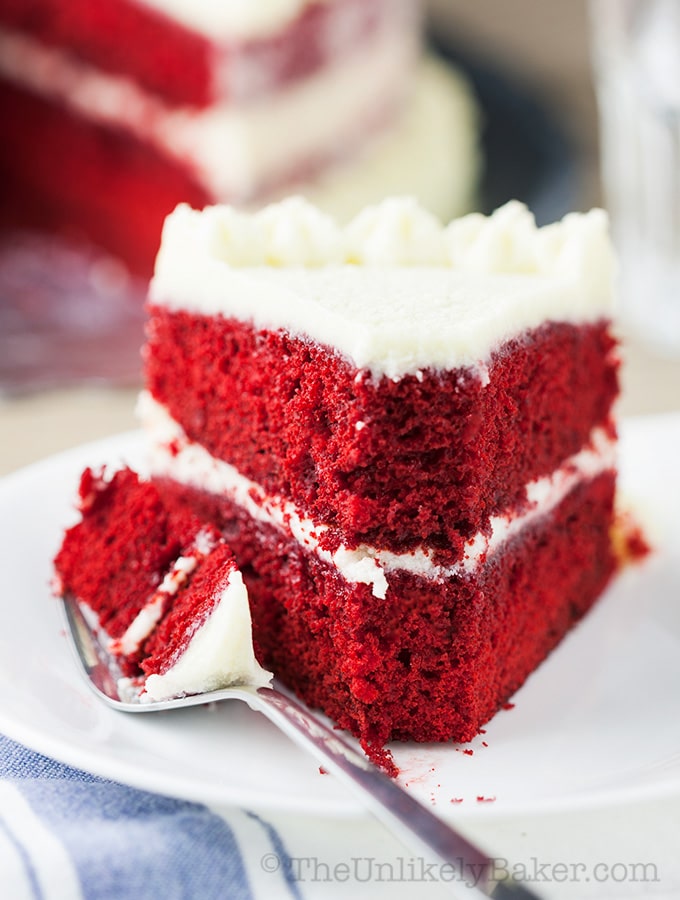
Happily, I’ve gotten over that dark period in my red velvet baking life and can now share two important tips so you can successfully bake red velvet cake too.
- Use gel food colour
. Stay away from the liquid ones – they are just not red enough so you’d tend to use more which affects the total liquid in your batter (and you’d get a strange aftertaste too).
- Measure your ingredients using a kitchen scale
if you can. Baking is a science after all. They’re pretty inexpensive and will improve your baking more than any other kitchen gadget (though I think it’s tied with an oven thermometer
– also cheap!)
Red velvet cake with ermine frosting
Also, try pairing your cake with ermine frosting instead of cream cheese frosting. It’s less finicky than cream cheese frosting and lighter too.
What is it exactly? It’s one of those classic recipes that our grandmas hold near and dear. And it is actually the original icing paired with red velvet cake.
It’s essentially flour and milk whisked until the mixture resembles thick pudding. This pudding then becomes the base for your buttercream.
Ermine frosting or boiled milk frosting or roux frosting
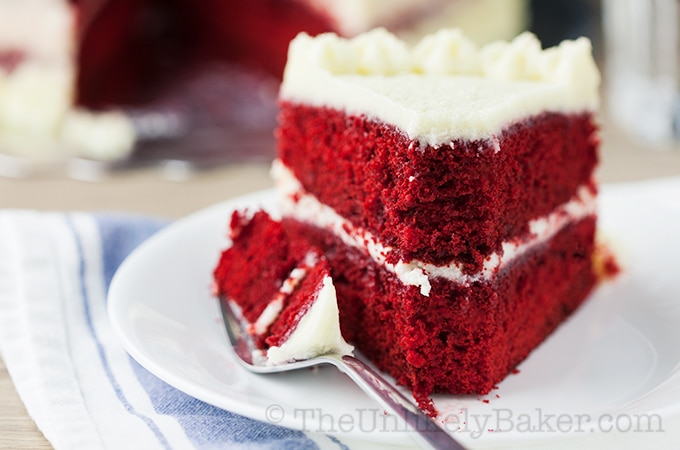
It’s called so many names but it’s really the same thing. And what is it like?
Light with the consistency of whipped cream.
Not too sweet – just the kind that makes you want more.
And It works so well with red velvet cake. No wonder they were the OG lol.
Not your typical red velvet cake…better!
This is definitely not the red velvet cake we’re used to but I think I absolutely like this version better. It’s just so unique; hope you give it a try and like it too!
Love red velvet? Try this red velvet dip, make a batch of red velvet cut out cookies or bake this red velvet bundt cake.
Happy baking!
Did you make red velvet cake with ermine frosting? How’d you like it? I’d love to hear from you in the comments section below.
Looking for other celebration cakes? Try these:
- London Fog Cake with Earl Grey Buttercream
- Rainbow Cake
- Lemon Curd Layer Cake with Lemon Curd Filling and Lemon Buttercream
- Funfetti Cake
The rest of the cake recipes are here.
Red Velvet Cake with Ermine Frosting
Equipment
Ingredients
Red Velvet Cake
- 2 ¼ cups cake flour
- 1 tsp salt
- 2 tbsp unsweetened natural cocoa powder
- ½ cup unsalted butter room temperature
- 1 ½ cups granulated sugar
- 2 large eggs room temperature
- 0.70 oz gel red food colour
- 1 cup buttermilk room temperature
- 1 tsp vanilla extract
- 1 tsp baking soda
- 1 tsp vinegar
Ermine Frosting
- 5 tbsp all-purpose flour
- 1 cup milk
- 1 cup granulated sugar
- 1 cup unsalted butter room temperature
- 1 tsp vanilla extract
Instructions
Red Velvet Cake
- Pre-heat oven to 350F. Grease 2 9-inch baking pans then put greased parchment paper at the bottom for easy release.
- In a medium sized bowl, sift 2 ¼ cups cake flour, 1 teaspoon salt and 2 tablespoons cocoa powder. Set aside.
- Using an electric mixer or a stand mixer with a paddle attachment, cream ½ cup butter and 1 ½ cups sugar on medium speed until light and fluffy (about 2 minutes).
- Add the eggs one at a time until combined.
- In a separate bowl, add your red food colour to 1 cup buttermilk and stir until combined.
- Switch to low speed and add a third of your flour mixture into the batter, then half of your buttermilk, then another third of the flour, the last of the buttermilk, then finally putting in the rest of the flour making sure each addition is fully combined before adding in the next. Scrape the bottom and sides of your bowl as needed.
- Add 1 teaspoon vanilla and stir until you see no more streaks of flour in the batter. Remove the bowl from stand mixer, if using.
- In a small bowl, mix 1 teaspoon baking soda with 1 teaspoon vinegar. Once the mixture foams and bubbles, quickly fold it into your cake batter.
- Pour the batter into your prepared baking pans and bake for 24-30 minutes or until the cakes start to pull away from the sides of the pans and when a toothpick inserted in the middle comes out clean.
- Take out from oven and cool on a rack for about 15 minutes or until the pans are cool enough to handle. Then remove the cakes from pans, remove the parchment paper from the cakes and let cool completely on the racks before frosting.
Ermine Frosting
- In a medium sized sauce pan, combine 5 tablespoons flour and 1 cup milk and constantly stir over medium heat until very thick, like pudding (8-10 minutes).
- Remove from heat, place plastic wrap on top and cool to room temperature. Then transfer it to the fridge and chill for 1 hour.
- Using an electric mixer or a stand mixer fitted with the whisk attachment, cream 1 cup sugar, 1 cup butter and 1 teaspoon vanilla extract on medium high speed until light and fluffy (3-5 minutes).
- Add the completely cool flour mixture and continue beating until you get the consistency of whipped cream (3-5 minutes).
- Fill, frost and decorate cake as desired.
Video
Notes
- While you can serve this cake immediately, it is at its best after at least a couple of hours in the fridge. Then let stand in room temperature for about 10 minutes before serving.
- See post for more baking tips.
Nutrition
Nutritional information are estimates only.

Jen
This is such a delicious classic. Came out moist and had a really nice color.
Jolina
That’s awesome Jen! 🙂
Allison
Can you make the icing a day in advance?
Jolina
Hi Allison, yes you can make ermine frosting up to a week in advance. Store in an airtight container in the fridge then re-whip before using.
Vickie D Grimm
I use to buy this cake from a lady who baked cakes for a local restaurant, who was famous for the Red Velvet cake.I never heard the icing by the name Ermine’s. When we moved from our Maryland home to California, I asked her for the recipe (which she never gave away except to her family when she passed). She gave it to me. I used that recipe for years. But when we moved back home after over 20 years, the box with my recipe in it got lost. I have tried to find a recipe like the one I had, but could never find the icing. Well your recipe is as close to being identical to hers. Thank you for sharing it. Can’t wait to make one for the family, they will be so surprised.
Jolina
Hi Vicki, sorry to hear you lost your box of recipes 🙁 I do hope you and your family enjoy this red velvet cake!
Shannon Gillen
I grew up with this cake at Christmas. Our recipe was written by my Great Grandmother in the 1930’s!! After years of using it some of the amounts became hard to read. I have looked for the recipe for years and I about cried when I read your ingredient’s and then your directions…exactly how our recipe is written. Thank You for posting this. The Family tradition is going to happen this year for sure thanks to you!!
Cheers!!
Jolina
That’s great Shannon! Enjoy and happy holidays!
Lisa c bowman
I haven’t tried your recipe yet….my family used to make red velvet caje with ermine icing…for years it was do good. Then last few times we made ut, the icing was crunchy like the sugar didn’t dissolve. What woukd you think would make it change?
Jolina
Hi Lisa, can’t speak to other recipes but for this recipe, make sure you cream the sugar properly and it should come out nice and creamy. Happy baking!